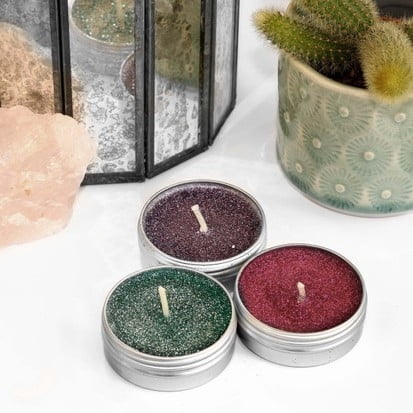
Tealight candle making is a craft that is becoming increasingly popular. Making tealight candles is a great way to add ambiance to any home or office space without having to spend too much money or use harsh chemicals. With the right supplies and tools, anyone can become an expert tealight candle maker in no time.
The benefits of tealight candle making are numerous, including the ability to customize candles with different colors and fragrances and save money at the same time. Plus, it’s eco-friendly since you’re reusing existing containers and not adding more waste into landfills.
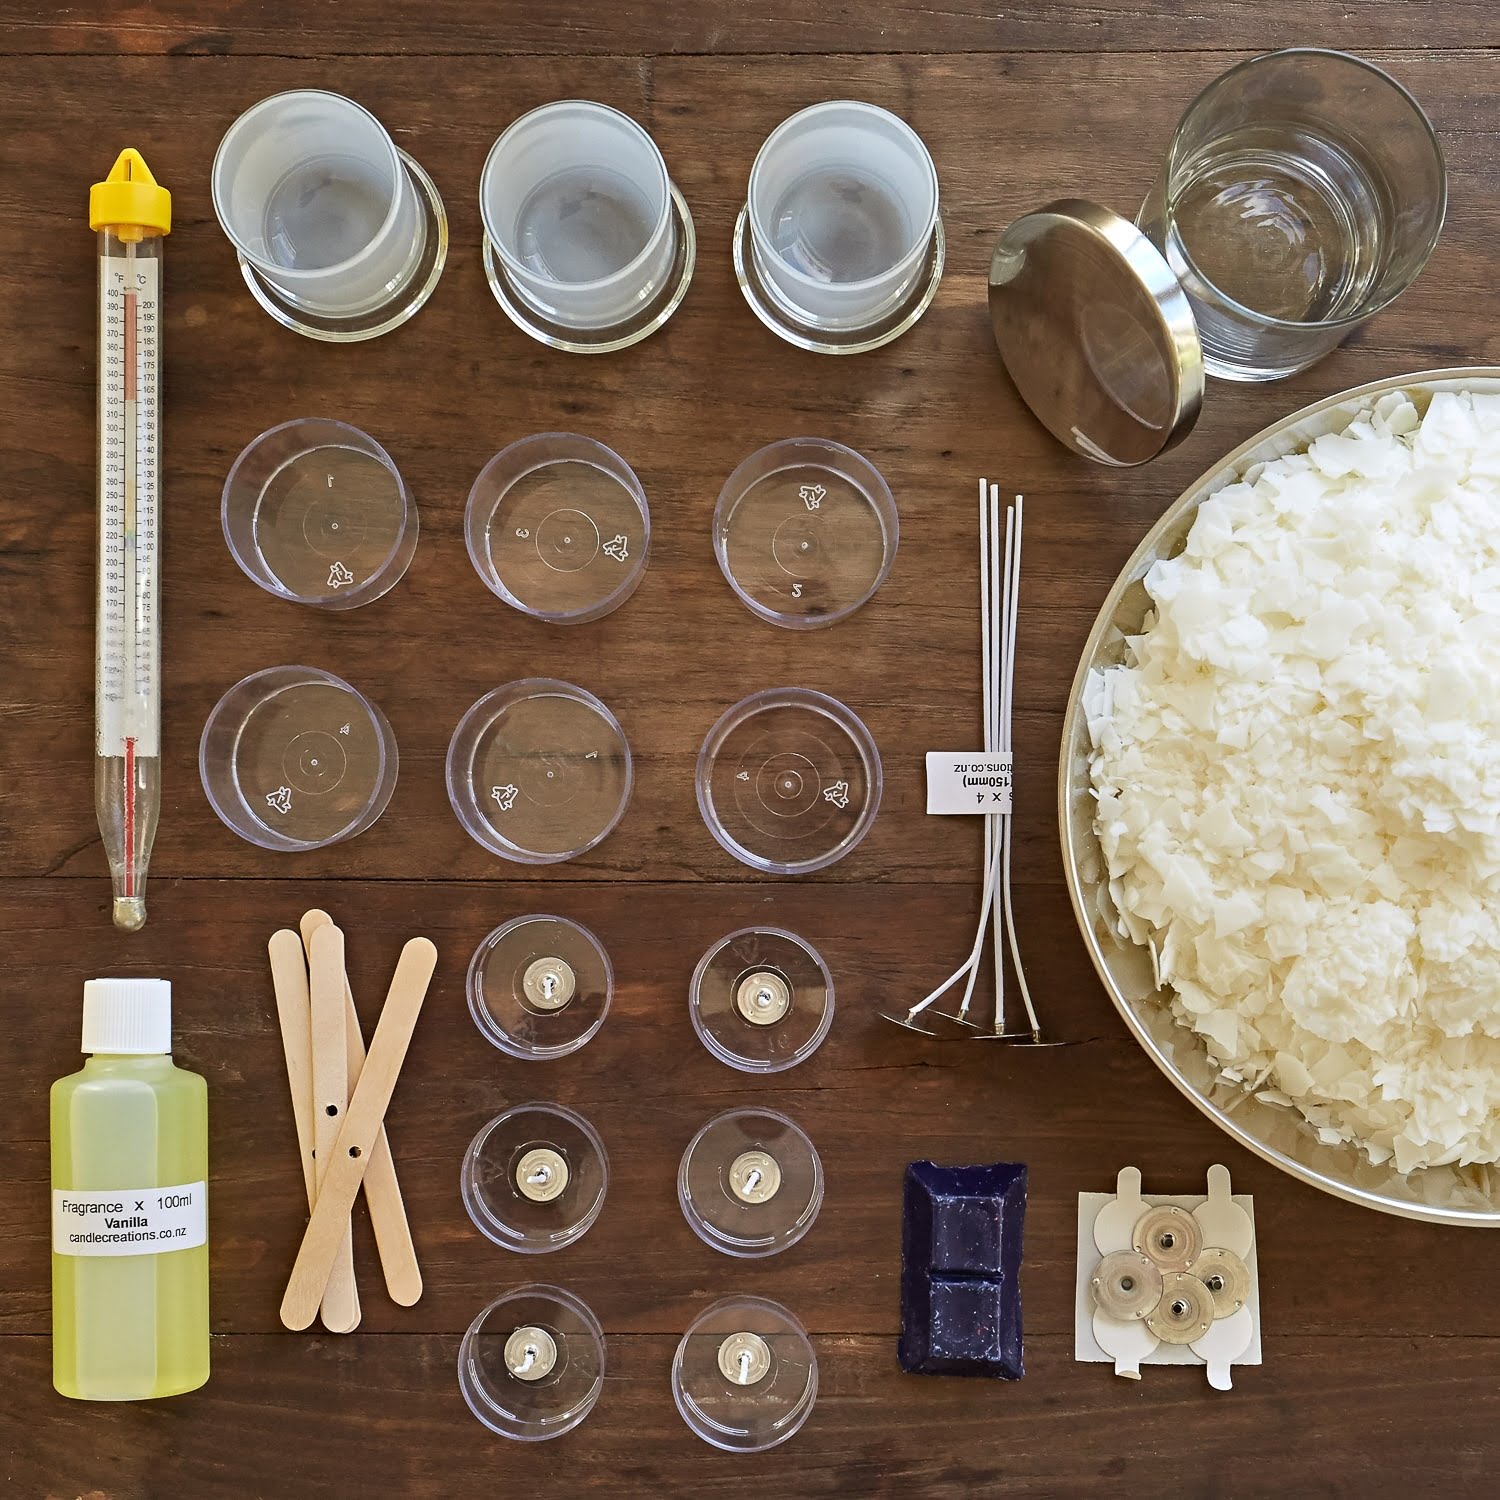
The first step of getting started in tealight candle making is having the right supplies on hand. You will need metal or plastic tealight cups, wicking material, wax, dye chips (optional), and fragrance oil (optional). Tealight cups come in various sizes – from mini ones used for decoration to large ones used for tea-lighting aromatherapy sessions.
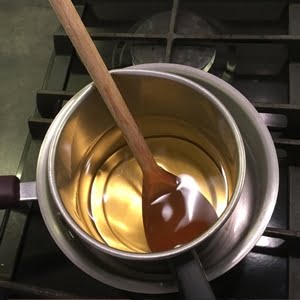
Once you have your supplies together, it’s time to start melting the wax. Depending on how many candles you’re planning to make, you may want to do this on a double boiler or a stovetop instead of using a microwave – which may be more convenient but could lead to uneven melting if not done carefully.
Once the wax has melted completely, you can start adding dyes and scents if desired. Colorful dye chips give your candles added character and scenting them with essential oils gives them an aromatic boost without being overwhelming for sensitive noses thanks to their subtle qualities; look for essential oils that are known for burning well when heated such as lavender, ylang-ylang or sandalwood oils.
After your wax has melted completely and its color and scent are satisfactory it’s time to pour it into your pre-filled tealight cups; make sure that each has enough wick so that it can burn bright enough without going out halfway through its lifespan. Allow your new creations 24-48 hours before testing so they harden properly before lighting them up.
Overview of the Different Types of Tealight Candles
Tealight candles bring a beautiful ambiance to any room or outdoor setting. In addition to providing a warm, glowing light tealight candles can also add fragrance and style for home decor. There are three main types of tealight candles; each offering varying scent, giving you the perfect choice for any situation.
Types of Tealight Candles
- Traditional Wax Tealight Candles – Traditional wax tealight candles come in both scented and unscented varieties. The wax is usually made from a blend of waxes, such as soy or paraffin. You may find some with added colors but typically they are white, off-white, or clear. These traditional wax tealights generally provide the longest burn time and a pleasing aroma.
- Floating/Aqua Candles – Floating/aqua candles is actually two types of candle; aqua tea lights which can either be placed in water or made with floating wicks that will go in water as well as genuine floating tea lights which are made with special material that make them float in water.
- LED Tealight Candles – LED tealights are electronic alternatives to traditional wax and floating/aqua tealights. They have the same appearances as traditional tea lights but flicker like real flames when turned on, and go completely dark when you switch it off. This type of tea light doesn’t produce heat like real flame candles making them perfect for around children.
Usability & Availability
The usability of these types of candles depends on personal preference and occasion. Traditional wax tealights perform best outdoors due to their long burn times, whereas LED flowering LED’s work better indoors due to their no heat production qualities. Aquatic/floating candles work best within walter based environments where you can appreciate the beauty of a dancing flame from across the room or lake-side scenery.
Availability is plentiful at participating retailers that carry one ore all three of these types including (but not limited to) supermarkets, hardware stores, discount stores and online vendors alike – allowing easy access should the need arise unexpectedly.
Supplies Needed to Get Started on Tealight Candle Making
Making tealight candles is a great way to spend your time and express your creativity. All you need to get started are the right tools and materials for the job. Depending on what style of candle design you want to create, some supplies may vary, but here are some core items you’ll need in order to make tealight candles:
Wax Pellets
Your main material will be wax pellets. Either paraffin wax, soy wax or beeswax can be used as a base for making these little wonders.
Depending on what type of wax you choose for your project will affect its burning time, scent and final look. If you’re having trouble deciding which wax works best for your needs, it’s likely that paraffin wax is the most affordable of them all and provides many advantages when it comes to melting quickly and holding its colour over time.
Tea Light Containers
Tea light containers come in all sorts of shapes and sizes so you have plenty of options when selecting one for your candles. These can be found in more common styles like metal cans or plastic one-piece moulds in round, square and rectangular variations.
Tail Light Wicks
Tealight wicks are important components as they will help ensure an even burn without any smoking or residue from dripping melted wax on surfaces below the candle container. Although there are different types available, flat braid wicks provide superior quality when compared with regular twisted cotton cords used for tea light wicks due to their higher heat production rate with less smoke produced during the process.
Melting Pot
A pot specifically designed with a double boiler system is ideal when it comes to melting large batches of wax quickly and safely without worry about burning or scorching it while ensuring temperatures remain consistent throughout the melting process.
Fragrance Oils & Colouring Dye
Adding fragrance oils to give your candles an extra beautiful aroma can take them up a level and adding colouring dyes can make them stand out more aesthetically speaking. Fragrance oils need not be expensive either – there are plenty of readily available ones at local craft stores too.
To pick colours, just choose from liquid dye or powder pigments depending on how much control you want over the final result; pigments will give you more saturated colours but liquid dyes have their own set of properties that make them great choices too.
Techniques for Making Top-Quality Tealight Candles
Making tealight candles is a great way to bring warmth and ambiance to any home. Whether you’re making them for gifting or for your own decorating pleasure, the process of creating the perfect tealight candle doesn’t have to be complicated. There are many techniques that can help you make top-quality tealight candles with ease.
One essential part of successful tealight candle-making is choosing the right wax. A beeswax blend is preferred as it has a longer burning time and produces an even flame.
If you’re using paraffin wax, keep in mind that the melting point of different types varies widely so you’ll want to research which type best suits your needs before beginning. Additionally, if your wax does not contain its own wick, selecting the correct size and type of wick is essential for optimal results.
Once you’ve selected the wax and any necessary wicking material, it’s time to start melting. Using either a double boiler or a small electric pot melts the wax quickly without risk of scorching. Place enough wax into the pot to fill each desired cavity with some extra left over for topping off after pouring and cooling.
Bring temperature up just above melt point – this ensures the entire batch melts evenly and decreases chances of air pockets forming during pouring. Carefully pour molten wax into prepared molds at about 185F; alternatively, use measuring cups for accurate portioning when making multiple tins at once. Once poured allow molds cool undisturbed until no indentation remains when pressed lightly – this can take up to four hours depending on volume and mold materials used.
Once cooled, adding colorant if desired at this stage will bring out an eye catching charm in your candles. If needed, top off each with remaining molten wax – take care not to overfill as this may negatively affect burning time performance and end result aesthetics. Finally trim wicks then package adventurously or light up enchantedly the choice is yours. Now that you know the basic techniques needed for making top-quality tealight candles get ready – adventure awaits.
Tips for Choosing the Right Wax, Wicks, and Molds for Tealight Candles
Tealight candles are a popular home accessory that can be used to create pleasant smells, soothing light, and even provide a calming effect during meditation or yoga. However, in order to make the perfect tealight candle there are a few elements to consider – wax, wicks, and molds. Knowing how to choose these pieces can go a long way in helping you craft the ideal tealight.
Choosing the Right Wax
When it comes to creating the perfect tealight candle, your wax type is of utmost importance. For instance, paraffin wax is the most commonly used material for making tea lights, due to its low melting point and favorable scent retention capacity. Additionally, soy wax provides an eco-friendly alternative that is becoming increasingly popular as well.
So when choosing your best option is important to consider your desired outcomes: if you’re looking for a sustainable option with minimal emissions paraffin usually reigns supreme, while soy may be better if you’re trying for something more organic. Plus both have different melting points and burning periods so this variation should also be taken into account.
Choosing the Right Wicks
Wicks come in many styles and sizes but for making tealight candles cotton core wicks are typically best due to their ability to remain straight and burn steadily. This makes them easier to place in pre-made molds without giving up too much burning time or fragrance retention along the way.
Some other things to consider when selecting your wick include diameter size (generally gauged between one-eighth-inch or three-sixteenths inch), fiber length (to ensure optimal burning capacity) as well as draft tolerance capabilities (to prevent smoking).
It’s also important to note that certain types of wax need specific wicking materials such as zinc core for sheets of beeswax or flat braided square braid wicks for tallow wax. Thus it’s essential that you fully research the correct type of wick material before getting started.
Choosing Molds
The third component of tealight candle making is choosing the right mold materials which can vary drastically depending on who you ask. Generally speaking plastic molds are considered more affordable while aluminum molds may allow more detailed designs with greater stability throughout production runs – however they tend to come at a higher price tag than their plastic counterparts. As with any product, it’s recommended that you take some time researching online customer reviews before committing either way.
Essential Essential Oils and Fragrances for Tealight Candle Making
Essential oils and fragrances are an important part of creating a custom made candle. Not only do the right type of fragrance make your tealight candles smell great, but they also last longer and have therapeutic properties as well.
Whether you choose fresh fruity notes, floral scents, or woody base tones; selecting the right essential oil or fragrance will be key to creating the perfect candle for any occasion. When choosing which essences to use for making your tealight candle, there are a few things that you should keep in mind.
First of all, it is important to select essential oils or fragrances that will blend well with each other based on their aroma profiles. For example, some citrus blends may be too overpowering when combined with certain types of florals while some woody bases may clash with strong spices such as cinnamon and clove.
It’s best to experiment by combining different essences until you find what works best for you. Be mindful that some scents can become too strong when blended together so it’s important to moderate the levels in order to achieve harmony within your chosen blend.
In addition to being aware of how essences combine, it is important to select high-quality materials when making your tealight candles. High-grade ingredients such as cosmetic grade waxes and natural plant butters provide better burning properties so ensure that these elements are used in combination with essential oils or fragrances for better scent throw performance.
By using quality ingredients and blending them together correctly according to their aromatic profiles, you will be able to enjoy a long-lasting experience from your custom made tealight candles.
Lastly, when choosing which type of container for your tealights; make sure that it compliment the aroma created from the essential oils/fragrance combination used during the creation process. Certain types of containers can capture heat during burning and this in turn can help enhance scent therapy while others may allow too much heat out therefore reducing the intensity of aromas released into a room or space.
Ensuring that each element works together harmoniously will help create a lovely atmosphere somewhere within your home every time one burns one of these majestic creations.
Decorating and Finishing Your Tealight Candles
Decorating and finishing your tealight candles can seem intimidating for any beginner, but with a bit of patience and practice, anyone can learn how to customize their own candles. One of the most popular ways to decorate these candles is by adding beads, crystals and sparks. Some people also like to paint or decoupage designs onto them.
Whatever you choose to do, it should be done slowly in order to get the best result. After all the decorations have been applied, the next step is to seal the wax so that all of your hard work doesn’t go to waste.
To protect the design of your tealight candle from melting and fading away, use a thin layer of glue around its circumference. This will help hold everything together as well as provide an airtight barrier against heat.
For maximum adhesion, make sure to apply an even amount around the entire surface area before letting it dry completely. The last thing you’ll want is for your decorations to come off while lighting since this could be very dangerous not just for yourself but also for those around you too.
The finishing touch is often what makes or breaks a tealight candle’s overall appearance. There are various coatings available such as wax based formulas which are used in dip method techniques, spray methods and even mircrowaveable dips. Again experiment in order find what works best for you and don’t be afraid to make mistakes.
Most candlemakers swear by using multiple layers of coating for increased protection and enhanced durability. So take your time when sealing up your masterpiece, if done properly it will help ensure that your decorative creation stays looking beautiful long-term.
Troubleshooting Common Tealight Candle Making Mistakes
Making tealight candles at home is a surprisingly easy and relaxing way to spend your time. But if something goes wrong, it can be infuriating. Depending on the mistake, there’s usually an easy fix. Here are some useful tips for troubleshooting the most common tealight candle making mistakes:
- My finished product isn’t burning all the way down: Many times, this is because there’s too much wick sticking out of the top of the melted wax. Make sure to trim any extra off before allowing your candle to cool and harden.
- I trimmed my wick too short: This can happen when you get carried away trimming the burnt edges off of your wick especially after lighting it for the first time. If that’s happened, try adding a cotton ball with wax inside and setting a new wick in it.
- My candles aren’t staying lit: This often happens if there isn’t enough oxygen. Make sure all your candles have well-ventilated areas without any drafts or winds blowing through.
If none of these solutions help you fix your mistakes then it could be that your wax mixture wasn’t properly mixed or has lost its potency over time due to moisture loss. You can try remelting and mixing the old wax again with a fresh batch. To make sure you don’t end up in this situation again make sure you store unused wax mixtures in airtight containers away from humidity sources such as bathrooms or kitchens.
Another potential cause for failed flames could be too much fragrance oil added to the mix. Fragrance oil isn’t combustible like other components of wax & wicks so adding too much will prevent adequate burning leaving puffing smoke behind instead of a healthy flame. Remember – not all fragrances are safe for candles so understand which ones are suitable before making any more scented tealights.
Tealight Candle Care and Maintenance
Tealight candles are a great way to brighten up any home, but like any other candle they need proper care and maintenance in order to last the longest amount of time without having to be replaced. Tealight candles are very simple and straightforward when it comes to taking care of them, however there are still some tips that can help prolong their lifespan.
One of the most important things to do is make sure that tealight candles are always kept away from direct sources of heat or open flames since the wax can easily melt away quickly. It is also essential to not leave candles burning for too long without supervision as this can cause fires or accidents around the house.
When it comes to maintenance, keep in mind that tealight candles should be refilled or discarded after about thirty hours’ worth of burn time. This will ensure that you always have a fresh supply of tealights ready for use around your home.
Another major part of maintenance is making sure that the wick remains properly trimmed at all times. By being careful not to cut too much of the wick away, you can help preserve the size and shape which helps create an even and consistent flame every single time you light it up.
Finally, one other major tip would be to store tealight candles in a closed container or box when they’re not in use as this will protect them from moisture and dust which could degrade their performance over time. Making sure your container has air holes drilled into it so that there’s still proper ventilation can also help prevent mold buildup due to trapped humidity inside the storage area.
All these extra steps may seem like unnecessary inconveniences but they really do go a long way towards protecting your tealights for long-term use.

Welcome to my candle making blog! In this blog, I will be sharing my tips and tricks for making candles. I will also be sharing some of my favorite recipes.

