Beeswax candle making tips offer a natural and sustainable alternative to traditional paraffin candles. Beeswax is known for its clean-burning properties, long-lasting burn time, and subtle honey scent, making it a popular choice among candle makers. In this article, we will explore the benefits and appeal of using beeswax for candle making, as well as provide valuable tips to help you create your own beautiful beeswax candles at home.
When it comes to beeswax candle making, selecting the right type of beeswax is essential. With different grades and colors available in the market, knowing how to choose the best quality beeswax for your candles can make a significant difference in the final product. We will discuss the various types of beeswax available and provide guidance on how to pick the most suitable option for your specific candle-making needs.
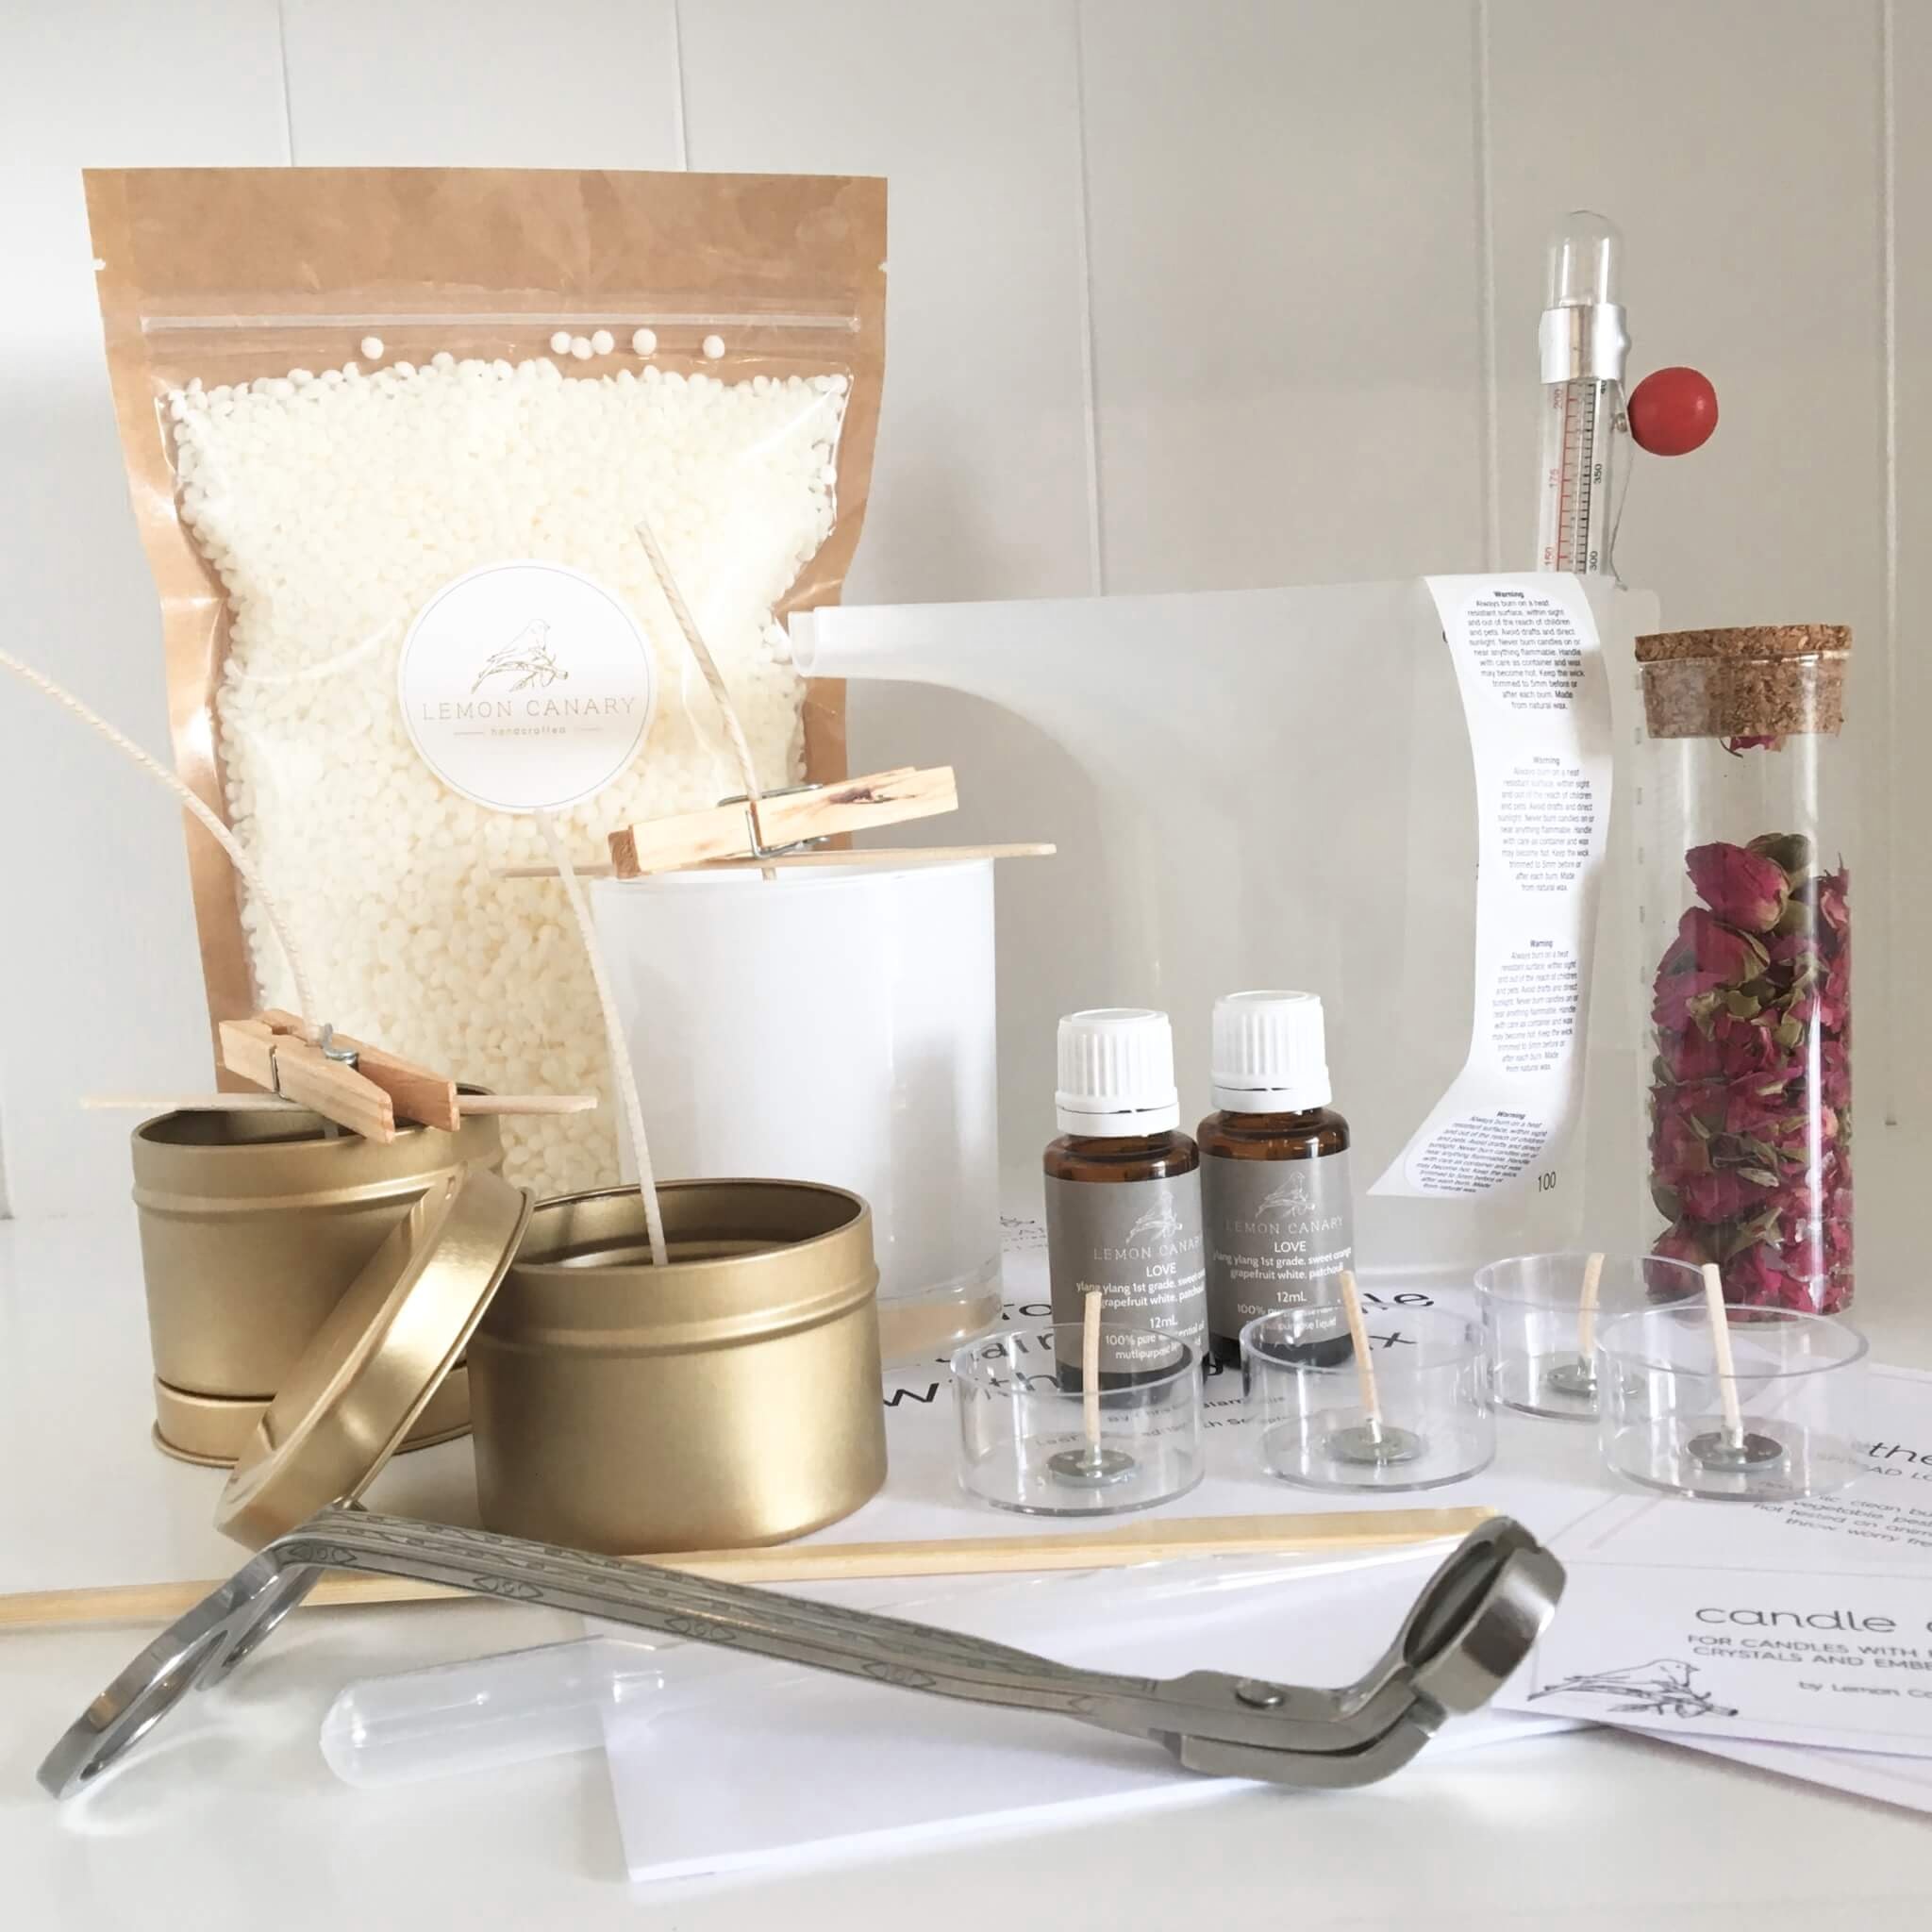
Before diving into the intricate process of creating beeswax candles, it is important to gather all the necessary equipment. From double boilers and pouring pitchers to wicks and molds, having the right tools on hand can streamline the candle-making process and ensure successful results. Stay tuned as we delve into essential equipment needed for beeswax candle making in detail next in this article.
Choosing the Right Beeswax
When it comes to beeswax candle making, selecting the right type of beeswax is essential to ensure the quality and outcome of your candles. There are several types of beeswax available in the market, each with its own unique characteristics and grades.
One of the most common types is natural yellow beeswax, which gives a warm and golden hue to the candles. White beeswax, on the other hand, is filtered and bleached to remove any impurities, resulting in a cleaner-looking candle.
Another popular choice is filtered beeswax, which has gone through a filtration process to remove debris and particles, leaving behind a smoother wax for candle making. Beeswax pastilles or beads are also convenient options as they are easy to measure and melt compared to solid blocks of beeswax. It’s important to consider the source of the beeswax as well; organic beeswax from reputable suppliers ensures that your candles are free from harmful chemicals or additives.
To select the best quality beeswax for your candles, look for options that are pure and free from synthetic ingredients or fillers. Check for any certifications such as organic or locally sourced labels to ensure you are getting a high-quality product.
Additionally, consider the scent of the beeswax – some may have a more distinct honey aroma while others may be more neutral, depending on your preference for scented candles. By choosing the right type of beeswax for your candle making project, you can create beautiful and natural candles that will delight your senses and enhance your space.
Essential Equipment Needed
When it comes to making beeswax candles, having the right equipment and materials is essential for a successful and enjoyable candle making experience. Here is a detailed list of tools and supplies you’ll need to get started on your beeswax candle making journey:
- High-quality beeswax: Be sure to choose pure, natural beeswax for the best results in your candles. Look for locally sourced options or reputable suppliers known for their quality products.
- Double boiler or melting pot: To safely melt the beeswax without direct heat, using a double boiler or a dedicated melting pot is crucial.
- Thermometer: A thermometer is necessary to monitor the temperature of the melted beeswax to ensure it doesn’t overheat and lose its beneficial properties.
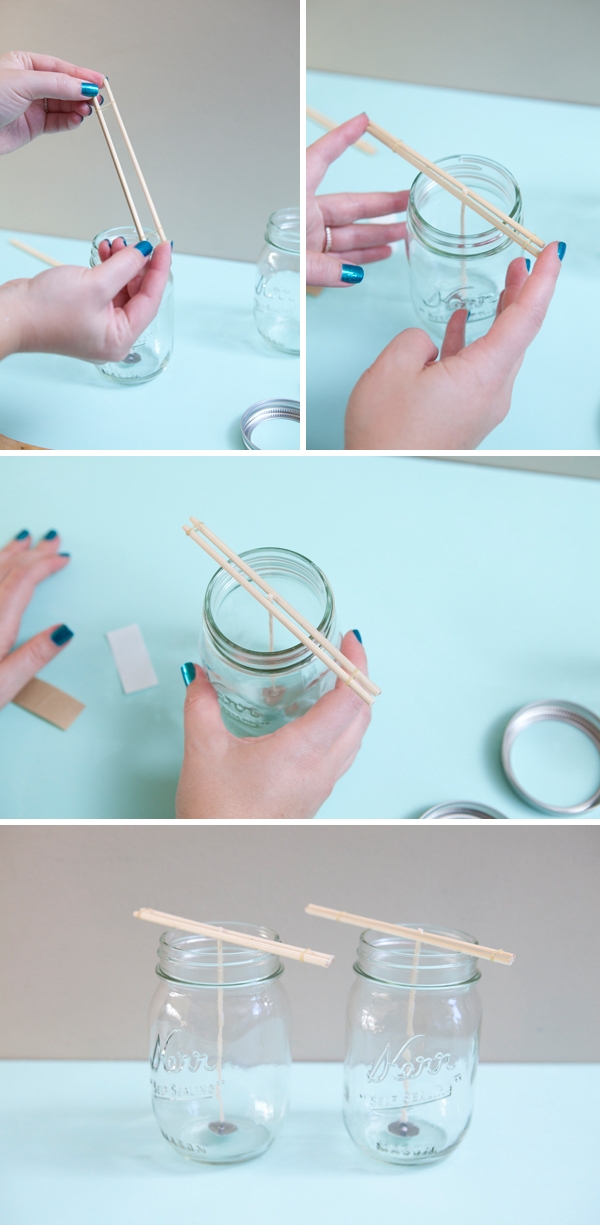
- Candle wicks: Selecting the right wick size and type is important for proper burning in your beeswax candles. Make sure to choose natural cotton wicks that are suitable for beeswax candles.
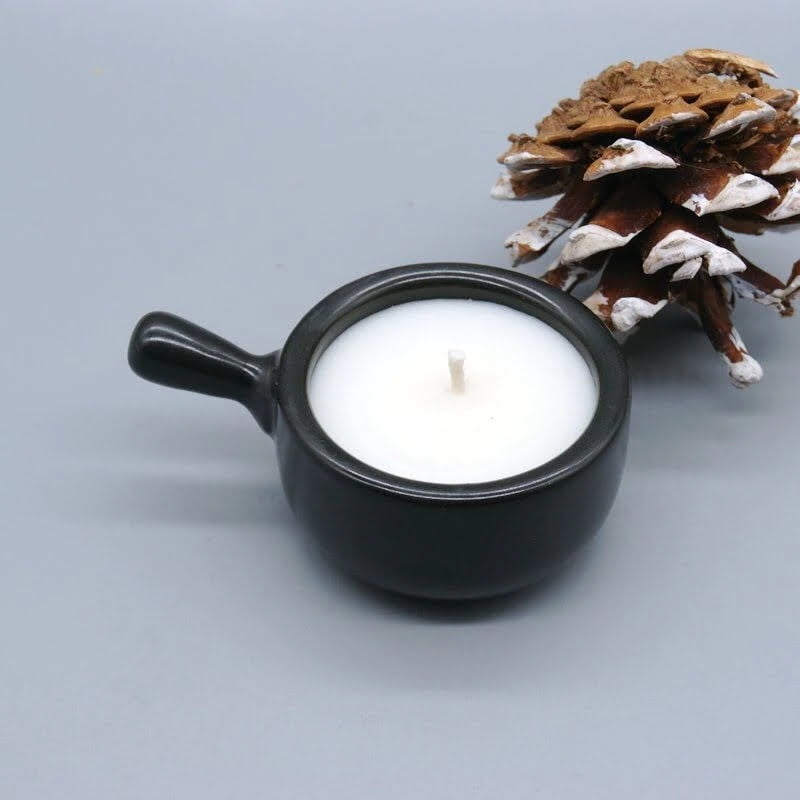
- Containers or molds: Depending on the type of candles you want to make, whether container candles or molded shapes, you’ll need appropriate containers or molds.
- Stirring utensils: Wooden sticks or stainless steel stirring utensils are recommended for mixing in any additives like essential oils while ensuring they won’t react with the beeswax.
Having these essential tools and materials at hand will set you up for success in creating beautifully crafted beeswax candles. Remember that investing in high-quality supplies can make a significant difference in the outcome of your candle making projects.
It’s also worth noting that practicing proper safety measures when working with hot wax is crucial. Protective gear such as gloves and goggles, as well as having a fire extinguisher nearby, are important precautions to take when engaging in beeswax candle making. By being prepared with the right equipment and following safety guidelines, you can enjoy a safe and rewarding experience creating your own unique beeswax candles.
Safety First
Working with beeswax to create your own candles can be a rewarding and fulfilling experience, but it’s essential to prioritize safety throughout the process. Ensuring a safe and clean workspace is crucial to prevent accidents and maintain the quality of your beeswax candles. Here are some tips to help you create a secure environment for your candle making endeavors.
Proper Ventilation
One of the most important aspects of creating a safe workspace for beeswax candle making is ensuring proper ventilation. Beeswax can produce fumes when heated, so it’s essential to work in a well-ventilated area. Open windows or doors to allow fresh air to circulate during the melting and pouring process. If you’re working in an enclosed space, consider using a fan or wearing a mask to avoid inhaling any potentially harmful fumes.
Protective Gear
Another key aspect of maintaining safety when working with beeswax is using appropriate protective gear. Wear heat-resistant gloves to protect your hands from burns while handling hot wax. Additionally, wearing an apron or old clothing can prevent any accidental spills or splashes from staining your attire. Keep a fire extinguisher nearby as a precautionary measure in case of emergencies.
Cleanliness and Organization
Maintaining a clean and organized workspace is not only essential for safety but also for optimal candle making results. Keep your work area free from clutter to avoid potential tripping hazards or accidental spills. Store all tools and materials neatly within reach to prevent disruptions while working on your candles.
Regularly clean up any spilled wax or debris to prevent buildup that could pose safety risks. Following these cleanliness practices will ensure a safe and efficient environment for creating beautiful beeswax candles.
Step-by-Step Guide to Beeswax Candle Making
Preparing Your Workspace
Before starting the beeswax candle making process, it is essential to set up a clean and organized workspace. Make sure to cover your work area with newspapers or a drop cloth to protect surfaces from any spills or drips. Gather all the necessary equipment listed earlier in this article, such as a double boiler, thermometer, molds, wicks, and fragrance oils. Having everything within reach will make the process smoother and more efficient.
Melting the Beeswax
To begin making your beeswax candles, measure out the required amount of beeswax based on the size of the candle you want to create. Place the beeswax in a double boiler over low heat to melt it gently and avoid scorching. It is crucial to monitor the temperature using a thermometer to ensure it does not exceed 185°F, as overheating can affect the quality of the beeswax.
Pouring and Setting
Once the beeswax has melted completely and reached the desired temperature, it is time to pour it into your chosen molds. Carefully dip your pre-waxed wicks into the melted beeswax before placing them in the center of each mold. Slowly pour the liquid beeswax into each mold, ensuring that there are no air bubbles trapped inside.
Allow the candles to cool and set for at least 24 hours before removing them from their molds. Trim the wicks to about half an inch before lighting your beautifully crafted beeswax candles for a clean and long-lasting burn.
By following these step-by-step instructions along with essential beeswax candle making tips, you can create unique and fragrant candles that will enhance any space with their warm glow and natural appeal. Experiment with different scents, colors, and decorative touches to personalize your creations and enjoy the therapeutic benefits of creating handmade candles with pure beeswax.
Scenting Your Beeswax Candles
When it comes to beeswax candle making, adding fragrance can elevate the overall experience of burning the candles. Essential oils are a popular choice for scenting beeswax candles due to their natural origins and wide variety of scents available. Before adding any essential oils to your candles, it is important to consider the quality and compatibility of the oils with beeswax. Opt for pure essential oils without any additives or synthetic ingredients for the best results.
One important tip when scenting your beeswax candles with essential oils is to start with a small amount and gradually increase the intensity of the scent based on your preference. Be mindful that some essential oils have a stronger fragrance than others, so adjusting the quantity accordingly will help you achieve the desired level of scent throw in your candles.
Additionally, keep in mind that certain essential oils may accelerate the setting time of beeswax, so it is recommended to test different oils in small batches before making larger quantities.
Creating custom scents by blending different essential oils can add a unique touch to your beeswax candles. Consider experimenting with various combinations to find a fragrance that resonates with you or aligns with a specific theme or season.
Remember that less is often more when it comes to blending essential oils, as overpowering scents can be overwhelming. By following these tips and techniques for using essential oils in your beeswax candle making process, you can enhance the sensory experience and create beautifully scented candles that bring joy and relaxation into any space.
| Essential Oil | Recommended Quantity |
|---|---|
| Lavender | 10-15 drops per cup of melted wax |
| Lemongrass | 5-10 drops per cup of melted wax |
| Peppermint | 3-7 drops per cup of melted wax |
Decorating and Finishing Touches
When it comes to beeswax candle making, the fun doesn’t stop once the candles have solidified. Decorating and customizing your beeswax candles can add a personal touch and make them truly one-of-a-kind. Here are some creative ideas to help you take your candles to the next level:
- Carved Designs: Use a small knife or carving tool to create intricate designs on the surface of your beeswax candles. Whether it’s geometric patterns, floral motifs, or even simple shapes, carving can add a beautiful and unique element to your candles.
- Embedding Objects: Consider adding small objects or decorations into your beeswax candles for a special touch. This could include dried flowers, herbs, beads, or even small figurines. Just make sure that whatever you embed is heat-resistant and won’t pose a fire hazard when the candle is burning.
- Dip-Dyeing: Create stunning ombre effects on your beeswax candles by dip-dyeing them in colored wax. Choose complementary or contrasting colors for a striking visual impact. You can also experiment with different dipping techniques to achieve unique patterns and textures.
In addition to these creative decorating ideas, you can also consider using various finishing touches to enhance the overall look of your beeswax candles.
- Metallic Accents: Add a touch of glamour to your candles by incorporating metallic accents such as gold leaf, silver powder, or bronze paint. These shiny elements can catch the light and give your candles an elegant finish.
- Ribbon or Twine Wraps: Tie colorful ribbons, twine, or lace around the base of your beeswax candles for a charming and rustic look. You can mix and match different textures and colors to complement your decor or create seasonal variations.
- Personalized Labels: Create custom labels for your beeswax candles with personalized messages, logos, or designs. Labels can not only add a professional touch but also make great gifts for friends and family members.
By experimenting with these creative decorating ideas and finishing touches, you can transform simple beeswax candles into beautiful works of art that will delight both yourself and those you gift them to. Let your imagination run wild and enjoy the process of making each candle uniquely yours.
Troubleshooting Common Issues
When it comes to beeswax candle making, like any other craft, there can be the occasional hiccup along the way. However, armed with the right knowledge and preparation, these common issues can easily be resolved. Air bubbles are a frequent concern that many candle makers encounter.
To prevent this problem, it is essential to ensure that your beeswax is properly heated and stirred before pouring. Additionally, gently tapping the molds or containers after pouring can help release any trapped air bubbles.
Uneven burning is another issue that may arise with beeswax candles. This can often be attributed to the wick being too small for the size of the candle. Choosing the correct wick size based on your candle’s diameter will help achieve a consistent burn. Remember to always trim your wick to a quarter of an inch before lighting each time to avoid uneven burning and excess soot.
In conclusion, while troubleshooting common issues in beeswax candle making may seem daunting at first, with practice and patience, you will soon become adept at addressing these challenges. By following the tips provided in this guide and learning from any mistakes made along the way, you will be well on your way to creating beautiful and fragrant beeswax candles that you can enjoy or share with others.
Keep experimenting with different techniques and decorations to personalize your candles even further, turning them into unique works of art crafted by your own hands using these valuable beeswax candle making tips.
Frequently Asked Questions
How Do You Make the Perfect Beeswax Candle?
Making the perfect beeswax candle involves melting beeswax in a double boiler, adding fragrance or essential oils if desired, then pouring the melted wax into a container with a pre-waxed wick. It is crucial to monitor the temperature while melting the wax to avoid burning it.
Why Add Coconut Oil to Beeswax Candles?
Adding coconut oil to beeswax candles can help improve the burn quality and texture of the candle. Coconut oil has a lower melting point than beeswax, which can help reduce soot production and create a smoother consistency when blended with beeswax.
How Do You Make Beeswax Candles Burn Evenly?
To make beeswax candles burn evenly, it’s essential to properly size the wick to match the diameter of the candle container. Trimming the wick before each use to about 1/4 inch and allowing the candle to burn long enough for a wax pool to form will help prevent tunneling and ensure an even burn each time.

Welcome to my candle making blog! In this blog, I will be sharing my tips and tricks for making candles. I will also be sharing some of my favorite recipes.

