Introduction
Candle making is an art form as well as a science. The process of creating beautiful and unique candle molds is one that requires patience, precision, and creative skill. With the right tools and techniques, you can create beautiful pieces that will add charm to any home or office.
The process of making your own candle molds starts by selecting a material suitable for casting the kind of candles you want to make. Generally, silicone rubber and polyurethane plastics are both commonly used in the creation of these molds. It’s important to consider the final finished product when deciding which option will work best for you as both materials have different properties. Once you have determined which material is more suitable, it is time to begin customizing the design of your creation with details like intricate patterns or personal touches.
After your mold has been finalized, it is then time to consider the wax type you would like to use for its intended purpose. Whether it be paraffin wax or soy wax, there are a variety of brands available in various colors, scents and textures that allow for plenty of experimentation as well as creative freedom. This part of the process also involves safe handling techniques for melting and working with the wax properly in order to achieve maximum results from your design intentions.
Once everything has been poured correctly into your mold, it is important to leave adequate time for cooling before attempting removable from its form in order to help preserve its details originally intended from conception up until this point. With proper care taken at each step along the way, anyone can create amazing candles with their very own molds!
What Are Candle Molds?
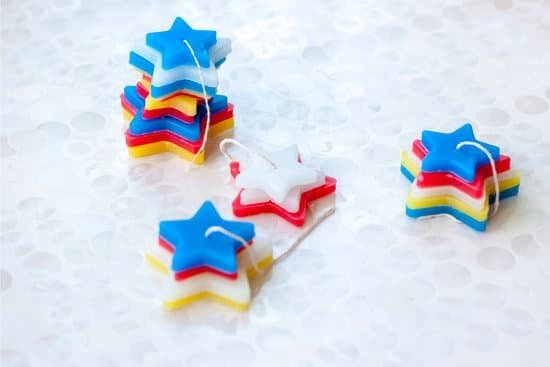
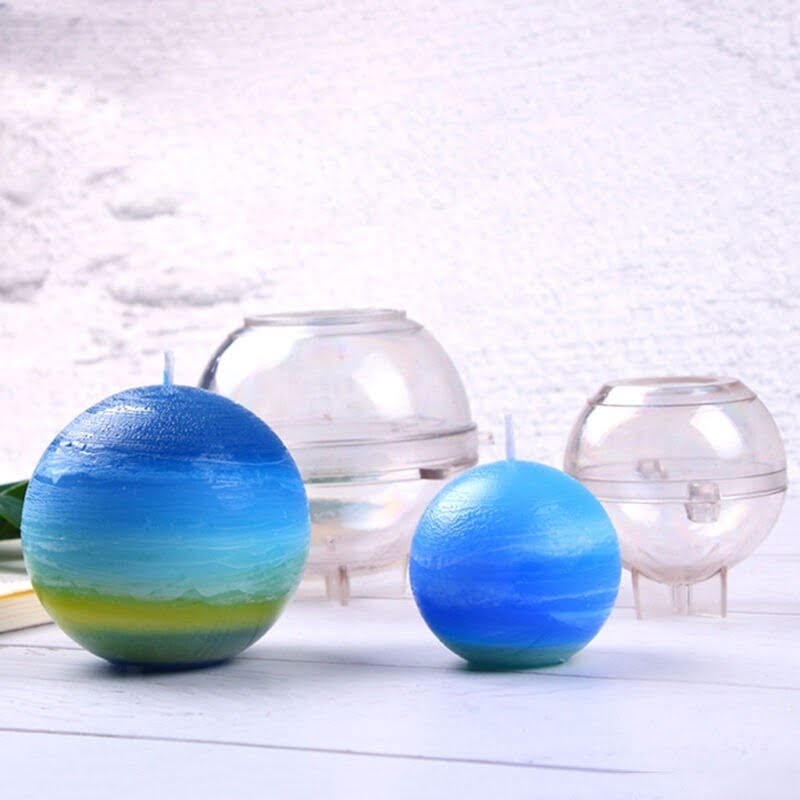
Candle molds are bodies or shapes used to hold melted wax during the candle making process. Candle molds can be made of metal, glass, silicone, plastic, or other materials suitable for use with hot liquid wax. When using a candle mold, hot wax is poured into an open cavity and then left to cool until it hardens into the desired shape and size. This molten material is then poured out of the mold to create candles. Depending on the type of material used in the construction of the mold, this method can be used to make molded candles with intricate and detailed designs, such as containers with flowers molded onto them or a variety of shapes such as stars and heart-shaped designs. Using candle molds also makes it possible to produce more consistent shapes and sizes in large quantities than those achieved through more traditional free-form shaping methods, allowing for greater efficiency in production runs.
An Overview of the Different Types of Molds Available
Candle molds are an essential tool for candle makers to create unique, professional-looking candles for retail, gift-giving, or personal use. There are a variety of different types of molds available from which to choose, depending on the size and shape required. Some popular choices include aluminum molds that come in a range of shapes suitable for intricate designs; latex molds, suitable for larger class candles; and silicone molds that can offer superb flexibility and reusability. Other possibilities include patterned molds with pre-cut (or cast) features and even specialty wick insert styles. For added convenience many retailers and suppliers also provide ready-to-use wax packaging options alongside the various mold styles so candlemakers can get started right away without having to purchase extra components.
Aluminum molds are undoubtedly the most popular option among candle makers due to their versatility. They come in an array of shapes and sizes, enabling you to make intricate patterns easily. Their light weight also makes them appropriate for more complicated designs requiring more precise workmanship than is possible with heavier models. Most of them also have a raised edge which helps to ensure precise wax casting along the edges and eliminates potential leakage problems.
Latex Candle Molds offer another viable choice for those looking for something more substantial without sacrificing the level of detail involved in intricate figures like faces or animals. These molds come pre-poured with hardening caps allowing quick turnarounds on a variety of candle shapes ranging from simple spheres to stars or letters. Additionally they serve as an excellent base material since they’re highly resistant to heat as well as being exceptionally flexible when it comes time to store your completed works of art while also offering a durable surface that won’t damage easily over time or under extreme conditions like high temperatures or being dropped by accident.
As mentioned previously Silicone Candle Molds are extremely popular due their reuseable nature; making them cost effective, time saving and very attractive for large scale wrapping projects or multiple batches at once! Considered by some as the Cadillac of candle moulds their feel, texture and finish make all other traditional ones seem outdated by comparison – with capabilities such as producing what appears completely handmade products this should be no surprise! In addition these specific type offers wonderfully detailed features including wicking troughs – eliminating additional steps during assembly – plus less mess/waste overall!
Crafting Your Perfect Candle Mold
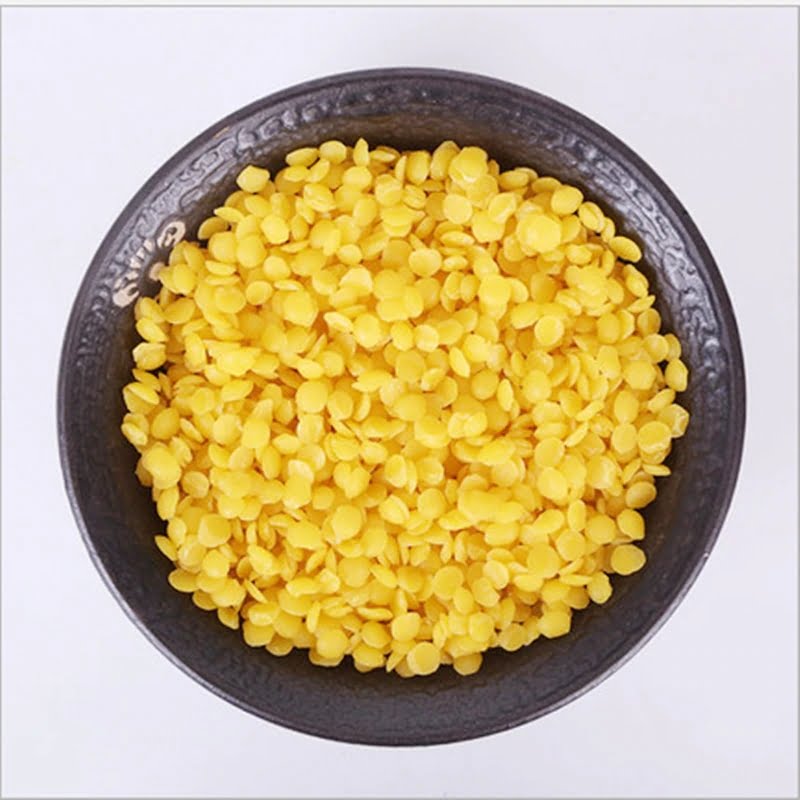
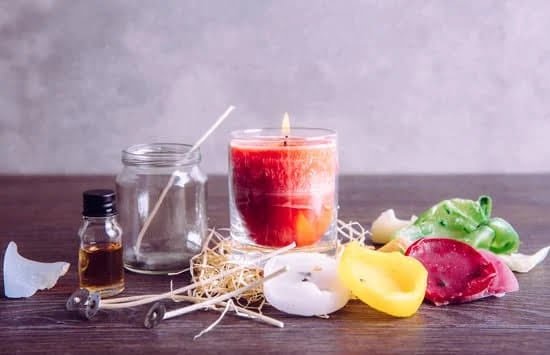
1. Gather your supplies. You will need a microwave-safe container, wax color pigment, candle wax pellets, wicks and wick holders, a thermometer, melted paraffin wax, a stirring rod, rubber molds and a double boiler.
2. Set up your double-boiler. Fill the large pan with an inch of water and set it on the stove over medium heat or place two pans together with one inverted over the other to make it work as a double-boiler.
3. Place the block of paraffin wax into the smaller pan inside the larger one and begin melting it slowly as you stir in small increments to ensure even heat distribution. Depending on how much wax you’re melting, this process can take between eighteen to twenty-four minutes.
4. Prepare your mold by coating it in cooking oil such as vegetable or olive oil to help with easy removal afterward. Make sure all portions are evenly coated for best results when demolding yourself of the finished product later on.
5. Add colors from fragrances and any additives you want in but be cautious – too much may interfere with the effectiveness of burning down your candles properly! For colored candles use dyes or strongly hued candle pigments depending on what kind of look you’re going for – if it’s deeper colors use more dye per weight ratio than lighter colors would require for example (i.e., red > light blue).
6. When everything is mixed well remove from heat source and allow cooling until temperature reaches just below 150°F before pouring into molds -this is important because too hot will melt holes again in previously cooled sections of your candle! Once ready fill each cavity up till no more than 1/8”above their top lip so they won’t spill out while curing overnight at room temperature or place them inside refrigerator (coldest portion) until solidified completely if hardening times get lengthy taking up valuable time during busy days off work! As soon as fully hardened gently tap each corner against counter (wearing oven mitts!) to loosen air bubbles trapped under surface then … sit back in satisfied anticipation of seeing those beauties shine through: instant gratification achieved!”
Making Candle Molds
Making candle molds is an exciting craft that allows you to create beautiful and unique candles. There are a variety of ways to spice up your molds and make them your own. One way to add some extra flair is by using colorful waxes, glitter, collage wraps, ribbons or beads. For a vintage look, you can try adding dried flowers or leaves. You could even use bits of fabric or ribbon to trim the edges of the candle for a more eclectic appearance. Another creative option would be to decorate the surface of the mold with shapes cut from craft foam or rubber stamps. Once the wax has cooled and hardened, you can also further enhance it with decorations such as seashells and more. Make sure all decorations are heat-proof before placing them on top of the candle! Making molds doesn’t have to be a boring experience – there are so many creative options available for adding your own unique touches!
Turning Candle Molds into Your Own Personal Oasis
Making your own candle molds is a perfect way to create your own personal oasis. With the right supplies and designs you can express yourself in a unique and tangible way; plus, its therapeutic! Working with wax, experienced or not, can help with relaxation, relieving stress, and providing an enjoyable hobby that every beginner will appreciate. It also provides endless possibilities for expressing yourself creatively through customizing colors, textures, fragrances, molds and other special details.
Another great benefit is being able to manipulate the shape of the candle for specific purposes such as aromatherapy molds or those special occasions like weddings or bridal showers. Having your own personalized candles is also a great item to make and give as gifts to show someone you care about them. And lastly, once you get started you’ll be surprised at how inexpensive making your own molds really is compared to buying them ready made.
Preparing Your Room for the Making Process
Making your own candle molds can be a fun, creative and rewarding experience. However, there are some important steps you should take in order to ensure your success. Preparing the space you will use is essential to making quality molds that last and turn out just how you want them.
When it comes to preparing a room for making your own candle molds, there are a few factors that need to be taken into account. First and foremost, the temperature of the room is important to keep consistent and not too hot or too cold so as not to affect the curing of the Mold Maker material. Having adequate ventilation is also key; fumes from wax can remain in the air until they are either released or trapped within an enclosure if not vented properly. Depending on your process, other aspects such as an even surface may also require attention as surfaces can affect dimensional accuracy when placing your molds down flat after production. Additionally, ensuring moisture levels in the environment are kept low will help reduce warping of molds due to dramatic changes in temperature or humidity levels during or after mold-making. Finally, having access to running water will make clean up much easier, whether using commercial cleaners or simply flushing away excess wax with water during production. Taking these steps ahead of time can help prevent delays and ensure quality control throughout mold making process while maximizing safety and hygiene standards in your workspace.
What to Look for When Purchasing Candle Making Supplies
When perusing the supplies needed to make candles, there are a number of important factors to take into consideration. The type of wax is key when making quality candles: Soy and beeswax are popular choices as they tend to have fewer toxic ingredients than paraffin or other waxes. Fragrances should be added sparingly, as too much can discolor or weaken the wax. It may also be useful to purchase a thermometer for properly measuring temperatures when melting the wax. Additionally, candle molds should be chosen carefully; ideally these should be made from heat-resistant silicone so that intricate patterns can easily be released from them once cooled. Making sure all necessary tools are on hand before beginning is essential—be sure to acquire wicks, glue dots (to secure wicks in place), clippers, scissors and something to stir the hot wax with. Finally, safety must be paramount; never attempt to pour melted wax without wearing appropriate equipment such as well-insulated oven mitts, aprons and any necessary protective eyewear.
Seek Professional Help
When making candle molds at home, it is important to remember to seek professional help if ever in doubt. This is important to ensure that the homemade candle molds are created as safely as possible. Professional help can be sought either through books or websites that specialize in candle-making or by attending classes taught by local experts. These will provide guidance on safely handling any tools and equipment used to create candle molds, such as open flame torches and wax melters, as well as give advice on how to select the best type of wax for the project. Professionals will also be able to teach about the steps needed for creating unsafely high temperatures and other potential hazards associated with melting wax and pouring it into molds. With the correct equipment, knowledge and guidance, making candle molds can be a safe activity when done right.
Get Started on Making Your Own Candle Molds Today! Conclusion
Conclusion: Candle mold making is a fun and rewarding craft. With some basic supplies and a bit of creative flare, anyone can create unique molds for candles. In addition to being able to create multiple shapes and sizes from the same mold, you can also mix colors – even blend in scents if desired – and make decorative touches like wax embellishments or color filigrees. Best of all, with each mould, you are only limited by your own imagination! Get started on producing your personalized candle molds today – and let your creativity flow!

Welcome to my candle making blog! In this blog, I will be sharing my tips and tricks for making candles. I will also be sharing some of my favorite recipes.


