## How To Make A Candle
Candles are one of the oldest light sources used throughout history. Making your own candles is a great way to save money and get creative. Whether you want to make a few simple candles for display purposes or create a variety of shapes and sizes for gifts, crafting candles can be both enjoyable and rewarding.
Here’s a step-by-step guide on how to produce beautiful and well-crafted candles:
### Step 1: Choose Your Supplies
The most important part of making candles is gathering the proper supplies that are suited for the project. While you can use a variety of items to make a candle, you’ll need at least some of the following basic supplies:
* Wax: Wax is the foundation of any good candle. Make sure to pick a type of wax that is suited for your project, such as beeswax, soy wax, or a paraffin blend.
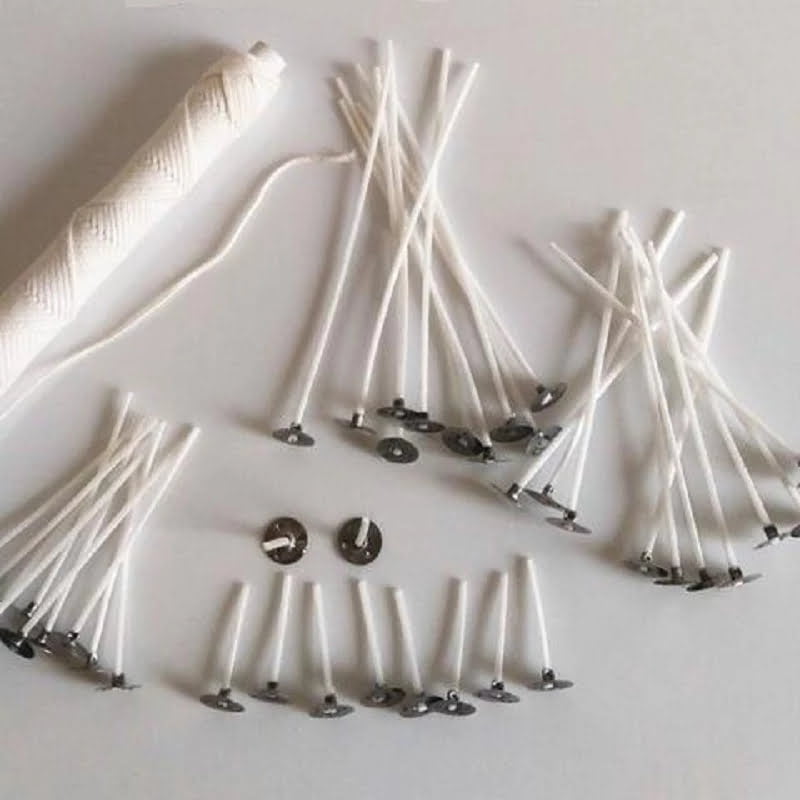
* Wick: A good candle needs a strong wick. While you could use something like a piece of string, you’ll need a dedicated wick that holds its shape when the candle is lit.
* A Heat Source: To melt the wax, you’ll need a double boiler, or an electric wax melter.
* Containers: You can use a variety of containers such as Mason jars, glass jars, or tins to create your candles.
* Essential Oils & Colorants: If you’d like scented candles, you’ll need essential oils and a few drops of colorant for a little something extra.
### Step 2: Prepare Your Wax
Once you have all your supplies, it’s time to prepare your wax. Start by measuring out the correct amount of wax and placing it in the boiler or melter. Heat up the wax until it is at a low simmer and then let it cool before pouring it into the containers.
### Step 3: Add The Wick
When the wax has cooled down a bit, but is still in liquid form, it’s time to add the wick. You can either purchase wax pre-tabbed wicks or add the wick to the container yourself. To do this, you’ll need a centre former, which help keep the wick directed into the centre-bottom of the container.
### Step 4: Customize The Candle
If you’d like to add some personality to your candle, this is the time to do it. You can stir in colorants and essential oils directly into the wax to create a unique scent and color. This is also the time to add decorations such as glitter or crystal flakes to make your candle stand out.
### Step 5: Let The Candle Set
Once you’ve finished adding your customizations, its time to let the candle set. Place the candle containers in a cool and dry place away from direct sunlight. Wait 4-8 hours to allow the wax to solidify and harden before burning.
### Step 6: Trim the Wick and Enjoy
Once the candle has hardened, it’s time to trim the wick. This helps the candle to burn evenly and prevents excessive smoke. After you’ve trimmed the wick, you’re ready to light your candle, grab your favorite book, and take a moment to enjoy your handiwork!

Welcome to my candle making blog! In this blog, I will be sharing my tips and tricks for making candles. I will also be sharing some of my favorite recipes.


