Introduction
Tin can candle making is an easy, fun and cost-effective way to make unique candles. With just a few basic supplies, you can turn ordinary tin cans into decorative and scented candles for home décor or gift giving. Tin can candles make great statement pieces for any room of your home, bringing a cozy ambience during the winter months, or adding a warm and inviting feeling all year round. Not only are they beautiful, creating your own candles provides a crafty and creative outlet that can be shared with friends or family.
The materials needed to make tin can candles are fairly inexpensive and easy to find online or at your local craft store. You will need wax flakes, candlemaking molds, wicks, metal tin cans (all sizes will work), scents, colors, adhesive and anything else that may be desired for decoration purposes such as glitter or dried flowers. Depending on the design you want to achieve with your tin can candles you may also need some specialized tools like pouring pots and stirring spoons in order to combine the melted wax with any colors or fragrances that have been chosen. Through the process of heating up the wax flakes and combining it with colors/scents before pouring it into previously prepared cans you can achieve bespoke items that will look amazing when finished products.
Not only do these lovely little treasures create great atmosphere when lit but they last much longer than most standard candle because metal wax containers are designed to keep heat locked inside allowing them to burn more thoroughly before needing replacement. Tin cans come in many different shapes and colors which provide endless opportunities for decoration and customization so have fun exploring these possibilities!
Selecting the Right Tin Cans for the Perfect Candle
When it comes to making candles at home, one of the best and most economical choices is to use recycled tin cans. Tin cans are perfect for creating small and light-weight candles, as well as larger ones. They come in a variety of shapes and sizes that you can choose from depending on your desired results. Typically, it is important that the tin cans you choose have straight walls as this prevents your candle wax from pooling and dripping too quickly. Make sure the can has no dents or sharp edges, otherwise, your wax may not adhere correctly.
Next, when selecting the right size of a tin can, consider what amount of candle wax you need for your project – if you’re looking to make several smaller-sized candles, then a smaller tin can would do the trick; however, if bigger candles are what you’re after then obviously using a larger tin can is necessary. Make sure to also consider how much wick length will fit comfortably into an individual size candle before purchasing any supplies. Once all components—tin cans, wicks and wax—are ready for use you can start having fun by adding colorants or scents of choice to achieve desired effects or smell when lit up! Finally don’t forget about safety precautions – use sturdy mitts or gloves when handling hot liquid materials to avoid accidental burns!
Preparing for Tin Can Candle Making
Tin cans are an excellent resource for homemade candle making, and they provide a unique way to use up recycling materials. Before beginning the project, one should assemble the necessary supplies and become familiar with a few basic techniques.
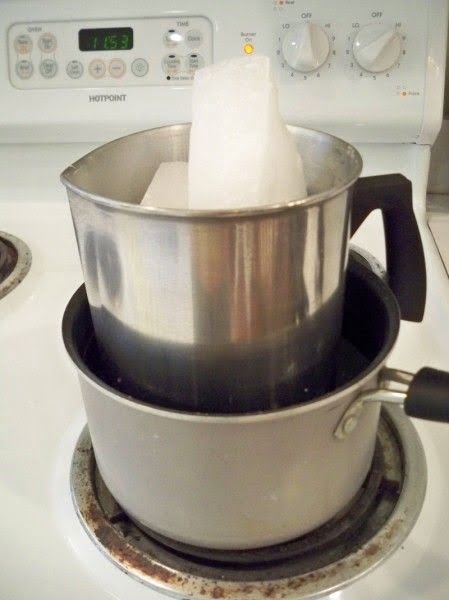
The supplies needed for tin can candle making include wax – either pellet or block wax, wicking material such as cotton or paper fiber cord, essential oils (optional), color blocks (optional), wick sustainer tabs, scissors, a pouring pot, an old saucepan filled with water (to make a double boiler—this will be used for melting the wax), and of course one or more cleaned-out tin cans. It is also wise to have hot pads on hand to help avoid burns from the hot wax.
Once the supplies are gathered, it is time to begin crafting. First place the tin can(s) on some newspaper or another protective surface in case of spills or drips. In the saucepan over low heat on the stovetop, combine a combination of natural components like vegetable oil and beeswax to create affixed layers as desired. When these layers are melted together, pour in desired color blocks if coloring is desired; this may be light or dark shades depending on what look you want to achieve. Do not forget that essential oils may also be added at this step for aromatherapy fragrances if wanted.
Once the candles have cooled and hardened – usually about 3-4 hours – you may snip off excess wick before lighting your new creations! Be sure to fan out your tin can candle holder before burning them so that flame does not reach too close to edges of container lid (if applicable). Enjoy!
Step by Step Instructions for Creating a Tin Can Candle
1. Gather materials and supplies – For a tin can candle, you will need: a cleaned out metal tin can with lid, wax chips or beads (either beeswax or soy wax), a double boiler, fragrances, a wick assembly and essential oils (optional).
2. Preparing your tin – Before beginning the project, make sure to wash and dry the tin can to get rid of any residue left over from its original contents. Don’t forget to punch one small hole at the opposite end of the lid as large enough to fit the wick through.
3. Melt wax in double boiler – Place chosen type of wax into the top part of double boiler. Fill bottom side with water just enough so that it does not spill out when melting wax chips in the upper pot. Begin by heating on low fire stirring occasionally until melted completely.
4. Adding fragrances– When desired temperature is reached add your preferred amount fragrance oil and stir constantly until fully incorporated in then remove from heat source and let cool slightly before adding essential oils if using any for other desired properties for example increased stress reliefing effects etc
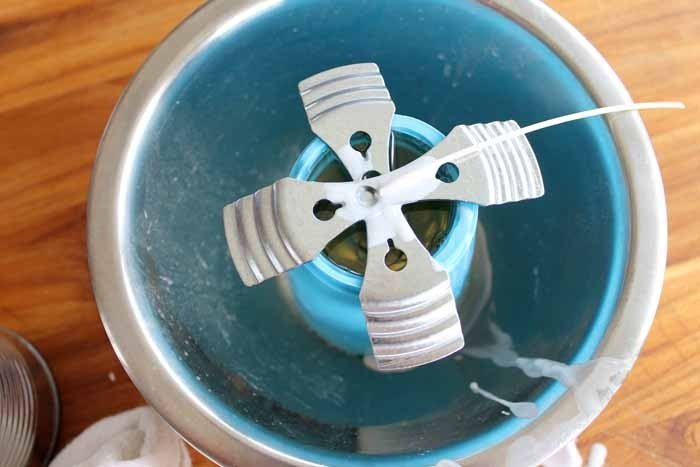
5. Assembling wick – attach completed wick(s) assembly by threading it through hole that was previously punched at top of tin can lid taking care not to overlap it towards centre while pushing down flat against bottom edge of candle liner (or inside bottom edges)
6. Filling tin with melted wax – Place tin on stable surface such as countertop or kitchen table pour melted wax into it slowly ensuring that all sides are covered evenly by liquid letting it cool still continuously stirring in between to avoid forming hardened clumps after filling leave leftover room at top inch above rim region as this helps achieve better burning behaviours when lit
7. Allow cooling process – allow cooled off liquid composition time to set up solidify yet still remain soft enough that some slight pressure being exerted upon surface easily reshapes it without breaking apart once solidification complete your tin insertable candle ready use!
Strategies for Avoiding Common Problems in Tin Can Candle Making
Making candles using tin cans is a great way to reuse old materials and create something decorative or useful at home. However, there are a few problems that can occur when making candles in tin cans. Here are some strategies for avoiding the most common issues in tin can candle making:
1. Make sure the metal of your tin is food-safe. Though it may be tempting to use metal that hasn’t been deemed as safe for food, this could cause serious poisoning if heated and burned in the candle.
2. Avoid excessive wax pooling by properly measuring how much wax and wick you will need before beginning your project. The process of relearning these measurements with each individual size can can be time consuming, so having all your measurements ready ahead of time is key in getting consistent results.
3. For best results and safety, wick your candles when they are cooled but still liquid to ensure that it stays straight and steadily burns without burning too quickly or sputter out wax at the end of its life cycle.
4. Don’t rush while melting your wax! Tin cans aren’t meant to handle large amounts of heat and may warp during the process if abandoned on their own – overheat protection measures such as a double boiler or an insert should be used during this step to prevent any structural damage to your core material.
Inspiration for Crafting Unique and Amazing Tin Can Candle Designs
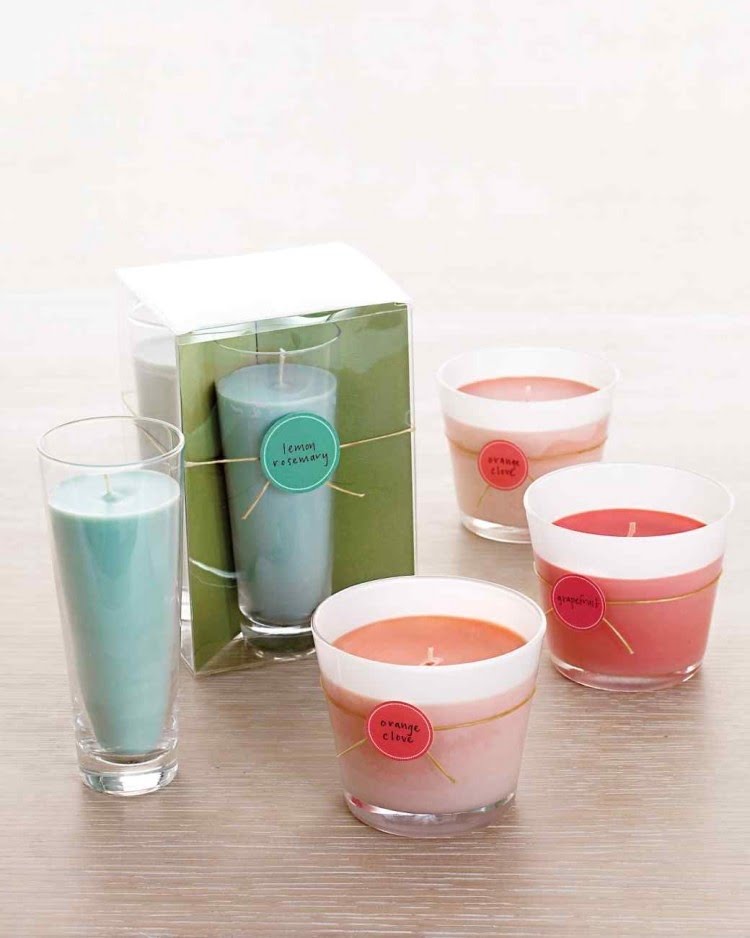
Tin cans offer a unique, creative medium for crafting your own candles. You can paint and decorate the surface of tin cans to create beautiful designs. For an extra special touch, adorn the outside with beads or trinkets. There are so many possibilities! If you’re feeling adventurous, you can also add texture to the outside of the can using different tools like texturing hammers or even a drill. Then, simply add your favorite scented wax, wick and embellishments such as stones or charms. Tin can candle making also allows you to be creative with the shape of your candle: use differently-sized cans to make ombre candles, stripey designs, or even floating candles. Whatever shapes and colors you choose, these handmade tin can candles will be something special!
Conclusion
Now that we have discussed what tin cans can be used for in candle making, it is time to look ahead to where the field of tin can candle making may lead. The creativity of artists, crafters and DIYers will no doubt lead to some truly unique and never-before-seen ideas emerging soon. As the materials needed for tin can candle making are relatively inexpensive, anyone from hobbyists to professional wax artisans should be able to find their creative expression through this type of project. Who knows what exciting works of art may emerge as more people choose to try out tin cans in their candle-making projects. Alternatively, new techniques and tools may emerge that simplify the process and introduce better efficiency overall. No matter where it goes, there is no doubting that tin can candles will continue to remain popular creations in the future and beyond.

Welcome to my candle making blog! In this blog, I will be sharing my tips and tricks for making candles. I will also be sharing some of my favorite recipes.


