### Making Dipped Wax Candles
Dipped Wax candles are a traditional craft and have been around for centuries. With their simple design, alluring colors, and pleasant scent, dipped wax candles can bring a special ambiance to a room. But making dippable wax candles may seem daunting if you’re a beginner and aren’t sure about the process.
Fortunately, you don’t need a lot of special supplies and equipment to make your own candles at home. This guide will walk you through the basics of dipping wax candles and provide you some tips and tricks to make your own beautiful creations.
##### Get the Supplies
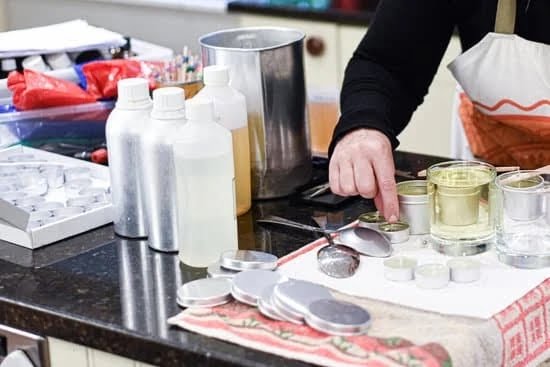
Making dipped wax candles is an easy craft and doesn’t require a lot of supplies. Here’s a list of the materials you’ll need:
– Wax pellets
– 100% cotton wick
– Candle holder
– Fragrance oil
– Bamboo skewers
– Tin can or wax warming pot
– Heat source
– Wooden chopsticks
– Food-grade dye
##### Prepare Your Wick
Before you begin dipping, you’ll need to prepare your wick. Start by measuring the length of your candle holder, then cut the wick about 4 inches longer. Tie a loop in your wick and place it into the holder. Make sure that the wick is centered in the holder and then secure it with a skewer to avoid it from floating when you’re pouring in the melted wax.
##### Melt the Wax
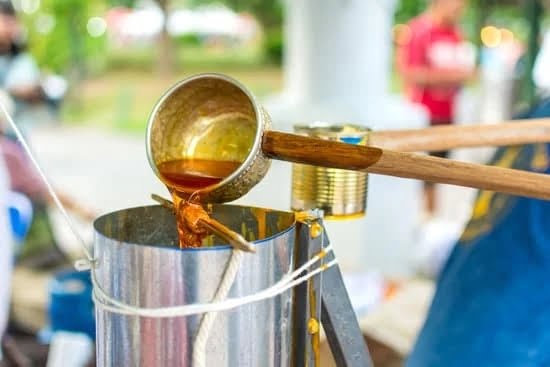
To melt the wax, fill the tin can with wax pellets and place it in a saucepan filled with water. Put the saucepan on low to medium heat until it starts to melt. Make sure that the temperature doesn’t exceed 150°F (65°C) or else you’ll risk burning the wax.
Once the wax has melted, add a few drops of fragrance oil and food grade dye to your melted wax until you get the desired color and scent.
##### Dip the Wick
Now that the wax is melted, you can begin the dipping process. Carefully lower the wick into the melted wax and keep it submerged until it is covered. Use the chopstick to hold the wick as you dip it.
After the wick is submerged in wax, lift it out of the melted wax and allow the excess wax to drip back into the tin can. Dip the wick for about 10-15 seconds.
##### Prepare the Candle
Once you’ve finished the dipping process, you can begin to shape the candle. Use a skewer to shape the wax and make it even. Allow the newly dipped wick to cool for about 15 minutes.
Continue dipping the wick and cooling it until you reach the desired size and shape of the candle.
##### Let It Cool
Once you’ve finished dipping the wax candle, it’s time to let it cool to make sure the candle is set. Allow the candle to cool for at least 12-24 hours before using.
You can use a skewer to trim the wick to the desired size.
### Finishing your Candle
Congratulations! You’ve made your own wax candle. And you didn’t need fancy or expensive equipment to do it.
Wax candles are a great way to add a special ambiance and scent to any room and make thoughtful, personalized gifts. With a few simple supplies and a bit of patience, you can make your own beautiful, stylish, and eco-friendly candles.

Welcome to my candle making blog! In this blog, I will be sharing my tips and tricks for making candles. I will also be sharing some of my favorite recipes.

