Introduction
Candle making has been around for centuries, with records going back as far as ancient Egypt. It is thought that candles were used as far back as 3000 BC by the Assyrians, and then later in Ancient Rome and Greece. They were made from a variety of sources including beeswax, tallow (animal fat), various wax mixtures containing fragrances and essential oils, and even nuts or fruit skins. During the middle ages and onwards in Europe, candle making was a household staple as it provided light at night before electricity was invented. Many wealthy homes even had their own candle making factories for their exclusive use.
Candles would be mass produced using techniques such as dipping wicks into bowls of liquified wax until they reached the desired thickness, rolling flat sheets of thickened wax around wooden cores to make cylindrical candles that could fit in special holders or chandeliers, or pouring hot liquid wax into molded containers which would create decorative pieces when set and hardened. Throughout history candle making has remained an intriguing craft with some artisans creating intricate designs out of multi-colored waxes, ornately adorned holders, or dripping fancy candles with scented oils. Today candle makers continue to innovate on their creations, offering new scents, shapes and sizes so that modern customers can enjoy not only a natural source of light but also stylish home decorations.
Materials Needed for Professional Candle Making
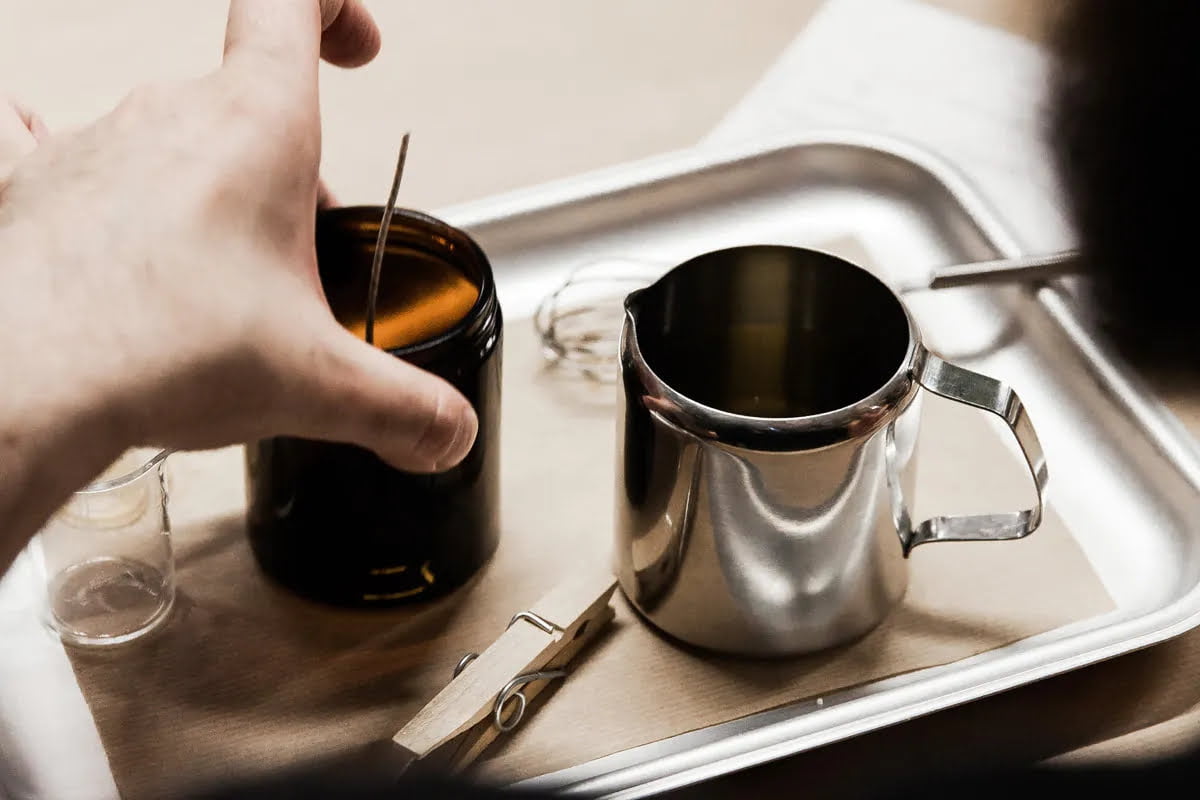
Beautiful candle making is a craft that can turn ordinary wax and wicks into elegant, scented decorations for the home. Professionals rely on a few key materials to transform the raw ingredients into works of art. Among the most important items are quality paraffin or soy wax in granular form, plus any fragrance oils or special dyes desired. Wicks of all varieties are essential as well, along with appropriate holders or molds. Additional supplies may also be needed including thermometers for monitoring temperature, stainless steel pots and double boilers to melt the wax, scissors to snip wick lengths, chopsticks and pencils for propping wicks in place, and rulers or dowels for checking burn times. Lastly, containers such as glass jars may be required depending on which type of candle is made. By having these materials available before starting a project, professionals can have satisfying results every time they make candles.
Steps for Creating Stunning Scented Candles
1. Gather Materials: Collect all of the necessary materials to make your candle, including a wax melting pot or double boiler for melting wax, metal or aluminum container(s) for the candles, scent oils, and a wick suitable for the size of your containers.
2. Melt Wax: Begin by melting your wax in either a melting pot or double boiler. Make sure to use an appropriate combustible surface when working with open flames. Be sure to use caution and allow enough time for the wax to fully melt before continuing.
3. Prepare Containers: Prior to pouring the melted wax into each container, prepare them by affixing threaded-wicks at the bottom of each one and then taping off additional wick above so that it sticks straight up before adding any melted wax (this will ensure that it stays in place).
4. Add Scent Oil: Once you have set up your containers with secured wicks, mix desired aroma oil(s) into the melted wax to create scented candles – be sure not to add too much so that it is overpowering once burned! This can also be done separately depending on which type of scent oil being used (if using an essential oil blend this should be done apart from the actual candle-making process).
5. Pour Wax Into Containers: Once everything is prepared carefully pour hot melted wax into each container filling them almost all the way up – just be sure leave about 1/4″ space at the top of each one for later use!
6. Allow Candles To Cool and Set: Lastly, allow your newly made candles some time to cool completely before removing any excess wick tape as this will keep them looking neat while they set in place nicely over time. At this point you can light your candles safely – congratulations on creating beautiful scented candles!
The Best Waxes for High Quality Candles
Candle making is a beloved craft and many people enjoy making quality, long-burning candles. When it comes to wax for candle making, there are various options available. Paraffin wax is the most popular choice and it is often used to create pillars, votives, and taper candles. The wax holds its color well and has a pleasant scent when scented oils are added. Soy wax can be used for container candles and is oftentimes preferred by naturalists because the soybean oil is renewable and biodegradable. Beeswax has been used for centuries due to its ability to burn slowly which gives off a soft glow when lit. This wax is also popular because of its naturally sweet smell which lingers in the air after being burned. For those looking to make brightly coloured candles, gel wax may be the best option as it denser than normal wax and makes vibrant hues that are harder to find with paraffin or soy products. Whatever type of candle you’re looking to create, there’s no doubt that quality ingredients will lead to a high-quality product in the end. Be sure to research all possible options prior to starting your project so you get the best materials suitable for your desired result!
Unique Ways to Showcase Candles for a WOW Effect
Showing off your beautiful candles doesn’t have to be boring or standard. There are lots of unique and creative ways to showcase them for a real “WOW” effect that will be sure to bring admiration and appreciation from family, friends, and customers alike.
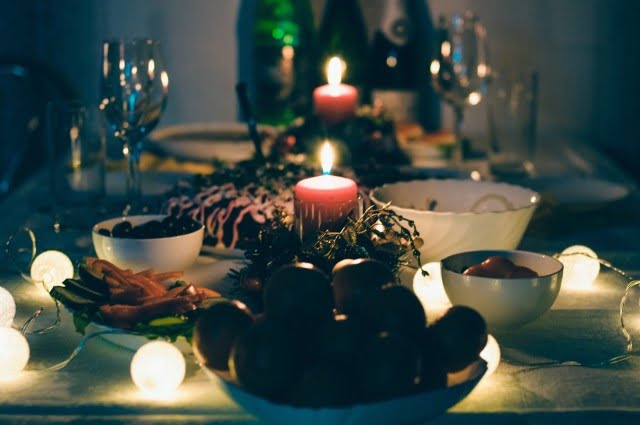
For instance, incorporate the candles into a larger artwork display on the wall. Pair them with other items in coordinating color schemes to create a warm, inviting atmosphere. Fill an unused fireplace with tea lights in their jars and place decorative (and flameless) pillar candles around it for additional character. Incorporate candles into centerpieces on tables by arranging several together at varying heights next to favorite pieces like vases, flowers and other artwork. Display taper candles in candelabras or candlesticks on either side of a mirror for an elegant look. You can even give up-cycled items new life by using them as candle holders by simply inserting votive or tealight candles inside empty food containers like mason jars, tin cans and other interesting finds.
How to Select the Right Fragrances for Candles
Selecting the right fragrances for candles can be an incredibly difficult task. Many people may find themselves overwhelmed with all the different selections available to them. However, a well-crafted candle scent can make all the difference in the world when it comes to ambiance and comfort! The trick is to find a fragrance that speaks to you, or has a connection to you and would fit in with your home decor and lifestyle.
When selecting fragrances for candles, it’s important to identify and reflect on what kind of scent best suits or compliments your atmosphere or purpose. If you are looking for something calming you might want some light florals, like lavender or chamomile; whereas if you are trying to enliven an area you might consider more refreshing scents such as peppermint or eucalyptus. Additionally, it’s equally important to consider what kind of wax works best for this desired smell”vegetable waxes tend to give off stronger fragrances than soy wax does; whereas beeswax is most commonly used when creating odorless candles because it produces few smells from its own composition.
It’s also important that you consider other elements of the fragrance, such as its base notes (the longer lasting parts of the smell) versus its top note (the more vibrant or stimulating smells). Blending these correctly will allow your candle’s scent “note” increase during the burn. Furthermore, using complementary scents together can really amp up the atmosphere and make for truly unique and customised smells that’ll give great life satisfaction too! Specifically searching fragrance oil suppliers is probably going to yield better quality options, however online can sometimes provide helpful reviews from fellow buyers on recommended combinations of scents if one is stumped on how to mix them properly.
Troubleshooting Common Candle Making Challenges
One of the most common problems experienced when candle making involves the paraffin wax not adhering correctly to the wick. This is usually due to a wick size that is inadequate for the strength of scent used in the candle and diameter of the container. When selecting a wick, you should have one that fits in snugly with a tight knot when it comes to securing it in your jar or candleholder. It should also be long enough to reach all areas at once while being able to support the heat created by the flame during burning.
Another problem many face when making candles are bubbles forming along their surface either after pouring or during storage. These bubbles form due to air pockets occurring as wax heats up and cools back down. To avoid this issue, make sure you pre-heat the ingredient and tools before beginning, stir your mix thoroughly and pour into your desired holder quickly before cooling occurs, hold your container and mix at an angle as you pour, and let candles properly cool between pours. You can also use a hair dryer on low heat over your cooled candle for bubble popping after pouring as well.
Tips for a Successful Candle Making Business
When starting a candle making business, it is important to understand the basics of candle making. Here are a few tips on what to consider when entering the business:
1. Research and familiarize yourself with different types of waxes, wicks, container sizes and coloring options available. From beeswax to soy wax and cotton wicks to wooden wicks, there are many options that you can explore when crafting your own candles! You’ll also want to make sure that you have enough containers at varying sizes so you can meet customer needs.
2. Learn the best techniques for melting wax and pouring candles; it is critical to keep safety first during the process. Consider practicing with some viable test candles before you officially launch your business.
3. Utilize scents appropriately; too much scent can ruin a candle by being overpowering or not distributing evenly throughout the entire batch. Different scent combinations and measurements must be tested before settling on an ideal combination for saleable merchandise.
4. Brand your product properly; from labels to packaging materials and branding photos ” create a consistent look for your products across all mediums so customers know they’re buying from you or one of your stores (if applicable). Include care instructions in each package as well so customers know how to get the most out of their purchase(s).
5. Invest in marketing; whether it’s paid Ads or organic approaches such as SEO, you’ll want potential customers coming into contact with your product offerings. It would also be wise to consider creating an online presence (think website & social media) ” these avenues will help extend reach beyond local audiences in order to drive more sales & awareness of your brand/product lineup over time.
Finishing Touches
Candle making often has a reputation for being a time consuming and laborious process. However, if done with love and beauty, candle making can be an enjoyable hobby that will leave you with amazing works of art. One important thing to keep in mind when making candles is that preparation is key! It is essential to have everything ready before beginning your project. This includes choosing the right wax and wick for your project. You should also pay attention to high-quality materials, as well as tools, such as thermometers, melting pots, and molds. Once the materials are prepared and ready to go it’s time to get creative!
There are many ways to add visually appealing elements such as using natural decorations like herbs, spices or flowers. Natural colorings can be added directly into the wax or incorporated into molds with dried dyes. For a splattering effect try dripping vibrant paints around the candles surface or adding glitter for some sparkle through pouring out random beads or specks onto the surface of melted wax while still hot. If you want something more delicate then mixing fragrance oils while still liquid might do the trick. Finally you can use various techniques such as rolling them on your palm or planing flat indentations on the candle’s surface once the mold is filled up with liquid wax giving them unique styles that fit according to their natural design shape. And at last happenstance patterns made with bubbles inside by simply allowing small amounts of air escape from underneath will create interesting abstract designs that make each candle piece both original and beautiful!

Welcome to my candle making blog! In this blog, I will be sharing my tips and tricks for making candles. I will also be sharing some of my favorite recipes.

