Introduction
Candle light making is a craft that has been practiced since antiquity. Candles were once made from tallow and drippings of oil lamps, and in ancient Egypt, they were crafted from the natural waxes found in beehives. In North America, the traditional tallow candle was used until the 1800s when an 1893 breakthrough in technology allowed for paraffin candles to be manufactured at low costs.
Today, candle-making continues to grow as a popular craft with both professionals and hobbyists alike creating beautiful works of art with candles as their medium. From decorative votives filled with glimmering glitter, to scented pillars that fill the air with aromas of your favorite season; creating highly personalized candles can be achieved quite easily by those willing to take on such a project. Candle makers today have access to an array of wicks, waxes and fragrances that can transform ordinary candles into something special. There are even courses available online as well as through local retailers dedicated to teaching the basics of candle making and advanced techniques to use in order to create truly unique designs.
Candle Wax/Material Selection
When selecting the wax for your candles, you’ll need to consider its melting point, hardness, ability to hold scent, and its aesthetic qualities (i.e., color or sparkles). Paraffin wax is the most commonly used because of its affordability. Soy wax is becoming more popular due to its sustainability, being derived from vegetables rather than petroleum products. Coconut wax adds a creamier texture and a longer burning time compared to paraffin. Beeswax has become increasing popular in recent years since it’s all natural and easy to work with.
Choosing the right wick is crucial as you don’t want it so thin that it falls over in your candle or too thick that it takes forever to burn out. Cotton wicks are considered the best option due to their durability and availability – though some other materials such as wood, paper, or reeds can also be used for different types of candles if desired.
Scents can enhance the overall atmosphere of your candles; however, beware that some artificial scents may stain your vessel walls over time if not properly dispersed in the wax before pouring. Essential oils are an ideal choice since they are safe and provide more aromatherapy benefits than synthetic fragrances. Additionally, you’ll need any additional decorations you might use such as glitter or beads at this step too!
Candle Color/Dye Selection
The selection of colors and dyes to use in candle making is an important decision when crafting your own unique candles. There is a variety of candle colors, dyes, and techniques available and each can be used to achieve certain desired looks. Examples of available colors are white, yellow, red, blue, green, black, orange and more.
When it comes to choosing dyes for candles there are a few key things you can look for including natural dyes or colorants made from plants and minerals like herbs, clays, spices and micas; synthetic dyes that provide a true and vivid shading of the chosen hue; pigments made from waxes or vegetable oils; liquid washes; or wax-based chips. Depending on the type of dye or colorant you opt for as well as texture, hue and hue strength you can mix and match various ingredients in order to produce vibrant colored candles with different effects. You can also try using colorants in combinations or even layering them on top of one another in order to create marblized designs.
Another technique you could use for adding colors to candles is painting directly onto their surfaces with acrylic paint. While these paints aren’t designed specifically for this craft, they do offer a cost-effective way to add deliberate coloring designs with ease. When done correctly this method allows you to either leave areas uncolored or highlight certain sections with specific tinges.
Candle Scent/Fragrance Selection
Candle scent selection can be a rewarding and enjoyable process. Depending on the desired scent combination, blending essential oils and/or fragrance oils is a great way to customize your candles. You can begin by selecting an essential oil that you would like as the base of your candle’s aroma. From there, additional fragrance oils can be added in small amounts to enhance the smell without becoming overpowering. For example, adding lavender essential oil as the main ingredient with a small amount of sweet orange or jasmine fragrance oil may create a calming lavender-citrus blend. Alternatively, mixing rosemary essential oil and peppermint essential oil create an invigorating herbal blend perfect for energizing any room. The possibilities are endless when it comes to experimenting with scent combinations. It’s important to remember that only adding small amounts at a time will help achieve your desired result as too much of one particular aroma can quickly overpower the other fragrances in the mix.
Wicking and Equipment Needed
Candle light making is a highly rewarding craft, and there are several essential steps one needs to know before beginning. One such step is wicking the candle. This process requires few tools including wax melting pots, wick cutters, and wick materials such as cotton or linen.
To start, melt all of the desired wax (soy wax, beeswax, paraffin wax, etc.) until it reaches its liquid form. Then use the appropriate container or mold for the desired shape of your candle. Cut a length of wick that is 2-3 inches longer than the container with the wick cutter; this will make sure you have enough material to securely affix to the bottom of your vessel.
Next, using heated tongs, place one end of the wick into your wax and gently fold over opposite ends of it so that it creates an x shape within in the cooling liquid. Let cool for 10-20 minutes before proceeding to do any other work on your piece.
After the first layer has cooled off entirely, add in some more wax mixture and repeat this process until you reach the desired depth you’d like for your piece. Once complete let dry overnight on a paraffin sheet lined surface so that excess oils don’t damage other surfaces around your workspace.
Finally check if any adjustments need to be made regarding wicking or trimming any excess off before enjoying your new creation!
Shaping Techniques
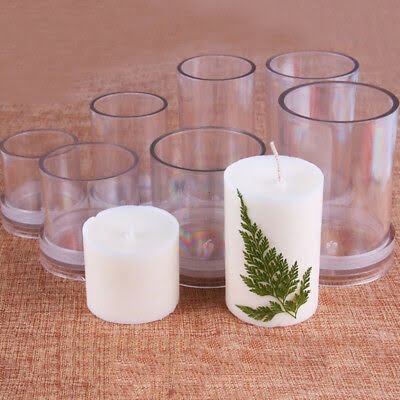
Rolling: The rolled technique is the most popular method used to make candles. It involves rolling sheets of molten wax around a cotton or twine wick, before adding a layer of wax sweetening and eventually finishing it with a light layer of paint oil. This process helps create cylinder-like shapes and various sizes depending on the thickness of the sheet.
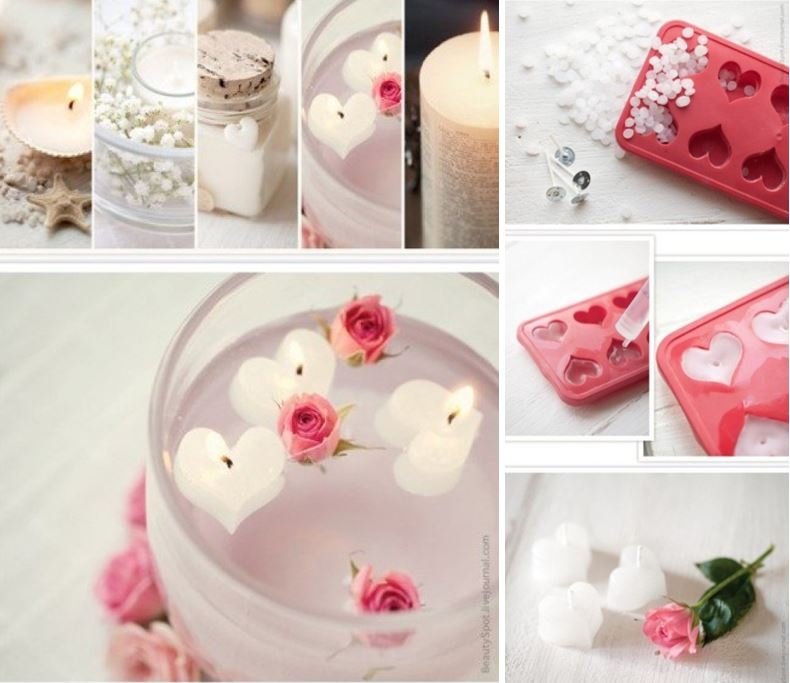
Cutting: Another popular method to shape candidles is cutting where a mold is constructed out of metal or plastic and then filled with molten wax, followed by cooling and lastly detaching it from the mould, giving a perfect cuboid shape in various sizes as desired. This method takes up much more time as compared to rolling but allows better control over the final shape.
Carving: Carving not only gives unique designs but also an exciting feel for regular candle users. Templates are made on metal, wooden or even paper which are later traced onto melted wax casting before finally being carved according to desire. Additionally masking tapes can be applied before carving for ease of work and allowing intricate details in designs like curves and angles making carvings different from basic cylindrical shapes made from rolling techniques.
Melting/Pouring Techniques
Candle Light Making with Melting/Pouring Techniques:
1. Gather the necessary supplies for candle making, such wax, wick, mold, and other additives like dyes or scents.
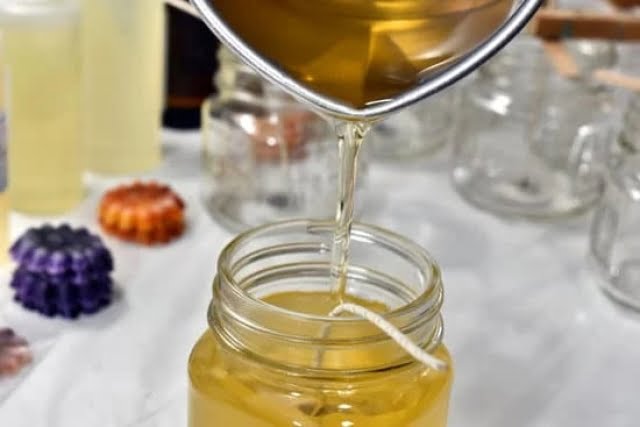
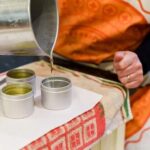
2. Heat the wax until it reaches a melted liquid-like consistency. This can be done either in a double boiler on the stove or with a dedicated candle-making pouring pot plugged into an electrical outlet.
3. Carefully pour the melted wax into the candle mold using either a different pouring pot or ladle – this helps minimize drips and spills of hot wax.
4. Place a premeasured length of wick into the center of the molds before pouring the melted wax to ensure that your candles have well-centered wicks once finished.
5. Once you’ve filled the desired amount of molds with melted wax it’s time to let them cool and harden completely – this can take anywhere from several hours to an entire day depending on how much wax was used per mold as well as any additional ingredients used (ie: colored dyes, scent oils).
6. Remove your candles from their molds when cooled and hardened then trim their wicks to desired lengths with scissors or wire cutters prior to use that way you’ll get nice, even flames from your newly created homemade candles!
Finishing/Decorating Ideas
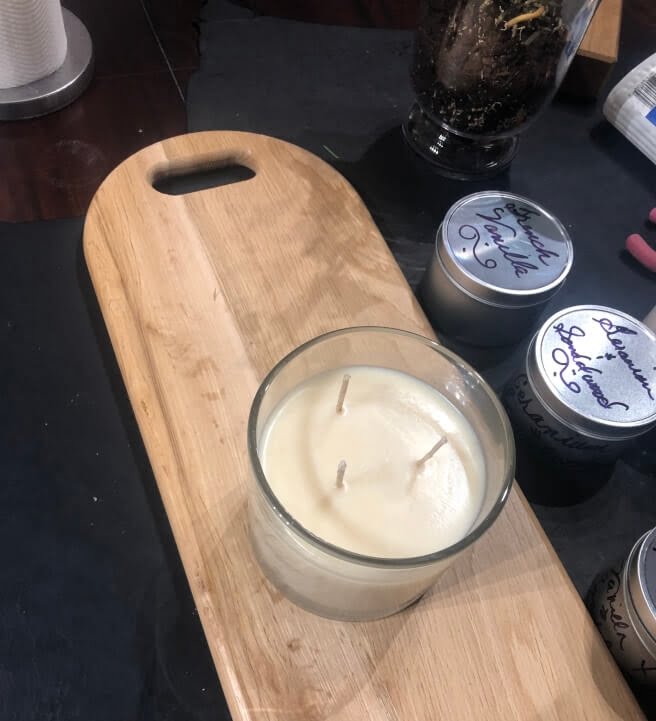
Once you have finished making your candles, you can move on to finishing and decorating them. There are a variety of ways to customize your candles, starting with the type of label you use. If you intend to give the candle as a gift, or sell it in a shop, it is always best to purchase label material specifically made for candles. These materials help prevent any smudging caused by melted wax and provide an easier way to attach the label. You can also use labels printed off at home or other materials such as paper and ribbon.
Embellishments are another way to personalize your candles. There are endless options for this step, ranging from adding glitter or small confetti pieces mixed into the wax before it hardens, adding bits of decorations like gemstones once it has cooled down, or wrapping it with colored twine.
Another finishing touch is to wrap your candle in tissue paper and tie with a ribbon for an elegant presentation that makes each candle look like a special gift! You could even add small touches like writing out some affirmations around the outside of the container that remind yourself or the end user why they’re using the products inside.
Finally, don’t forget to package your homemade candles properly! Taking some extra time here will make sure your creations arrive safety and free of damage.–
Candle Care Tips
Candle making and candle maintenance is an art, and few other activities quite match the enjoyment of seeing your creation glowing in a dark room. Although this activity can be enjoyable and therapeutic, it’s important to remember that the tools used to make candles produce heat, so fire safety must always be a priority when working with wax or any flammable materials.
When candle making, it is important to use safe practices such as not smoking near the workspace or leaving open flames unattended. All containers used for melting wax should also be heat-safe material that won’t easily shatter if heated by accident. Furthermore, unscented candles should be burned in an open space with no drapery or furniture nearby and all melted wax needs to be disposed of responsibly. Other tips include keeping wicks trimmed to one-quarter inch in order to prevent excess smoke.
Once you have made your candle and are ready for burning, there are some things you need to keep in mind. Before burning, inspect the wick for any rough spots where charring may occur and trim away any excess length if necessary. Candles should also be burned out of drafts or direct sunlight and always on a flat surface with a heat resistant mat underneath them. Burning time should also be monitored carefully—it’s recommended that candles do not exceed four hours burning time at one go. After each burn, pinch off the burnt part of the wick with pliers instead of blowing them off as this will help ensure they don’t get too long before they can be used again. When storing candles make sure they are kept away from direct sunlight or intense temperatures which can cause them to soften and lose their shape over time. Following these simple guidelines can help ensure you enjoy both making and using candles safely!
Success Stories
One of the most successful candle makers is Tiffany Magee. Tiffany initially became interested in candle making because of her grandmother’s hobby. She was fascinated by the way her grandmother could take an everyday object like wax and make something so beautiful.
Tiffany began experimenting with different techniques when she started selling candles at farmer’s markets and craft shows. She quickly gained a following for her unique approach to the craft, using different containers and materials to create completely new looks for her candles. Along with traditional pour-over methods, she also learned how to use silicone molds to quickly create batches of candles in all kinds of shapes and sizes.
Tiffany’s advice for success as a candle maker is simple: focus on your individual strengths. Use whatever drawing or artistic skills you may have, to create unique designs that stand out from the rest. She also emphasizes the importance of experimentation—take risks and don’t be afraid to try something new. After all, it is through trying new things that better results can be achieved!
Conclusion
Candle making is a fun and creative way to express your creativity. It can be enjoyed by novices and experienced crafters alike, allowing you to customize your candles with fragrances, dyes, artistically placed decorations, and more. Candle making is a rewarding experience that will provide you with a beautiful handmade product that can be gifted or used to create ambiance in your own home. With just a few materials, some patience, and experience comes the reward of transforming wax into something beautiful. As you continue to practice candle making, you will build upon the knowledge and skills already obtained to create even more unique designs that match any occasion!

Welcome to my candle making blog! In this blog, I will be sharing my tips and tricks for making candles. I will also be sharing some of my favorite recipes.

