Introduction
Candle making is a popular and exciting hobby that dates back centuries. It is an enjoyable pastime for both beginner and experienced crafters alike, as it allows them to explore their creativity by designing beautiful and unique candles. There are various different types of candle making techniques, some of which may require specialized tools and ingredients. To get started, one will need basic supplies such as wax, wicks, fragrances or essential oils, dyes, containers or molds for the candles, and a double boiler.
The process of making your own candles can be broken down into five simple steps: melting the wax, adding colorants and fragrances, pouring the molten wax into a container or mold of your choice, allowing the wax to cool and harden completely before carefully removing it from the mold or container, and finally trimming any excess wick (if necessary). With this fundamental knowledge of how to make candles along with practice and experimentation you’ll soon be able to create accurate specialty shapes/sizes and scented/un-scented candles like pillar candles or tea lights. Besides being incredibly fulfilling and fun projects in themselves when making homemade candles you can also save on costs by creating what would otherwise cost more in stores without having to compromise on quality.
Gathering Supplies
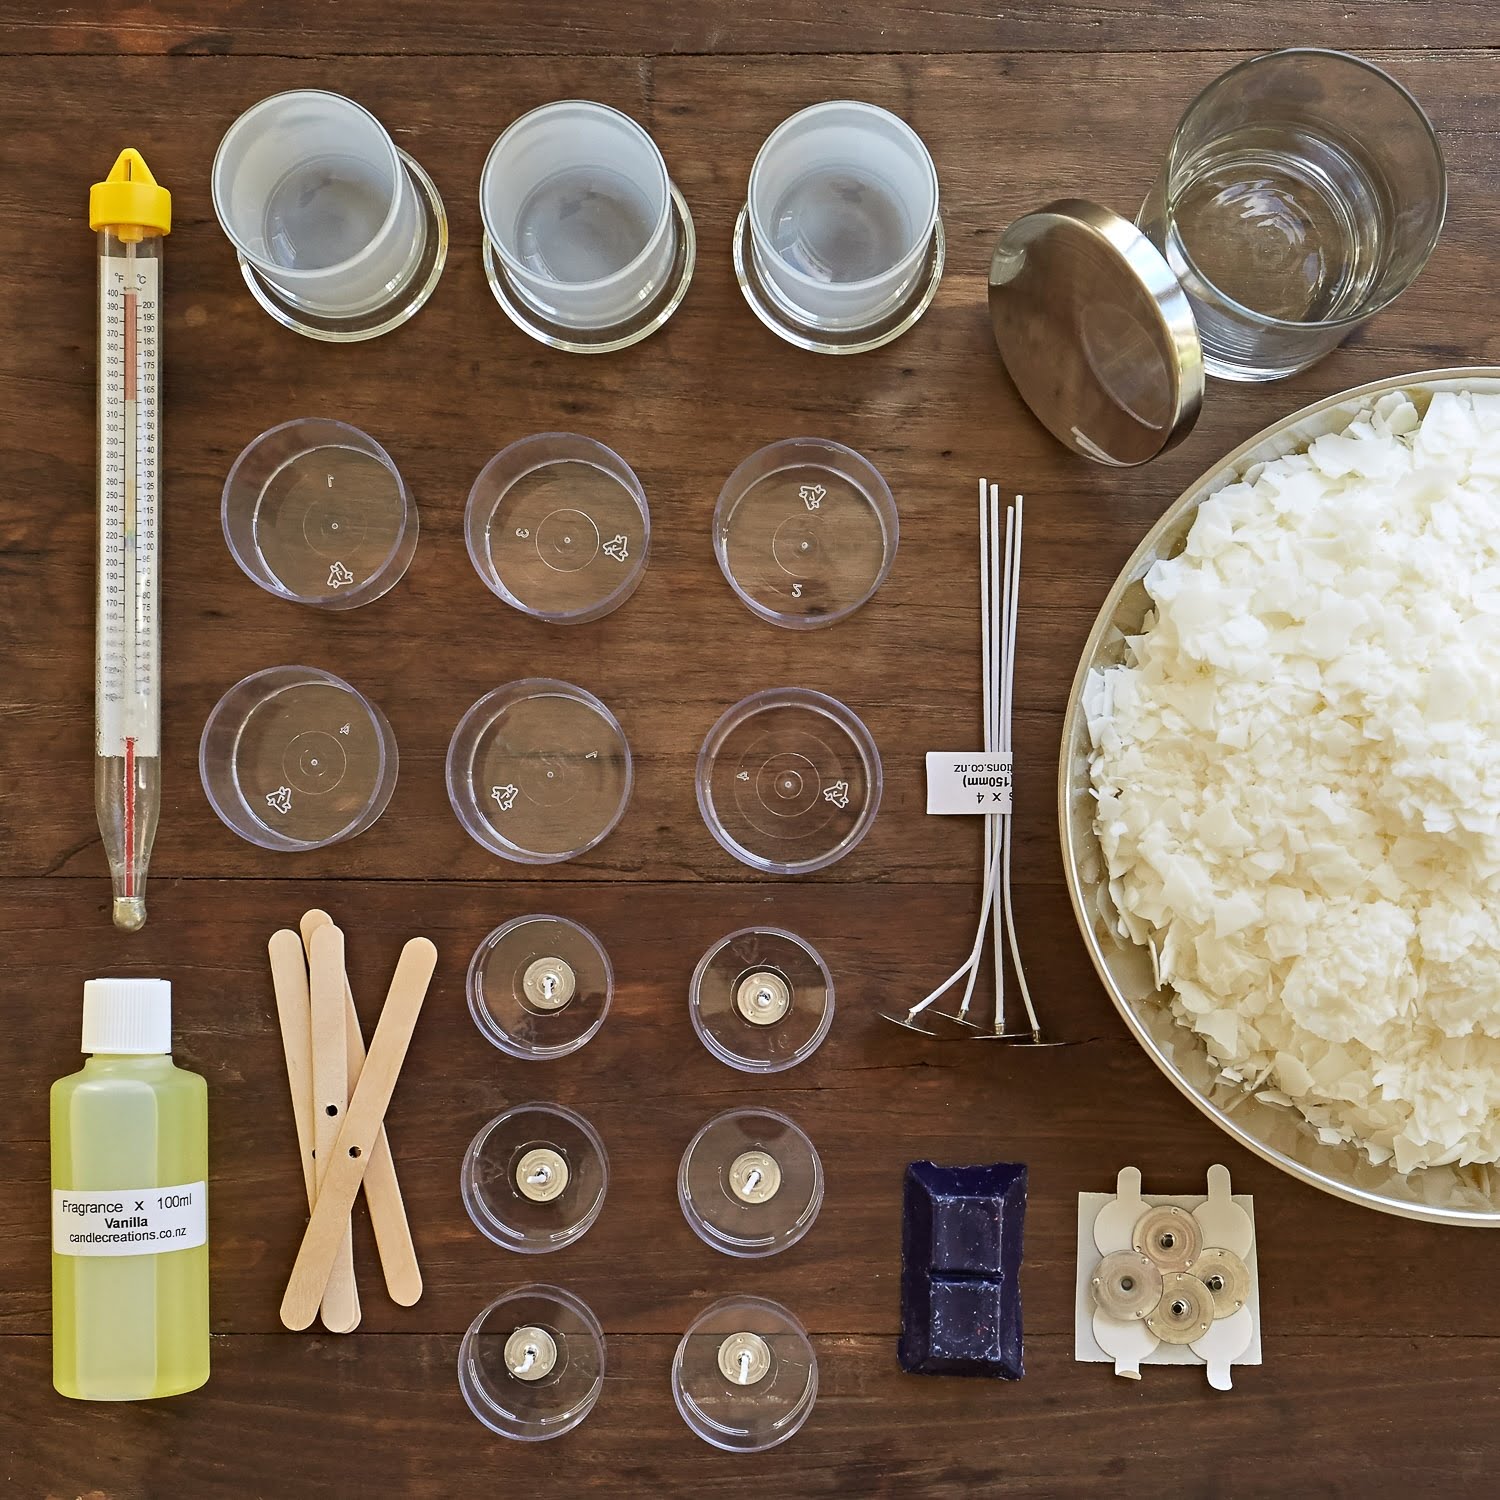
Gathering supplies for candle making is the first step. To begin with, you will need wax, wicks, wax containers or molds, thermometer and stirring utensil. For a more professional and clean outcome, it may also be beneficial to have fragrance or essential oils, color additives for candles (including dye blocks/ chips and liquid dyes), containers to hold melted wax as well as parchment paper, hot glue gun and wire cutters.
Depending on the types of waxes you are using, your areas’ environment and location rates of how fast your wicks burn will play into what size wick you should use per pour size. Wicks are made from natural fibers that absorb the melted wax. Quality wicks can come pre-tabbed (already attached to a metal base) or un-tabbed where you need to attach them yourself via hot glue gun once they’ve been measured for length based on area conditions.
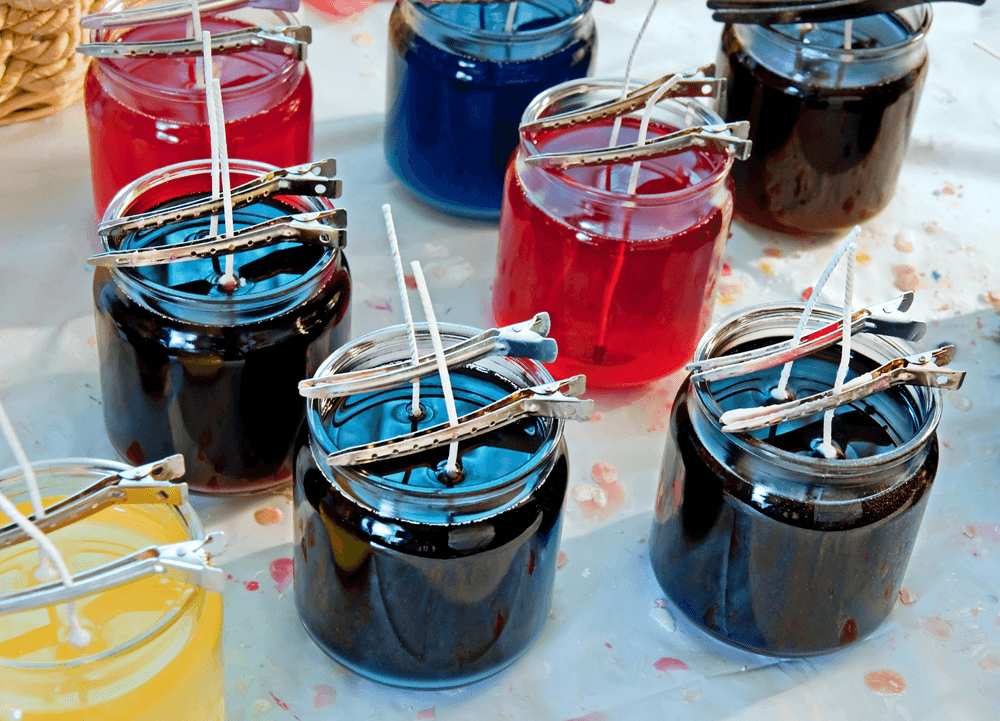
Wax containers or molds come in various shapes, materials and sizes that range from glass candle jar to silicone ones in numerous forms like pillars, tea lights or votives. Good quality material will result in easy release once the candles have hardened; Always read labels prior to purchase!
To make certain that all of these parts work together properly a thermometer is an essential tool for melting down wax at correct temperatures which vary depending on type used; Soy wax melts at around 130 – 140F whereas Paraffin is usually melted between 150 – 170F which drastically affects performance. Furthermore having a stirring utensil handy prevents any clumping in the mixture when heat has been applied; This ensure proper melting so its suggestion double check with a thermometer before pouring!
Choose a Wax
When selecting a wax for candle making, there are several important factors to consider. Fragrance retention is an important aspect if you plan on adding scents to your candles. Different waxes hold different levels of scent which can affect the overall aroma of the final product. Appearance also comes into play, as some waxes burn differently with flare-ups and dullness being common issues. Lastly, melting points differ between waxes with some being too soft or too hard at certain temperatures making them unsuitable for certain projects. Researching these key factors before selecting a particular wax will help ensure you produce the desired results in your candle making project.
Melting Your Wax
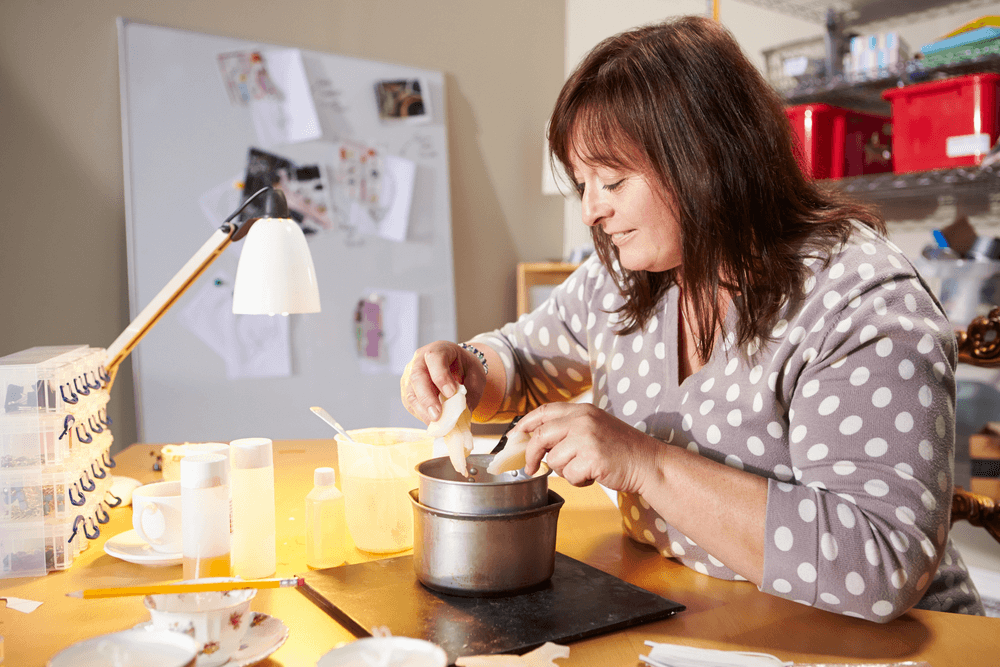
Melting wax for candle making can be done in a variety of ways. The most common methods are through the use of heat from either a double boiler or an electric hotpot. For most applications, you’ll need to bring your wax up to about 150-160⁰F (65-71⁰C). It’s important not to exceed this temperature, as that may break down some of the wax’s natural properties.
Different waxes will melt at different temperatures and therefore it is important to know the optimal melting point of each type of wax you’ll be using to get the richest colors and best possible performance. To find out exactly what temperatures certain waxes require it is best to consult with either the manufacturer or look online for recommended guidelines.
Considering safety when melting your wax, it’s always advisable to use protective gloves and eyewear when working with hot materials around an open flame. In addition, let melted candle wax cool down before pouring into molds or containers as it can cause injury if poured when too hot.
Pouring Your Candle
Pouring your wax into a container involves careful handling and sometimes even a bit of trial and error. The key to success is all in the temperature control as it has an effect on all aspects of the candle-making process, from wick placement to curing times. To ensure you have a successful outcome, use an accurate thermometer when heating your wax correctly.
When dealing with temperature, it is often recommended that you pour your wax at around 180 degrees Fahrenheit. This temperature should be maintained while pouring the candle in order to avoid any wax droplets or other imperfections appearing on the finished product.
Regarding wick placement, you should measure and place the wick when the wax has cooled down slightly(typically around 150 – 160 degrees Fahrenheit). Make sure to insert your wick deep enough so that it stands up in the molten wax but not too deep so that you can reach it easily when trimming off excess material after curing.
The last step before actually pouring the wax is ensuring that the container is prepared correctly. This includes giving the container a light coating of vegetable oil (as this will make removal easier) as well as setting up any mold you may be using for shaping your candle before hand. After these steps have been completed, slowly pour your hot wax into the container ” making sure not to fill more than three quarters full as this can increase burning time significantly ” and let cool for 24 hours before attempting to remove from mold or trimming off extra material from around the base of your newly created candle!
Adding Scent
When selecting a scent for your candle, you should consider what you want the environment to smell like after you light it. Is it something subtle and inviting, or do you want a powerful aroma that lasts for hours? Take into account the purpose of the candle: if it’s going to be in your living room, something calming such as chamomile may be suitable. If you intend to host guests in your kitchen, citrus-based scents might be more appropriate.
Adding scent to your candles is relatively easy; all you need is some fragrance oil and the instructions on the label of your wax. Once melted together, carefully check the temperature of the wax before pouring ” adding too much scent while it’s still hot could result in evaporation. Depending on the type of wax used and other variables such as storage conditions, candle scent fade is inevitable over time but can usually be fixed in minutes with a fresh dose of oils.
Further Tips & Tricks
When making custom molds, it is important to consider the type of wax you will use. One tip for using specialty materials like embeds, glitter, and dye chips is to heat them slowly until they have slightly melted before adding them to your wax. This technique is called “blooming” and is essential as these materials react differently when heated too quickly. Troubleshooting techniques also depend on what kind of issue you are having; if you have faint scent throw try increasing the maximum usage rate, or checking that your wicks are the right size for your candle. If you find that you struggle with getting your candles out of their mold easily, then switch to a silicone mold instead, as they can stretch and form around the candle when cooled forming a release bond between the candle and mold. Finally experiment with different ratios of scented oil blends ” discovering a unique combination can be a great way to create a personalized scent that you love!
Conclusion
So there you have it ” the very basics of candle making. You’ve learned how to choose materials and equipment, and the steps to creating your own custom wax creations. With a little practice and experimentation, you can make beautiful candles in any scent and shape imaginable. Don’t be afraid to step out of your comfort zone from time to time ” candle making is a fun and worthwhile hobby that anyone can master with a little effort. Go on and get creating!

Welcome to my candle making blog! In this blog, I will be sharing my tips and tricks for making candles. I will also be sharing some of my favorite recipes.

