Introduction
Candle making mug jars are a great way to create beautiful and unique candles while adding a personal touch. Candle making mugs have many benefits, including allowing you to customize your designs, add special effects to candles, and use different fragrances. Moreover, with the right ingredients and techniques, you can make quality handmade candles that can last for years. This type of candle making is relatively affordable and easy since all you need are some simple supplies, like wicks, wax, fragrance oils, mug jars and other additive materials. With a few tips & tricks from experienced makers, anyone can become an expert in creating beautiful gifts or décor items that will remain cherished for years!
Step By Step Guide
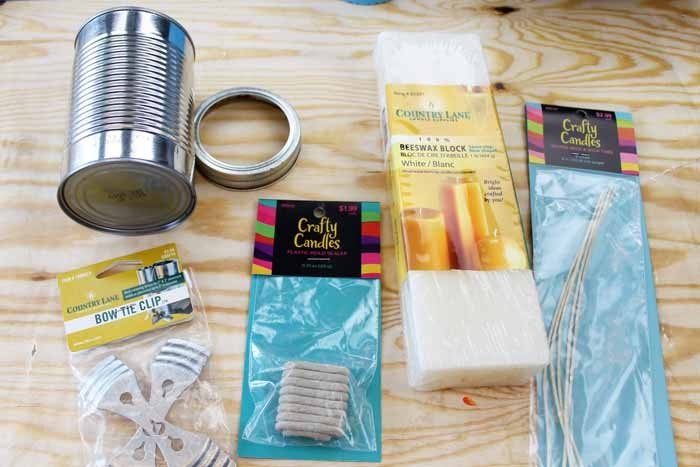
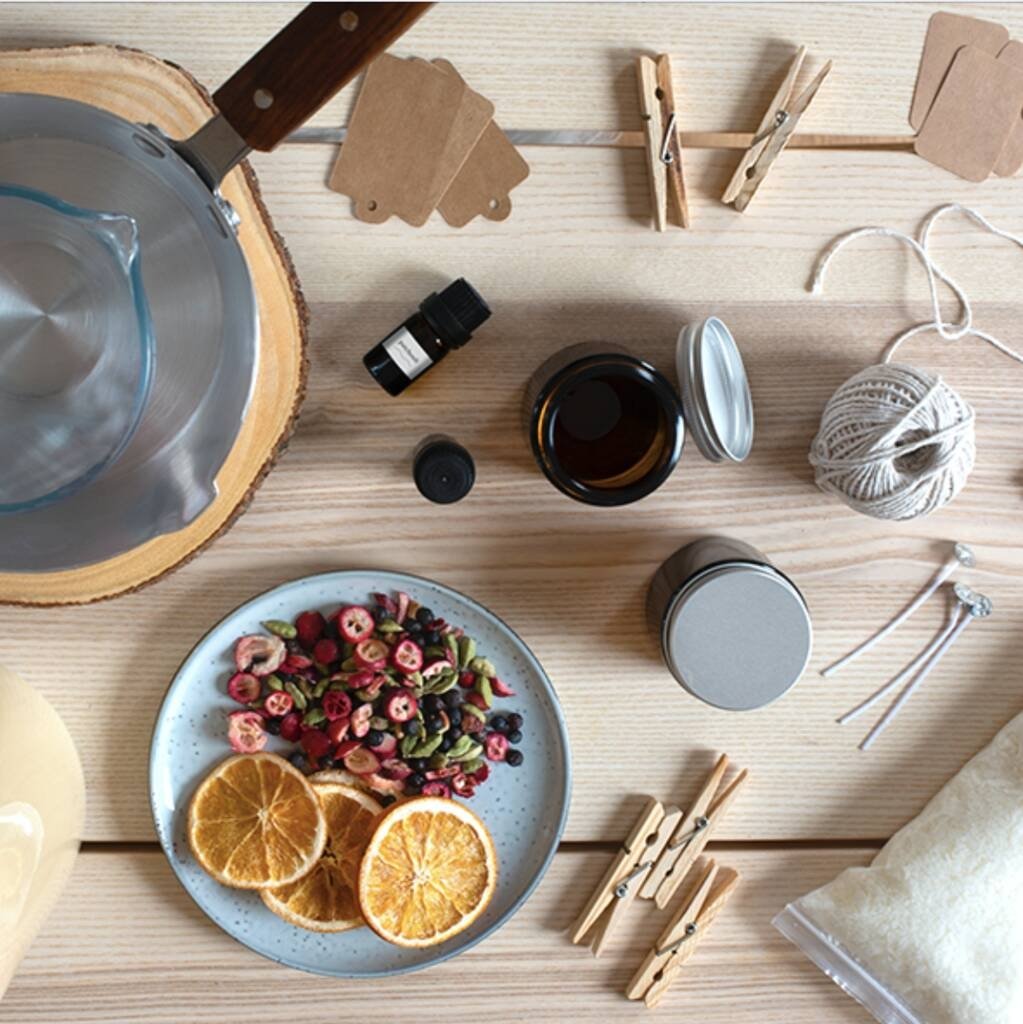
1. Gather the materials. To make a candle making mug jar you will need a mug, wax (can use either paraffin wax or beeswax), wicking, an essential oil and/or other additives for scent and color, and a thermometer.
2. Measure out your wax pieces into the mug. Depending on the size of the jar and mug used, you may need to break your wax up into smaller blocks using a knife or scissors.
3. Add additional ingredients such as essential oils and/or other additives for fragrance and/or color to enhance your candle-making experience. Be sure to measure carefully when adding these ingredients!
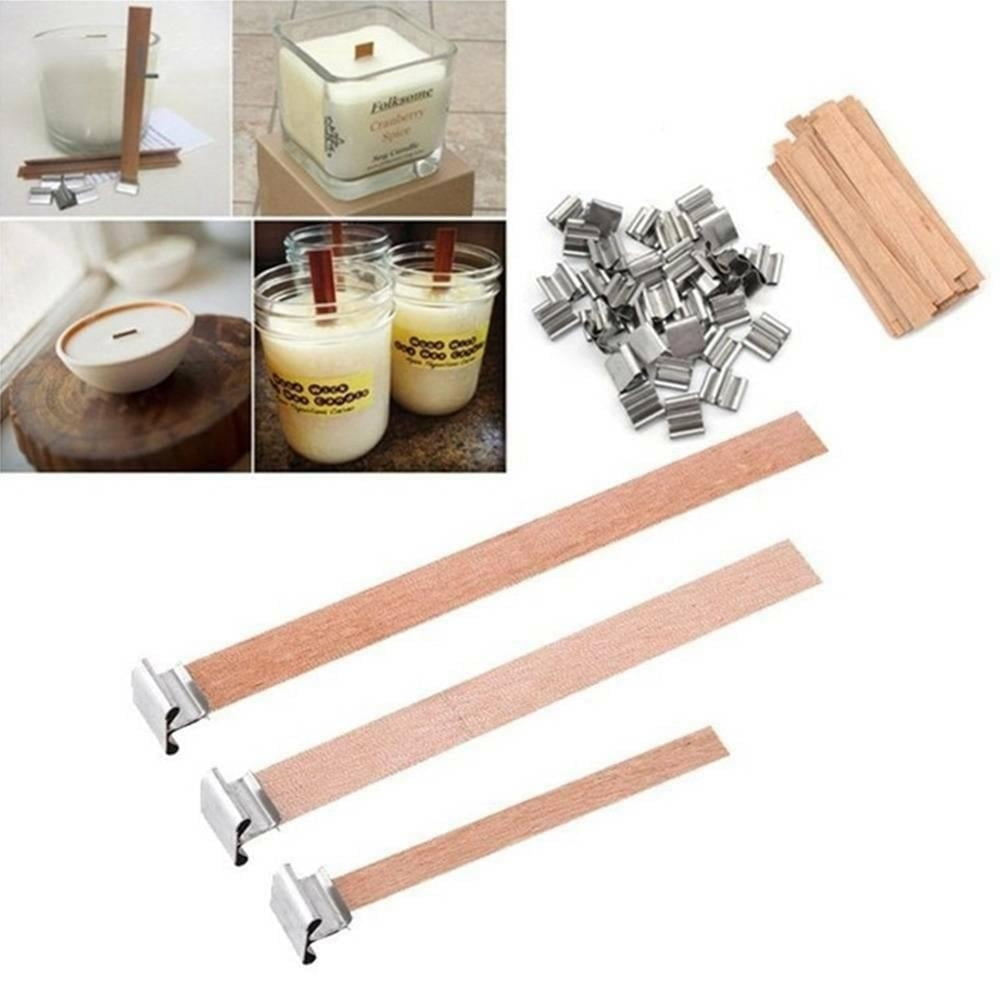
4. Fit the wick in the center of your mug jar in preparation for pouring melted wax over it – keep it as centered as possible so that it can be properly lit once finished! It will also help to hold the wick in place with a pair of clips or something similar while pouring in step five.
5. Time to melt down the wax over medium heat, checking regularly with a thermometer to ensure that it has reached its optimal temperature (60-70 degrees Celsius). If needed, adjust heat levels as required during this process – be sure not to go too high here as this could cause smoke damage or other safety risks!
6. Pour the melted wax evenly over the wick in the center of your mug jar so that all sides are coated with an equal amount of liquid meltdown during this step – again keeping it centered is important for this part of the process!
7. Allow the wax inside your mug jar to cool completely before attempting to light it! This process can take anywhere from 30 minutes to two hours depending on how much was poured – do not move around until fully cooled!
8. An optional but recommended final step is trimming off any excess wick remaining after cooling time is complete; trimming away excess helps prevent larger flame sizes when attempting illumination later on down line of usage living up ultimately well prepared outcome feature located right here we have now at hands what was created looks gorgeous indeed!.
Tips & Tricks
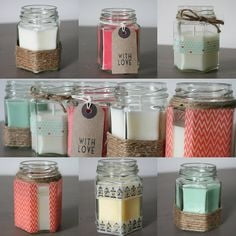
1. Add texture to the outside of the mug jar: Adding texture to the outside of your candle making mug jars creates a unique look that can stand out from other projects. You can easily use different types of beads, sponges, wood, or even fabric to give it a distinctive look.
2. Experiment with colors: When it comes to creating something unique, one way you can really amp up the creativity when making your mug jars is by experimenting with colors. You can add color combinations or even paint the jar completely in a certain color theme. This is also an excellent way to make them stand out visually as well!
3. Incorporate decorations: You can add interesting elements within your candle making mug jars that give it additional character and charm! Try adding clips, ribbons, charms, lace, buttons, trinkets and other decorations for added flair and decoration.
4. Personalize with labels or tags: Giving your finalized candle making mug jars customized labels or tags is an excellent way to make them stand out aesthetically, as well as create interesting conversation pieces for you and everyone who come across them!
Customize it
Making your own customized jar has never been easier! All you need is a mug candle jar, some wax crayons or colored pens, and your own creativity. To begin, use an appropriately sized wax crayon or colored pen that is small enough to make delicate details in the design of your choice. Start by creating the main shape of the design on the surface of the jar. Once you are satisfied with the basic outline of your creation, start adding any extra detailing or lines you wish to add. Be as creative as you like!
After completing this step, take some time to let the wax or ink from the crayon dries. Then, it’s time to choose a background color for your project. Layering multiple colors can give interesting results and create a vibrant look for your custom mug candle jar. You may even choose to paint over the entire work surface with the base color for cleanliness and uniformity.
The next step is sealing in all that hard work and adding texture if desired! You can do this by applying an appropriate sealant using either a brush or spray depending on what kind of finish you’re looking for. Make sure to coat all parts of this art piece evenly to prevent any damage from occurring later on when lighting up candles. Finally, if you’d like a unique way to display your new masterpiece consider attaching small hanging loops with strong string to share with family and friends or decorate your living space with it!
Pros & Cons
Pros:
1. Mug jars are a suitable and convenient vessel for candle making. Because they are made of ceramic or glass, they don’t conduct energy or heat, making them safer to use than other materials when it comes to handling hot wax and lit candles.
2. They can be decorated or designed in various ways to create attractive presentations and products. Additionally, the designs can add additional sentimentality and beauty to the finished product that traditional tin containers cannot provide.
3. Candle making mug jars are available in a wide range of shapes and sizes at affordable prices, allowing you to find just the right option for your project without breaking your budget.
4. These mugs have lids that allow easy transport and storage, ensuring that scents will not escape from your creation when not in use.
Cons:
1. While these containers are ideal for smaller batches of candle making projects due to their size, their durability is questionable; ceramic mugs can break if mishandled or dropped on a hard surface, so extra care must be taken when using them for this purpose.
2. Since mugs tend to come in multiple shapes and designs, it can be challenging to ensure that the wick is centered in all creations properly; an uneven wick will lead to burning problems later on during use such as tunneling down one side of the container with some wax remaining untapped on the other side of it.
3. In addition, once posted through delivery services these vessels may arrive broken if not packaged securely; taking extra precautions when boxing up items containing ceramic materials is advised before sending out orders through shipping couriers or postal services alike..
Recommendations
When candle making with mug jars, the most important aspect to consider is safety. Depending on the size of mug jar being used, it is essential to use a wick that is appropriate for the size and shape. A good rule of thumb is to use an 80 mm wick (or similar) in regular-sized mugs, while smaller or larger mugs may require slightly different sized wicks. It is also important to pay close attention to proper wax-to-wick ratios because if too much wax is used, it can cause the wick to drown and fail to properly heat.
In terms of types of candles, beeswax candles are a great option for mug jars as this type of wax melts at a lower temperature and does not release soot into the air like other synthetic varieties do. For scent and colors, it’s up to personal preference – many stores offer a wide range of natural dyes and scents that work well with beeswax candles. There are also chemical dyes available for those who want more vibrant colors but these should be used cautiously as they can be hazardous when burned near open flames!
Conclusion
Making candle making mug jars is a great way to add character, charm and personalize your home. With just a few supplies and tools, you can create beautiful scented candles in mugs that can be used for decorations or gifts. There is an array of fragrances and waxes to choose from, allowing you to create uniquely scented creations that are perfect for any occasion. To make the best use of candle making mug jars, it is important to consider the size of the jar for the specific amount of wax needed for the project. Additionally, choosing a wick that fits correctly with the amount and type of wax being used will allow the candle to burn evenly and steadily. Finally, be sure to select a fragrance or essential oil blend that is pleasing but not overpowering — one should keep in mind that no matter how strong a scent may appear initially, it will fade as the candle burns further down. By taking these simple points into consideration when starting your next candle making mug jar project, you can rest assured that your final product will be thoroughly enjoyed!

Welcome to my candle making blog! In this blog, I will be sharing my tips and tricks for making candles. I will also be sharing some of my favorite recipes.

