The Basics Of Candle Making

The Basics Of Candle Making

Before electricity was discovered and before light bulbs were invented, candles were the main source of illumination inside a building. This makes candle making a very necessary art. But even though electric light bulbs are now the main source of light everywhere, candles remain popular because they add to indoor surroundings a touch of coziness and romance in the atmosphere.

Learning candle making as a hobby has its own appeal and popularity primarily because there is nothing more satisfactory than being able to create something useful with one’s own hands. Candle making can also be a good source of secondary income if one becomes a master of it.

There are many types of candles that you can learn to make with candle making. The most popular type of candles are called tapers or dinner candles, the long and slender candles that are supposed to be held in place by candlesticks.

The pillar candle is another popular type of candle. It is a candle that can stand on its own, with a base that measures three inches or so in diameter. Pillar candles are also called column candles and they come in various shapes.

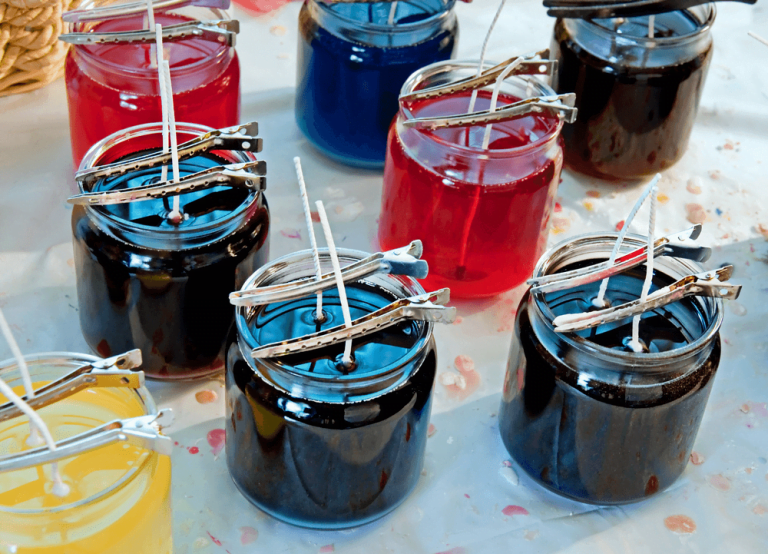
A jar candle is a candle that is made when the wax is poured into a glass container that is designed to resist the heat of the candle it contains as it burns. Jar candles are also referred to as filled candles.

A votive candle is traditionally used for religious ceremonies. They are small, cylindrical candles placed in a cup called a votive holder. Tealight candles, on the other hand, are small and short candles poured into metal holders.

Specialty candles are sculpted candles that are meant to be displayed rather than burned. They are also called novelty candles.

If you are interested in candle making, what materials should you invest in? Contrary to what you may think, the art of candle making does not require a lot of investment. Most of the time, the necessary materials such as the boilers and the molds can be easily substituted for materials readily available in your own kitchen or garage.

For candle making, you would need the following materials:

* The paraffin wax, which is the basic ingredient for candle making, as well as the wick. If you want to experiment with colors and scents, you can also get dyes and fragrance oils or essential oils.
* A double boiler for heating your wax. A double boiler is a pan inside a pan. The outer pan is for heating water while the inner pan serves to hold the wax being melted. Also, a stove for heating your wax.
* A thermometer for gauging the temperature of your wax. You would need to use a thermometer that is specially designed for candle making because the ordinary household thermometers do not have as high a range.
* A scale, a ladle and a measuring cup. A scale will help you measure the amount of wax you would need to heat for your candles while the ladle is for getting the wax out of its boiler. The measuring cup is for pouring wax into molds – it is safer and easier to do than simply pouring the contents of the boiler into the mold.
* Candle molds and mold seal. The candle molds are for shaping your candles and they come in different shapes, sizes and materials. The cheapest candle molds are made of plastic, but they are not that durable and they cannot withstand too much heat. The best candle molds are those made of metal. The mold seal, on the other hand, prevents the wax from pouring out of the mold.
* A blow torch or heat gun is for melting away imperfections on the surface of your finished candles.

The basic candle that is usually made by one who is just learning candle making is the pillar candle. Below is a step-by-step guide in making one:

1. Measure out the amount of wax that you would need by filling the mold you would be using with water. For every 3 ½ ounces of water, three ounces of wax are necessary.
2. Put your wax into the inner pan of your double boiler, fill the outer pan with water, and then put them to heat. Lower the heat once the water starts boiling.
3. Check the temperature of your wax with your thermometer. Different candles vary in their required temperature, but for pillar candles, the desired temperature is 180°F. Do not let the thermometer touch the bottom of the pan.
4. Prime your wick by dipping it into the wax. When the wick has started to release bubbles, take it out of the wax using thongs or old knitting needles, and then flatten out and leave it to dry. Once dry, slip it inside the mold and hold it in place with a wick support.
5. When the wax reaches the desired temperature, it is time to add whatever additives that you want, such as fragrances and dyes. Be careful when putting these additives in and stir them gently into the wax.
6. Pour your wax into the mold and tap the sides of the mold gently to release the air bubbles. Also, poke small holes near the wick to let out the air pockets that can make your candle a fire hazard. Afterwards, let the wax in the mold set for a few hours to let it cool. When the wax is cooled, you would have made your first candle.

Always remember that safety is paramount in candle making. Be cautious about the materials you are handling and always keep the area where you make your candles clean.

Get Rich Scent In A Two-Inch Candle – Votives In All Colors And Scents

Rich Scent Candle

If you want a small candle, votives are what you need to look for. Votives can be scented or unscented and they are easy for you to make at home. First you will need the proper wax for the candle. Votives are primarily made with paraffin wax, which has a melting point of 130° F. Depending on the effect you want to achieve with your votive candles, you may or may not have to included additives in the wax. Once you follow the simple instructions you will have your candles ready within 2 hours. If you want to start learning how to make a candle, votives are the best ones to start with.

In addition to having the wax to make a candle, votives need special molds. There are many of these molds to choose from and the number you have require depends on the number of votive candles you want to make. You don’t need to use any fragrances if you want unscented votive candles, but you can add whichever scents you want if you prefer to have a scent on your candle. You will also need to have the proper wick for a votive candle and here too, there are several choices you can make. For example, you can use a pre-tabbed votive wick, a cotton core waxed wick or wick clips.

In order to have little difficulty releasing the votive candle from the mold, you can buy silicone spray. Just spray the mold before you pour in the wax to make the candle. Votives don’t require large molds, so you probably won’t need to use this. However, if you intend spending any amount of time making votive candles, then it won’t add very much to the cost of your supplies. Candle fragrance is also optional because many people are allergic to scents and prefer the unscented votive candles.

When you gather all your candle making supplies, cover the countertop with newspaper so that it will catch any spills from the wax for the candle. Votives are small and it is very likely that you will spill some of the melted wax when you start pouring it into the mold. You will also need paper towels to clean the stove top because there is likely to be splatters. Before you start pouring the wax for the votive candle into the mold, make sure you have it placed on a flat surface. Otherwise, you may have lopsided unscented votive candles.

When it comes to candles, votives are by far the most popular. This is because they are small and dainty and fit into most candleholders. Although they are usually sold in sets of six, they are very inexpensive, if you would prefer to buy them rather than make your own candles. Votives are also easy to store in a small box, but you do have to keep them in a cool, dry place.

I Want Unique Candle Sconces For My Home

Candle Sconces

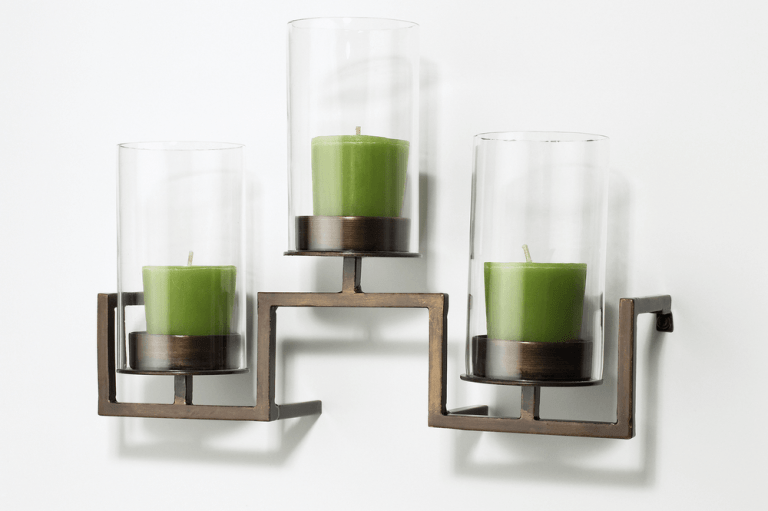
Candle sconces are an elegant way to have candles displayed on the walls of your home. If you use an interior decorator for any room, chances are he/she will recommend the use of sconces to hold the candles on the wall. Candle sconces can be made of wrought iron or you can have a brass sconce with a hurricane lamp. The plate of the candle sconces that screws to the wall can be made of metal, plastic or brass.

The plate of a candle sconce holds the candleholder or if you have tapered candles, you can have candles sconces that hold candelabras. There are a variety of styles available in wall sconces for candles and when you light the candles in them, they give the room a warm, inviting glow. Although you can use just about any kind of candles in sconces- votive, tealight, pillar or taper – your best bet is a dripless candle. Those made from paraffin or beeswax are best if you don’t want to spend time peeling candle wax off the floors and walls.

A brass wall candle sconce with a hurricane lamp holds a candle inside an old-fashioned lamp. This type of candle sconce will help you feel that your home is a cozy and safe haven, reminiscent of the days of the pioneers. On cold winter nights when the wind is whistling outside, you can relax with the glow of the candle reflecting off the wall. When you lose the power, you will still have light and you can feel safe with these candle sconces. The hurricane lamp style of sconce keeps the flame of the candle away from the wall and there is no danger of the candle tipping over.

Candle sconces come in a wide array of styles – gothic, traditional, art-deco and Victorian. You can choose a different set of wall sconces for each room and of course, you have to have a candle sconce along the wall of the stairway. This sets off the décor of the home. Although you may prefer the look of the brass wall candle sconce with hurricane for the entire house, you can choose different colors and scents to reflect your individual personality.

Traditional candle sconces were made from wrought iron and contained glass hurricane lamps. In addition to brass wall candle sconces, you can also have them made from Tiffany glass or plastic or you may prefer to have crystals dripping from them so that they look like mini chandeliers. You can also use imitation electric candles that operate on batteries if you don’t like the idea of using wax candles close to the wall.

Aromatherapy Candle Oil

Aromatherapy Candle Oil

Aromatherapy candle oils go way back to the time of Ancient Dynastic China when distillation was yet unheard of but incense sticks were about as popular as they are today, perhaps even more. Aromatherapy candle oils are essential oils derived from plants through several methods of extraction. These aromatherapy candle oils may come from several different parts of plants, such as flowers, twigs, leaves, barks, roots, and rinds of fruit.

The aromatherapy candle oils are said to have various therapeutic benefits although there is no actual scientific proof of that. Many can attest though that the oils used in aromatherapy certainly can help in improving well-being and enhancing the effects of other healing methods.

How do Aromatherapy Candle Oils work?

Aromatherapy candle oils work through a process called diffusion. It is when the aromatherapy candle oils are dispersed into the air to fill the room with its fragrant aroma. Diffusing aromatherapy candle oils is fairly easy and very inexpensive. You only need a candle and a match and perhaps a pretty candle holder to go with your coffee table at home.

First, light up the candle and let it burn for at least five minutes. Next, blow it out and then add a few drops of aromatherapy candle oil into the melting wax. Make sure that you do not add the drops into the wick. Once the aromatherapy candle oils steep into the wax, light up the wick again and wait for the aroma to start filling your room.

Aromatherapy candle oils, like other essential oils, are highly volatile and concentrated, which also means that they are highly flammable. Exercise caution when you use them and make sure that you do not leave anything near your candle that might caught on fire. Only use a few drops of pure aromatherapy candle oil or dilute them by mixing them with carrier oil into a glass bottle.

How do you store Aromatherapy Candle Oils?

Although aromatherapy candle oils do not become rancid, they can deteriorate over time. When they do, they may lose some of their important therapeutic benefits. Not all aromatherapy candle oils deteriorate though, and some may even improve over time. One perfect example for this is patchouli and sandalwood which only improve after the passage of time.

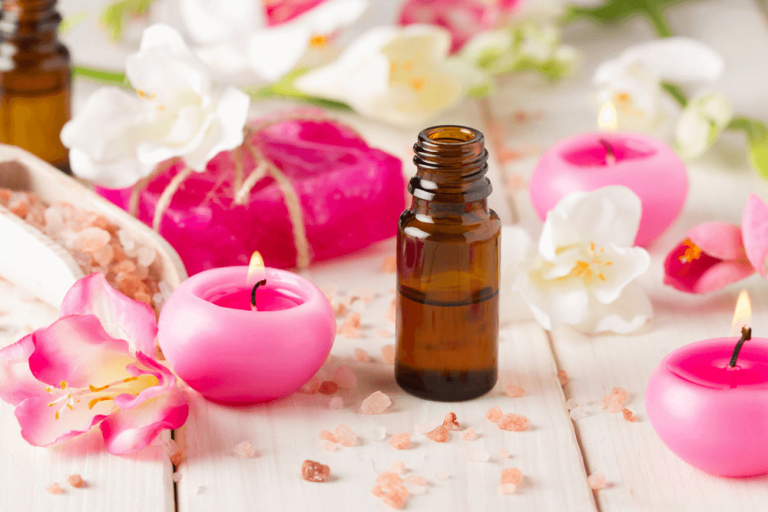
To avoid deterioration in your aromatherapy candle oils, store them in amber or cobalt blue bottles. Dark glass such as amber and cobalt helps keep out sunlight which may damage your aromatherapy candle oils. Protect the aromatic and therapeutic benefits of your aromatherapy candle oils by purchasing small (about 5ml or 10ml) bottles or vials.

TOTAL WORD COUNT – 436
KEYWORDS “Aromatherapy Candle Oil” = 19 (density = 4.0%)

Jar Lid and Jar Candle Decoration

Jar Lid and Jar Candle Decoration

Supplies Needed:
Most items can be found around the house or in a craft store.
Jar Candle with lid – with removable plastic bottom
Craft Glue
Paint
Scissors
Decorating Candle Jars and Lids is a fun and easy project for all ages. You can use many different craft items to embellish your jar and lid. If you are really creative, you could even make a snow globe out of the lid. But we are going to go over a few inexpensive ideas to turn your Jar into an attractive looking and still functional decoration.
Most jar lids come with a plastic under cap, which can be taken off by a screw driver. In this space you can add many different things, from dried flowers to an elaborate scene.
One of my favorite things to do is to add fake flowers and greens to my lid, typically using the same color flower as my jar wax. Everything can be placed at the top of the lid and adding green leaves to keep it secure.
Sand, Rocks or Marble pieces can add a different look to the lid. One great idea is to use different layers of colored sand. Just make sure you fill it to the top, because the under cap will have a little bit of space. You’ll get the same look as those colored bottles that you can buy at fairs. For rocks, try using some Aquarium rocks, as they come in multiple colors.
You can add a more personal touch by adding a picture or personal message in the lid. Just cut the picture to fit the lid and put some kind of background behind it. One idea is to use a nice piece of colored felt or velvet fabric. By adding enough fabric, you can be assured the picture will stay where it is. I do not recommend using glue on the top of the lid, as it will be visible.
You can also just use a pattern fabric to place inside the lid. A great idea would to use a pattern that is in your room, maybe a leftover piece of wallpaper. Then you have a matching Jar to your room. Don’t laugh, but I cut off a small piece of fabric from the underside of my chair to use in a lid, so that it matched my furniture.
The jar itself can be decorated in so many ways, its impossible to list them all here. So I’ll show a design and some ideas that I thought would be great to give as a gift to someone.
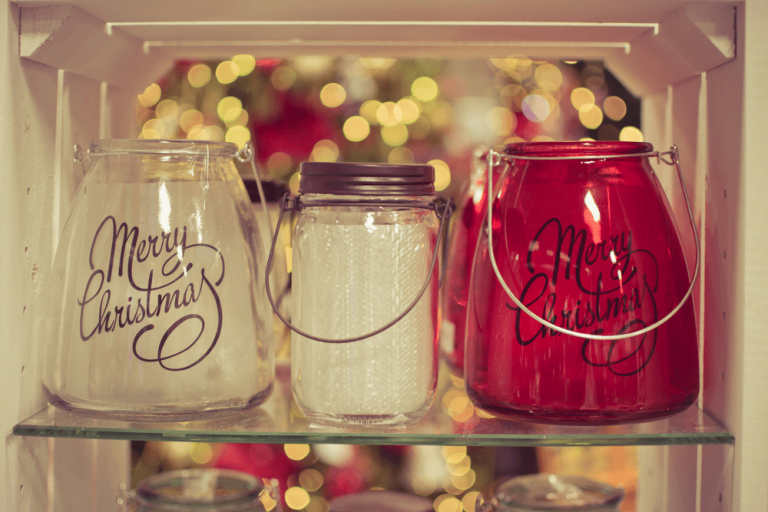
One of my favorite designs is to use my old Christmas cards or a specific holiday card as a design on my jar. Cut the card it to fit the jar, and then glue it to the jar using crafters glue or glue dots. This is a great idea for a gift around Valentines or Christmas time. You could even use the inside of the card with the message. And to top it off, adding a picture of yourself on the other side of the jar, will add a nice personal touch.
There are many things you can do to decorate your jar. Using some of the ideas above, like the pattern in the lid, you can also use it on the jar. Some other ideas are, painting a scene or message on the jar, gluing ribbon strips vertically to add stripes, gluing flowers to the base, adding your own custom label and something as simple as red lipstick kisses all over the jar.
Your creativity holds no bounds. So have fun and try anything, I bet it will come out fabulous.