Introduction
Gel candles are one of the most popular and safe types of candles available. Candles made from gel provide a beautiful, lighted atmosphere to any room, giving it an exotic flair that can’t be matched with traditional wax candles. The glowing, multi-coloured effects that gel candles offer is something that you can only get from gel in candle making. Not only do they create a vibrant atmosphere but they also last much longer than ordinary wax candles, as well as being really easy to make.
In this blog post we will cover the basics of gel candle making including the many different types of gels available, how to choose the best ones for creating the ideal effect, how to melt them correctly and safely, how to embed objects inside your candle and some great design tips for creating stunningly attractive gel candles. We will also discuss some of their many applications and discuss why they are such a widely favoured alternative to traditional wax candles.
Materials Needed
Gel Candle Making Instructions
Materials Needed:
– Gel wax: To start, you’ll need to select the appropriate type of gel wax for your project. The four general types are traditional, clear, and soft. Traditional gel wax has a greater softening point and is often used for signs or votives because it can hold a greater fragrance load. Clear gel is becoming popular as a multi-purpose option for making jar candles and adding decorative objects like shells or rocks. Soft gel is best for larger pillar candles that require alluring shapes. Quality products generally contain a low level of sulfur and will produce less smoke when burned.
– Dyes & Fragrance Oils: Choose dyes specific to gels if you intend on changing the color of your candle. Fragrance oils, both natural and synthetic, add an enticing element often sought in these types of candles. When working with very high concentrations of fragrance oils ” usually 1 teaspoon per pound – the use of lab gloves is recommended whenever handling them.
– Heat Source: You can purchase an electric heating station specifically designed for melting candle wax or safely utilize a stovetop double boiler with good ventilation in your workspace.
– Containers/Molds: There are endless possibilities when selecting glass jars, molds, bottles or even dried fruits or vegetables as containers or molds for your candles. Make sure that whichever vessel you use is free from any debris or dust before beginning the process; you might consider running it through the dishwasher for added assurance before adding wax to it.
– Stirring Utensil: Utilize any sturdy wooden stick such as those used in making craft projects to stir a meltable media such as waxes without fear of it breaking due to heat from being placed too long into the melted blend itself so long as its temperature remains consistent throughout the entire process . Letting the blended concoction cool slightly before stirring helps ensure consistent results throughout all batches made at one time but remember to always quality check each batch by holding off until after cooling completely before declaring complete success or failure!
The Candle Molds
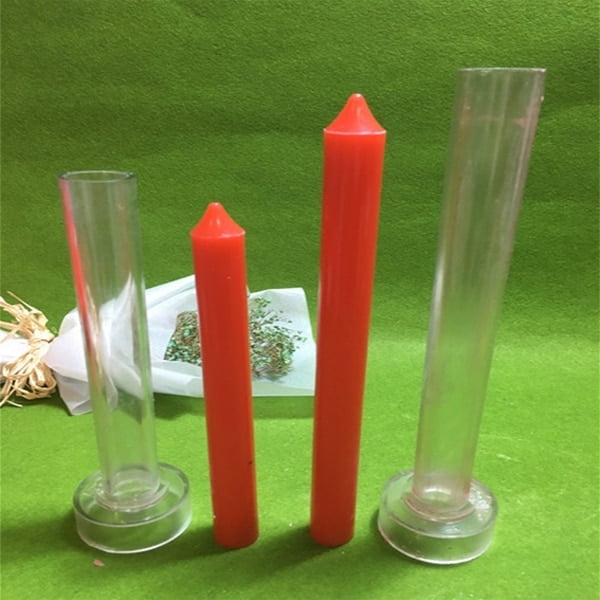
When making gel candles, one of the most important steps is selecting the right candle mold. This will determine the shape, size and overall look of your finished product. There are several types of molds available depending on the desired outcome, including metal molds, plastic molds, silicone molds and even homemade molds!
Metal molds are great for creating intricate designs with sharp edges, but it can be hard to find and may not work with some types of wax or gel wax since it does not heat evenly. Plastic molds, on the other hand, are much easier to come by as you can purchase them from home decoration stores or online websites like Amazon. Plastic will heat up quickly but it is important to monitor temperatures and avoid extremes that could be too high or too low.
Silicone molds are often seen in craft stores and they make a great option for intricate designs without worrying about damaging the frame during removal. They also heat more evenly than plastic so this is another thing to consider when choosing a type of mold. Additionally, pre-made shapes such as hearts or animals can be found when shopping for silicone molds.
Homemade Candle Molds – If you have an idea for a specific shape but cannot find a pre-made mold to fill your needs then you can consider attempting to make your own! You’ll need supplies like wooden frames to form the edges of the mold and plaster cement to hold everything together plus additional materials such as paint if adding any colouring etc.. Lastly you’ll need parchment paper and clear tape in order securely line oven inner walls so that your wax doesn’t spill out when heated before being poured into your handmade creation!
Making the Gel Candle
Step One: Start by melting the gel wax in a double boiler. Begin heating the wax slowly, stirring often with a clean wooden spoon or spatula to ensure an even temperature throughout. Do not allow the wax to be exposed to direct heat, as this can cause air bubbles and overheating.
Step Two: Once fully melted (180F on your candy thermometer), remove from heat and add your essential oil scent or color blocks. Stir until completely dissolved and mixed together with the melted wax.
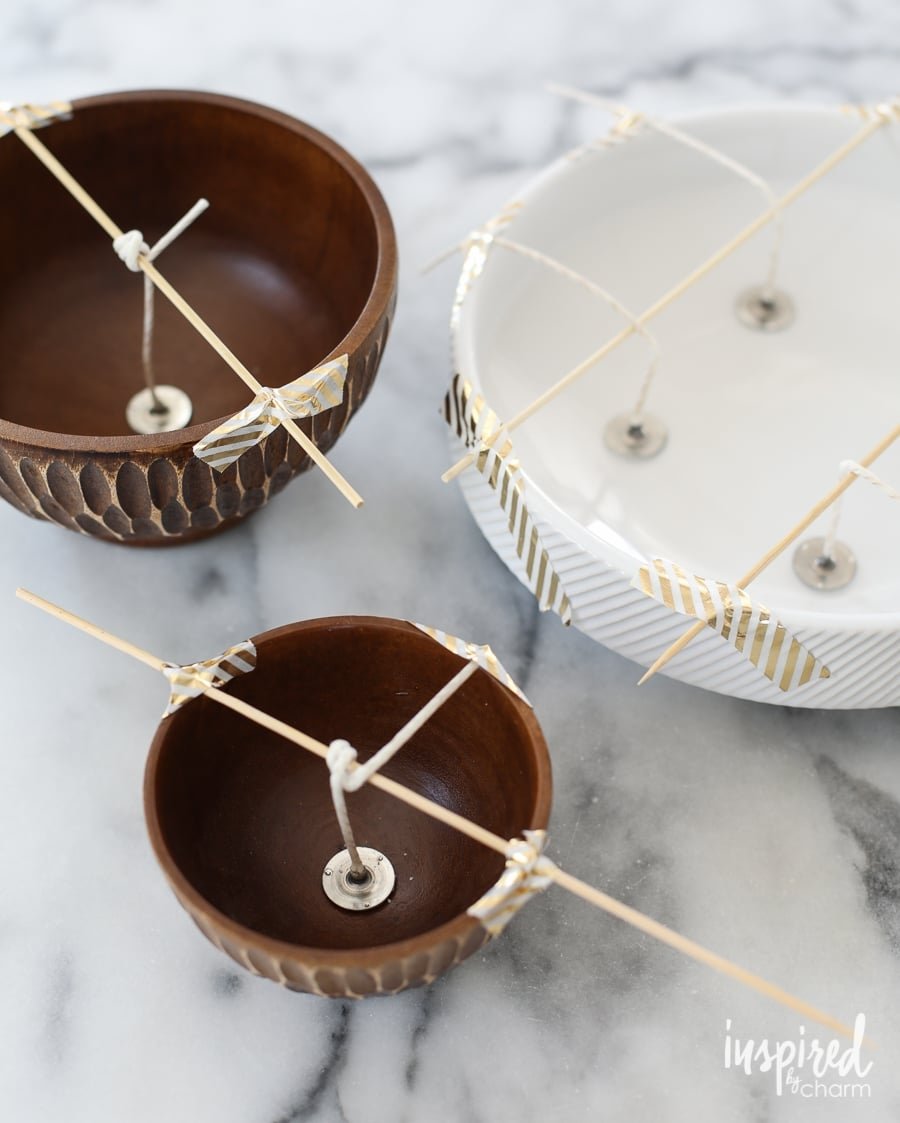
Step Three: Get your candle container, wicks, and wick tabs (the little green discs that hold the wick in place) ready before pouring. Make sure all these items are placed at an area where you have room to work comfortably & safely. This helps in achieving one large bubble-free gel candle!
Step Four: Gently pour your scented gel into desired container(s). Fill it up no higher than ¾ of its total capacity to leave room for the votive/candlewicks or embedded decoration. You may also use a neoprene hot pad holder when removing from the stovetop to reduce risks in burning yourself on overly heated surfaces.
Step Five: Once poured allow it to cool for about 10 minutes if you are reusing molds or if you are using containers for the first time allow them more time to cool down before inserting wicks. For wicking, we recommend placing a small dab of adhesive at each corner of the tab prior to pressing down into place within the gel; as this helps prevent movement while curing without hurting scent performance.
Step Six: Allow candles around 6 hours minimum before attempting removal (also known as “hardening-off” process) however longer is often preferable if possible.Once done cooling off you can now finally trim off extra length of cored-wick protruding above surface line & voila! Congratulations on completing your very own handcrafted Gel Candle!
Tips and Tricks
It is important to use trusted gel wax for your candles. This will ensure that the wax melts evenly so you can get a better finish when pouring into molds and also prevent creating too much smoke once the candle is lit. When measuring out your gel wax, don’t be afraid to take extra time to scoop it out of the bag accurately. If you want your candle to come out perfectly, it is essential to measure out the exact amount of wax needed.
Adding scent is the fun part but make sure not to overpour fragrance oil onto the wax. Fragrance oils can overpower a candle if there isn’t enough gel wax present to absorb it all. We recommend adding no more than 2-3% of fragrance oil per 1lb of gel wax (approximately 1/2 ounce fragrance oil per 1 lb of gel). After adding the fragrance oils, stir thoroughly as this will help incorporate them evenly into the melted gel.
Safety should always be taken into consideration when making any type of candles including gel candles. Be sure to melt and pour your candles in a place that has proper ventilation and avoid having any flammable materials near open flames or hot wax containers. Also wear protective eyewear, rubber gloves, and long sleeves for added protection when handling molten wax or heated containers containing wax. When done working with hot materials, make sure all utensils used for melting are adequately cooled before being handled or stored away.
Finishing Touches
When it comes to making gel candles, there are many different things that you can do in order to make them completely unique. Adding scents is a great way to make your homemade gel candles stand out. You can choose from various essential oils such as lavender and mint; this will allow you to create a candle with the perfect aroma.
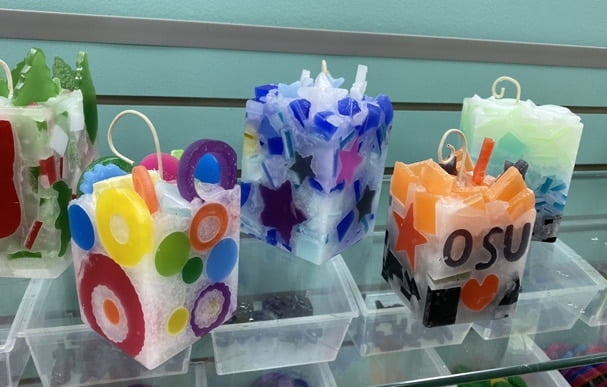
Another option would be to change the shape of the gel candles. If you have different molds available, then you can create round, square or even novelty shaped candles. To add color, use dye flakes that dissolve easily in hot wax and liquid dyes for coloring the gels. Try out different combinations to see what funky creations you can come up with! For festive occasions such as Christmas or Easter, you could try combining glitter with bright dyes in order to make your candles twinkle and sparkle when lit.
For those who want something a little more fancy and decorative, why not check out self-adhesive stickers or patterns? These are available in all kinds of shapes, sizes and designs which makes it easy to customize each candle individually. Alternatively, you could use wax chips along with pastel shaded wax pencils in order to design any type of pattern on your candles. Last but not least, consider adding dried flowers or herbs into your melted wax prior to filling each mold ” these look amazing when placed inside finished gels!
Wrapping Up
When you’re finished making your gel candle, take a moment to admire the beauty of your creation. Even if it’s not perfect, simply having accomplished such a project can be a rewarding experience and is an accomplishment that you should celebrate.
Once you are happy with your candle and want to display it, there are many options available. Gel candles look great placed in glass jars on shelves to show off the vibrant colors within. If at all possible, keep it away from drafts and direct sunlight so the scent doesn’t fade away too quickly. In contrast, they also make divine centerpieces when the jar is wide enough to hold items around the outside of it such as flowers or shells!
For further reading about gel candles other than these instructions, CandleScience has some helpful tips for newbie candlemakers as well as advice on troubleshooting common issues with gel candles such as softening wax or cloudy observations throughout the jar. Enjoy learning and experimenting for hours on end with this fun craft activity!

Welcome to my candle making blog! In this blog, I will be sharing my tips and tricks for making candles. I will also be sharing some of my favorite recipes.


