Home candle making made easy is a popular trend that has been on the rise in recent years, as more and more people are discovering the joys of creating their own candles right in the comfort of their homes. Not only is it a fun and creative hobby, but it also allows you to customize your candles with unique scents, colors, and designs.
In this article, we will explore the step-by-step process of making candles at home, from gathering the necessary materials to pouring the wax into molds.
One of the key benefits of home candle making is the ability to control what goes into your candles. By choosing high-quality materials such as wax, wicks, and fragrance oils, you can ensure that your candles burn cleanly and emit a pleasant aroma. Additionally, making your own candles allows you to personalize them according to your preferences, whether you prefer soothing lavender scents or vibrant colored candles to match your décor.
In the following sections, we will delve into the essential materials needed for candle making, provide a detailed guide on how to make candles at home, discuss important safety precautions to follow when working with hot wax and open flames, explore different candle making techniques, explain how to choose the right wax for your project, and offer tips on customizing and troubleshooting your candles. Join us on this creative journey into the world of home candle making.
Materials Needed
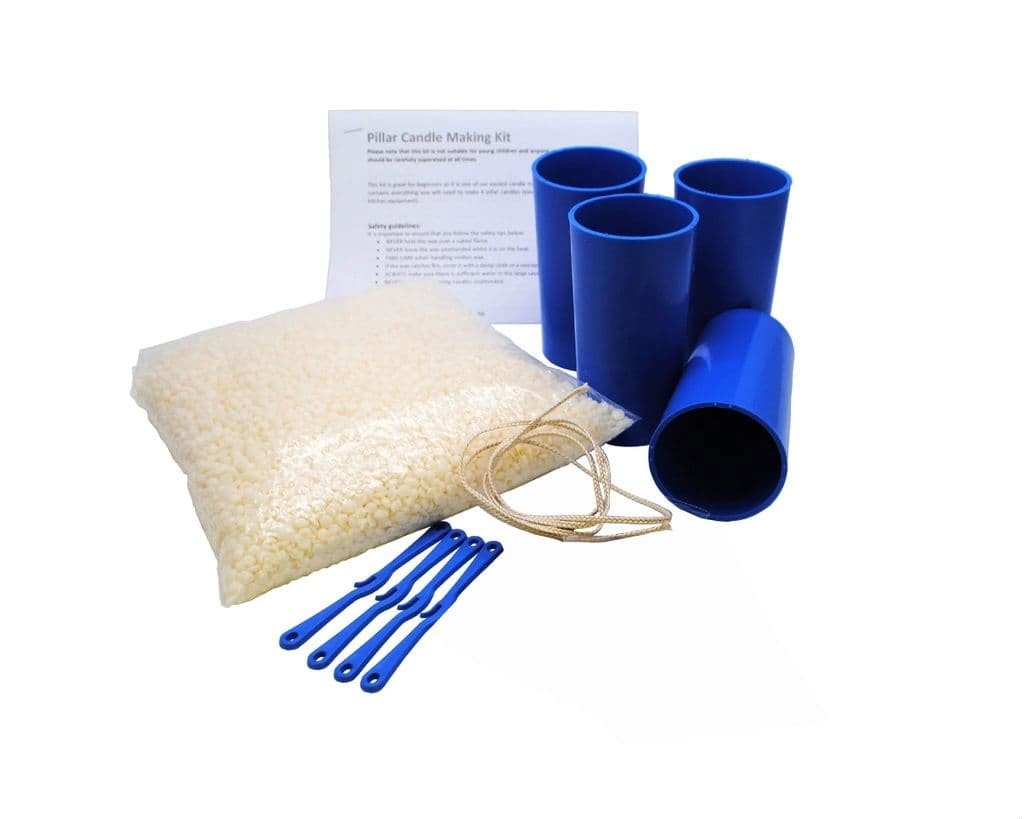
When it comes to home candle making made easy, having the right materials is essential to your success. Here is a comprehensive list of the essential items you will need to create beautiful and aromatic candles in the comfort of your own home:
- Wax: The foundation of any candle, wax comes in various types such as paraffin, soy, and beeswax. Choose the type that best suits your preferences and project needs.
- Wicks: These are crucial for creating a stable flame in your candles. Make sure to select wicks that are appropriate for the size of your container or mold.
- Fragrance Oils: To add delightful scents to your candles, opt for high-quality fragrance oils specifically designed for candle making. Experiment with different scents to personalize your creations.
- Containers: Whether you prefer glass jars or metal tins, choose containers that are heat-resistant and suitable for holding melted wax. Ensure that they are clean and dry before pouring your wax mixture.
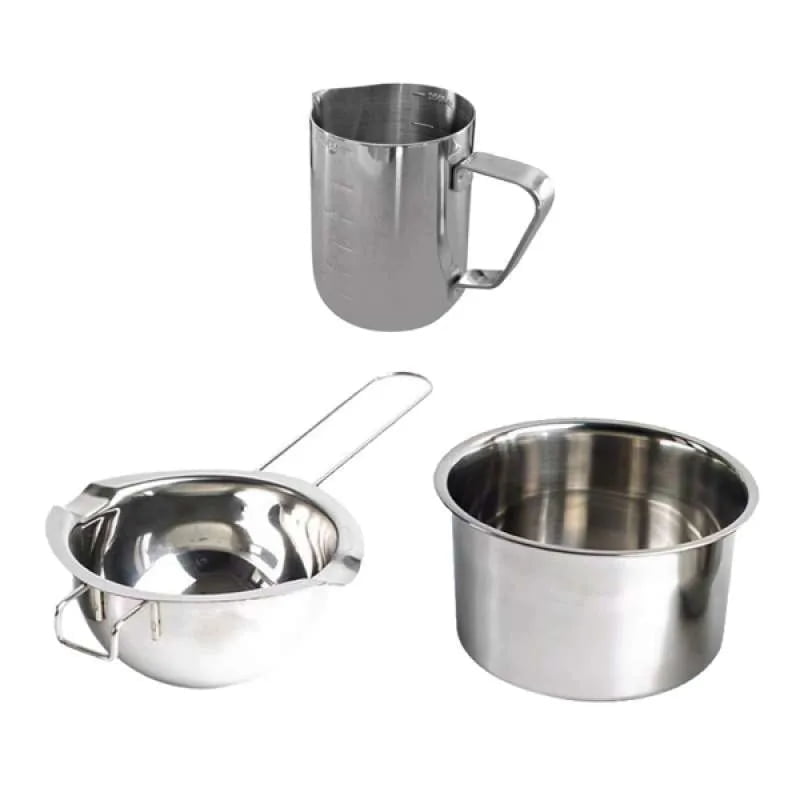
In addition to these basic materials, you may also want to consider investing in tools such as a double boiler for melting wax, a thermometer to monitor temperature, and a stirring utensil for mixing in fragrance oils. By gathering all the necessary supplies beforehand, you can streamline the candle making process and focus on unleashing your creativity.
Once you have assembled all the required materials, you are ready to embark on your candle making journey at home. With attention to detail and a touch of imagination, you can craft unique and customized candles that reflect your personal style and scent preferences. Get ready to enjoy the therapeutic experience of creating your own homemade candles while filling your space with inviting fragrances.
Step-by-Step Guide
Candle making is a delightful and fulfilling hobby that allows you to create your own customized candles right in the comfort of your home. With the right materials and a bit of creativity, you can produce beautiful candles that not only look fantastic but also smell amazing. Here is a step-by-step guide to help you navigate through the process of making your very own homemade candles.
- Prepare your work area: Before starting, make sure to set up a clean and organized workspace. Lay down newspapers or a plastic tablecloth to protect your surfaces from any spills or drips.
- Choose your wax: Select the type of wax you want to use for your candles, such as soy wax, beeswax, or paraffin wax. Each type of wax has its own unique properties and melting points.
- Melt the wax: Place the desired amount of wax in a double boiler or microwave-safe container and heat it until it is completely melted. Be cautious when handling hot wax to avoid burns.
- Add fragrance oils: Once the wax is melted, remove it from heat and stir in your preferred fragrance oils. Be sure to add the fragrance slowly and mix well to ensure an even distribution of scent throughout the candle.
- Prepare the wicks and containers: Attach the wick to the bottom of your container using adhesive or by dipping it in melted wax. Make sure the wick stands upright in the center of the container before pouring in the melted wax.
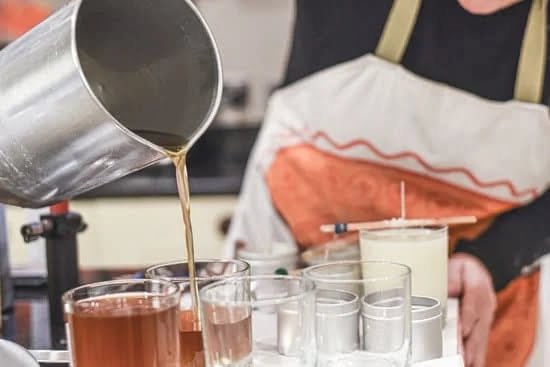
- Pour into molds: Carefully pour the scented wax into your chosen molds or containers. Leave some space at the top to allow for shrinkage as the candle cools and solidifies.
Creating homemade candles can be both therapeutic and rewarding. By following these simple steps, you can unleash your creativity and craft stunning candles that will enhance any room with their warm glow and inviting fragrance.
Home candle making made easy allows you to personalize every aspect of your candles, from choosing scents that reflect your taste to selecting unique colors and decorations that suit your style. Give it a try, and soon enough, you’ll find yourself immersed in this enchanting craft.
Safety Precautions
Importance of Safety Precautions
When engaging in home candle making made easy, it is crucial to prioritize safety precautions to prevent accidents and injuries. Working with hot wax and open flames can pose risks if proper measures are not taken. By following safety guidelines, you can enjoy the candle making process without any mishaps. Always remember that safety should be the top priority when creating candles at home.
Protective Gear and Equipment
One of the essential safety precautions when making candles at home is to wear appropriate protective gear. This includes heat-resistant gloves to protect your hands from burns while handling hot wax and a long-sleeved shirt to prevent any accidental spills on your skin.
Additionally, using tools like a thermometer, heat-resistant containers, and a fire extinguisher nearby can help in case of emergencies. Ensuring a clean and organized workspace free from clutter or flammable materials is also important for a safe candle making environment.
Avoiding Fire Hazards
Another critical aspect of safety during home candle making is practicing fire prevention techniques. Keep flammable items away from your workspace, such as paper towels, curtains, or loose clothing. Never leave melting wax unattended on heat sources like stovetops or hot plates to avoid accidental fires.
Always have a designated area for cooling and pouring the melted wax where it won’t come into contact with anything combustible. By being vigilant and cautious, you can create beautiful candles at home without compromising safety.
Candle Making Techniques
Container Candles
Container candles are a popular choice for beginners in the art of candle making. This technique involves pouring melted wax directly into containers, such as jars or tins, to create the finished product.
One benefit of container candles is that they are easy to make and require fewer materials compared to other candle types. To make container candles at home, you will need wax, wicks, fragrance oils, a heat source for melting the wax, and containers to pour the wax into.
Pillar Candles
Pillar candles are another common candle making technique that allows for endless creativity. These candles are created by pouring wax into molds without a container around them. Pillar candles can be made in various shapes and sizes, making them versatile for different occasions and decorations. When making pillar candles at home, it is essential to choose a high-quality mold that can withstand the hot wax and allow for easy removal once the candle has set.
Taper Candles
Taper candles are long, slender candles that are perfect for creating an elegant ambiance in any setting. This candle making technique involves using molds or dip methods to create long tapering candles with pointed tips. Taper candles require special attention when it comes to wick placement and straightening to ensure they burn evenly and safely.
With practice and patience, making taper candles at home can be a rewarding experience that adds a touch of sophistication to your decor. Experiment with different colors and fragrances to customize your taper candles according to your style preferences.
Choosing the Right Wax
When it comes to home candle making, choosing the right wax is crucial in achieving the desired results for your candles. There are several types of candle wax available, each with its own unique characteristics and benefits. The most commonly used waxes for home candle making are paraffin wax, soy wax, beeswax, and palm wax. Each type of wax has its own pros and cons, so it’s essential to understand them before selecting the best one for your project.
Paraffin wax is a popular choice among beginners due to its affordability and ease of use. It provides a clean burn and excellent scent throw when combined with fragrance oils. Soy wax, on the other hand, is known for being environmentally friendly as it is made from soybean oil.
Soy candles tend to have a longer burn time and emit less soot than paraffin candles. Beeswax is a natural option that offers a warm glow and natural honey scent when burned. It is also known for its air-purifying properties.
Palm wax is derived from palm tree oil and creates beautifully crystalline patterns on the surface of candles. It has a unique texture and appearance that sets it apart from other types of waxes. When choosing the right wax for your home candle making project, consider factors such as cost, burn time, scent throw, and personal preferences. Experimenting with different waxes can help you discover which one works best for your specific needs and creative vision for your homemade candles.
Customizing Your Candles
When it comes to home candle making made easy, one of the most exciting aspects is the ability to customize your candles according to your preferences. Adding a personal touch to your candles not only allows you to create unique pieces but also makes the process more enjoyable and fulfilling.
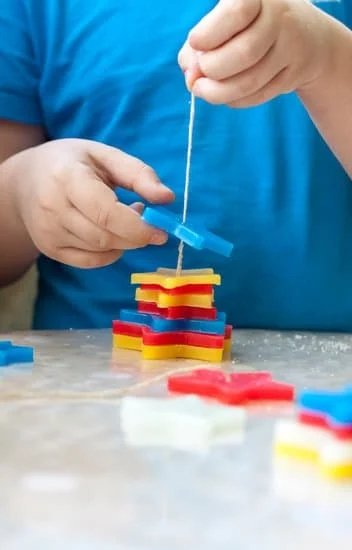
One way to personalize your candles is by choosing colors that reflect your style. Whether you prefer vibrant hues or soft pastels, there are various dye options available that can help you achieve the perfect color for your candles.
In addition to selecting colors, scents play a significant role in customizing candles. Fragrance oils come in a wide range of options, from floral and fruity scents to exotic blends and seasonal aromas. By carefully choosing the right fragrance oils for your candles, you can create delightful scents that fill your space with warmth and relaxation. Experimenting with different combinations of scents can add a unique element to your candle-making experience.
Furthermore, decorations offer another layer of customization when making candles at home. From using glitter and dried flowers to incorporating decorative ribbons or charms, there are endless ways to embellish your candles and make them stand out.
These decorative elements not only enhance the visual appeal of your candles but also allow you to express your creativity and personality through each piece. By exploring various decoration techniques, you can transform ordinary candles into stunning works of art that make perfect gifts or additions to your home décor.
| Topics Discussed | Details |
|---|---|
| Color Customization | Select vibrant hues or soft pastels with dye options |
| Scent Selection | Choose from a wide range of fragrance oils for delightful aromas |
| Decoration Techniques | Explore glitter, dried flowers, ribbons, or charms for unique candle designs |
Troubleshooting Tips
One common issue that candle makers may encounter during the candle making process is uneven burns. This can occur when the wick is not centered properly within the candle, causing it to burn unevenly and potentially tunnel down the center. To prevent this issue, ensure that the wick is placed in the center of the container before pouring the wax.
You can use a wick holder or adhesive to keep it in place while the wax solidifies. Additionally, choosing the right size wick for your container size can also help achieve an even burn.
Another problem that beginners often face is air bubbles forming on the surface of their candles. These unsightly bubbles can affect the appearance of your finished product. To avoid air bubbles, make sure to gently tap and swirl the container after pouring in the wax to release any trapped air. Consider using a heat gun or hairdryer on low setting to gently warm up the surface of the candle and smooth out any imperfections.
Lastly, frosting is a common issue that occurs when white patches form on the surface of candles made from soy or natural waxes. While frosting does not affect the burn quality of the candle, it may not be aesthetically pleasing for some crafters.
To minimize frosting, try using a heat gun to carefully melt and smooth out any imperfections on top of your candle before it completely solidifies. Experimenting with different temperatures and cooling methods can also help reduce frosting in your home candle making projects.
| Common Issue | Solution |
|---|---|
| Uneven burns | Ensure proper wick placement and size, consider using a wick holder or adhesive |
| Air bubbles | Gently tap/swirl container after pouring wax, use heat gun/hairdryer to remove air bubbles |
| Frosting | Use heat gun to smooth out imperfections, experiment with different cooling methods and temperatures |
Conclusion
In conclusion, home candle making is not only a creative and rewarding hobby but also a practical skill that allows individuals to customize their own candles to match their preferences. By following the step-by-step guide outlined in this article and having the essential materials on hand, anyone can easily start making candles at home. The process of making candles brings a sense of accomplishment and satisfaction as you see your creations come to life.
Furthermore, exploring different candle making techniques such as container candles, pillar candles, and taper candles can help you discover new ways to express your creativity. Choosing the right wax for your project is crucial, as it can affect the quality and burn time of your candles. Personalizing your candles with unique colors, scents, and decorations adds a personal touch that makes them truly one-of-a-kind.
In essence, home candle making made easy offers a wonderful opportunity to get started on a fun and fulfilling crafting journey. Whether you are a beginner or have some experience in candle making, there is always room for experimentation and improvement. So why not gather your materials, light up your creativity, and embark on this exciting endeavor today? Explore the world of home candle making and let your imagination shine bright through handmade candles.
Frequently Asked Questions
How Do You Make a Candle for Beginners?
Making a candle for beginners involves gathering the necessary materials such as wax, wicks, fragrance oils, and a container. Melt the wax using a double boiler, add fragrance oil if desired, place the wick in the container, pour the wax carefully, and let it cool.
What Are the Best Ingredients for Homemade Candles?
The best ingredients for homemade candles depend on personal preference and the type of candle you want to create. Some popular choices include soy wax for clean burning, beeswax for a natural option, essential oils for fragrance, and dye chips for coloring. Experimenting with different combinations can help you find what works best for you.
What Is the Easiest Candle Wax for Beginners?
The easiest candle wax for beginners is often soy wax or paraffin wax. Soy wax is beginner-friendly because it has a low melting point and is easy to work with. Paraffin wax is another good option as it is readily available and inexpensive. Both types of wax are versatile and can produce high-quality candles with practice.

Welcome to my candle making blog! In this blog, I will be sharing my tips and tricks for making candles. I will also be sharing some of my favorite recipes.


