Introduction
The art of candle making has been around for centuries. Candles have a unique symbolic significance and have played important roles in religious rituals, wartime activities, and birthday celebrations. The oldest known candles are believed to be made by the ancient Egyptians, who used natural materials such as beeswax to make them. As time went on, candle makers began experimenting with fragrances and colors to create decorative effect and enhance the appeal of their work.
Today, making your own multi-colored candles can be an enjoyable and creative hobby that is both satisfying and rewarding. By learning the basics of how to craft multi-colored candles, you can express yourself through the varied colors and styles available. Plus, creating unique candles from scratch gives you great satisfaction in knowing you created something beautiful from start to finish. In addition to being able to customize the look of each of your candles with various color combinations, DIY candle makers can even add essential oils or dye their wax for additional scents or colorings.
Exploring the Different Types of Candle Wax & Wicks
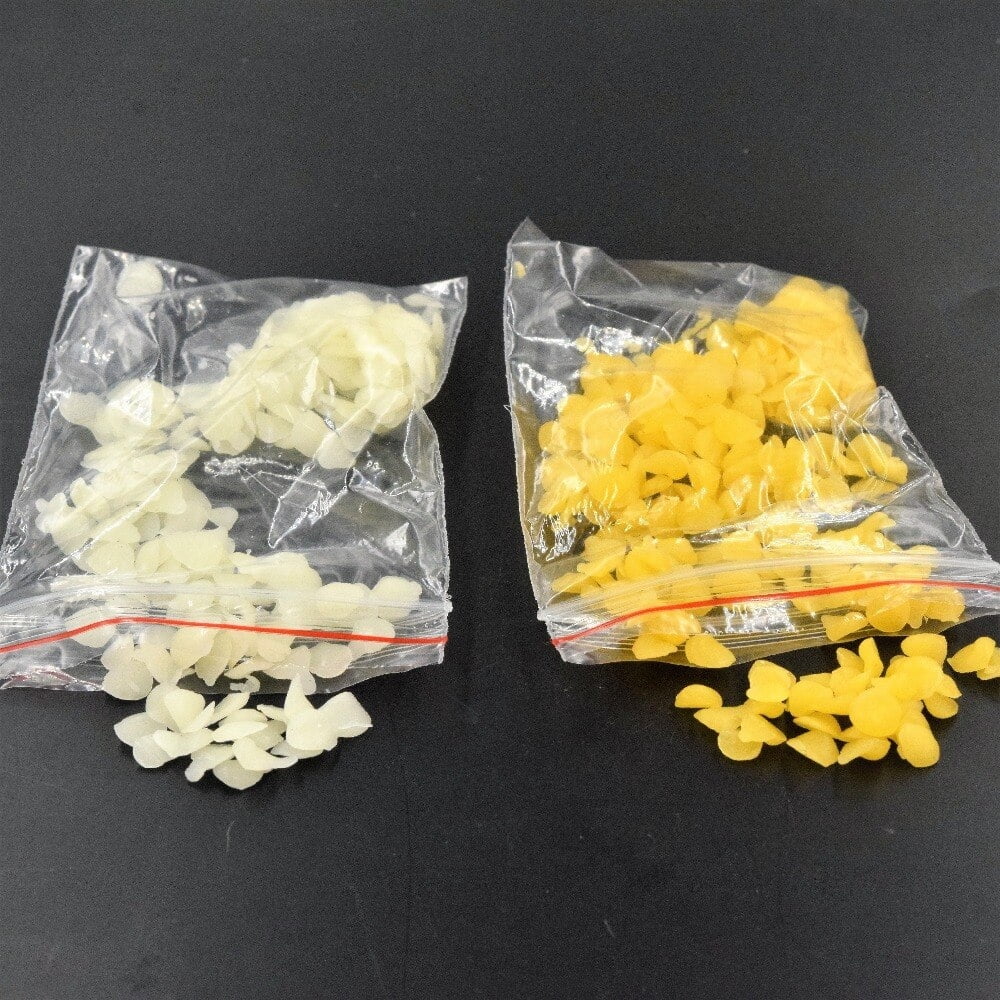
Making multi colored candles involves more than simply selecting the colors you want. Different types of candle wax and wicks have different properties that can impact the colors, so it’s important to keep all of these factors in mind when beginning your project. There are three main types of candle wax: paraffin, beeswax and soy wax. Paraffin is a petroleum-based product with a high melting point and good scent retention properties, making it ideal for color-dipped candles. Beeswax is naturally occurring, making it the perfect choice for those looking for eco-friendly options. Beeswax has natural scents and colors, which can be fully appreciated in Pillar or Tea Light candles. Soy wax is a vegetable-based wax that can accept many colors depending on the mica used. Whichever type of wax you choose, be sure to select a suitable wick ” often made from cotton or paper ” to ensure your desired result. The size of the wick should reflect the size of your mold as burning rate increases with larger wicks and shorter flames tend to be generated by smaller wicks. Generally speaking, pillar candles will require coreless or zinc core wicks and container candles will use flat braids or square braid wicking material due to their stronger structure. Knowing these details ahead of time will equip you with all the knowledge and confidence required to make beautiful multi colored candles!
Gathering Supplies
To make multi-colored candles, you will need a few supplies and pieces of equipment. To start off, you will need wax, wicks, dye, a thermometer, wick clamps, hot glue gun, a double boiler or wax melter(s) depending on how many colors of wax you want to work with at one time; candle jars and containers for the final product. Additionally, it may be beneficial to pick up safety goggles and heat resistant gloves as well.
For purchasing these items, there are plenty of stores that offer them both in person and online. Local hobby stores such as Michaels offer a variety of candle making supplies. Big box stores like Walmart and Target may also offer some items more affordably than specialty stores. If looking for bulk supplies for candle-making projects or specific dyes or scents for candles, shopping online at websites like Amazon is often the best way to find just what you’re looking for with competitive pricing options. Additionally there are several candle making supply distributors thatare available and specialize in selling only products related to candle making from all different types of waxes to scent oils and dyes.
Detailed Instructions for Preparing and Melting the Candle Wax
1. Gather the wax and supplies needed for your multi colored candles. You will need wax, dye chips, a double boiler and wicks.
2. Begin by setting up your double boiler on the stove top over medium heat. Once the water is simmering, slowly add in pieces of wax until it melts completely.
3. Meanwhile, prepare your dye chips by adding them to separate containers or measuring cups. Start with small amounts in each one; you can always add more if necessary later on. The amount will depend on the intensity of color you want for your candles.
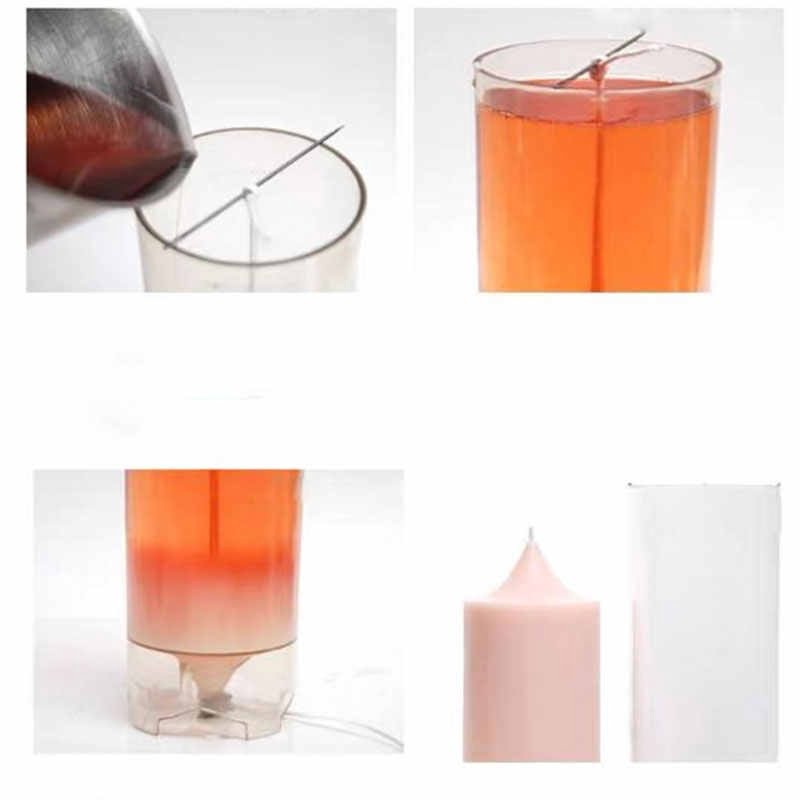
4. Once all the wax is melted and liquid, carefully pour it into each container or measuring cup with its corresponding dye chip color in it. Stir each one until the desired shade has been achieved before pouring it into molds or jars, warmed ahead of time to ensure there are no air bubbles in the mix.
5. Place another spoonful of melted wax over each color layer within the jar to create those pretty swirls that give these candles their unique look and style. You can also add a decorative touch to the final step with some accessories such as dried flowers of jewels for added flair when poured into molds with multiple layers per mold (this helps separate colors from one another).
6 Lastly add a pre-waxed candle wick cut at an appropriate size according to height/diameter of candles finished composition; this makes sure that all colors are connected together along the entire length before solidifying giving them a unified aesthetic once complete
Adding Color to the Candle Wax
Making multi-colored candles is easier than you may think. After selecting a desired shape and size, the key is to find candle wax that allows for color additions. Typically, this wax is specifically labeled as “Colored Candle Wax.” Utilizing premade blocks of colored wax helps ensure consistent results in the finished product. Additionally, by using the drops or flakes of these blocks of wax, a wider range of shades can be produced with each block.
To incorporate the color drops or flakes into your melt pot (or double boiler), uniformly spread out a portion of your chosen base wax across the depth and width of your melt pot prior to introducing the colored pieces. If using a block form for coloring, cut into small pieces before adding it to the desired shade intensity ” this prevents further melting due to intense heat once added to other base or melted waxes. The addition of colored drops/flakes should then be blended evenly into the melted base in order for an even swirling around and throughout individual poured candles. A bamboo skewer works great for blending during and post-pouring if desired.
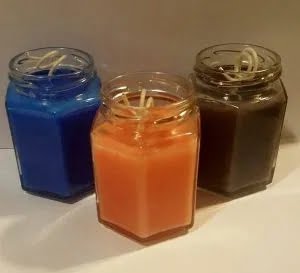
For layering effects, let the first layer cool initially before introducing additional colors onto its surface area ” this will help ensure stability between layers when beeswax is used as the main ingredient choice ” all while allowing individual sections of differing hues being created within each candle.
Crafting the Multi Colored Candles
Step1: Gather your materials.
You’ll need a variety of soy wax flakes,pour pot and thermometer(if you plan on pouring the candle),wick tabs and wicks (which determine the size of your candle) , glass jars or tins, and a variety of dye blocks depending on what colors you want to use.
Step 2: Prepping the jars/tins. Attach the wick tabs to the wick for easy placement in your jar or tin. Place a small amount of wax flakes in each container. Secure the wick to the bottom with a wick tab so that it is centered nicely in the container
Step 3: Melting Wax Flakes. Place pour pot over stovetop on low heat to begin melting soy wax flakes. Carefully monitor temperature with thermometer until it reaches 170-175F (77-79C). Remove from heat source and prepare to add colorant and fragrance if desired
Step 4:Creating Colors & Blending Fragrances.Add various amounts of different colorants into wax, one at a time, stirring gently before adding next colorant until desired effect is achieved Once all colors have been added together, drop in a few drops of fragrance oil or essential oils into liquid wax until desired effect is created
Step 5: Pour Liquid Wax Into Jars/Tins Slowly. Make sure not to fill too high as this can cause burning issues while burning candles later! Allow plenty of room between cover rim or risk spilling over when lid is placed on top
Step 6: Clean Up & Curing Process Allow newly poured candles to cure for 24 – 48 hours before utilizing . Be sure to clean your tools with warm water and soap for reuse at another time !
Curing the Multi Colored Candles + Tips for Preserving Them
Making multi colored candles is easy and can be very decorative. First, melt the wax for your candle in a pot over low heat so you don’t scorch it. Once it has become liquid, use a wooden stir stick to mix in different colors of dye. Make sure each color is evenly distributed throughout the wax. You can also add any desired fragrances you want by adding drops of essential oil to the wax. Once finished, vigorously stir for two minutes or so before pouring it into pre-made molds or other containers that you have prepared beforehand. Once fully cool and solid, pop out your new multi colored candle from its mold or container.
Curing your multi colored candles can help them last longer. One way to do this is to keep them out of direct sunlight; they should only be exposed when occasionally used or displayed. Also, every few months, use a razor blade to remove any excess buildup of solidified wax around the wick and inside the area where the flame burns. Additionally, ensure the candles are burning properly by trimming the wicks between each burn time – this will help preserve your candle’s overall appearance and prevent dripping. Consider treating them with a light coat of petroleum jelly once in awhile as well; this will prevent cracking while increasing their overall lifespan considerably. Finally, store them upright away from heat sources and drafts – this will also allow them to burn more evenly, which keeps them looking great!
Must-Know Advice for Crafting Multi Colored Candles
Making multi colored candles at home can be an enjoyable and satisfying craft. There are a few key points to keep in mind to create the best-looking and longest lasting multi colored candles.
Firstly, when it comes to choosing waxes and dyes, don’t underestimate the importance of quality materials. Low-grade waxes won’t melt evenly and will result in poor color blending and poor finished product, while the wrong type of dye can clump or not blend properly which can be an eyesore. So, choose high-quality materials for the best results.
Secondly, when layering different colors in your candle it is important to take breaks between each layer as otherwise the heat from previous layers will interfere with subsequent layers leading to them becoming mixed together. To avoid this issue make sure that you allow your candles to cool completely in between layering colors for optimal results.
Thirdly, it’s essential that you remember to use a wick that is compatible with the diameter of your candle or else you could end up with an unevenly burning candle or a flame that is too small or large for the size of your candle. Use unbleached natural cotton wicks which have no additives that could reduce performance or present problems when burning.
Finally, after crafting your multi colored candles try not to store them in direct sunlight as ultra violet rays can cause fading and discoloration over time so always store them in a dry place away from any form of direct light source such as windows etc.. Also avoid extreme temperatures if possible as drastic temperature changes can also lead to poor performance of both the waxes used and any added fragrances causing them not only to look bad but smell bad too!
Conclusion
Making multi-colored candles is a fun and rewarding craft project. With a few simple supplies, you can make beautiful and unique candles that will last for years to come. Start by melting wax flakes in a double boiler over low heat. Once the wax is melted, carefully add dye for your desired color and stir to combine. Pour the wax into your molds, and wait for it to cool until firm before unmolding. Add wicks to your moulds and then secure firmly in place with a wick holder. Finally, light your full collection of colorful candles and enjoy their ambiance! In addition to changing the colors of your candles while crafting, there are endless other possibilities ” such as scenting or glittering – that can be explored in order to create even more creative takes on this classic craft project. Enjoy!

Welcome to my candle making blog! In this blog, I will be sharing my tips and tricks for making candles. I will also be sharing some of my favorite recipes.


