Making Your Own Wicks For Candles: What You Need to Know
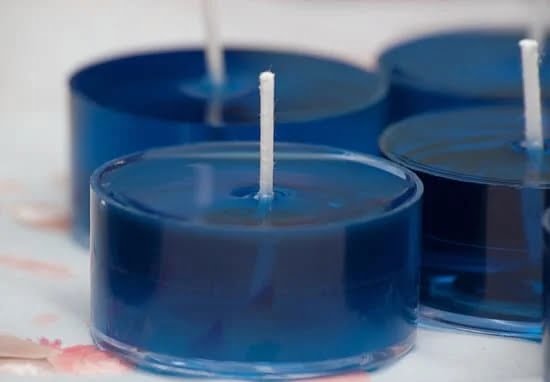
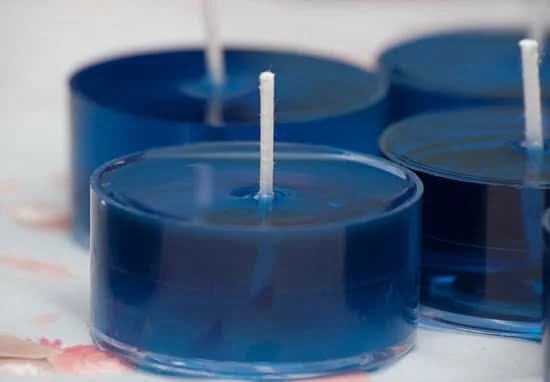
Making your own wicks for candles is a great way to save money and achieve that unique look for your candles. If done correctly, you will be sure to have beautiful home-made candles that emit the perfect glow. Here is all you need to know about when it comes to crafting your own wicks for your DIY candles.
Getting the Right Materials
When it comes to crafting your own wicks for candles, you will need the following materials to get the job done:
- Cotton String – This is an absolute must when it comes to making your own wicks!
- Scissors – Opt for small, sharp scissors; this will help you in making a neat and precise cut.
- Wick Sustainer – This will help keep your wick in place and it should be available at your local craft store.
- A Ruler – This will help in cutting even and perfectly sized wicks.
Where to Source the String
When sourcing the required type of string for your wick, there are a few popular materials to consider. Depending on what type of candle you are creating and the type of look you are going for, your decision may vary. Here are some of the best materials to choose from for your project:
- Cotton – This is your best bet for a safe, strong and long-lasting wick. Cotton wicks are also readily available and relatively inexpensive, making them a popular choice.
- Nylon/Polyester – These materials are perfect for use with soy and gel waxes. They are safe to use and can help keep your wick in place.
- Synthetic Fibers – Synthetic fibers such as vinyl and acrylic are popular options for use with paraffin waxes. These materials help ensure your wick will not sag, making them ideal for this type of wax.
Making Your Own Wicks
Now that you have the right supplies and materials necessary to make your own wicks for candles, let’s get started. Here is a step-by-step guide to making your own wicks for candles:
- Measure and cut the required length of cotton string. Using a ruler, measure and cut a length of string according to the length of your candle. For larger candles, you may need to use multiple strings.
- Attach a tab-style wick sustainer to one end of the cotton string. Use a pair of pliers to crimp the tab in place.
- Attach the other end of the string to your candle. It is recommended to tie the string securely in a few places around the candle.
- Mold the string around the candle while the wax is still hot. Use a spoon to gently form the wick to the shape of the candle.
- Once the wax has cooled and set, you can trim the wick to the desired length.
Tips for Creating the Perfect Wick
Here are a few additional tips for creating the perfect wick for your candles:
- Make sure to purchase the right type of material for the type of wax you are using.
- Always use sharp scissors when cutting the string.
- Use hot wax to help secure the wick and make sure it is standing upright.
- Test the wick to ensure it is the right length and strength before finishing your candle.
There you have it! You now have all the tips, tricks and information necessary to make your own wicks for DIY candles. With some practice and patience, you will be sure to have beautiful home-made candles that emit the perfect glow. Good luck!

Welcome to my candle making blog! In this blog, I will be sharing my tips and tricks for making candles. I will also be sharing some of my favorite recipes.


