Are you looking to delve into the world of crafting beautiful and aromatic jar candles? Whether you’re a beginner or experienced candle maker, these jar candle making tips will help you create stunning creations. From choosing the right wax to adding personalized touches, this guide will walk you through the essential steps in creating your own jar candles.
When it comes to jar candle making, there are key elements to consider for a successful and enjoyable experience. From selecting the appropriate supplies to mastering pouring techniques, understanding the basics is crucial. This article will provide you with the fundamental knowledge needed to kickstart your journey into crafting unique and personalized jar candles that fill your space with delightful scents.
With an array of wax options available, it’s important to choose the right type that suits your desired candle characteristics. Understanding the benefits and differences between various waxes will impact the outcome of your jar candles. By exploring different types of wax and their properties, you can make informed decisions that align with your vision for creating beautifully crafted jar candles.
Choosing the Right Wax for Jar Candles
When it comes to making jar candles, choosing the right wax is essential for achieving the desired results. There are various types of wax available in the market, each with its own set of benefits and characteristics. One of the most commonly used waxes for jar candles is soy wax.
Soy wax is a natural and renewable resource, making it an eco-friendly choice. It also has a lower melting point, which allows for a longer burn time and better scent throw.
Another popular option for jar candles is paraffin wax. Paraffin wax is known for its excellent scent throw and ability to hold color well. However, it is not a natural product like soy wax and may not be as environmentally friendly.
Beeswax is another type of wax that can be used for jar candles. Beeswax has a naturally sweet fragrance, making it ideal for scented candles. It also has a slow burn time and produces a beautiful, warm glow when lit.
In addition to these popular options, there are also specialty waxes available for jar candle making such as palm wax, coconut wax, and gel wax. These waxes offer unique characteristics that can add interest and creativity to your candle-making process. When choosing the right wax for your jar candles, consider factors such as burn time, scent throw, environmental impact, and personal preferences to find the best option for your specific needs.
| Type of Wax | Benefits |
|---|---|
| Soy Wax | Natural, renewable resource; Longer burn time; Better scent throw |
| Paraffin Wax | Excellent scent throw; Holds color well |
| Beeswax | Naturally sweet fragrance; Slow burn time; Beautiful glow when lit |
Essential Supplies for Jar Candle Making
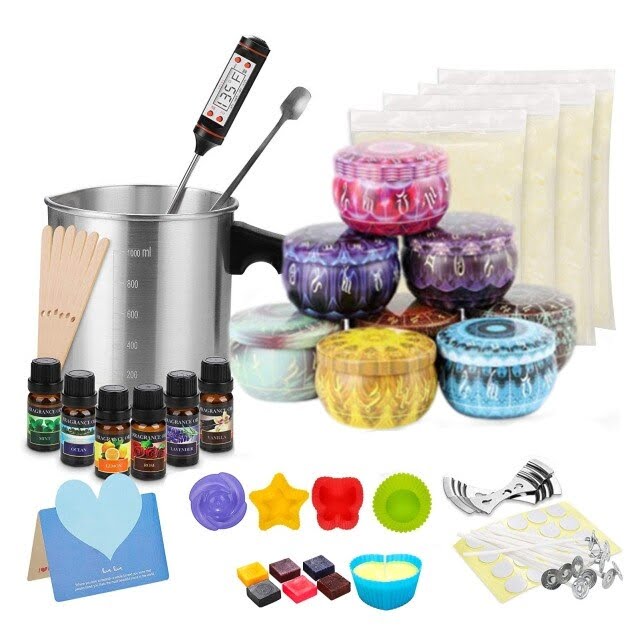
When it comes to creating beautiful and fragrant jar candles, having the right supplies is essential. By using high-quality materials, you can ensure that your candles turn out just the way you envision them. Here are some essential supplies you’ll need for successful jar candle making:
Quality Wax
The type of wax you choose will have a significant impact on the quality of your jar candles. Soy wax, paraffin wax, and beeswax are popular options among candle makers. Each type of wax has its own benefits and characteristics, so be sure to select one that suits your preferences and needs.
Wicks
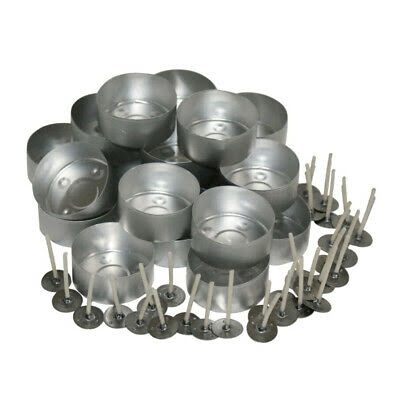
Wicks are crucial for candles to burn properly. It’s important to choose wicks that are the right size for your jars and the type of wax you’re using. Make sure to center the wick in the jar before pouring in the wax to ensure an even burn.
Fragrance Oils
Adding fragrance oils to your jar candles can elevate the sensory experience for anyone who lights them. There are a wide variety of scents available, from floral and fruity to woody and spicy. Be sure to choose high-quality fragrance oils specifically designed for use in candles.
In addition to these essential supplies, you’ll also need a double boiler or microwave-safe container for melting the wax, a thermometer to monitor the temperature, a heat-resistant stirring utensil, and a pouring pitcher for easy transfer of melted wax into jars. With these supplies on hand, you’ll be well-equipped to start creating your own stunning jar candles at home with ease.
Step-by-Step Guide to Preparing and Pouring Wax Into Jars
When it comes to making jar candles, a crucial step is preparing and pouring the wax into the containers. This process requires attention to detail and patience to ensure that your candles turn out beautifully. To begin, make sure you have all your supplies ready, including your choice of wax, fragrance oil, wicks, thermometer, and stirring utensil.
First, measure the amount of wax you will need for each jar candle based on the size of the container. It is essential to use a kitchen scale for accurate measurements. Next, melt the wax in a double boiler or microwave following the specific instructions for the type of wax you have chosen. Be sure to stir occasionally to help the wax melt evenly.
Once the wax reaches the proper temperature according to the manufacturer’s guidelines, it’s time to add your fragrance oil. Remember not to exceed the recommended fragrance load to avoid issues like poor burning performance. Stir gently but thoroughly to ensure that the scent is evenly distributed throughout the wax.
Finally, carefully pour the scented wax into each prepared jar, leaving some space at the top. Place your wick in the center and allow it to set undisturbed until fully cooled and hardened before trimming the wick and enjoying your beautifully crafted jar candle.
| Aspect | Details |
|---|---|
| Supplies Needed | Wax, fragrance oil, wicks, thermometer, stirring utensil |
| Melting Technique | Double boiler or microwave |
| Cooling Time | Allow it to set undisturbed until fully cooled and hardened |
Picking the Perfect Fragrance for Your Jar Candles
When it comes to creating the perfect jar candles, selecting the right fragrance plays a crucial role in the overall appeal of your creation. The aroma of a candle can evoke different emotions and set the mood in any room. Here are some tips and tricks to help you pick the perfect fragrance for your jar candles:
- Consider the purpose: Think about where you plan to use the candle and what ambiance you want to create. For example, soothing scents like lavender or chamomile are perfect for a relaxing bedroom, while invigorating scents like citrus or mint work well in a workspace.
- Experiment with combinations: Don’t be afraid to mix different fragrances to create unique scents that suit your preferences. Combining vanilla with cinnamon or eucalyptus with rosemary can result in delightful aromas that enhance your candle-making experience.
- Test before committing: Before pouring your wax into jars, it’s essential to test the fragrance by using scent strips or small samples. This allows you to experience how the scent develops when burned and ensures that you’re satisfied with the final product.
By keeping these jar candle making tips in mind, you can elevate your creations and delight your senses with beautiful fragrances that enhance any space. Whether you prefer floral, fruity, or spicy scents, experimenting with different fragrances adds a personal touch to your craft and makes each candle unique. So go ahead, unleash your creativity and explore the world of fragrance as you embark on creating stunning jar candles for yourself or as thoughtful gifts for loved ones.
Adding Color to Your Jar Candles
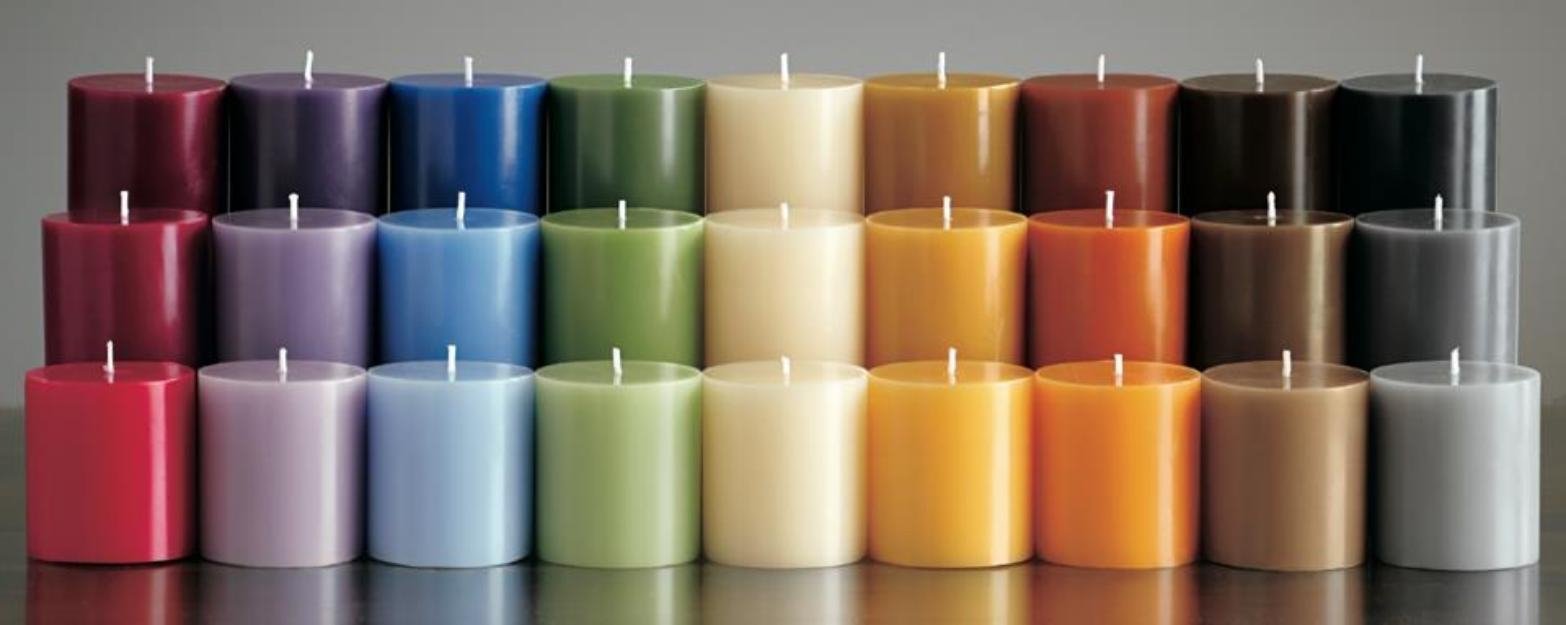
When it comes to making your own jar candles, adding color can really enhance the overall look and appeal of your creations. Whether you prefer vibrant and bold colors or subtle and soothing hues, there are various techniques you can use to achieve the perfect shade for your candles. Here are some tips and tricks for adding color to your jar candles:
- Liquid Dyes: One of the easiest ways to add color to your jar candles is by using liquid dyes. These are specially formulated dyes that mix easily with candle wax and come in a wide range of colors. Simply add a few drops of liquid dye to your melted wax and stir well until you achieve the desired shade.
- Wax Blocks or Chips: Another option for coloring your jar candles is to use wax blocks or chips. These solid forms of colored wax can be melted along with your regular wax, giving a more subtle and natural-looking hue to your candles. Experiment with different combinations of colored wax blocks to create unique color blends.
- Layering Colors: For a more visually appealing effect, consider layering different colors in your jar candles. This technique involves pouring different colored layers of wax into the jar one at a time, allowing each layer to cool before adding the next one. This creates beautiful multi-colored stripes or patterns in your finished candle.
Remember, when adding color to your jar candles, less is often more. Start with a small amount of dye or colored wax and gradually increase the intensity until you achieve the desired color saturation. Be sure to test a small sample first before committing to coloring an entire batch of candles, as colors can sometimes appear differently once the candle has fully set.
By experimenting with different coloring techniques and effects, you can create truly unique and personalized jar candles that reflect your style and taste. Whether you prefer soft pastels, rich jewel tones, or anything in between, adding color will undoubtedly elevate the visual appeal of your homemade creations. Get creative with your color choices and have fun exploring the endless possibilities for designing stunning jar candles that brighten up any space.
Troubleshooting Common Issues in Jar Candle Making
When it comes to making jar candles, like any craft, there can be some common issues that arise during the process. One of the most common problems is tunneling, where the candle burns down the center and leaves wax along the sides of the jar.
To prevent this, ensure that you are allowing the candle to burn long enough during each use so that the wax melts evenly across the entire surface. Additionally, using a larger wick size or trimming the wick before each use can help promote an even burn.
Another issue that may arise is frosting on your candles, which appears as a white or chalky appearance on the surface. This can occur when the temperature of the room or wax is too cold during cooling. To avoid frosting, try placing your jars in a warm area while they set to promote a smoother surface. You can also decrease the pour temperature of your wax when filling the jars to reduce frosting.
Lastly, sinking wicks can be a frustrating problem for many candle makers. This occurs when the wick moves off-center or gets stuck in one spot while burning, causing uneven melting and potential tunneling.
To prevent this issue, make sure to properly center your wicks before pouring the wax into the jar and consider using wick holders to keep them in place while they cool and set. By addressing these common problems with these simple solutions, you can create beautiful and high-quality jar candles every time.
Creative Decorating Ideas for Jar Candles
Decorating your jar candles can take them from ordinary to extraordinary, adding a personal touch and making them stand out as unique creations. Here are some creative ideas to help you personalize your jar candles and make them special gifts or decorative pieces for your home.
Ribbon and Trim
Adding ribbon or trim to the outside of your jar candles can instantly elevate their look. You can choose a ribbon that complements the color scheme of the candle or opt for something with a festive or seasonal theme. Simply glue the ribbon around the top of the jar or create a bow for a more decorative touch.
Custom Labels
Designing custom labels for your jar candles is another way to add a personal touch. You can print labels with personalized messages, names, dates, or even photos to make each candle unique. Consider using waterproof labels if you want to place the candles in areas where they may come into contact with moisture.
Embellishments
Embellishments such as charms, beads, shells, dried flowers, or small ornaments can be attached to the outside of the jars for added flair. Be sure to use heat-resistant glue suitable for glass surfaces when attaching embellishments to ensure they stay put when the candle is lit.
With these creative decorating ideas, you can transform your jar candles into one-of-a-kind pieces that reflect your personality and style. Whether you’re making them as gifts or for yourself, adding personalized touches will make your jar candles even more special and memorable. Experiment with different decorations and techniques to find what works best for you and enjoy the process of creating beautiful and uniquely decorated jar candles.
Safety Precautions and Best Practices for Making Jar Candles
When it comes to making jar candles, safety should always be a top priority. As you embark on your candle-making journey, it is essential to follow certain precautions and best practices to ensure a safe and enjoyable crafting experience. Remember that working with hot wax and open flames can pose risks if proper care is not taken.
One of the most important safety tips for jar candle making is to always work in a well-ventilated area. This will help prevent the buildup of fumes from the melting wax and fragrance oils, reducing the risk of respiratory irritation. Additionally, make sure to keep a fire extinguisher, baking soda, or sand nearby in case of a fire. It’s better to be prepared for any potential emergencies.
Lastly, never leave your melting wax unattended, as it can quickly overheat and become a fire hazard. Always follow manufacturer guidelines for recommended temperatures and heating times when working with wax.
By following these safety precautions and best practices, you can enjoy the art of jar candle making while keeping yourself and your surroundings safe.Remember that safety should always come first in any DIY project, especially one that involves hot wax and an open flame. By following these safety precautions and best practices for making jar candles, you can enjoy this creative hobby while ensuring a safe environment for yourself and those around you.
Frequently Asked Questions
How Do You Make the Perfect Jar Candle?
Making the perfect jar candle involves several key steps. First, choose high-quality wax and fragrance oils for optimal scent throw. Use the right wick size to ensure even burning. Properly heat the wax, add the fragrance oil at the correct temperature, and pour carefully to avoid air bubbles.
Should I Heat My Jars Before Pouring Candle Wax?
Heating jars before pouring candle wax can help reduce issues like frosting or adhesion problems. Preheating also prevents temperature shock, which can lead to cracks in the glass. By heating your jars, you create a warm environment for the wax to set evenly and adhere well.
How Do You Make Candles Smell Stronger When Making Candles?
To make candles smell stronger, consider using a higher concentration of fragrance oil within safe limits recommended by manufacturers. Adding essential oils or botanicals can enhance the scent profile. Properly curing your candles for at least a week can also intensify the fragrance when burned.

Welcome to my candle making blog! In this blog, I will be sharing my tips and tricks for making candles. I will also be sharing some of my favorite recipes.

