Introduction
Making a wine bottle drip candle is a fantastic craft project that not only looks amazing, but also makes your home smell wonderful. Plus, these candles can be made in any color and scent that you’d like to make them as unique as possible. In this guide, we will show you how to make your own wine bottle drip candle from start to finish.
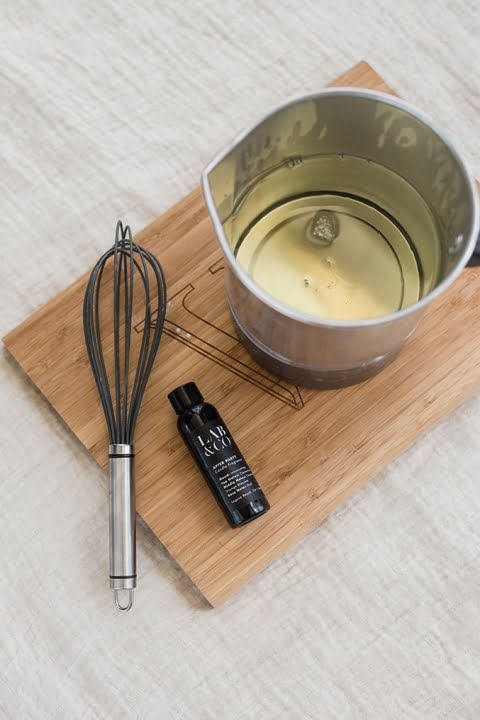
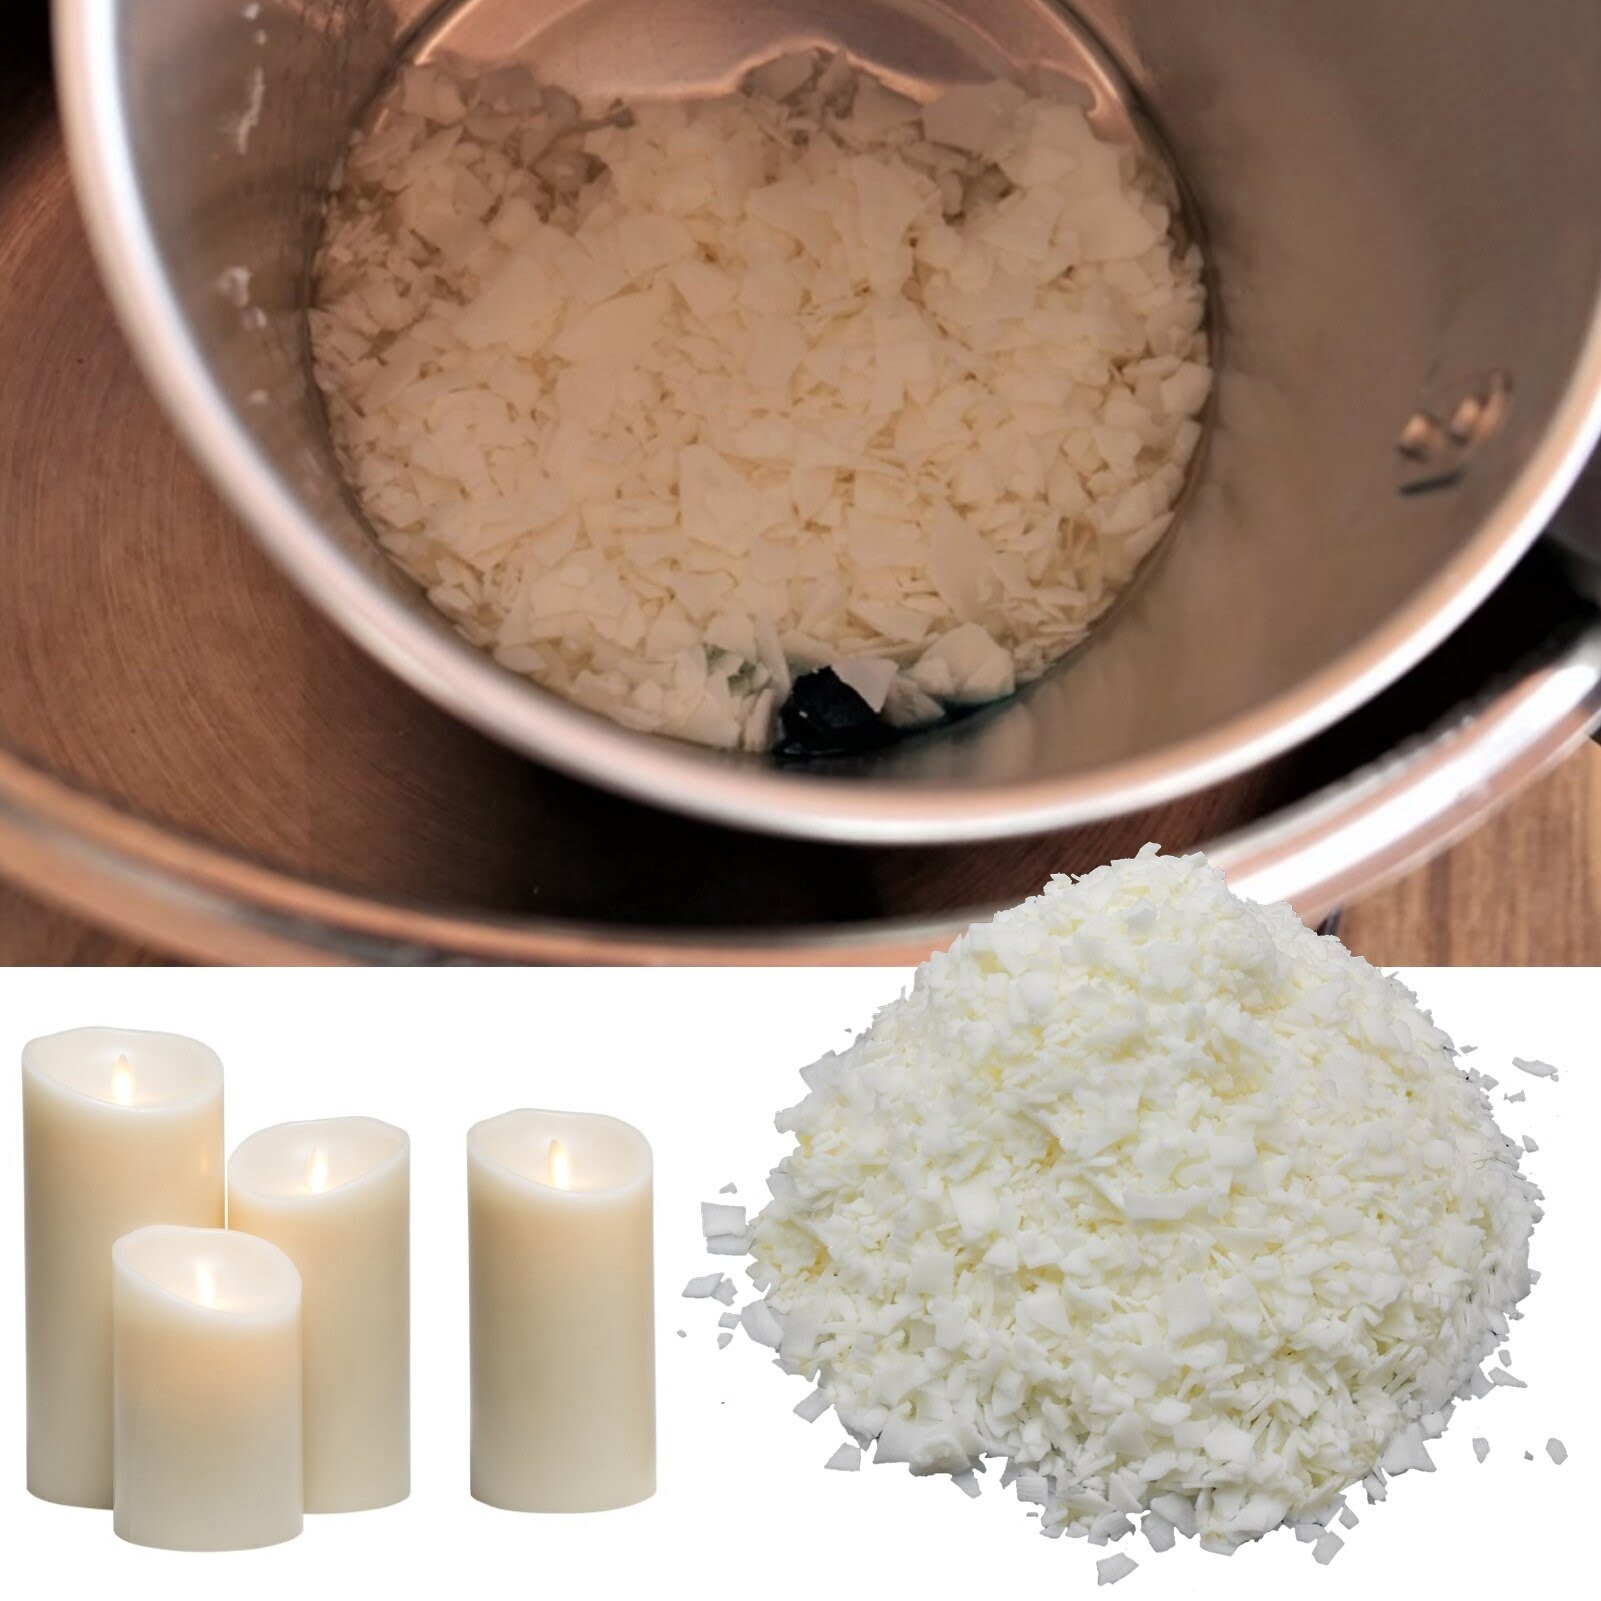
The first step is preparing the wine bottle and wax for the project. Before melting the wax, you should carefully clean and dry the inside of the empty wine bottle so that all potentially hazardous substances have been removed and there isn’t anything left behind that might react with the wax or melt. Once that is completed, remove any labels from the outside of the bottle if applicable. Next, measure out the desired amount of wax flakes and then slowly heat it up in a double boiler or over low heat using a pot on the stove until it has melted completely.
Now its time to add your desired colors and scents to make your candle unique. You can achieve different colors by mixing in food coloring powders or liquid dyes into melted wax – just be sure to mix thoroughly so there are no clumps or streaks left in your mixture. You can also customize your fragrance by adding essential oils directly into the melted wax before pouring it into the bottle.
Once all ingredients are ready, it’s time to pour your melted wax into the prepared wine bottle. Make sure to pour in small batches and allow some time for cooling between each one so that layers don’t merge together too much; this will make for an even more visually dynamic result when pouring tall bottles like a regular-sized Chardonnay bottle! Finally, once cooled-off completely (which can take around 8 hours), affix wicks at opposite sides of each other along with wick holders at their base before lighting them up! As always; be sure not use lit candles near flamm able materials!
What You Need To Know About Making A Wine Bottle Drip Candle
Making a wine bottle drip candle requires some preparations and precautions. Before beginning, it is important to ensure that you have the necessary tools and materials at your disposal, such as: a plastic container large enough to accommodate the bottle, a pot of boiling water, an old rag or towel, scissors, a utility knife or box cutter, candle wax dye, soy wax flakes or beads, essential oils (optional), and lastly a wick. Additionally, you will need safety gear such as protective eyewear and gloves.
The next step entails drilling small shallow holes around the neck of the bottle. This is best accomplished by using a utility knife or box cutter to score the outside of the bottle with 3-4 evenly spaced rings around its circumference before going in just deep enough with the knife tip to make indentations in the glass. Afterward, submerge the entire bottle in boiling water for 10 minutes to loosen all stuck debris inside of it followed by slowly cooling it down via running cold water over while holding it.
Once completed, you can begin filling it with soy wax flakes or beads after adding your desired amount of candle dye and fragrances like aromatherapy essential oils. Attaching a wick tab on top of your chosen wick and dropping it into position at center should come next. Lastly melt all ingredients together over low heat until completely melted before pouring the mixture quickly into your wine bottle vessel once achieved. Allow cooling time for several hours before trimming away any excess wax from around base of candle and lighting up!
Materials Needed
Making a wine bottle drip candle is an easy DIY project that can be done with very few materials. You will need a wine bottle, preferably one with the color of the candle wax you would like to create, a wick, some wax flakes or cubes, a double boiler and access to an open flame. It is recommended to wear protective gloves before you begin your project as you’ll be working with hot wax and fire.
To start your project, place the double boiler over medium heat on the stovetop. Ensure that there is enough water in your double boiler so that it does not boil dry. Then add wax flakes or cubes into the top of the boiler until it reaches about half full. Be sure to stir occasionally as it melts. After about 10-15 minutes, when all of the wax has melted, carefully pour it into the wine bottle until it is nearly full.
Next, take your wick and carefully place it through an existing hole in the bottle’s cap or create a small hole in the cap with a sharp object such as a nail or screwdriver if necessary. Securely attach one end of the wick to the center of the cap using glue such as super glue and let dry for five minutes so it can harden properly before securing further by wrapping around something heavy such as coins or rocks to keep it upright while it cools completely after pouring. Finally, light your new candle and enjoy!
Preparing the Bottle
To craft a wine bottle drip candle, you’ll first need to prepare the bottle. You’ll want to make sure that any labels have been removed and that the bottle of wine has been thoroughly washed with warm soapy water. You may want to use a mild abrasive material, such as steel wool, to remove any adhesive residue from the glass. Depen
Choosing the Right Candle
When making a wine bottle drip candle, it is important to choose a candle that is the right size and shape of your bottle. If the candle is too short, it will not fit properly in the bottle, and if it is too long, then there may be more wax dripping out of the top than desired. The type of wax used should also be taken into consideration – beeswax or soy wax are two popular options as their melting points are lower than that of paraffin wax, reducing dripping. Additionally, when choosing a fragrance for your DIY project, pick something light that won’t overpower the atmosphere in the room. Finally, make sure the wick you select can withstand being burned at a high temperature and won’t hang over or curl up on itself once you light it.
Setting Up the Candles
Making a wine bottle drip candle is surprisingly easy and offers a unique way of creating beautiful, rustic decor for your home. The first step in making the candle is to choose an empty glass wine bottle that has been cleaned and dried. You can use either a red or white wine bottle, but make sure that the bottle has no cracks and is free from debris. Once you’ve picked out your ideal bottle, it’s time to add the wick. To do this, take a wick holder with jump ring attachment, slip the holder over the lip of the bottle and secure it with black masking tape so that it remains in place. Now you can attach your desired wick to the holder by slipping the attached jump ring onto it before cutting off any excess length.
The next step would be to melt your wax in a double boiler while stirring occasionally until it has completely melted. Once the wax has liquefied, carefully pour it into the prepared wine bottle ensuring that there is ample space left above the liquid wax level where you can add several candles depending on how many layers you want. After inserting each individual candle stick into its own pool of wax, insert cotton scrap cloth strips into small bits of wax around each candle temporarily as an alternative to adhering them with glue for future removal if needed, then leave them alone to cool overnight. In the morning you’ll have beautiful Wine Bottle Drip Candles!
Adding the Glue and Wax
Making a wine bottle drip candle is a great way to upcycle an old wine bottle and create something beautiful. To get started you’ll need a clean, empty wine bottle, candle wax of your choice, metal glue tabs with holes in them, wick string threaded through the hole of the glue tab, and tweezers.
Start by heating up the wax on a low flame in a pot or double boiler. Once it’s melted, carefully turn off the heat. Then use the tweezers to hang some glue tabs around the circumference of the bottle and thread the wick string through each one. Ensure that all of them are level before gluing down with hot wax – this will be important for ensuring that your candles burns evenly. Finally pour the melted wax into your empty wine bottle until it reaches about 3/4 full and let cool. Once dried, remove the glue tabs from around your wick string so that only wick is sticking out from the top of the wine bottle. You can now light it up and enjoy your unique handmade drip candle!
Melting the Wax
Before you can begin making a wine bottle drip candle, you need to melt the wax. You will need to use an electric hot plate for this step. Place the wax in a double boiler on top of the electric hot plate and gently heat it until it is completely melted. Depending on the type of wax you are using, it could take anywhere from 10-15 minutes. Once all of the wax has liquefied, turn off the heat and be careful when removing the pan from the hot plate as it will be filled with hot liquid wax.
Letting the Glue and Wax to Dry
After the glue and wax are heated until blended, it’s important to give them time to properly dry. A few hours is usually necessary as the molten wax is quite hot and can take a while to cool and set. Before adding any more layers, check that there’s a solid bond between the wax and glue. This will ensure your dripping candle will hold up well when lit. Also keep in mind that while it takes some time for the wax and glue to dry, the drips may still need an extra day or two before they are completely cooled down and hardened. Developing patience around this part of the process is key to successfully creating your candle!
Adding the Color
Once you have your bottle prepared and the wick centered, it is time to add the color to your wine bottle drip candle. To do this, you will need a few pieces of wax crayon or candle dye. Color choices are up to personal preference, but be sure to keep it simple with just one or two shades. Start by smashing your crayons in a bowl until they are the size of small pebbles (you can also use a food processor for this). Once the crayons are in small pieces, sprinkle them into the melted wax. Stirring occasionally to make sure that it’s evenly dispersed. Depending on what color you’re going for, use more or less of each shade accordingly. When you have reached your desired color, allow the wax to cool before adding another layer of color if necessary. Otherwise, let the wax fully cool before dripping down the sides of your bottle!
Dipping the Candles in Hot Water
Before starting to make a wine bottle drip candle, it is important to first dip the needed candles in hot water. This hot water should be warm and not boiling. The primary purpose of this is to soften the thick wax that is present on the surface of these candles. By softening the wax, it becomes easier for you to cut off any excess or uneven parts from the candles. After once dipping them in hot water, let the heat from the wax dry and firm up before handling it further. Be sure to rub off all remnants of wax from the dipping process with a damp cloth before moving on.
Letting the Color to Dry
Once you have successfully painted and decorated your wine bottle with the colors of your choice, it is important to let the paint and decorations dry before moving on to creating your drip candle. Leaving overnight is the best way to ensure that all the materials used are completely dried and ready for the next step. You may want to double check that all of the colors are fully dry before continuing with the next step. It is also important to make sure that any glaze or sealant used has had adequate drying time too. Allowing adequate time for drying will help ensure success when making your drip candle.
Burning the Wine Bottle Drip Candle
Burning a wine bottle drip candle is a fun and easy craft that can bring warmth and light to any room. It requires minimal supplies, so anyone can create the perfect ambience for their home. To get started, you need to find a bottle that is of appropriate size and shape for your desired look. You may want to use one that has an interesting design or character on it, or simply select a classic wine bottle with curves. Next, you will need some wax pellets, wicks, and additives such as essential oils or color dyes. Then you’ll need to melt the wax pellets using either a double boiler system over low heat or in a microwave on low heat. When your wax is melted add any additives along with the wicks into your pot of wax and stir until everything is combined. Carefully pour the mixture into your chosen bottle, making sure the wick stays centered and secure at the top of the bottle before leaving it to cool and set for several hours. Once cooled and hardened, you now have yourself a beautiful wine bottle drip candle! To light your candle ensure that there are no flammable materials within 3 feet away from the flame, then simply carry out safety precautions normally associated with burning candles like never leaving them unattended and ensuring they are not located near draughts or curtains. Finally when needed, extinguish your flame carefully by blowing it out instead of splashing water onto it directly.
Troubleshooting Common Issues
If you’re having difficulties making your wine bottle drip candle, don’t be discouraged. The process of making them can be tricky and it takes time to perfect the technique. Here are a few useful tips to help troubleshoot common issues:
• Make sure you are allowing wax to cool before pouring in the next layer. Pouring too many layers at once can cause dripping along the side of the candle.
• If your wick is too short, it will not bring enough heat up through the wax layers which can lead to a shallow candle that won’t burn evenly. When in doubt, use a longer wick!
• To keep your wicks centered in the bottle use a wick bar to support and keep it upright for easy pouring over. Many kits come with these helpful tools.
• If you’re getting smoke from your candles, it may be caused by using an old or low-quality wax—always buy from reputable sources! You can also try letting your candles cure for several days before using them; this gives the wax time to set properly and result in a cleaner burning flame.
Tips For a Perfectly Crafted Wine Bottle Drip Candle
When it comes to crafting your own drip candle from a used wine bottle, you want to make sure you have the correct supplies and tools needed to get the job done safely and efficiently. First, you need the right type of glue or sealant – choose something that won’t give off toxic fumes when heated. You also need some wicking material that is suitable for hot temperatures. Also, gather some safety equipment such as heat-resistant gloves, goggles, and an electric stove if possible. Ensure that whatever tools you use are fit and proper for the task at hand. To start the process, clean out your bottle with warm soapy water until it is completely vacant of all remaining liquid and wax residue. Make sure any stickers have been removed or else they will burn away when heating up your wax. Then put a few drops of wax into the bottom of the bottle and pop it on a stove to let it slowly melt in – don’t leave unattended and keep a close eye on it! Once melted, carefully add in the essential oil scent of your choice for extra aroma. Now thread in your wick through the burner base into the neck of your bottle, shaping it so that it stands upright in place. After this has been completed add in more liquified wax until just about full then let it cool before you snip down any loose ends from your wick. Allow your finished product time to set – voila – You now have yourself an aesthetically pleasing yet charmingly rustic wine bottle drip candle perfect for indoor use!
Conclusion
Once you have decorated the bottle and melted the wax, your wine bottle drip candle is complete. Place it in a safe area free of any flammable materials and enjoy the light that your new DIY decor item creates. With such an easy-to-complete project, you can make different variations of this candle and change up the look of your home whenever you feel like it. Consider putting multi-colored dripping candles together to create a unique pattern or adding more decoration on the bottle to make it look even better. Make one for yourself or give them as gifts to friends and family – nobody ever complained about receiving a homemade present! Plus, with upcycled wine bottles, each candle will be completely unique to everyone else’s!

Welcome to my candle making blog! In this blog, I will be sharing my tips and tricks for making candles. I will also be sharing some of my favorite recipes.


