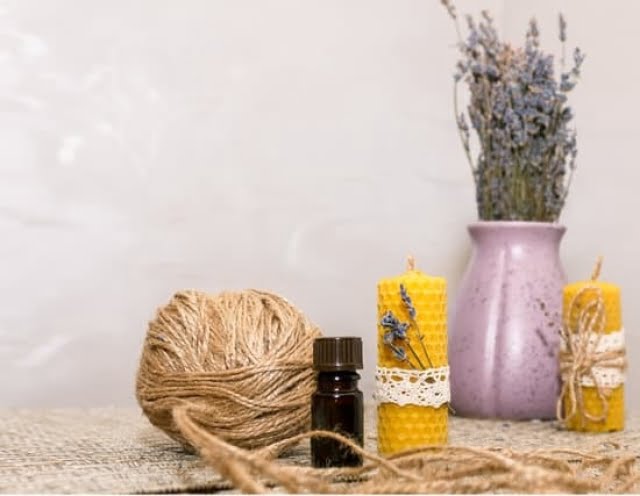
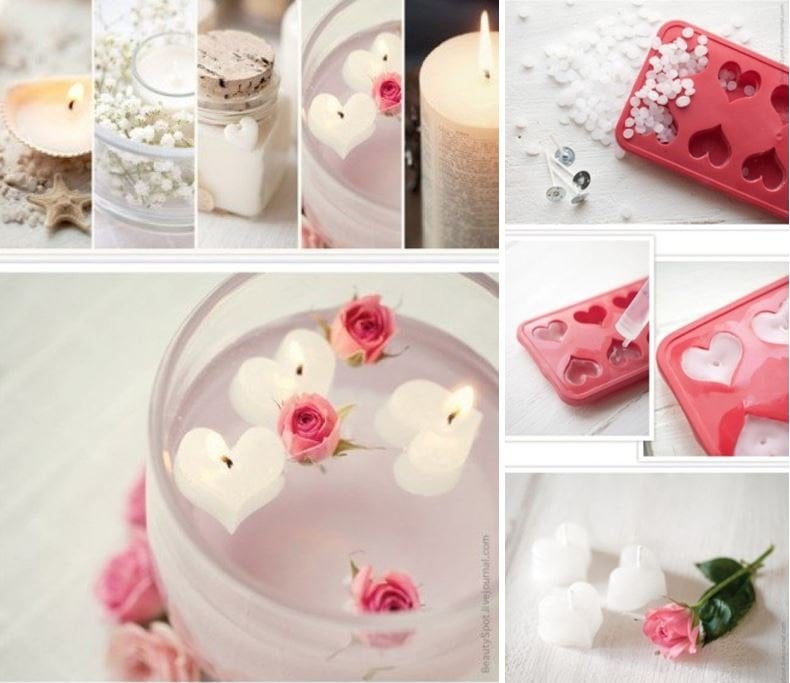
People have been making candles with beeswax, animal fat, and various plant products for centuries. Today, candle making is a popular craft due to its simplicity and affordability. Creating candles from leftover wax is an especially great way to get creative while also upcycling materials that would otherwise be discarded. Not only will you eliminate unnecessary waste, but the process of making candles offers unique opportunities to express yourself in your very own custom creations.
Why You Should Make Candle With Leftover Wax – Exploring the Roles of Raw Materials One of the major benefits of using leftover wax for candlemaking is cost savings. Purchasing raw materials and containers for starting candle projects can become quite pricey, so tapping into resources you already have is a money-saver. Aside from wax material, another important element in candle making is fragrance oils.
These oils come in a variety of smells and can offer up whatever mood or atmosphere you’re looking to evoke with your masterpieces. Whether you use fragrant raw materials like essential oils or synthetics, your sense of smell should lead the way when deciding what kind of scent pairs nicely with your vision for the finished product. After all, what better final touch than giving your candle that perfectly inviting aroma.
Beneficial Aspects Behind Candle Making – Explores Ways to Express Creativity Through Custom Projects Making sustainable and creative projects never goes out of style. In this case, there are many helpful tools available online as well as kits designed specifically for making candles at home – these provide easy-to-follow steps so even beginners can give it a try.
Working with candles also introduces several possibilities when it comes to experimenting with colors, shapes and sizes; you’ll get to control every element right down to detailing each aspect according to preference (ribbons, dyes etc).
All in all, crafting homemade candles not only shows off the maker’s artistic flair but serves as an eco-friendly initiative that pays tribute to sustainability efforts without compromising on luxury quality; all one needs are some leftover beeswax chips or paraffin wax blocks + fabulous scents paired with personal touches – et voila.
Understanding Different Types of Waxes
When it comes to making candles, the right type of wax is key. Unfortunately, many people find themselves without a specific wax type on hand and feel like they must purchase new materials for their candle-making project. However, in some cases this isn’t necessary-it can be possible to get creative with leftover wax.
Types of Waxes
Candle wax can be separated into two main types-paraffin and vegetable/plant-based waxes. Paraffin is petroleum-based and provides excellent heat stability for pillars and containers while vegetable/plant-based waxes are better for free standing or votive candles.
Within these two categories, there are several individual variations that offer different benefits. For paraffin waxes, there are harder varieties that result in smooth tops with little to no shrinkage during the cooling process as well as softer varieties that are suited more towards larger bowls or hurricanes since they do not produce solid flat finishes at the top.
Animal-based beeswax and soybean wax also provide unique qualities that neither paraffin nor vegetable/plant based materials offer such as easy layering when creating multiple colors in a single candle job. Understanding the properties of each variety will help determine which type is best suited for a specific project.
Leftover Wax
One option for getting creative with left over candle making supplies is to combine multiple types of wicks into one large batch of melted down mixture.
This approach has many advantages since mixing several different kinds together can create results that would not have been achievable with just one material on its own, allowing an opportunity for experimentation with molten blends for unique projects involving texture and color dyeing possibilities while simultaneously conserving money by using up small amounts of leftover materials.
List Of Benefits Of Using Leftover Wax?
- Can mix different types together where you would not have achieved alone
- Flexible when it comes to experimentation with texture and color dyeing possibilities
- Save money by recycling smaller amount of leftover materials
- More environmentally friendly than buying new supplies every time
- Key component allows DIY projects that encourage creativity & expression
Must-Have Supplies
- Candle Wick – The wick will act as the skeleton of the candle, while the wax around it serves as the flesh. To ensure proper burning and scent throw, use a quality wick for your candles.
- Container – Choose a container that not only fits the amount of melted wax you have, but also works with the wick itself. It is important to measure the height of the container before placing the wick inside it.
- Melting Pot or Double Boier – If you plan to use leftover wax from cracked or broken containers, melting it down is necessary. A double boiler or melting pot on low heat will keep your wax at an ideal temperature.
- Stirring Tool – Stirring tools are must when melted wax gets too thick or is combined with additives such as fragrance oils. You may choose from a variety of stirring tools such as wooden sticks, spoons, thermometers etc.
- Glass Thermometer – This device helps measure accurate temperatures that help in controlling how quickly poured wax sets. This is especially handy when creating more complex designs such as layered candles.
The first step in creating candles with leftover wax is to melt it down into liquid form using a double boiler or melting pot. It will ensure that all wax pieces dissolve evenly and bubble-free. Place your chosen container on a heat-resistant surface and fill it up with your pre-measured leftover wax until 3/4 full.
Once you’ve placed all desired candle ingredients like colorants and/or fragrances into the melted pot, turn up heat slightly if needed for complete dissolving of any large chunks of solidified materials. Keep a careful eye on temperatures with a glass thermometer because higher temperatures can chemically alter some ingredients which might negatively affect scent strength and color vibrancy of your finished product in addition to possibly even damaging wicks over time.
The next step once your melted combination has reached optimal temperature is threading and preparing your wicks for insertion. Make sure they’re securely fastened at both ends and clipped off to a short length before proceeding ahead with pouring since improperly secured wicks may end up ruining entire batches during cooling stages if left unattended too long beforehand. Check if all sides connected together are even in order guarantee balance when lighting these homemade creations later on.
Finally, slowly pour heated contents onto prepared buckets or molds filled roughly half way then allow several hours for cooling depending on room temperature – noting that larger quantities may take longer periods before becoming solid again so remain patient while still keeping therapeutic enjoyment policies implemented. Afterward simply snap off hardened edges then carefully lift new batches out by their rounded edges for easier removal without having to do clean up patches afterwards Your own handmade luxurious creation awaits you.
Enjoy.
Preparing the Leftover Wax
1. Start by sorting the old candles by type of wax. Make a list of common types of wax and identify which are present in the old candles. Common types can include beeswax, paraffin, soy wax, and coconut wax.
2. Once all the wax is segregated into separate piles or containers, melt each type of wax according to its melting point:
- Beeswax – 145º to 150ºF
- Soy – 125ºF-145ºF
- Paraffin – 140ºF-170ºF
- Coconut – 140 ºF – 160 ºF
3. When melting larger pieces of wax it is best to use a double boiler or crock pot for safety reasons and use a thermometer for greater accuracy when judging exact temperatures for different types of candle waxes. The thermometer should be highly visible so you can stay aware of how much heat you are applying to each pool of melted wax.
4. Once melted, strain the pool of molten was through cheesecloth or a fine mesh strainer lined with an appropriate filter material (depending on what additives were put into the former candles). This will remove any remaining dirt from the candles that could cause smoke during combustion of the new ones. This step also prevents residue from being transferred and affecting other colors in new batches should any colorants have been added to the original pieces.
5. Test any fragrance oil before pouring it into melted candles by first blending them together using a spoon and then allowing it sit overnight; if there is no discoloration after 24 hours go ahead adding 8-10%, up to 2oz per pound of melted candle mix depending on strength desired for fragrance output in finished product. Stir constantly while adding oils which will help ensure even distribution throughout pool when poured into molds.
Step-by-Step Guide
- Gather supplies: wax, candle wicks, wick holders, and a container for the new candle.
- Carefully cut the wax into small pieces that will fit comfortably in the new container. Smaller pieces will melt quicker than larger ones.
- Place the wick holder in the centre of the bottom of the container.
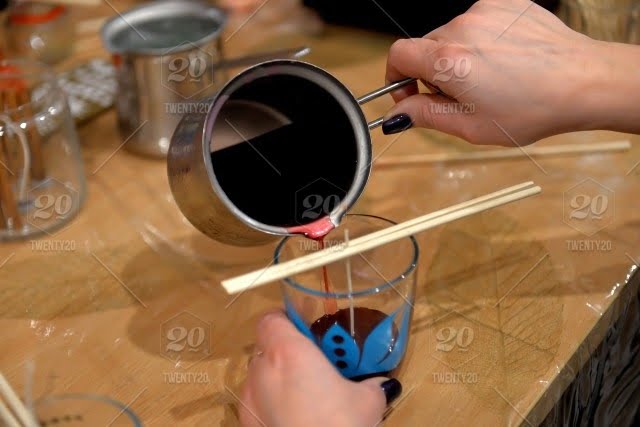
Now it’s time to melt the wax. Start by heating a pot on low heat and adding approximately two inches of water. Place the smaller pieces of wax in an old can or other metal container and place it inside the pot. Stir with a wooden spoon or other utensil to assist in melting down all of the pieces.
Once melted, turn off heat but leave wax inside pot to remain warm. Carefully pour or spoon melted wax into your clean, dry container until ½ inch from top. Make sure to leave enough space between top of wax and top of container so candle can sit flat when lit.
Draw up and center your pre-treated wick into position inside wick holder at bottom end of your new candle. Use clothespins or paperclips if necessary to hold it in place while your candle is hardening – this will ensure it stands up straight as you don’t want it leaning over after burning.
- While your new candle is still warm and liquidly enough, flatten its surface with a teaspoon by stirring in a circular motion combined with pushing down lightly on any ridges that may have formed due to uneven pouring.
- As an additional enhancement you could add some essential oils and color if desired at this stage but keep stirring till all colors are thoroughly blended with rest of medium.
- Wait for your creation cool completely before lighting – normally takes few hours – then enjoy beautiful, safe flame cast from recycled products.
Additional Tips & Techniques
Conditioning Your Wax
Before you start making your candles with leftover wax, it is important to familiarize yourself with different types of waxes and how they should be handled. By conditioning your wax before creating a candle, you can ensure it will have an exceptional finished product. Most wax varieties are melted down to a liquid before being poured into the mold. This process is called “conditioning” because when melted together, all the ingredients work harmoniously together.
When working with paraffin wax, it’s best to melt it slowly over medium heat in order to prevent any scorching or uneven melting. Beeswax should be melted on low heat until completely melted and mixed well with other wax varieties before pouring in the candle mold. Additionally, be sure to blend soy and palm waxes together properly so that the blend behaves nicely during candle making and burning.
Getting Creative
Once you’ve conditioned your leftover wax, you can get creative with your design. Commonly used fillers include herbs or dried flowers for added decoration and scent. Essential oil is also great for adding a delightful aroma to your candles as well as making them look more attractive. If you want even more texture, try embedding dried fruit slices or lavender buds into the top of your molded candles prior to them drying.
You could also add colors by combining dyes meant for soap-making or use crayons as dye – if using this method just make sure all the crayons used are nontoxic (food-grade) safe dyes only. For unique effects not often seen in store bought candles, consider trying out techniques like marbling or swirling colors – both of these add depth and dimension as well as interest that regular candles don’t offer.
Using Different Shapes & Containers
In addition to getting creative with colors and fillers, you can also choose from several different shapes and containers for your homemade candle creations. You could opt for something traditional like tumblers or jars, but there are plenty of other options available too such as tealights, votives, teardrops or even tea light holders which can give an interesting look when lit up.
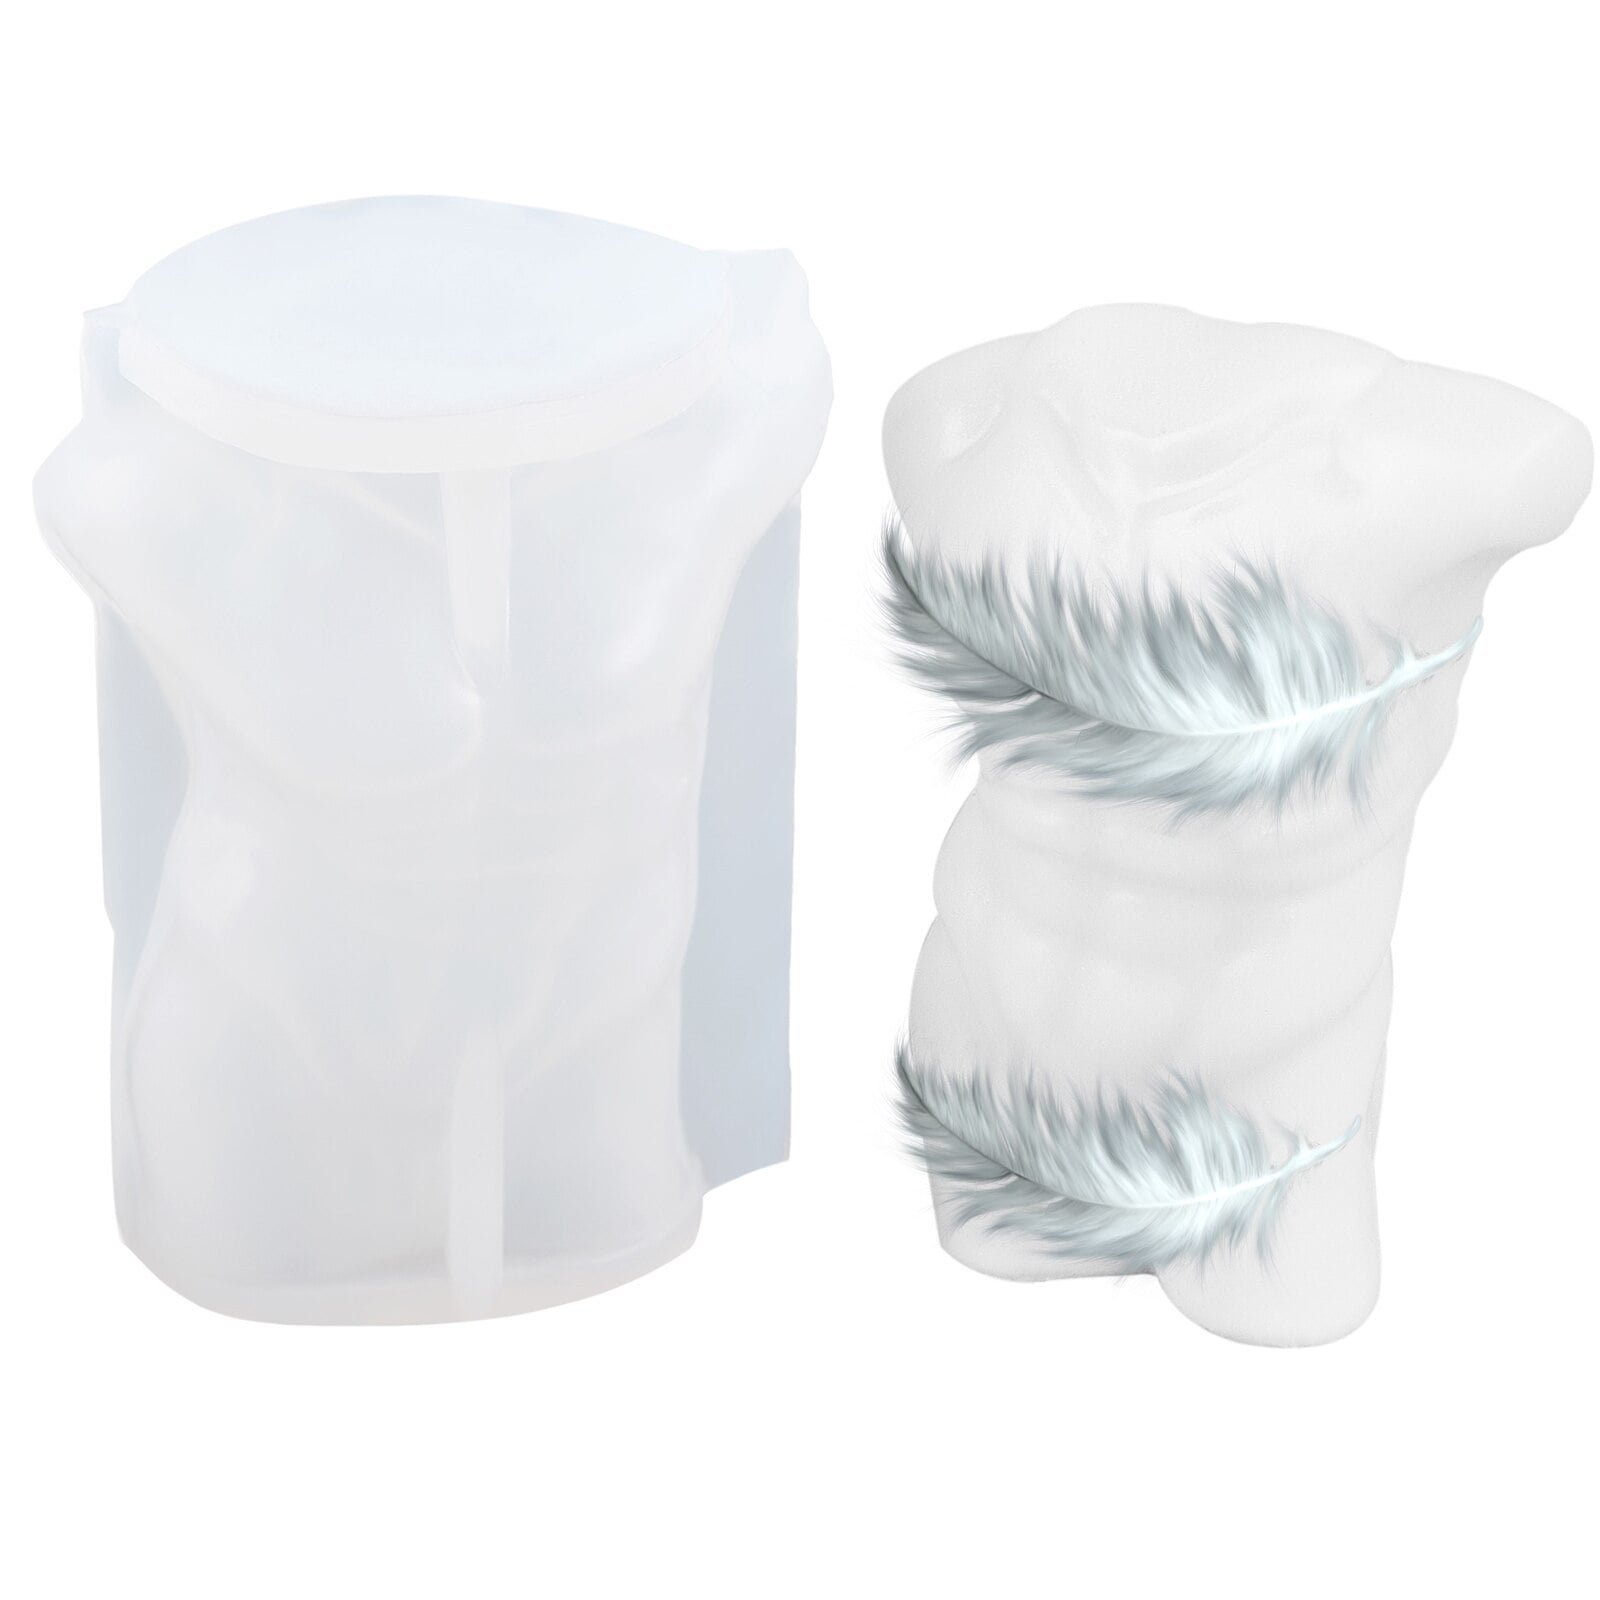
Finally, consider textured molds like those made from silicone – these allow creativity in terms of shape & color but generally require a double boiler setup prior to melting the wax which might take some practice-but even without textured molds there’s still plenty of styles you can achieve simply by mixing different types of leftover waxes around.
Common Problems & Solutions
Problem 1: Soot Accumulation
Soot can accumulate on the sides of a candle when burning and is caused by unburned or partially burned fuel. The soot will darken surfaces and leave a greasy deposit. To prevent it from occurring, trim the wick before each use to keep flame contained to prevent smoke and excess heat build up.
Additionally, adjusting the temperature of the room to prevent too much wax from melting can help keep soot at bay. Lastly, using quality paraffin wax with a higher melt point can also help reduce the risk of soot buildup.
Problem 2: Excessive Melt Pool
A melt pool is defined as the area where liquid wax accumulates around the wick while burning. While an excessive melt pool does not present any issues directly related to safety, it might lead to wasted wax and decrease burn times significantly.
For releasing unwanted sections of melted wax, creating a faux-wick by crinkling aluminum foil to allow air flow could help in regulating the size of the pooled wax. Controlling air flow through regular wick trimming could also solve this issue without too much fuss.
Problem 3: Uneven Wax Melting
Unevenly melted was can result from lack of proper stirring prior to pouring into molds or other factors such as incorrect room ambient temperatures. To solve this problem ensure that the candles are placed in areas that have consistent temperatures that do not exceed 60°C for paraffin wax, 80°C for beeswax or 90°C for soy-based candles).
For even melting effect stir regularly during the candle’s cooling period and cover molds if successive pours are required with temperatures above 25°C.
Conclusion
Making candles with leftover wax is a great way to enjoy the art of candle making. Candle makers use leftover wax from previously made candles in order to make new candles quickly and inexpensively. By reusing some of the previous candles’ wax, it saves both time and money when creating new candles. The process of candle making with leftover wax is a simple and straightforward one that allows for creativity and experimentation.
When working with leftover wax it is important to understand how different types of waxes can perform differently when being melted or molded into a desired shape. Different brands of candle wax may contain unique ingredients which affect their ability to melt or be molded into the desired form. For example, paraffin wax typically melts at a much higher temperature than beeswax or soy-based waxes do.
This means that if you are starting out with paraffin-based leftovers, you will need more energy to get the job done. Alternatively, if you start off with beeswax or soy based leftovers, this will require less energy as these types of waxes melt at lower temperatures than paraffin ones.
It is also important to understand what type of wick is appropriate when making a specific type of candle using leftover wax from another type. For instance, if you are working with beeswax leftovers, it requires a different size and length wick than one needed for soy-based leftovers; such as wooden wicks which tend to burn slower than start cotton wicks used for paraffin based candles.
Overall, when it comes to working with every kind of leftover wax there are certain considerations that must be taken into account so as to ensure success during the process.
The art of candle making can be enjoyable and rewarding once things have been considered carefully and one has achieved their desired product from the leftover material they had available beforehand. Working with different types of wicks allows makers to experiment with shapes, colors, sizes and scents ensuring that their final product meets all expectations while also having fun in the creative process itself.

Welcome to my candle making blog! In this blog, I will be sharing my tips and tricks for making candles. I will also be sharing some of my favorite recipes.

