Introduction
Making candles with a mold is an excellent way to produce one-of-a-kind candles for any occasion. It is also an easy and relatively inexpensive way for novice and experienced candlemakers alike to create a variety of unique and intricate designs. Not to mention, the positive impact you will have on the environment when switching from store-bought, mass-produced candles to your own homemade, eco-friendly creations.
This process requires only a few materials including wax, wicks, molds, and dyes or scents (optional). With just these items you can create customized candles that add warmth and beauty to your home decor. You will also be able to choose the size of your candles, the fragrances that you want your candles to emit and utilize interesting color combinations that reflect the season or special occasion. Additionally, this craft gives you total control over what goes into your candle – allowing you to use high quality ingredients that are non-toxic and healthy for the environment. With this method of candle making all you need is a bit of creativity and imagination in order to make something beautiful!
Things You Will Need
Tools and Materials:
– Melting pot
– Candle wax
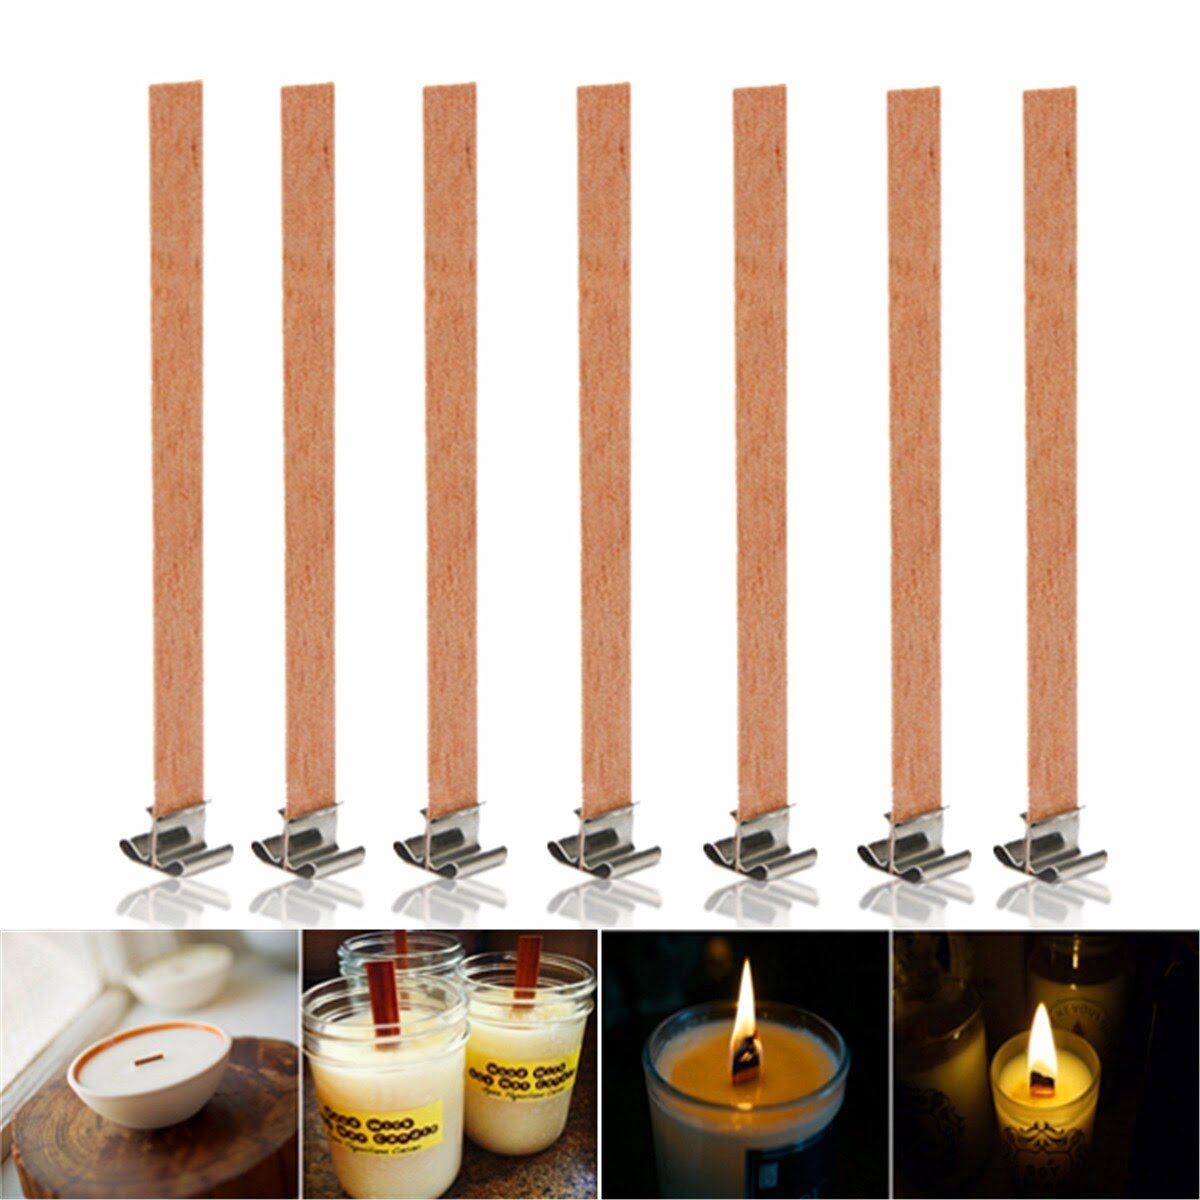
– Wicks and anchors
– Dye chips (if desired)
– Fragrance oil (if desired)
– Thermometer
– Mold(s) of desired shape and size
Additional Items:
– Bamboo skewers or chopsticks
– Measuring cup or jug
– Plate to catch dripping wax
Preparing the Mold
1. First and foremost, ensure that your workstation is adequately ventilated and reads the instructions on the wax and wicking you are using.
2. Put on eye protection, gloves, and other protective clothing if necessary.
3. Gather all the necessary tools such as a pot or double boiler, thermometer, stirring utensil, glue dots or tape (optional) and of course the candle mold you will be using.
4. Clean and inspect the mold for any cracks or defects that may cause it to leak hot liquid wax later in the process before pouring any wax into it to begin the candle-making process!
5. Place a tablespoon of glue dots or pieces of tape at the bottom of your desired mold for easy removal after drying which will also help hold wick in place during pour process.
6. When adding your wicking make sure to set up with bottom tabs attached to prevent droop in finished product after pouring wax as this can cause leakage!
7 Construct supports (ideally from aluminum foil) inside of molds to shape your candles once cooled if needed & Wrap wooden sticks around outside to aid in correct size measurements while pouring wax & both are easily removeable when all done!
8 Measure correctly according to instructions, pour slowly heated or melted wax into your prepared molds & wait for it cool before de-molding/removing any holding supports used during pouring!
Melt and Pour the Wax
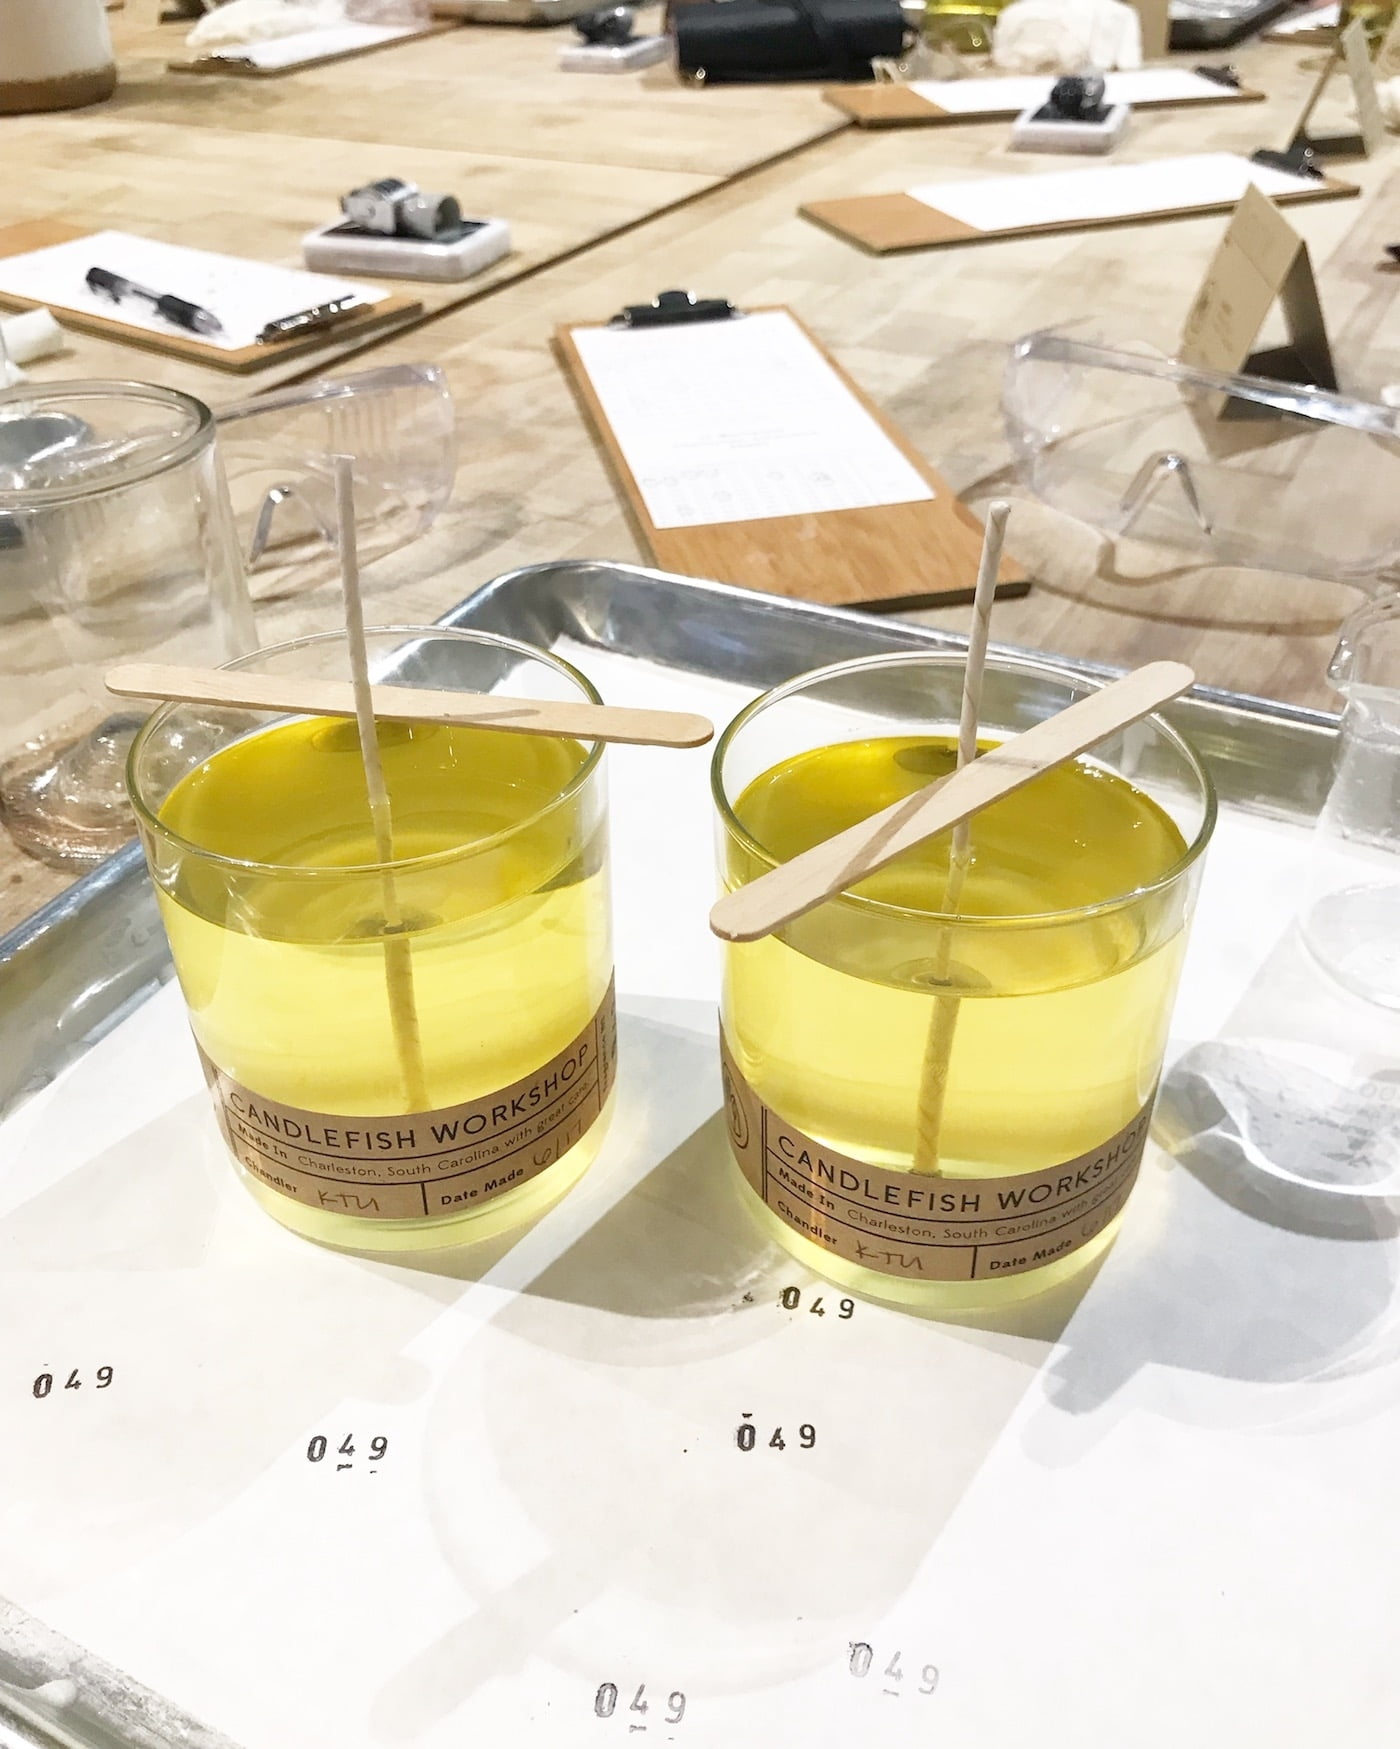
When making candles with a mold, it is important to properly melt and pour the wax into the mold. To do so, start by gathering all of the necessary supplies. These can include wax, wick rods, dye chips or color blocks, safety equipment like gloves and an eyemask, and a heat source like a double boiler or hot plate. Once these materials are gathered, the next step is to place the heat source onto a level surface before filling it with water. Then place about two inches of wax into the top container and turn on the heat until the wax has melted down to a liquid form.
Next, insert wick rods into each of the molds one at a time. Make sure that they are centered as best as possible by tracing around them with your finger. If desired, add dye chips or blocks directly into the melted wax in order to color your candle. Stir carefully for even color throughout your candles and keep dye use to no more than 0.2 ounces per pound of wax used if using cubes – 0.05 ounces if using liquid dye – in order to avoid staining furniture and skin when handling finished products. Once everything is mixed thoroughly, slowly pour small amounts of melted wax into each of the molds in order to evenly fill them completely (pouring at between 160-170°F) while being careful not to spill over any excess wax onto your work surface. If necessary, you may use something lightly press down on each wick rod so it remains flush against the bottom of your mold once pored in Once done pouring all molds wait 10-15 minutes before attempting to remove them from their surface then move aside onto another cooling location.
Adding Fragrance and Color
When adding fragrance and color to candles made from a mold, it is important to know how much scent and dye to add in order to achieve the desired result. Firstly, after the wax has been melted, it should be mixed with the scent oil. The amount of oil used can vary depending on the type and strength of scent required. For instance, for a more potent scent only a few drops may be necessary but for something subtle, a few teaspoons can be added. Once combined, stir thoroughly and add the molten wax mixture into the candle mold.
Adding color is also an important part of creating candles using a mold. Candle dye should be stirred into melted wax to create a desired shade and again, this will depend on personal preference. Too much can result in an unnatural appearance or excess smokiness when lit so use caution when including dye. For example, start by adding small amounts of dye at once until reaching an acceptable level before adding further liquid as too much could also reduce burning performance by blocking off airholes in the wick. Furthermore, keep in mind that warmer colors such as reds require larger amounts than cooler tones like blues and purples which may be achieved with just a few drops of liquid dye.
Waiting and Hardening
Once you have used your mold to make a candle, it’s time to allow it to cool and harden properly. You should never attempt to take the candle out of the mold before it has had enough time to solidify. The amount of time it takes for a candle to fully harden depends on the shape and size of the candle as well as how hot the wax was when it was poured into the mold.
Large candles may need up to 24 hours or longer until completely hard, while small votives may only need 2-3 hours. To be sure your candle is fully hardened, try tapping the top of it lightly with your finger. If the wax is still soft or gives slightly, then it needs more time in the mold. You can also take a dry crayon and draw onto a small portion of uncolored wax on top – if that slips off easily, then your candle isn’t ready yet either.
As important as letting your candles cool properly is also making sure that they aren’t overheated while they are being made – this could result in scorching or burning them! Make sure that you always start with cooler temperatures when melting your wax (around 160F/ 70C) which will give you room to heat without damaging the thermometer further. Also remember not reuse too much heat from previous batches throughout the process – adding heat at any stage puts your candles at risk for burning.
Removing the Candle from the Mold
The first step in removing the candle from the mold is to run a thin knife or spatula around the inside perimeter of the mold. This will help to separate it from the sides and create some additional space for removal. Be sure to use caution throughout this process as some molds may be more delicate than others.
Next, take both hands and gently wiggle and twist the candle while keeping a firm grip on either end. Once slightly loosened, gently pull it out of the mold with both hands. If necessary, you can also place one hand inside the bottom of the mold to help guide it into your hands without any further damage being sustained.
Once removed from the mold, rest the candle on an even surface that is lined with a protective cover like wax paper so that dirt or debris does not accumulate on its surface during assembly or storage. Finally, inspect each area of your newly created candle for any signs of imperfection or breakage that could potentially come about through improper removal from its former structure.
Finishing Touches and Adding Wicks
When all of your candles have cooled and hardened, you’re almost ready to finish them off. All you need to do is to attach the wick. First, measure the length of wicks that corresponds with the height of your moulds. Cut these to size and then stick them on with a dab of melted wax or glue, centering it in the candle at the bottom perpendicularly. You can also use pre-primed wicks for an easier job.
Once that’s done, you’ll want to make sure all your candles look neat and uniform so it’s time put on some finishing touches! For a unique but classic candle look, consider adding colour swirls by introducing different pigments into liquid wax and pouring alternatively – just be sure to mix together carefully in order to prevent lumps forming. To add texture to your candles, try different techniques like sponging or layering different coloured waxes – plus you can always embellish around the edges of your mould with some glitter or decorations! With subtle finishes like this in place, it will give off a truly authentic atmosphere when lit.
Conclusion
Once the candle is set and removed from the mold, you’re all done! Making candles with a mold can be a fun and rewarding activity. Making your own candles can not only save you money, but also allow you to use special scents or ingredients that make your candles totally unique. Additionally, creating different shapes and sizes of mold gives you the opportunity to create a variety of styles for each new candle. Furthermore, by making your own molds, you can add fabric designs into the ends for an extra special touch.
If you’re just starting out, there are a variety of resources available online to help guide you in learning this creative craft. YouTube videos offer great tutorials on how to start making wax candles at home, and provide helpful tips for first-timers. Other websites offer instructional advice as well as various kits so that you can get everything needed to succeed in one place. Finally, don’t forget about Etsy! Many entrepreneurs specialize in selling supplies for candlemaking projects so don’t forget to check there too!
Now that you have your perfect candle created, why not switch it up? Different color dyes, essential oils or herbs can give each pillar a unique scent and compliment any type of atmosphere that suits either yourself or others upon receiving them as gifts. You could even add sparkles for a dazzling aesthetic quality! Overall, crafting homemade candles with molds is an easy yet fulfilling craft that allows the aspiring artist limitless options on design, aroma and size variations all from the comfort of your own home.

Welcome to my candle making blog! In this blog, I will be sharing my tips and tricks for making candles. I will also be sharing some of my favorite recipes.


