Introduction
Making homemade candles out of crayons is gaining in popularity as a fun and creative project for both adults and children. Not only do these candles have the potential to be beautiful works of art, but they can also provide affordable, sustainable light. Even those who are new to candlemaking can make quality candles with crayons with minimal supplies, making it an ideal family activity to try at home. Making your own handmade candles out of crayons has numerous benefits including providing unique works of art, giving off bright color glow, avoiding extra waste and lasting longer than traditional store-bought candles. Furthermore, you can customize these candles with various colors or scents for personalized items that make thoughtful gifts for family or friends.
Materials Needed
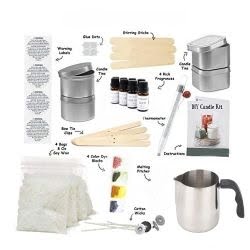
Materials Needed:
– Candles or Candle Holders: You will need something to put the melted crayon wax into when you make the candle. Candle holders come in a variety of different shapes and sizes, so you can choose the one that best suits your preference.
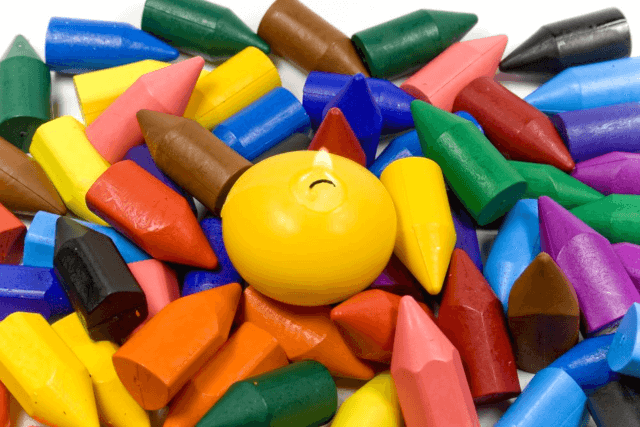
– Crayons: Choose any type of crayon in whatever color you want! If desired, you can also combine different colors and create a fun design.
– Scissors or a Knife: This tool is necessary for cutting up the crayons into smaller parts.
– Double boiler or microwavable safe bowl: This is used to melt the crayons. A double boiler is preferred because it heats at an even temperature and prevents scorching. If using a microwave, decrease heat in small intervals to stop it from boiling over onto the counter top.
– Hot glue gun (optional): Used to affix any embellishments such as ribbon or bowtie onto the finished product.
– Ribbon, beads, or other decorations (optional): These elements add an extra touch of personalized flare when adhered to the finished candles with hot glue gun!
Step-by-Step Instructions
1. Gather your materials: you will need crayons, a microwavable bowl or cup, a microwave, and a heat-resistant container or mold for the candle.
2. Separate the wrappers from the crayons. The wrappers can be discarded or recycled as desired.
3. Break up each crayon into several small pieces so that they’ll melt quickly in the microwave oven.
4. Place the broken-up crayon pieces in the microwavable bowl/cup and place it in the microwave oven on full power for 1 minute intervals until all of the wax has melted completely.
5. Take out your microwaveable bowl/cup carefully”the mixture may be hot”and pour it into your heat-resistant mold or container of choice until it is …” of the way full with wax.
6. Allow the candle to cool completely before taking it out of its container (this should take about 15 minutes).
7 Let It Cure: After taking it out of its container, let it cure for 72 hours before burning to make sure that all components have melded together properly and there won’t be any unexpected surprises when you light your candle!
Creative Ways to Craft Candles from Crayons
Turning old crayons into scented candles is a great way to upcycle and repurpose, while filling your home with lovely smells. To start, you will need wax crayons (there may be wax in colored pencils too!), an empty container such as an old jar or a silicone ice-cube tray, Wick tabs (available from craft stores) and your preferred candle fragrance or essential oils.
Start by melting the crayons over low heat (either on the stove or in the microwave). When melted, pour the wax into the containers until nearly full. Next add in a few drops of perfume oil and carefully place a wick tab at the center of each container for support and stability. Finally, let cool and trim off excess wick before lighting.
Crayon candles can also be made without adding fragrance, but it’s fun to experiment with different combinations of colors to create unique shades and scents. An easy way to accomplish this is to melt several colors together, slowly mixing them in until they reach desired tint”you can even get creative by combining these hues with coffee grinds or glitter! Alternatively, those who enjoy working with their hands might try making DIY molds out of aluminum foil so that their creations have more sentimental value. Additionally, alternatively you could use multiple sets of smaller containers for creating multiple colorful presents instead of one big one. The possibilities are endless!
Enhancing the Aroma
Candles can be made with crayons to create a special, decorative touch. But beyond the special look, adding scent to the candle is an effective way of transforming them into an even more pleasurable experience. The most common and popular method for enhancing the aroma of the candle is to melt essential oils or fragrances along with the crayon wax. This will add a unique aroma to each candle which creates a pleasant atmosphere in any room!
Additionally, you can make candles with scented crayons already in their wax form – many stores now sell specialty sets of scented crayons so you don’t even have to melt oil or fragrance yourself. Finally, if you have fresh herbs such as lavender, rosemary, and mint available then these can also work as an aromatic element in your homemade candles. Simply chop them up into small pieces and sprinkle them on top before setting it aside to harden!
Color Customization
The fun of making crayon candles is that you can customize their colors by mixing different types of crayons together. You can create any color you like, from light pastels to jewel tones. First, you’ll have to determine which wax base best suits the candle scent and size you’re using. Beeswax is a good choice if a lighter, honey-like aroma is desired. Paraffin is preferred if a strong scent and smokeless flame are needed.
Once the wax has been melted, the process of customizing the color can begin! Start with one or two main crayon colors that work together well and mix them in, one at a time. As the wax level lowers, add in smaller increments of color until you reach the right shade that suits your taste and décor preference. For more nuanced shades such as peach or lavender, turn to more basic selections like pale yellow or white for subtle variation. To achieve a bolder result with color blocking effects or stripes, select deeper hues such as forest green or navy blue. Experiment with combinations until it’s just how you want it!
Other Uses for Crayons
One popular alternative use for leftover crayons is to make candles. This is a surprisingly easy and rewarding craft project. With the help of some common household items such as a double boiler, wax paper, scissors, and an old cookie cutter, you can turn old crayons into beautiful candles. Begin by heating the double boiler over medium heat and melting the broken pieces of crayon in it. Once melted, pour the wax onto wax paper to cool. Then, cut out shapes with the cookie cutter before transferring them onto wick-coated candleholders. Place these molders in the refrigerator to cool completely before styling your candles however you’d like! Alternately, you can use an empty tin can, cooking spray, and a small piece of cardboard with a hole cut in the center to make pillar candles using the same process described above.
Crayon-Making Tips
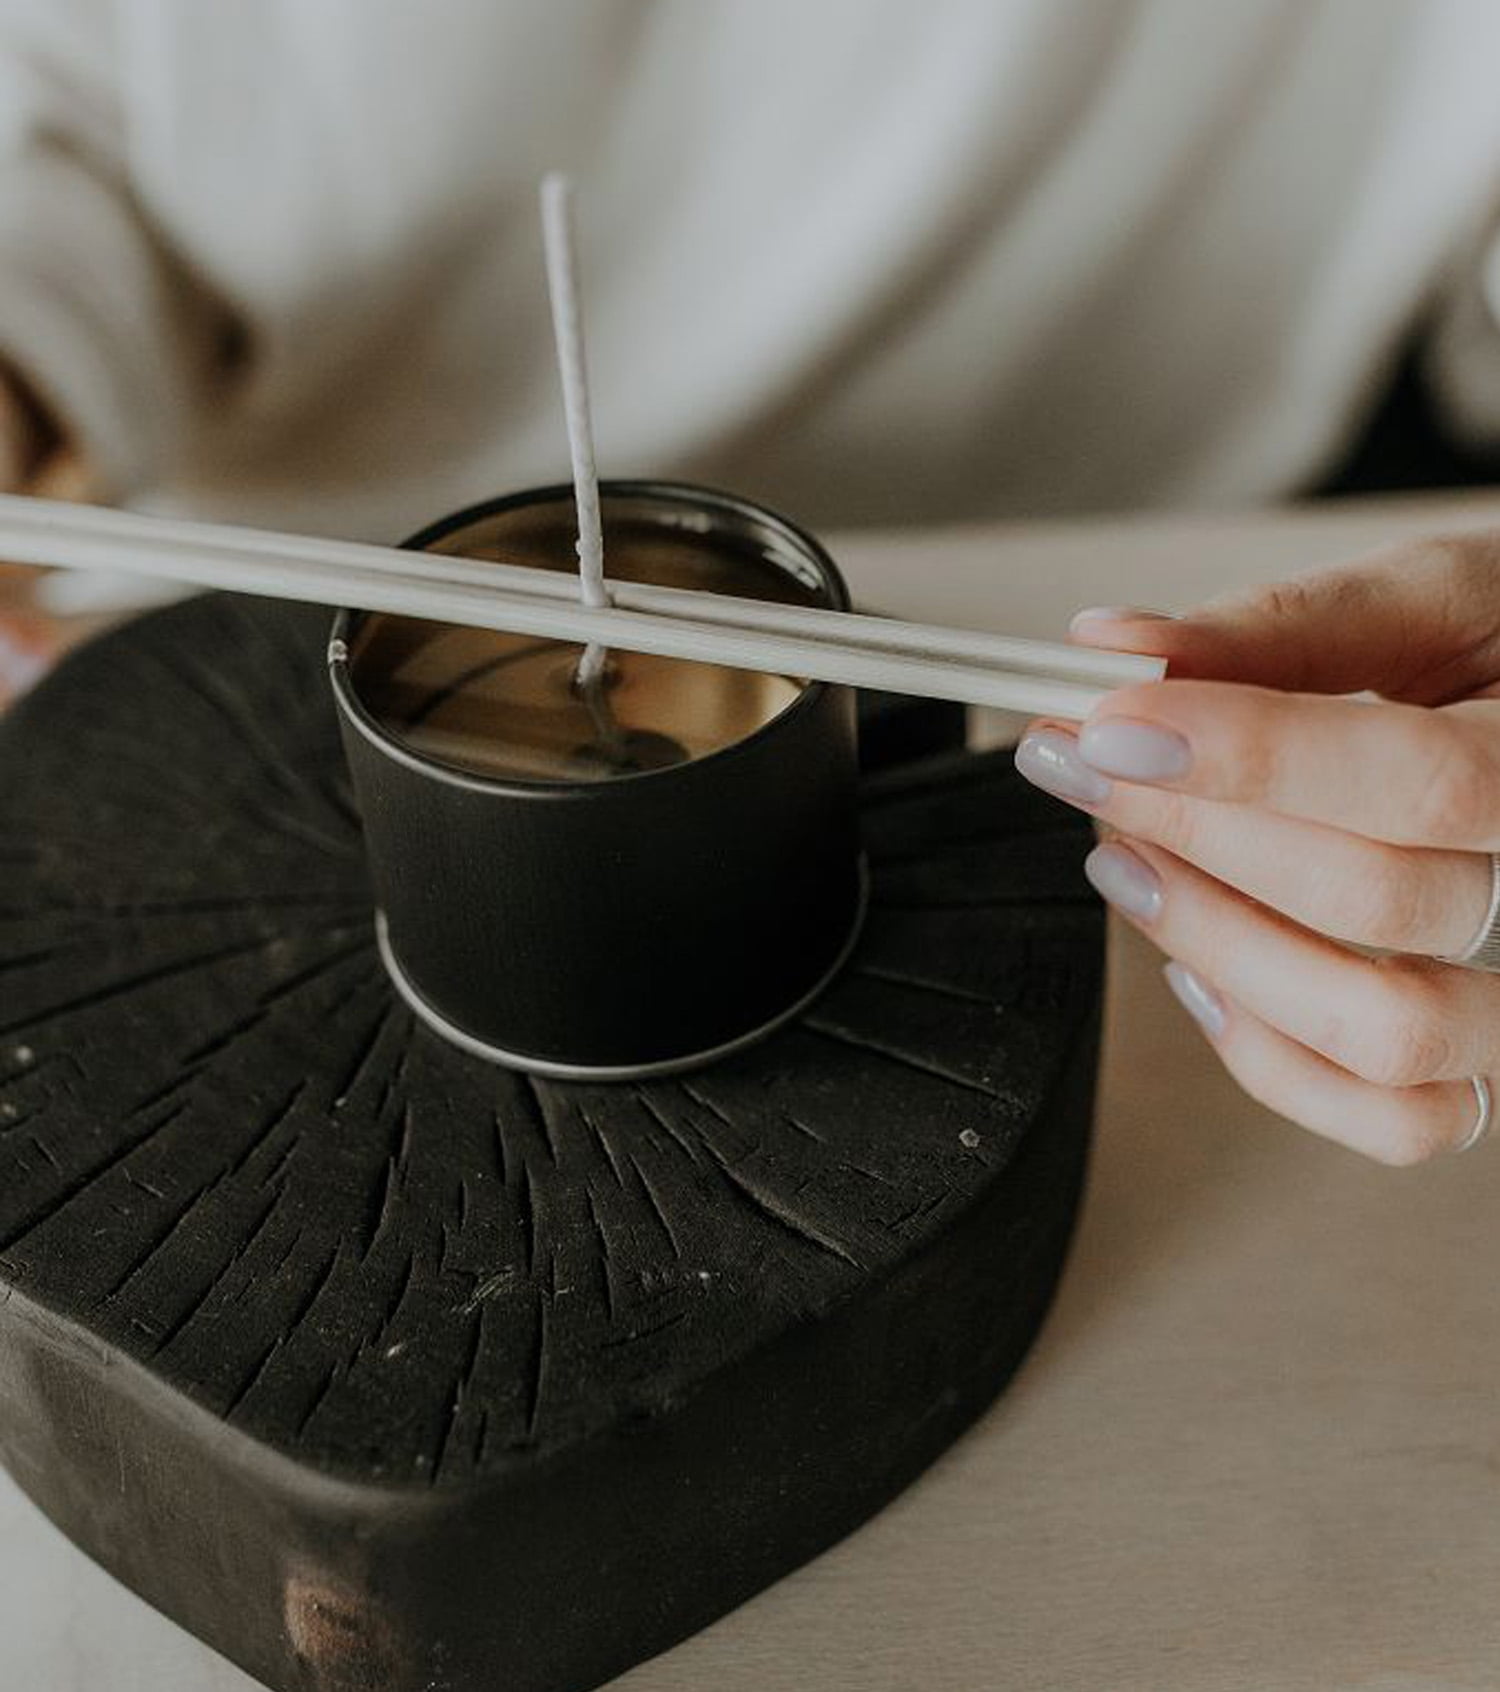
Making candles out of crayons is a creative and eco-friendly way to reuse and repurpose old crayons. To turn crayons into candles, you will need the following supplies: crayons, candle wax, wicks, molds for the candles, and a double boiler to melt the crayon wax in. First, peel off any labels from the crayons, break them up into small pieces and add them to the double boiler. Next, slowly melt the crayon wax on low to medium heat until it becomes liquid. Once it’s completely melted, pour it into your candle molds or jars. Be sure to leave space at the top for whatever decorations you want to add ” glitter or dried flowers can make beautiful additions! Finally, insert your pre-cut wick into each candle before it sets fully. Now all that’s left is to wait for your projects to cool before lighting those colorful candles!
For extra special effects when making these candles out of crayons try mixing different colored waxes together in one container before pouring it into molds; this allows you to create unique color combinations that weren’t available with solid colors alone. Additionally, many candle makers like adding fragrances such as essential oils and herbs to their creations as well – using smaller amounts until desired scent is achieved. Finally be sure not leave ANY residue behind from melting wax on kitchen surfaces or surfaces used for other crafts like sewing – this could inadvertently damage their items or cause discoloration so be sure dispose of waste properly!
Conclusion
There are several great benefits and ways to use the candles you make from crayons. The most obvious one is that the wax makes a wonderful candle, with many different colors available to choose from. Each color can create an amazing ambiance in your home while also adding visual interest and uniqueness to any decor. In addition, making these candles yourself can help save money on store-bought ones. Because the wax is so easy to melt, it also allows for more time savings as you don’t need as much preparation time before using it as regular store bought candles. Lastly, crayon candles work wonderfully in aromatherapy sessions or simply when you want to relax in a cozy atmosphere.
To take advantage of all of these benefits and uses, it’s important to keep safety in mind when making and burning your homemade crayon candles. Make sure you purchase the correct materials for proper wick selection, prepare a safe place for burning your candles, keep a fire extinguisher nearby at all times when burning them, and remember not to leave them unattended while lit. Following these guidelines will ensure not only greater safety but also greater enjoyment whenever you light up your unique handmade crayon candle ” each one being completely unique and beautiful!

Welcome to my candle making blog! In this blog, I will be sharing my tips and tricks for making candles. I will also be sharing some of my favorite recipes.


