Looking to create a cozy and inviting atmosphere in your home? Making Crisco candles may be just the DIY project you need. Using simple ingredients and a few easy steps, you can craft your own candles that are perfect for setting the mood or giving as gifts.
Crisco candles have been gaining popularity among home crafters due to their cost-effectiveness and customizable nature. In this article, we will explore the benefits of making your own candles using Crisco, safety precautions for candle making, the necessary supplies, a step-by-step guide, techniques for decorating and scenting your candles, as well as tips for storing and using them.
Whether you’re a beginner or an experienced candle maker, learning how to make Crisco candles is a great way to unleash your creativity and add personal touches to your home decor. From choosing scents to designing unique shapes, there are endless possibilities when it comes to crafting these homemade candles. Let’s dive into the world of Crisco candle making and discover how you can bring warmth and ambiance into your living space.
Benefits of Making Your Own Candles Using Crisco
Making your own candles using Crisco offers a wide range of benefits, from cost savings to customizable options. Here are some of the advantages of making your own candles using Crisco:
- Cost-effective: Making your own candles using Crisco is a cost-effective alternative to purchasing store-bought candles. The ingredients needed for Crisco candles are often more affordable than pre-made candles, allowing you to save money in the long run.
- Customizable: When making Crisco candles at home, you have the freedom to customize the scent, color, and shape of the candle according to your preferences. This allows for a truly personalized candle-making experience that reflects your unique style and taste.
- Non-toxic option: By using Crisco as a base for your homemade candles, you can create non-toxic and environmentally friendly alternatives to traditional paraffin wax candles. This can be especially beneficial for individuals with sensitivities to certain candle ingredients.
In addition to these benefits, making your own candles using Crisco also provides an opportunity for creativity and self-expression. Whether you prefer simple, classic designs or enjoy experimenting with unique shapes and fragrances, the process of making Crisco candles allows for endless possibilities.
Overall, the benefits of making your own candles using Crisco extend beyond just the finished product. From cost savings to artistic expression, this DIY approach to candle-making offers a rewarding and fulfilling experience. Whether you’re new to candle-making or an experienced crafter, creating Crisco candles at home can be a satisfying and enjoyable activity.
Safety Precautions and Tips for Making Crisco Candles
When making Crisco candles at home, it is important to prioritize safety to prevent accidents and ensure a successful candle-making experience. Here are some safety precautions and tips to keep in mind:
1. Work in a well-ventilated area: When melting the Crisco and adding fragrance oils or essential oils, ensure that the area is properly ventilated. This will help to minimize inhaling any fumes from the melting process.
2. Use proper equipment: When making Crisco candles, be sure to use double boilers or a heat source specifically designed for candle making. Avoid using direct heat sources such as stovetops, as this can pose a fire hazard.
3. Keep flammable materials away: It’s important to keep flammable materials such as paper, fabric, and other objects away from the area where you are making Crisco candles. This will reduce the risk of accidental fires.
4. Handle hot wax with care: When handling the melted Crisco, exercise caution to avoid burns. Use appropriate protective gear such as gloves and be mindful of any sharp edges on candle molds or containers.
5. Supervise the process: If you are making Crisco candles with children, always supervise them closely and provide guidance on safe candle-making practices.
By following these safety precautions and tips, you can enjoy the process of making Crisco candles while minimizing potential risks.
Safety Precautions and Tips for Making Crisco Candles
- Work in a well-ventilated area
- Use proper equipment
- Keep flammable materials away
- Handle hot wax with care
- Supervise the process when working with children
Supplies Needed for Making Crisco Candles
When it comes to making your own candles using Crisco, there are a few essential supplies that you will need to have on hand. The good news is that most of these supplies can be easily found at your local craft store or online.
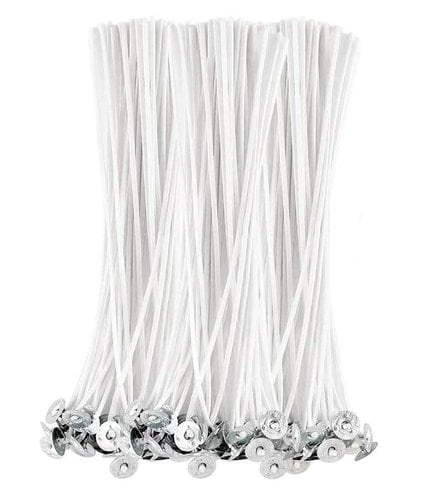
First and foremost, you will need a container to hold your candle. This can be anything from a glass jar to a tin or even a teacup. You will also need wax, wicks, and fragrance oils if you want scented candles. One of the main ingredients in making Crisco candles is, of course, Crisco itself, so make sure you have enough on hand before you get started.
In addition to these basic supplies, you may also want to consider getting some additional tools such as a double boiler for melting the wax and a thermometer to ensure that the wax reaches the right temperature. It’s important to have all your supplies organized and ready before starting the candle-making process.
| Supply | Example |
|---|---|
| Container | Glass jar |
| Wax | Soy wax flakes |
| Wicks | Cotton wicks |
As shown in the table above the required supplies mentioned are essential for making homemade candles using Crisco. Each item has its own importance in the overall process from beginning till end and must be kept in stock prior to starting the project.
Step-by-Step Guide to Making Crisco Candles
Making Crisco candles at home can be a fun and rewarding experience. Not only is it a creative way to add a touch of warmth and ambiance to your living space, but it also allows you to customize your candles with different scents and colors. In this section, we will provide you with a step-by-step guide to making your own Crisco candles.
To get started, you will need the following supplies: Crisco shortening, candle wicks, essential oils (optional for scent), and small glass jars or containers for the candles. First, melt the Crisco in a double boiler over low heat until it becomes completely liquid. While the Crisco is melting, prepare the containers by securing the wicks in place using either hot glue or adhesive wick stickers.
Once the Crisco is fully melted, remove it from the heat and carefully add a few drops of essential oil if you want to add fragrance to your candles. Next, pour the melted Crisco into each prepared container, being sure to leave some space at the top. Place the containers in a cool, undisturbed area and allow them to set for several hours or until they have solidified.
Finally, trim the wicks to about half an inch above the surface of the candle and your homemade Crisco candles are ready to use. Making Crisco candles at home is not only a great way to personalize your living space with unique scents and colors but also provides you with an opportunity for creativity and self-expression.
Different Techniques for Decorating and Scenting Crisco Candles
When it comes to making Crisco candles, there are various techniques you can use to decorate and scent your candles. Adding a personal touch to your homemade candles can make them even more special and unique. Here are some creative ideas for decorating and scenting your Crisco candles.
Decorating Techniques
There are numerous ways to decorate your Crisco candles to make them visually appealing. You can use different colored dyes to create vibrant, eye-catching candles. Consider layering different colors of wax to create a beautiful ombre effect. Additionally, you can use glitter or metallic flakes to add a touch of sparkle to your candles. Another popular decorating technique is using dried flowers, herbs, or spices to embed into the surface of the candle for a natural and aromatic touch.
Scenting Techniques
Adding fragrance to your Crisco candles can enhance the ambiance of any space. You can use essential oils or fragrance oils to infuse your candles with a delightful aroma. Popular scents include lavender, vanilla, citrus, and cinnamon. When adding fragrance oils, be mindful of the recommended usage rates provided by the manufacturer to ensure a pleasant and not overpowering scent.
Combining Decorating and Scenting
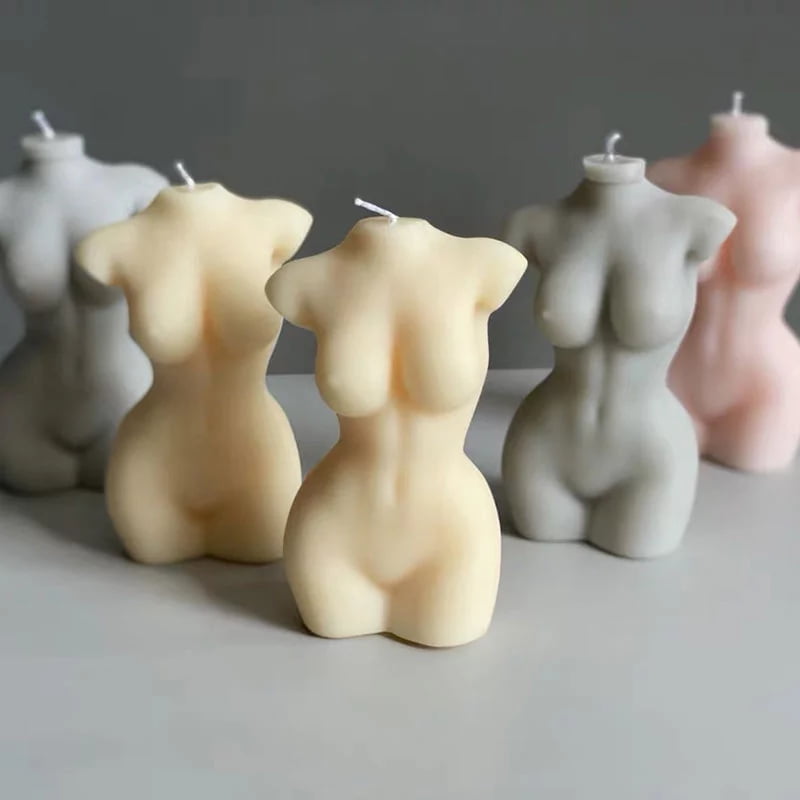
For an extra special touch, consider combining decorating and scenting techniques for your Crisco candles. For example, you can customize the color and fragrance of your candles for specific occasions such as holidays or celebrations. Adding decorative elements like ribbons, charms, or personalized labels can also make your homemade candles perfect for gifting.
By adding unique decorations and captivating fragrances, you can personalize your Crisco candles in creative ways that bring joy and warmth into any room. With an array of options at your fingertips, making these additions will take your candle-making venture to new heights.
Tips for Storing and Using Crisco Candles
When it comes to storing and using Crisco candles, there are a few important tips to keep in mind to ensure that you get the most out of your homemade creations. Follow these guidelines to make the most of your Crisco candles.
Storing Your Crisco Candles
It’s essential to store your Crisco candles properly to maintain their quality and prolong their burning life. Store them in a cool, dry place away from direct sunlight and heat sources. This will help prevent the candles from melting or becoming misshapen. Additionally, keeping them in a dark environment will help maintain the color and scent of the candles.
Using Your Crisco Candles Safely
When using your Crisco candles, it’s important to do so with caution. Always place the candle on a heat-resistant surface away from any flammable materials. Keep the candle out of reach of children and pets, and never leave a burning candle unattended. Trim the wick to about 1/4 inch before each use to prevent soot and ensure an even burn.
Getting the Most Out of Your Crisco Candles
To get the most out of your Crisco candles, allow them to burn for at least one hour each time you light them. This will help create an even wax pool and prevent tunnelling, which can waste wax. It’s also important to follow any specific instructions for the particular type of candle you have made, as certain techniques may require different care.
By following these tips for storing and using Crisco candles, you can enjoy their warm glow and delightful scents for many hours to come. With proper care, your homemade candles can provide a cozy atmosphere while also offering a sustainable alternative to traditional paraffin-based options.
Conclusion
In conclusion, making Crisco candles at home can be a fun and rewarding experience. Not only do these homemade candles provide a warm and cozy ambiance to any room, but they also offer a cost-effective alternative to store-bought candles. By using simple ingredients and following the step-by-step guide provided in this article, anyone can create their own unique Crisco candles that suit their personal style and preferences.
One of the key benefits of making Crisco candles is that it allows for complete customization. From choosing different scents and colors to experimenting with various decorating techniques, the options are endless. Additionally, by making your own candles, you have better control over the quality of the ingredients used, making it a safer and more natural option for indoor lighting.
It’s important to keep in mind the safety precautions and tips provided in this article when making Crisco candles at home. By following these guidelines, you can ensure a safe and enjoyable candle-making experience. Overall, creating Crisco candles is a great way to express your creativity while also enjoying the soothing glow of homemade, scented candles.

Welcome to my candle making blog! In this blog, I will be sharing my tips and tricks for making candles. I will also be sharing some of my favorite recipes.


