Replace “Wicking the Jar” with “Attaching the Wick to the Jar”
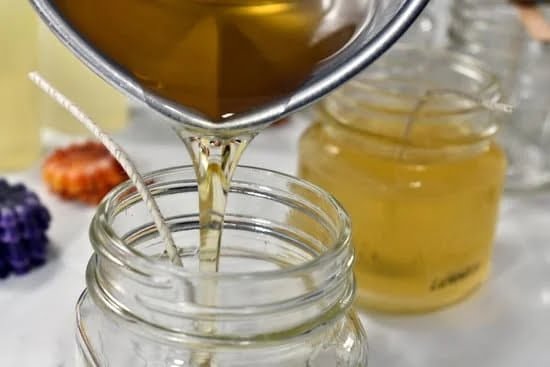
Making jar candles with pressed leaves is a fun and creative activity. It starts with choosing the perfect glass jar for the project. After finding just the right size, shape and style, it is time to select which dried pressed leaves will embellish the candle. The leaves must be free of moisture to avoid any possible mess once the wax is melted. Next, figuring out how many wax cubes are needed depending on how much wax is required to fill up the jar. Once that’s all set, it’s time to melt the wax in a double boiler. Lastly, attaching the wick to the jar before pouring in the melted wax and decorating it with pressed leaves is a step that should not be skipped.
Add a step after “Presssing the Leafs”
After pressing the leaves, you’ll need to dry them. Spread the leaves out on a paper towel and let them air-dry for 12 hours or longer. This step is important to help ensure that the leaves are completely dried before you place them in the jar candles. If the leaves are too wet, they can cause problems with burning your candles. After they’ve completely dried, gently fold the leaves and store them away until you’re ready to use them in your jar candle making project.
Add a step before “Conclusion”
Troubleshooting Common Issues:
1. Candles not setting correctly: If the candles are not setting correctly, ensure that you have melted an appropriate amount of wax for the size and shape of your container. The wax might also be too cool when poured, so heating the wax slightly before pouring can help prevent this from happening.
2. Pressed leaves falling off: Make sure to place your leaves onto the wax promptly after pouring it into the container as this will help them stick better than if they are placed after some time has passed. Additionally, gluing or coating them with a thin layer of mod podge can help them stay in place.
3. Poor candle scent throw: Try adding more fragrance oil or essential oil to your melted wax and make sure to stir it properly so that it is thoroughly mixed before pouring the candle into its container. You can also try upgrading to stronger quality oils if possible to improve the scent throw of your candles.
Add a step after “Melting and Pouring the Wax”
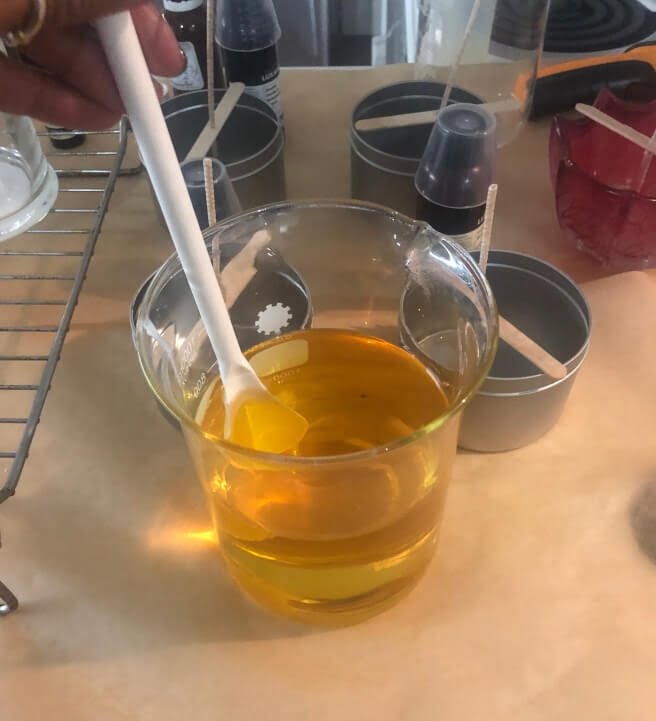
Once the wax has been melted, you can add either dye or fragrance to the liquid wax. Dye is available in a variety of colors, which will mix easily with your melted wax. If you want to scent your candle, use a few drops of an essential oil or candle fragrance oil and stir it into the melted wax before pouring it into the jar. Use the desired amount of fragrance so that the smell is not overpowering.
Add a step after “Embedding the Leafs”
Once your pressed leaves have been arranged the way you would like them, the next step is to embed them into the still-melted wax. To do this, take a toothpick and carefully press each leaf down into the wax so that it is securely held in place. After that is done, you will want to make sure that all of the leaves are secure by gently pressing down from above on each of them with your fingertips or a spoon. Finally, securing the leaves is crucial for keeping them in place for when you pour your candle wax into the jar.

Welcome to my candle making blog! In this blog, I will be sharing my tips and tricks for making candles. I will also be sharing some of my favorite recipes.

