Making wax candle molds is a fascinating art that allows you to create customized and unique candles for yourself or as gifts for others. Whether you are a beginner or an experienced crafter, learning how to make your own candle molds can be a rewarding and creative process.
In this article, we will explore the step-by-step process of making wax candle molds, including the history of candle making, materials needed, tips for creating unique designs, safety precautions, and troubleshooting common issues.
Candle making has a rich history that dates back centuries, with various mold-making techniques evolving over time. From traditional metal molds to silicone and plastic options available today, the possibilities for creating intricate candle designs are endless. By understanding the historical context of mold-making in candle production, you can appreciate the artistry and craftsmanship involved in this age-old tradition.
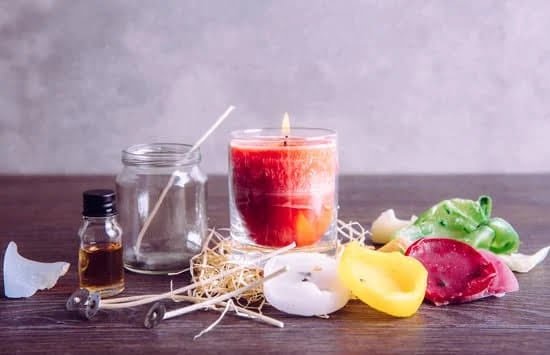
To begin your journey into making wax candle molds, you will need a few essential materials such as wax, a mold release agent, wicks, fragrance oils (if desired), and coloring agents. These basic supplies can be easily obtained from craft stores or online retailers specializing in candle-making supplies.
With these tools in hand, you can follow our step-by-step guide to creating your own custom candle molds and unleash your creativity in designing one-of-a-kind candles for any occasion.
The History of Candle Making and Mold-Making Techniques
Candles have been used for centuries as a source of light, warmth, and even religious or ceremonial purposes. The art of candle making dates back to ancient times when they were made from animal fats or wax derived from plants. In the early days, candles were primarily made by repeatedly dipping a wick into melted wax to build up layers. As civilizations advanced, so did the techniques used in candle making.
One of the key advancements in candle making was the development of molds to create more intricate and consistent shapes. The use of molds allowed for candles to be produced in various sizes and designs with greater ease and efficiency.
Mold-making techniques evolved over time, from using simple clay or metal molds to more elaborate designs made from silicone or rubber materials. These modern mold-making techniques have opened up a world of possibilities for creating unique and custom candles.
Today, enthusiasts and artisans can explore their creativity by making wax candle molds using a variety of methods. From traditional metal molds to silicone molds that capture intricate details, there are options available for every skill level.
Experimenting with different materials and techniques can help crafters achieve stunning results in their candle-making endeavors. Whether you are a beginner or an experienced candle maker, the history of mold-making techniques provides a rich tapestry of inspiration to create beautiful candles for any occasion.
| Key Advancements | Details |
|---|---|
| Mold-Making Techniques | Evolution from simple clay or metal molds to complex silicone designs |
| Creative Possibilities | Allows for crafting unique and custom candles with intricate shapes and sizes |
| Inspiration | The history of mold-making techniques offers inspiration for both beginners and experienced crafters |
Materials Needed for Making Wax Candle Molds
When it comes to making wax candle molds, having the right materials is essential to ensure that your candles turn out just the way you want them. Here are some of the key materials you will need to create your own custom candle molds:
Wax
The type of wax you choose will depend on the specific characteristics you want in your candles. Popular options include paraffin wax, soy wax, and beeswax. Each type of wax has its own unique qualities, so be sure to select one that aligns with your preferences for scent throw, burn time, and appearance.
Mold Material
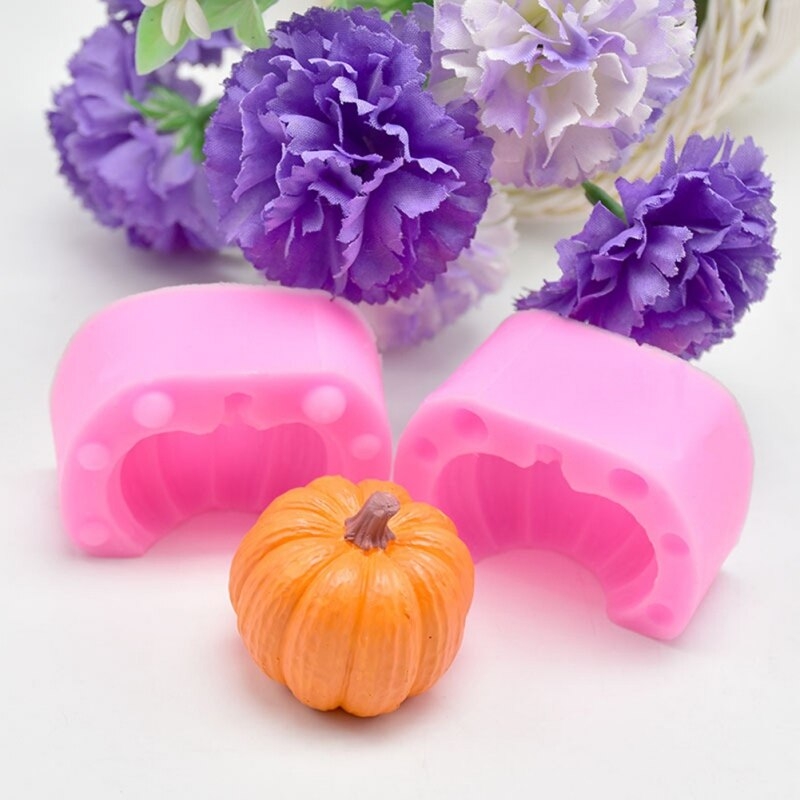
You can use a variety of materials to create your candle molds, such as silicone, metal, or plastic. Silicone molds are popular for their flexibility and ease of release, while metal molds are durable and can withstand high temperatures. Consider the size and shape of the candles you want to make when choosing a mold material.
Wick
A crucial component of any candle is the wick. Choose a wick size that matches the diameter of your candle mold to ensure even burning. You can also experiment with different types of wicks, such as cotton or wood, to achieve different effects in your candles.
In addition to these main materials, you may also need tools like a double boiler for melting wax, a thermometer for monitoring temperature, and mold sealer if using multiple-part molds. By gathering all the necessary materials before starting your project, you can streamline the candle-making process and create beautiful candles with ease.
Step-by-Step Guide to Making Wax Candle Molds
Gathering Materials
Before you can begin making wax candle molds, it is important to gather all the necessary materials. This includes mold-making materials such as silicone rubber, container for mixing, stirring sticks, release agent spray, as well as the wax for creating the candles. Additionally, you will need a double boiler or microwave-safe container for melting the wax, a thermometer to monitor the temperature, and any dyes or scents you may want to add to your candles.
Preparing the Mold
The first step in making wax candle molds is preparing the mold itself. If you are using a silicone mold, make sure it is clean and dry before starting. You may also need to apply a release agent spray to ensure easy removal of the finished candle. For more complex molds with multiple pieces, make sure they are assembled correctly and securely using rubber bands or clamps.
Pouring and Setting the Wax
Once your mold is prepared, it’s time to melt your wax according to package instructions. Use a double boiler or microwave on low settings to avoid overheating. Once melted, add any desired dyes or scents to customize your candles.
Carefully pour the melted wax into the prepared mold, making sure not to overflow. Allow the wax to cool and set completely before attempting to remove it from the mold. This process may take several hours depending on the size of your candle mold and thickness of the wax.
By following these step-by-step instructions on making wax candle molds, you can create unique and personalized candles for yourself or as gifts for others. Experiment with different shapes, colors, and scents to truly make each candle one-of-a-kind. Enjoy the process of crafting beautiful candles from start to finish.
Tips and Tricks for Creating Unique Candle Molds
When it comes to making wax candle molds, there are endless possibilities for creating unique and one-of-a-kind designs. Whether you’re a beginner looking to experiment with different shapes and sizes or an experienced crafter looking to push the boundaries of traditional molds, here are some tips and tricks to help you create truly original candles:
- Experiment with different materials: While silicone molds are commonly used for candle making, don’t be afraid to try out other materials such as metal, plastic, or even natural objects like fruits or vegetables. Each material will offer a different texture and finish to your candles.
- Get creative with additives: Consider adding colorants, fragrance oils, or even botanicals like dried flowers or herbs to your wax before pouring it into the mold. This can create visually stunning effects and add a unique touch to your candles.
- Think outside the box: Don’t limit yourself to traditional candle shapes. Try experimenting with abstract designs, geometric patterns, or even sculptural elements to create candles that are truly works of art.
Another tip for creating unique candle molds is to draw inspiration from nature, architecture, or other forms of art. Take a look around you and observe the shapes, patterns, and textures that catch your eye. You can then use these inspirations to design custom molds that reflect your personal style and creativity.
Pro Tip
If you’re feeling stuck or uninspired, consider browsing online platforms like Pinterest or Instagram for ideas and inspiration from other crafters and artists in the candle-making community. You never know what innovative techniques or designs you might come across that could spark your creativity and help you take your candle molds to the next level.
Safety Precautions When Working With Wax and Molds
When making wax candle molds, safety should always be a top priority to ensure a smooth and hazard-free process. Working with hot wax can pose risks, so taking the necessary precautions is crucial.
One of the first safety measures to consider is wearing appropriate protective gear such as gloves and goggles to prevent any burns or splashes. Additionally, it is important to work in a well-ventilated area to avoid inhaling potentially harmful fumes released during the melting of wax.
Another vital safety precaution when working with wax and molds is to handle all tools and equipment with care. When dealing with hot wax, using tools like thermometers, stirring sticks, and mold containers requires caution to prevent accidental spills or burns.
It is also advisable to have a fire extinguisher nearby in case of emergencies. Proper handling and storage of materials such as wicks, fragrances, and dyes are essential to avoid accidents or contamination that could affect the quality of your candle molds.
Furthermore, it is recommended to educate yourself on the properties of different types of waxes used in candle making before starting the mold-making process. Understanding the melting points and handling procedures for each type can help you work more efficiently and safely. By following these safety precautions diligently, you can create beautiful wax candle molds without compromising your well-being.
| Safety Precautions | Importance |
|---|---|
| Wearing protective gear | Prevent burns and splashes |
| Working in a ventilated area | Avoid inhaling harmful fumes |
| Handling tools with care | Prevent spills and burns |
Decorating and Personalizing Your Candle Molds
When it comes to making wax candle molds, the decorating and personalization process is where you can truly let your creativity shine. By adding unique touches to your candle molds, you can create one-of-a-kind candles that make perfect gifts or beautiful decorations for your own home. Here are some tips and tricks for decorating and personalizing your candle molds:
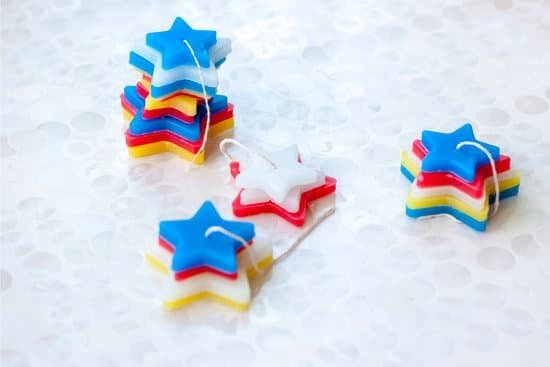
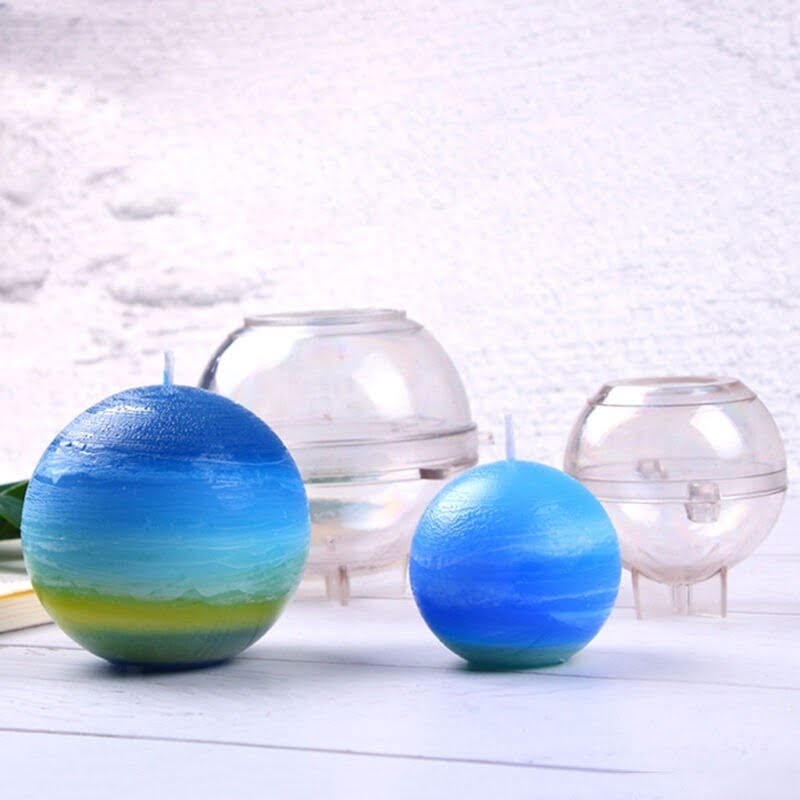
- Experiment with different colors: One way to create visually stunning candle molds is to play around with different colored waxes. You can either mix different colored waxes together before pouring them into the mold, or you can create layers of different colors for a more intricate look.
- Add texture: To give your candle molds an interesting texture, consider using objects like lace, ribbons, or dried flowers. Simply place these items on the inside of the mold before pouring in the wax, and they will leave a beautiful imprint once the candle has set.
- Use essential oils or fragrances: Another way to personalize your candle molds is by adding scents to the wax. Whether you prefer calming lavender, refreshing lemongrass, or festive cinnamon, adding essential oils or fragrances will not only enhance the ambiance but also make your candles smell wonderful.
In addition to these decorating techniques, you can also personalize your candle molds by incorporating meaningful symbols, initials, or even embedding small trinkets within the wax. The possibilities are endless when it comes to creating unique and personalized candle molds that reflect your style and personality.
Remember that while decorating and personalizing your candle molds can be fun and rewarding, it’s important to keep safety in mind throughout the process. Always follow proper precautions when working with hot wax and ensure that any decorative elements you add are suitable for use in candles. With a bit of creativity and attention to detail, you’ll soon be making wax candle molds that are as beautiful as they are unique.
Troubleshooting Common Issues When Making Wax Candle Molds
When making wax candle molds, there can be a few common issues that may arise during the process. One common problem is air bubbles forming in the wax as it cools, which can result in an imperfect finish on your candles.
To prevent this, try gently tapping the molds on a flat surface after pouring the wax to release any trapped air bubbles. You can also try preheating your molds slightly before pouring the wax to help reduce air bubble formation.
Another issue that may occur when making wax candle molds is uneven cooling, leading to lumpy or misshapen candles. To avoid this problem, make sure that your molds are placed on a level surface while the wax is setting. You can also rotate the molds gently every so often to ensure that the wax cools evenly and maintains its desired shape.
Poor mold release is another common issue faced by those making wax candle molds. This occurs when the candle sticks to the mold and does not release easily. To prevent this, consider using a mold release spray or powder before pouring the wax into the mold. Alternatively, you can try chilling the finished candles in the refrigerator for a few minutes before attempting to remove them from the mold.
By being aware of these common issues and implementing some simple solutions, you can improve your success rate when making wax candle molds. Remember that practice makes perfect, so don’t get discouraged if you encounter a few hiccups along the way. With patience and perseverance, you’ll soon be creating beautiful and unique candles with ease.
Conclusion
In conclusion, the process of making wax candle molds is truly an art and craft that has been passed down through generations. From the historical significance of candle making to the modern techniques and materials available today, creating unique candle molds allows for endless possibilities in creating beautiful, personalized candles.
One of the key takeaways from this guide is the importance of experimenting with different materials and techniques when making wax candle molds. Whether you choose to use silicone molds, traditional metal molds, or even create your own custom molds, the creative freedom in this craft is truly limitless. By exploring various decorating techniques, color combinations, and scent options, you can truly make each candle mold a work of art.
As you dive into the world of making wax candle molds, remember to always prioritize safety first. Working with hot wax can be dangerous if proper precautions are not taken, so always follow safety guidelines and instructions carefully. With patience, practice, and a touch of creativity, you will soon discover the joy and satisfaction that comes from creating your own personalized candles using unique wax candle molds.
Frequently Asked Questions
How Do You Make Candle Molds?
Making candle molds involves selecting a desired shape or design, then creating a mold using materials like silicone, aluminum, plastic, or even glass. The chosen material needs to be able to withstand the heat of molten wax without warping or melting.
What Material Is Best for Candle Molds?
The best material for candle molds depends on factors like the type of candle being made and personal preference. Silicone molds are popular due to their flexibility and ease of use, while metal molds offer durability and heat resistance. It’s essential to consider the specific requirements of your candle-making project when choosing a mold material.
What Type of Wax Is Best for Candle Molds?
When selecting wax for candle making, factors such as fragrance retention, burn time, and appearance need to be considered. Soy wax is a popular choice for candle molds because it burns cleanly and slowly, providing a longer-lasting candle.
Beeswax is another excellent option known for its natural scent and air-purifying properties. Ultimately, the best wax for candle molds will depend on individual preferences and project requirements.

Welcome to my candle making blog! In this blog, I will be sharing my tips and tricks for making candles. I will also be sharing some of my favorite recipes.


