Introduction to Candle Making
Candle making is an activity with a long history, offering a unique opportunity to create and customize your own scented candles. To get started, you’ll need some basic supplies including wax, wick, dye, and essential oil or fragrance. You’ll also need a few pieces of equipment such as a double boiler, thermometer, measuring cups and spoons, and stirrers.
When making white scented candles specifically, the process begins by melting the wax over low heat in the double boiler. The wax should then be strained through cheesecloth and left to cool at room temperature for about 15 minutes before fragrances are added. Once the fragrances have been mixed in thoroughly with the wax until combined, it should then be poured slowly into molds or containers. Finally, add pre-tabbed wicks to each container before allowing them to set for 24 hours at room temperature. After 24 hours your white scented candles are ready to use!
For those who don’t have access to all of the necessary supplies needed for candle making, there are plenty of online resources that offer kits containing everything one needs to begin their candle-making journey! Similarly, sites like YouTube and Pinterest contain tutorials which can help teach beginners how best to create their beautiful creations using easy-to-follow visual demonstrations. With these additional resources available to those interested in learning more about how to make white scented candles specifically, novices will soon learn the basics quickly while feeling comfortable trying more creative techniques!
Choosing a Wax
When making white scented candles, a variety of waxes can be used. Choosing the right wax is a matter of personal preference and desired result. Paraffin wax is the oldest and most popular type of candle wax. It has good scent throw, holds fragrance, and can have a long burning time if kept cool. However, paraffin has a lower melting point than other types of wax, so it may not burn as hot or as long in hotter climates. Soy wax is becoming increasingly popular for its eco-friendly nature and clean burning. Soy wax burns slower and cooler than paraffin with some fragrances lasting up to twice as long when burned with soy wax compared to paraffin. Beeswax is a great choice for longer lasting candles with high scent throw since it has a higher melting point than paraffin and soy. Palm wax also has a higher melting point than paraffin but is harder to work with as it requires special equipment and techniques to create beautiful designs on top of the finished candle surface. Finally, candle blending involves using multiple types of wax to achieve certain desired characteristics in the candle such as strength or softness in the burn. With experimentation, any combination of wax can be chosen based on individual needs.
Preparing the Wick
The wick is a critical component of the candle making process, as it is responsible for drawing the melted wax up from the candle container so that it can be burned. Therefore, choosing the correct size and type of wicking material for your candles is of utmost importance for achieving a successful burn every time. For most candles, you’ll want to use cotton pre-waxed or flat braided wicking. These types of wicks are premade with an already attached metal tab so they are much easier to work with than DIY wicks hashed together from cotton thread and metal cores. Before using any type of pre-waxed wick though, you will need to take the time to properly treat their core first by dipping it in melted wax several times before using them in your candles. This pre-treatment ensures that when lit, the flame will easily spread across the entire length of the wick without dying down due to buildup in its core. It is also important to choose a correctly sized wick for your candles. Wicks come in various sizes ranging from tiny ones suitable for tiny votive candles all the way up to extra large- diameter versions used for making big pillar candles. To ensure proper burning and avoid smoking, you should always use a wick size designed specifically for the types/diameters of waxes (beeswax or soy wax) that you plan to use when making your own artisanal scented candles at home.
Creating the Candle
Making White Scented Candles
1. Begin by preparing your workspace and gathering the supplies you need: wax, candle wick, vessel for the melt (double boiler), heat-resistant measuring spoons and bowls, fragrances or essential oils, blue dye chips (optional).
2. Start melting the wax in a double boiler set to low heat on the stovetop. It is important to use low heat so that you don’t scorch or boil away any of the fragrance from the wax. Stir occasionally with a wooden spoon until the wax is completely melted.
3.Before pouring into the mold, add your desired fragrance oil or essential oil to the melted wax and stir for about 30 seconds using a wooden spoon to ensure even distribution of scent throughout the candle.
4. If desired, add a few blue dye chips in order to create some white coloring in your completed candle.
5. Now place your wick in center of your designated candle container where it will be able to stand upright while still being secure at both ends. Pinching it around the outside edges can help maintain this positioning if needed.
6. Gently pour out your candle mixture into intended vessel till it is full making sure not to disturb position of wick too much in process. Note: For best results aim for medium-level pouring consistency that is neither too thick nor too thin so as not to interfere with even burning once complete candle comes together later on when cooled down/hardened up after exposed drying/cooling period usually 12-24 hrs but times may vary depending on type/amount of ingredients used & climate conditions present in area during this time frame before wax reaches final hardened state prior to trimming up & burning eventual end product
7 Finally let cool and harden for 12-24 hours before trimming excess wick from top with sharp scissors and enjoying your delightful smelling homemade white scented candles!
Adding Scent
Creating a white scented candle from scratch can be a fun, rewarding experience. The first step is adding the desired scent to your wax”the best fragrances for a white candle depend on personal preference, but essential oils are widely used for their natural aroma and therapeutic benefits. Popular scents include lavender, sandalwood, jasmine, bergamot, and ylang-ylang. For an extra luxurious touch, look into adding other features like color, glitter, and embeds to your candle. As colorants can affect the burn time of your candles, it’s important to choose ones free of metals such as red iron oxide or zinc chloride so they don’t clog up the wick. Similarly, when it comes to glitter and other decorative elements, opt for those made with biodegradable materials that won’t create soot while burning. With careful attention to the wax-to-fragrance ratio to ensure the healthiest possible burn (along with all the finishing touches you’ve added), your white scented candles can bring light and fragrance into any room!
Finishing Touches
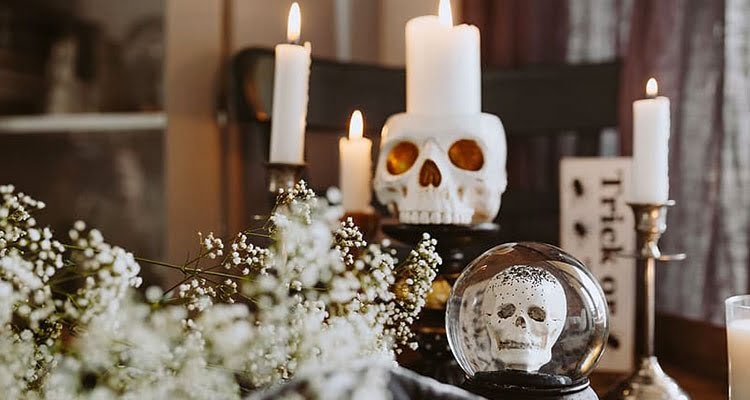
Styling: White candles can look beautiful with a single white flower perched on top, or two smaller ones placed in front. A simple clear glass can add a special touch when used as a holder for the flowers. Another way to make the candle look attractive is to wrap it in organza, lace, twine or ribbon for an elegant look. You can also add little crystals, pearls or glitter on the sides and around the base of your candle. This adds texture and sparkle that will draw attention to your candle!
Labels: Labeling your candles helps identify each one and tells customers what type of scent you used for the candle. You could make labels out of cardstock by printing your custom design or shape from the computer. Alternatively, you could buy adhesive tags at most craft stores to adhere onto your candle. Writing directly on the glass with an oil-based pen is another option that gives a clean finish to your label. However you choose to do it, be sure to use waterproof ink so that moisture doesn’t affect it over time!
Aftercare
It is important for those who make white scented candles to understand how to properly care for the product after it has been made. Burner safety tips would include advice such as never leaving a lit candle unattended, and always making sure that the wick has a length of no more than one quarter of an inch to prevent sooting or smoky products. Proper storage is also essential as candles should be stored in a cool, dry place away from direct sunlight. Lastly, it is recommended that shelf life for white scented candles generally last three years if unopened and one year after being opened and exposed to atmospheric moisture and other environmental conditions. Furthermore, some basic troubleshooting advice could include suggestions such as trimming wicks prior to burning, ensuring clean burners are used when lighting, rotating candle regularly during use, and never using metal objects with the wax.

Welcome to my candle making blog! In this blog, I will be sharing my tips and tricks for making candles. I will also be sharing some of my favorite recipes.


