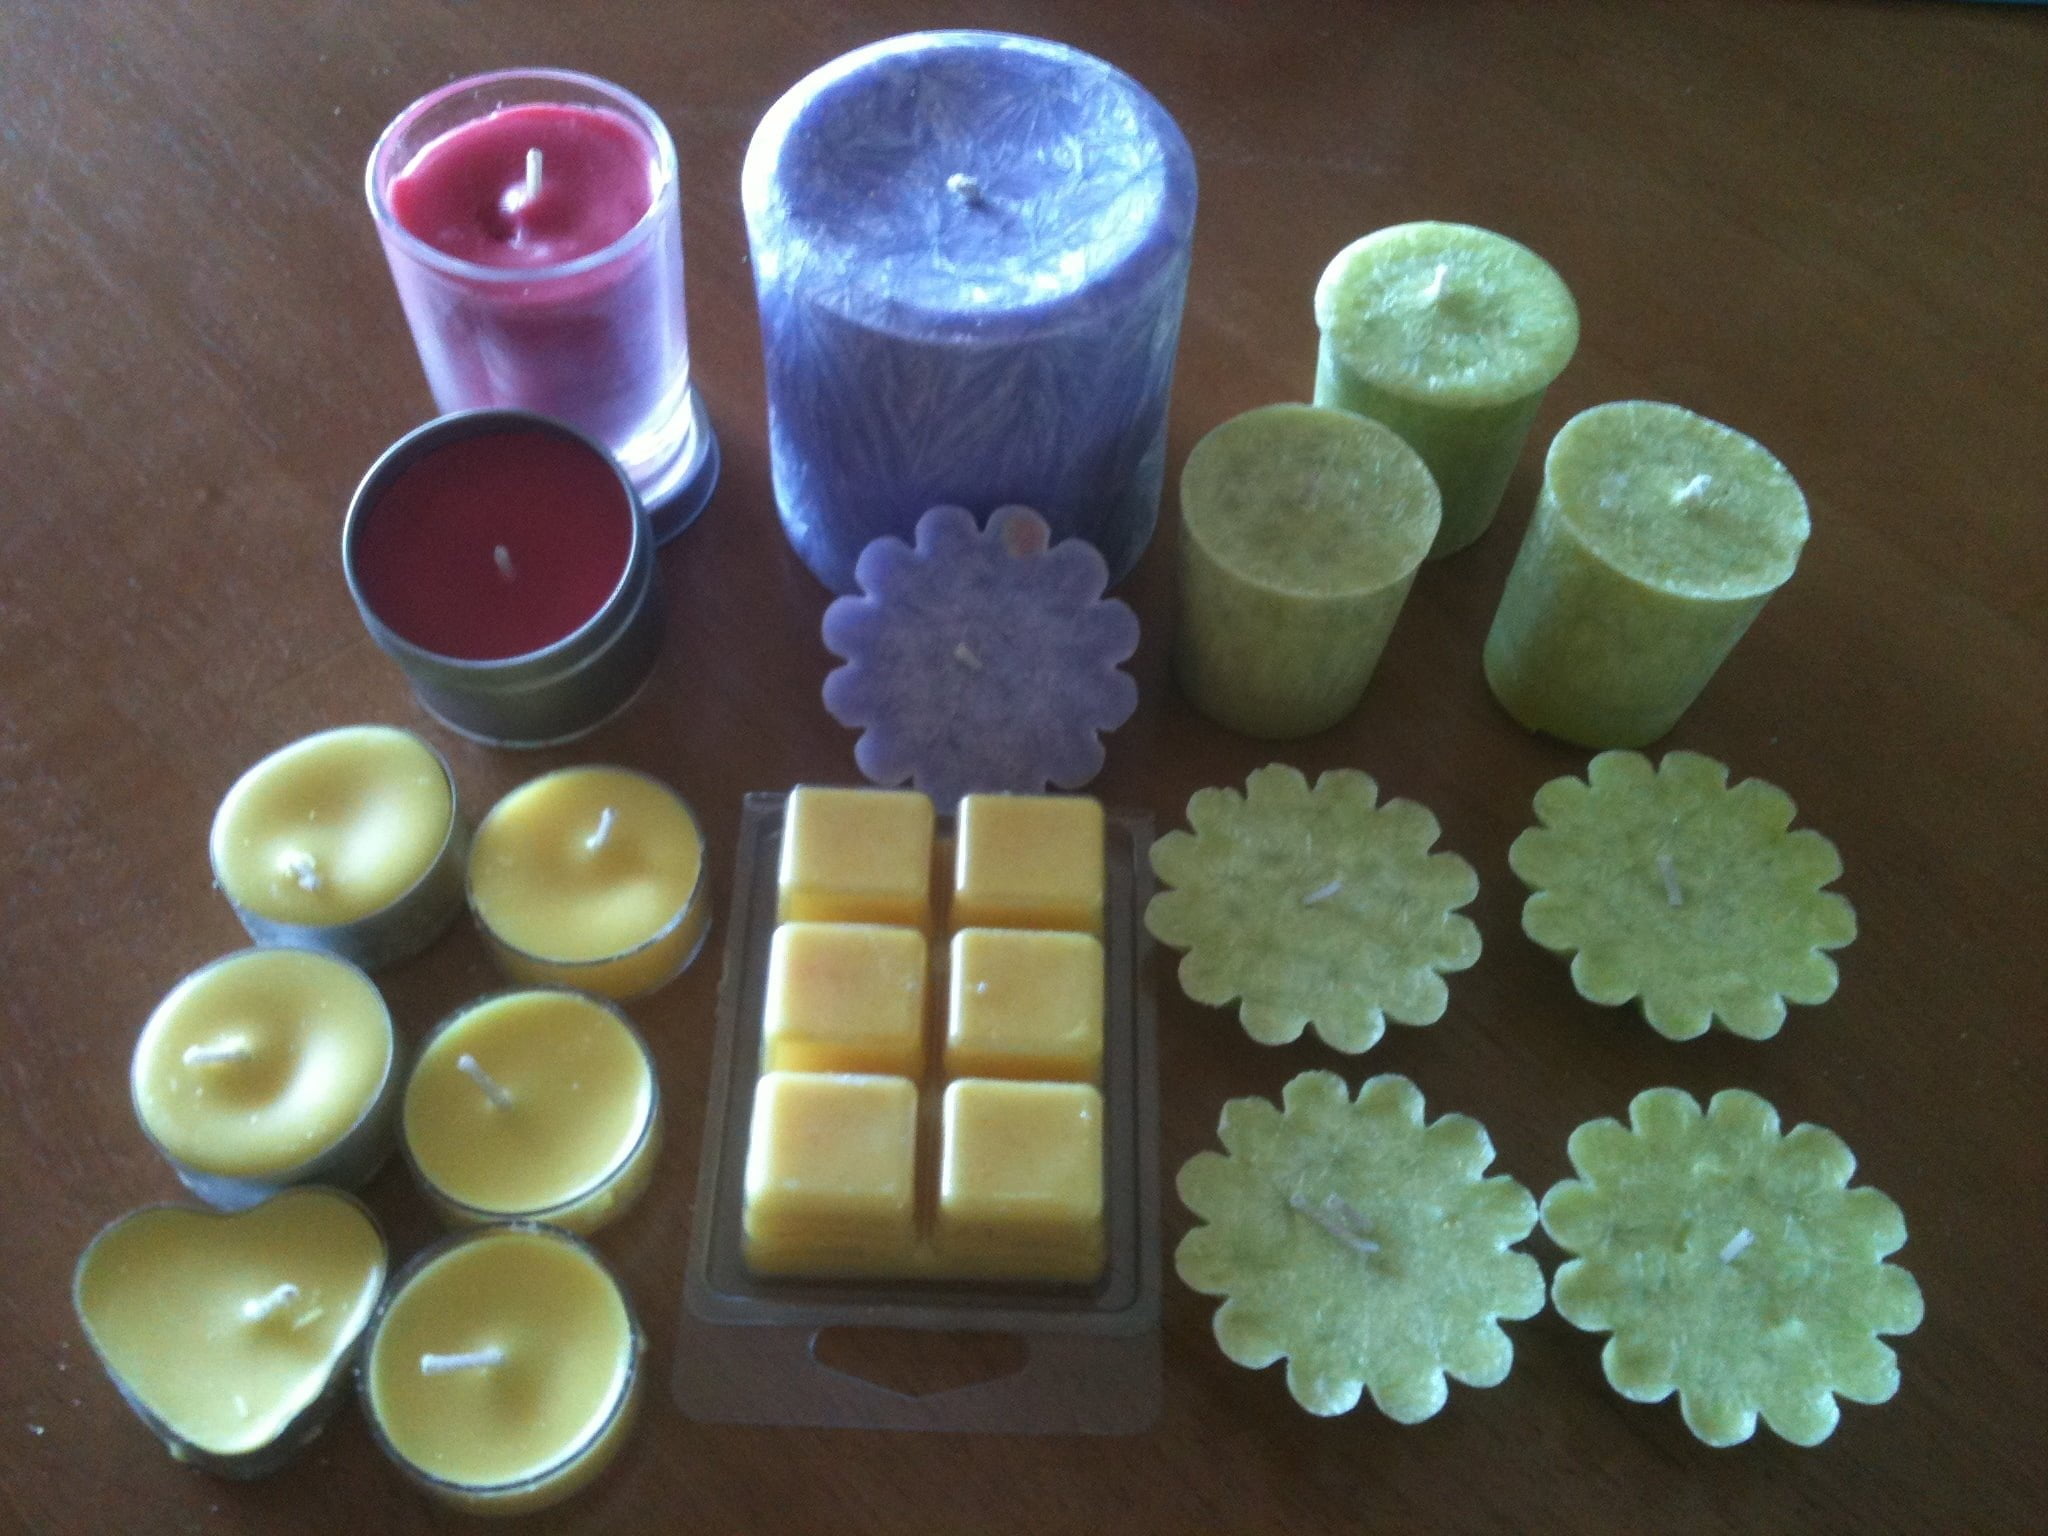
Candles are a centuries-old way to add light and warmth to a room. They can also be used to create a relaxing or romantic ambiance. Making your own candles is a fun, easy way to enjoy this centuries-old tradition.
You will need:
-A double boiler or saucepan and a heat-proof bowl that will fit inside it
-Candle wax
-Fragrance or essential oil (optional)
-Wicks
-Pouring pot
-Thermometer
-Scissors
-Stickers or labels
Step 1: Choose your wax
The first step in making your own candles is to choose your wax. There are a few different types of wax to choose from, each with its own benefits and drawbacks.
Paraffin wax is the most common type of wax used in candles. It is inexpensive and easy to work with, but it can produce a smoky flame and is not the best choice for people with allergies.
Beeswax is a natural wax made by bees. It is more expensive than paraffin wax, but it burns cleaner and has a natural honey scent.
Soy wax is made from soybeans and is a renewable resource. It is also non-toxic and melts at a lower temperature than other types of wax, making it a good choice for beginners.
Step 2: Melt the wax
Once you have chosen your wax, you need to melt it. Place the wax into the double boiler or saucepan and heat it until it is melted. If you are using beeswax or soy wax, you will need to melt it at a lower temperature than if you are using paraffin wax.
Step 3: Add the fragrance or essential oil
If you want your candles to have a scent, now is the time to add it. Add a few drops of fragrance oil or essential oil to the melted wax.
Step 4: Wick the candles
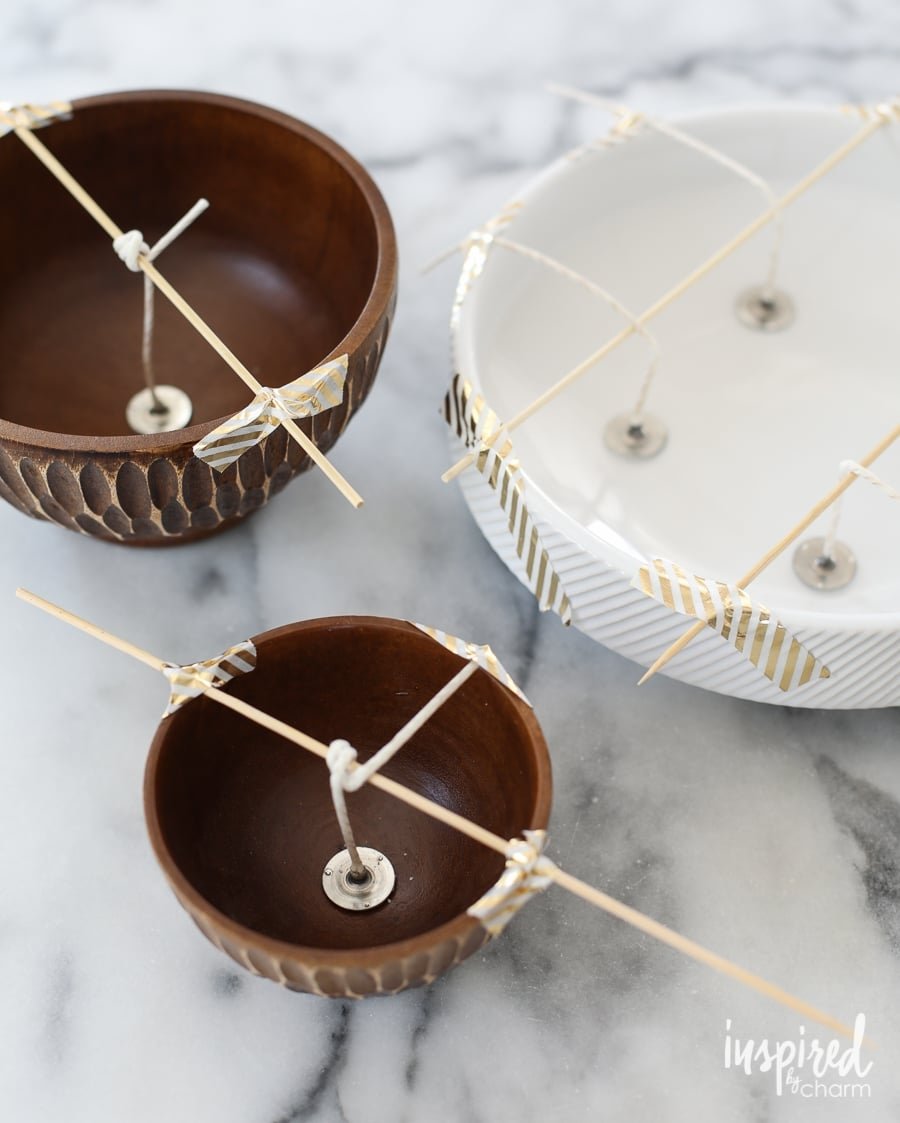
Cut the wicks to the desired length and tie them to the bottom of the heat-proof bowl.
Step 5: Pour the wax
Pour the melted wax into the pouring pot.
Step 6: Temperature
The temperature of the wax is important, as it affects the way the candle burns. The ideal temperature for making candles is between 130 and 150 degrees Fahrenheit.
Step 7: Pour the wax into the mold
Pour the wax into the mold, making sure to fill it to the top.
Step 8: Allow the candles to cool
Once you have poured the wax into the mold, allow it to cool completely. This can take several hours.
Step 9: Trim the wicks
Once the candles have cooled, trim the wicks to 1/4 inch in length.
Step 10: Label the candles
Label the candles with the date and the type of wax used.
Cost To Start Candle Making Business
There are a lot of costs to consider when starting a candle making business. The most important cost is the cost of your supplies. You will need to purchase wax, wicks, dyes, and scents. The cost of your supplies will vary depending on the type of candles you plan to make.
Another important cost is the cost of your equipment. You will need a melting pot, pouring pot, thermometer, and scales. You may also want to purchase a candle making machine.
You will also need to consider the cost of marketing your business. You will need to create a business plan, website, and branding.
The final cost to consider is the cost of labor. If you plan to make your candles by hand, you will need to pay yourself a wage. If you plan to outsource the labor, you will need to factor in the cost of the labor.
How Profitable Is Candle Making
?
Candle making can be a profitable business, but it’s important to do your research and plan your business carefully. Here are some factors to consider:
The cost of materials: The cost of materials for candle making can vary depending on the type of candles you make. For example, soy wax is cheaper than beeswax, but beeswax produces a higher-quality candle.
The cost of materials for candle making can vary depending on the type of candles you make. For example, soy wax is cheaper than beeswax, but beeswax produces a higher-quality candle. The cost of equipment: You don’t need much equipment to start making candles, but the cost can add up if you buy quality equipment. For example, a good quality wax melter will cost around $100.
You don’t need much equipment to start making candles, but the cost can add up if you buy quality equipment. For example, a good quality wax melter will cost around $100. The cost of marketing: Candle making can be a competitive business, so it’s important to invest in marketing to reach your target market. This can range from online advertising to tradeshows.
Candle making can be a competitive business, so it’s important to invest in marketing to reach your target market. This can range from online advertising to tradeshows. The cost of labour: If you’re doing everything yourself, labour costs can be significant. However, there are ways to reduce this cost, such as outsourcing certain tasks or using automated equipment.
If you’re doing everything yourself, labour costs can be significant. However, there are ways to reduce this cost, such as outsourcing certain tasks or using automated equipment. The cost of shipping: If you’re selling your candles online, you’ll need to factor in the cost of shipping. This can vary depending on the weight and size of your candles.
So, what’s the bottom line?
Assuming you have the right equipment, the cost of materials, labour and shipping, you can expect to make a profit of around 50% on your candles. This may vary depending on the type of candles you make and your target market.
Pillar Candle Making Instructions
The great thing about pillar candles is that they come in a variety of shapes and sizes, making them perfect for any occasion. Whether you’re looking to create a romantic atmosphere for a special dinner party or want to add a touch of elegance to your next wedding, pillar candles are a great option.
To make your own pillar candles, you’ll need:
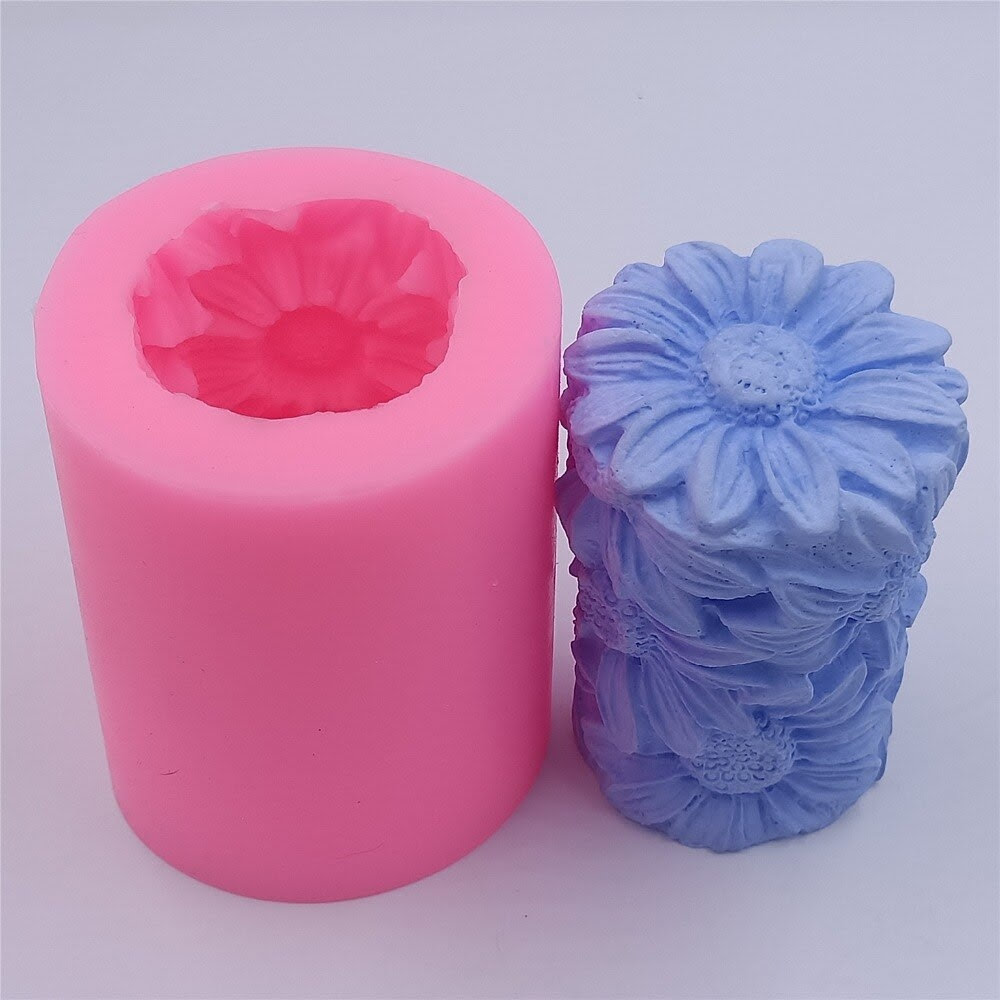
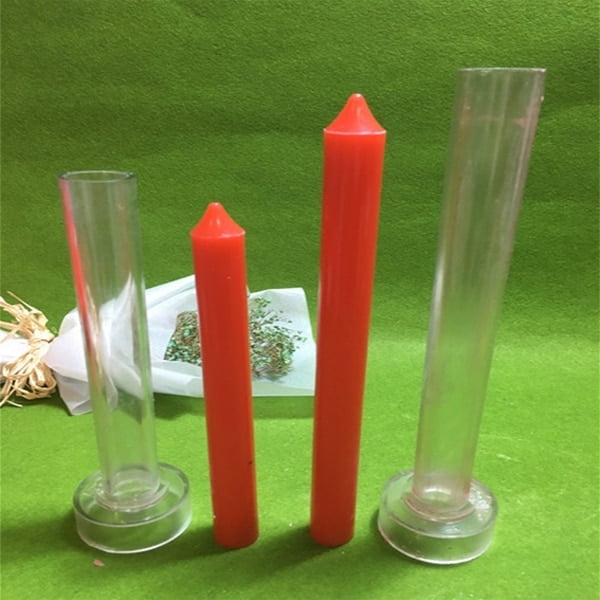
– Pillar candle mold
– Wick
– Candle wax
– Candle wick holder
– Scissors
– Heat source
The first thing you’ll need to do is choose the wax you’d like to use. Pillar candles can be made from a variety of waxes, including beeswax, soy wax, and paraffin wax.
Once you’ve chosen your wax, you’ll need to melt it down. You can do this using a stovetop or a microwave. If you’re using a stovetop, place a pot of water on the stove and place the wax containers in the pot. If you’re using a microwave, place the wax in a microwave-safe container and microwave it for a few minutes.
Once the wax has melted, it’s time to add the wick. Cut the wick to the desired length and place it in the wick holder. Then, dip the wick in to the melted wax and make sure it’s fully saturated.
Now it’s time to pour the wax in to the mold. Be careful not to get the wax on the wick, as this can cause the candle to flame up. Pour the wax in to the mold until it’s about 1/2 inch from the top.
Once the wax has hardened, remove the candle from the mold and trim the wick to about 1/4 inch in length.
Finally, place the candle in a safe place and light it up!
Candle Making Material Crossword
Candle making is an art form that has been around for centuries. It is a process of melting wax and combining scents and colors to create a unique product. The following is a list of some of the most common materials used in candle making.
Wax- There are a variety of different types of wax that can be used in candle making. The most common type is paraffin wax, which is a petroleum based wax. Other types of wax include soy wax, beeswax, and palm wax.
Fragrance- Fragrances can be used to scent candles or to add color. There are a wide variety of fragrances available, including floral, fruity, and woodsy scents.
Dyes- Dyes can be used to add color to candles. There are a variety of different types of dyes available, including liquid dyes, powder dyes, and gel dyes.
Stearic Acid- Stearic acid is a fatty acid that is used to make candles harder and more durable.
Vaseline- Vaseline is used to make candles more fragrant. It is added to the wax and then the candle is scented with a fragrance oil.

Welcome to my candle making blog! In this blog, I will be sharing my tips and tricks for making candles. I will also be sharing some of my favorite recipes.

