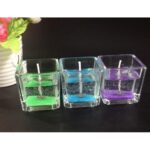
Introduction
Candle making is a creative and fun craft that has been around for centuries. Once used mainly as a source of light and warmth, candles have since evolved into a form of art with numerous styles, shapes, scents, and colors. The benefits of making your own candles are vast — from the satisfaction of creating something one-of-a-kind to learning a new skill to the savoring of unique aromas. Plus, using natural waxes and essential oils in the process can create healthy home air while reducing your environmental footprint.
The process of making a candle involves gathering materials, preparing equipment, pouring the melted wax into a chosen container or mold, allowing it to cool and solidify, then adding decoration once cooled down. It is important to remember that each type of wax will require different temperature levels when melting so it is essential to do some research beforehand depending on which type you choose. Additionally, there are numerous methods of pouring wax into molds such as using thermometers or weighing scales to ensure accuracy when measuring out the desired amounts depending on the size you want your candle to be. With enough practice and patience anyone can make quality candles easily at home!
Supplies Needed
Candle making is an enjoyable and rewarding craft. Having the right supplies makes it much easier to create a successful candle, as well as giving you plenty of options for experimentation. The main ingredient in candle-making is wax, but there are many other tools, ingredients, and materials needed. Some of the basics include:
Wax – There are many types of wax available for use in candle-making, including paraffin wax, beeswax, soy wax, coconut wax, palm wax and more. Each type has its own unique characteristics that can affect the finished product – whether you’re looking for a slow burner or a particularly clean burn.
Molds & Wicks – Every candle needs something to hold it together; this is either provided by molds or wicks. Molds come in various sizes and shapes and may be formed from plastic or metal. Different types of wicks may be used depending on the type of wax used; some work better than others.
Scents & Colors – Candle fragrances greatly depend on the type of scent you wish to add while coloring can make candles aesthetically pleasing or match your desired theme. Fragrance oils should have an optimal load percentage when added to melt the wax correctly; this differs based on the type of wax. Colors only need a small amount when due consideration is given to their hue intensity; this must also correspond with each particular type of wax used respectively in terms of color weight loading.
Melting Pot – This will help heat up large batches of wax evenly without burning it out all at once. Additionally adding a thermometer allows you to accurately keep track of temperatures due to different melting points between various types of waxes that could prove crucial for success when making candles with intricate detail (i.e., pillars).
Pouring Pot – This is basically an instrument which helps when pouring the hot liquid mixture into molds or onto surfaces like slabs (large tabletops). Care must be taken though because pouring pots tend to get terribly hot during usage with incorrect timing potentially ruining whatever project being worked on just before completion!
Wax Melting and Preparing
The first step to making a candle is melting the wax in order to prepare it for use. There are several methods of melting wax but the two most commonly used are double boilers and electric wax warmers. By using either method, heat the wax on low heat until it reaches its liquid form. Stirring the wax during this process is essential as doing so will help distribute heat evenly while preventing burning or scorching. Once melted, any additional ingredients such as colorant, scent, or wick sustainer can be added before pouring the molten wax into the desired container.
It is important to remember that different types of wax can have different melting points, therefore having an accurate thermometer is critical for success when candlemaking. Most candles require between 130-145F to ensure an even pour and prevent air pockets from forming in the finished product. Additionally, pre-testing any additives being used with a small amount of melted wax and assessing their reaction will help avoid potential issues with compatibility prior to pouring your batch of candles. Finally, always make sure there is adequate ventilation when using any type of heating element or open flame in order to ensure safety
Preparing the Container and Wick
Once you have the container and a wick ready to go, you need to get them prepared for candle making. To begin, lightly brush the inside of the glass container with vegetable oil. This will help keep the wax from sticking when it’s done. Next, using an awl, a tool designed specifically for this job, make a hole in the center of your wax. If you don’t have an awl, simply melt and insert each end of your wick into the softened wax at either side and let cool before pushing down firmly into the container base. Finally, hold your wick up and in place with a wick sustainer or wick holder; this plastic lightbulb-shaped piece is available at most craft stores in various sizes specific to different sized containers. Make sure both sides of the wick are laying flat against the bottom of the container, then secure it into place with hot glue or special adhesive tabs intended for candle making.
Adding Fragrance, Coloring, and Shapes
Adding fragrance, coloring, and special shapes to candle making is a great way to customize your candles. To add fragrance, you will need to purchase a candle-specific fragrance oil. Take your melted wax that has reached approximately 150 degrees Fahrenheit and stir in the oil. The ratio of oil per pound of wax varies depending on the strength of the scent, usually ranging from 1/2 – 2 ounces per pound of wax. You can experiment with keeping subtle notes or deepening the scent as desired.
To add colorizations, use a dye block or liquid dye specific for candles. Dye blocks are ideal for beeswax or paraffin wax as they dissolve faster and more evenly in these types of waxes than liquid dyes do. You can chop or shave the block into small pieces before adding it to the wax so it will dissolve quickly. Liquid dye should be added in drops and stirred in until achieving a desired richness in color.
Lastly, there are special molds available to create unique shapes with your candles upon cooling. Be sure to check mold size recommendations when purchasing any new molds, as pouring an inadequate amount of melted wax into a too-large mold can result in an uneven patterning and lacking shape stability after finishing. Additionally, you may choose other materials like jars or tin cans instead of traditional molds—just ensure they are heat resistant and lined with paper towels where necessary during filling with hot wax!
Pouring and Setting the Wax
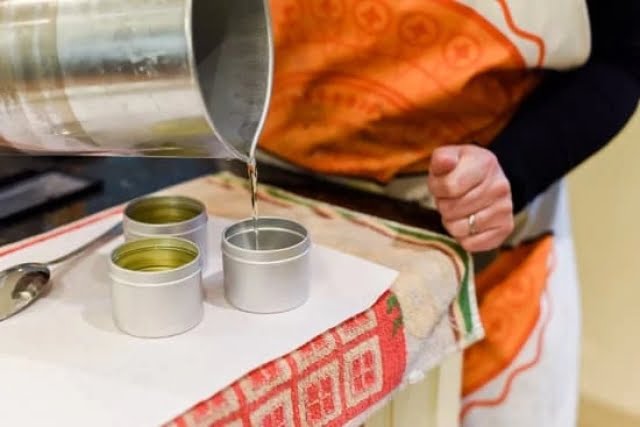
Making your own candle is actually very easy. The first step in the candle making process is pouring and setting the wax. Before you begin this process, it’s important to have the materials and supplies you’ll need, like wax, a suitable container, a wick, and fragrance or essential oils (or even food coloring).
Next, start pre-heating your wax. This can be done using either a double boiler or an electric hot plate. It needs to reach about 185°F for most types of wax. Once the wax is heated, then it’s time to pour it into your container. You will want to attach the wick before you do this so that the wick stays in place once the wax cools down. For safety reasons (hot liquid wax), you may want to use gloves during this portion of the candle making process. After pouring, give your candle some time to cool down completely before lighting it up; this could take anywhere from 6-12 hours depending on how much wax was used and how large your container is.
If desired, you can add fragrance or essential oils once the liquid has cooled down enough not to burn them off when added (this happens around 140°F). If you want a colored candle you can use food coloring as well during this step but water-soluble dyes are better since they don’t affect scent strength as much as oil-soluble versions would. Once everything is added (including dye or any decoration if wanted) allow it to harden again before burning; this usually takes about another 24 hours before it’ll be ready for lighting up and enjoying with friends or family members!
Finishing Steps
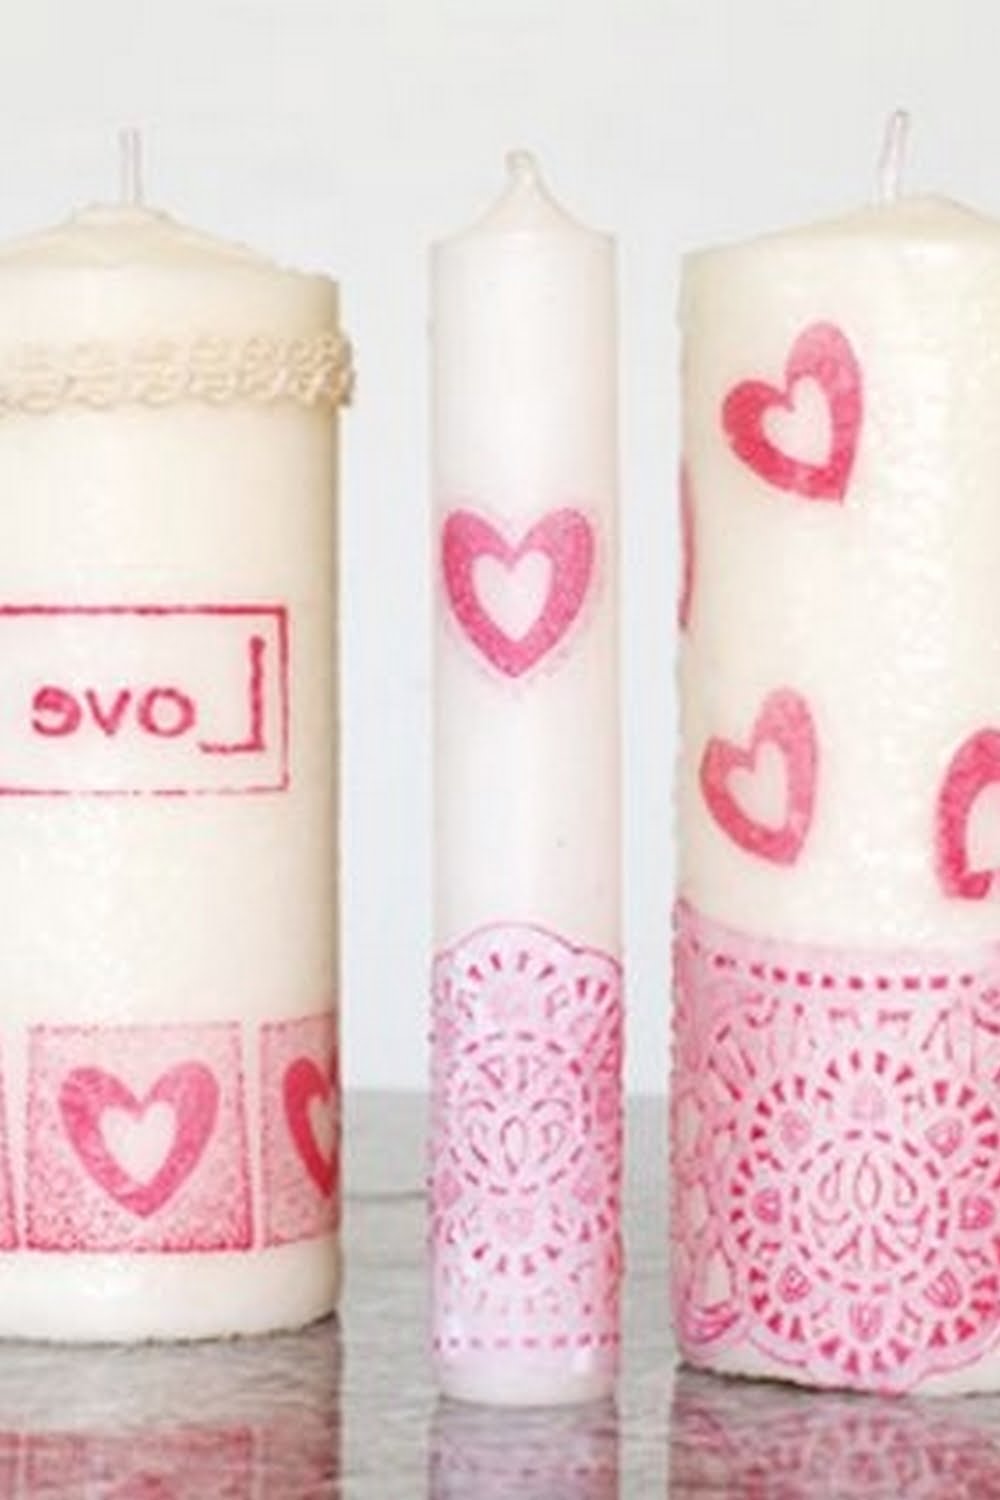
Once the candle has been made in its basic form, there are additional finishing steps to complete the process. First, the wick must be trimmed using sharp scissors or clippers. This helps control the size of the flame and keeps it burning evenly along with helping prevent excess smoke when lit. After trimming the wick, a sponge or paper towel can be used to clean up pooled wax around the surface of the candle. Covering any uncovered areas will waterproof and should help improve burn time in addition to giving a cleaner finished look to the candle. Additional layers of wax may also be added after initial cooling if desired to make it easier for any decorations or patterns to take shape on the surface. If fragrance was added, a few drops of scent oil may need to be reapplied once cooled for extra potency. Once satisfied with all adjustments, let cool completely before burning and enjoy!
Further Reading
Candle making is enjoyable and, with some research and practice, may be easy to master. To begin, consider the type of candle you would like to make. There are a variety of waxes, wicks, fragrances and colors available that can give you an infinite number of possibilities when it comes to creating your own unique creation. After researching to decide on which type of materials to use for your project, there are several steps that need to be taken in order for the project to achieve success.
First, heat the wax until it is liquid and add your desired coloring or fragrances before pouring it into a container. Once the wax has cooled sufficiently after being placed in a safe area away from drafts and other heat sources, the next step is to cut your wick to desired size while ensuring it stays centered between the sides of the container. Trim off any excess wick once positioned correctly. Next attach tabs at both ends of your wick as this will help take some stress off from holding up the wick while pouring in hot wax by allowing it to rest against one side of the mold or container so it does not move around freely. Finally pour in liquid wax slowly over the center of your wick before allowing for cooling time which allows the candle sufficient time harden before burning or moving onto further decoration.
For those who seek more detailed instructions for process for simple candle making including items needed along with helpful tips and tricks, there are a variety of online resources with information on candle making along with links and books that can provide additional guidance and instruction such as Candle Making Basics – A Beginner’s Guide by Christine VanLieshout; The Complete Photo Guide To Candlemaking: All You Need To Know To Make Candles In Any Shape Or Color By Cader Mayo-Peace; How To Make Candles At Home For Fun & Profit: Your guidebook written by Marge Kravec; Wickipedia’s Candle Making page which includes entry on supplies needed when making candles; The American Candle Makers Society provides education classes throughout yearly events that offer various seminars teaching how-to make candles safely; Last but not least YouTube offers an abundant amount tutorials featuring step-by-step instructions folk have created themselves when crafting candles at home.
Conclusion
Candle making is a fun hobby that allows you to create beautiful, customized candles. By following the steps outlined here, you can create your own delightful candle creations. The process of making a candle begins by gathering the necessary materials. For basic candles, this includes wax, wicks, dye, and scents. To make a more professional looking product, you may need additional items such as molds or special equipment. After melting the wax and combining it with other ingredients like scent or colorant, it’s time to pour the mixture into prepared containers or molds. Once the candles have set and hardened up, trim any excess from around the wick and package them if desired.
In summary, when it comes to candle making, you’ll want to gather your necessary materials first. Next melt wax and combine it with other ingredients like scent and dye. Then use molds or other containers to pour the melted wax into before allowing for them to cool over several hours or overnight until completely cooled down and hardened up. Lastly cut any extra wick off of your finished products and package them if desired! Through this process you have likely gained a new appreciation for crafting custom candles in different shapes sizes!

Welcome to my candle making blog! In this blog, I will be sharing my tips and tricks for making candles. I will also be sharing some of my favorite recipes.

