Introduction
Introduction
Candles have been used for centuries for aesthetics and to provide warmth and light for all kinds of rituals and activities. They can now be found in homes all over the world, used to create a relaxing atmosphere or light up a special moment. If you’re interested in making your own candles, you’ll need some essential supplies.
Things Needed For Making Candles
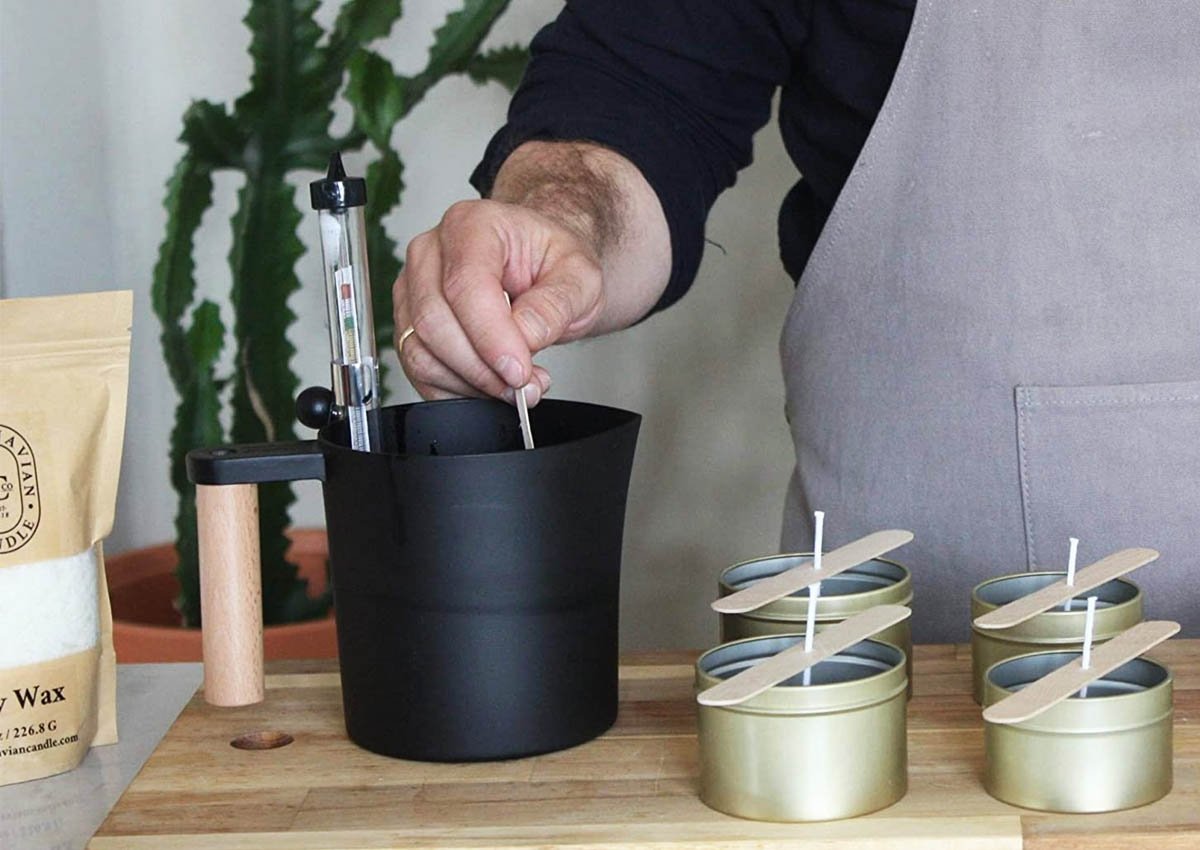
There are several items you need in order to make your own candles at home. These include candle-making molds and containers, wax, wicks with wick tabs and clips, fragrance oil, dyes (for creating custom colored candles), thermometers, double boilers (or wax melting pots), stirring implements and scissors/shears to cut the wick. You will also want to stock up on safety equipment such as heat resistant gloves and goggles as well as materials like newspaper or cutting boards that can be used as work surfaces.
How to Choose the Right Type of Wax
When choosing wax for your candles, it is important to consider what type of candle you wish to create; different types of wax have different properties that may not be suitable for every kind of candle project. Paraffin wax is one of the most commonly used types of wax due to its affordability and easy availability from craft stores or online. Beeswax is also popular due to its natural aroma, rich color potential and ability to hold scent well. Other types of wax such as soy wax are growing in popularity due to their sustainable nature; these are often blended with beeswax or other elements such as palm oil for additional properties.
Benefits of Making Candles
Making candles has many benefits! Not only do you get the satisfaction of creating something beautiful with your own hands, but also save money by doing so! You can create custom candles with any scent or color combinations that appeal to your tastes; this makes them ideal gifts for loved ones or decor pieces that show off your creative skills! Finally, making your own candles gives you an opportunity to relax while honing your skills through practice – it’s an activity that requires patience but yields beautiful results with each attempt.
Necessary Supplies
When making candles there are a few essential items you will need.
Different types of wax is important. There’s Paraffin wax which is a petroleum-based wax and more popular with candle makers To get the right consistency it needs to be blended with hydrogenated vegetable oils like soybean, palm, coconut and others waxes such as beeswax, stearic acid, lanolin, microcrystalline wax and carnauba wax.
Melting containers can be glass, metal or ceramic; large enough to hold the amount of melts you want for your project. Place this container inside another larger one that can hold boiling water as this is how the wax melts safely/ This method prevents burning/overheating of the wax.
Wicks come in several sizes from 6-inch pre-tabbed wick to 30+ inch already primed ones. Generally the diameter of your wick should match your container size so choose accordingly. You may also need tools related to wicking such glue dots or clips for positioning them correctly during assembly.
You may also wish to add additives and colorants to make different shapes, scents or colors usually made of mineral oil, vegetable dye powder pigments/liquid dyes and micas. Essential oils are added when using paraffin wax type these are concentrated scents that should be used sparingly otherwise it may affect burning time and safety of the candle itself.
Safety Tips
Safety Tips:
– Wear suitable protective clothing, such as gloves and long sleeves, when making candles. Hot wax and melted wax can cause serious burns. There is also a risk of dangerous flying debris during the manufacturing process.
– Become familiar with safety equipment and guidelines. Depending on the size, scope, and scale of your candlemaking business, you may need to adhere to certain fire and safety regulations which include having proper ventilation systems in place as well as a fire extinguisher nearby.
– To avoid burning yourself or any danger of fire in general, always keep either a food thermometer or an electric thermometer around to monitor the temperature of your melted wax. Additionally, keep your wicks trimmed to reduce the chances of any falling embers escaping wax containers and igniting flammable objects nearby.
– Pay attention to other potential hazards like hotplates or stoves used for melting wax; they must be kept clean and away from combustible materials such as paper towels, cardboard, cloths etc. Also regularly check electrical equipment like hotplates for frayed cords, exposed wires or cracked plugs which might create sparks that could ignite hot liquified wax vaporizing in the air around it.
– Finally take all necessary precautions when moving large units of hot liquid wax from one area to another as this can cause serious spills if it comes into contact with skin or clothing items that are not flame retardant!
Preparing the Wax
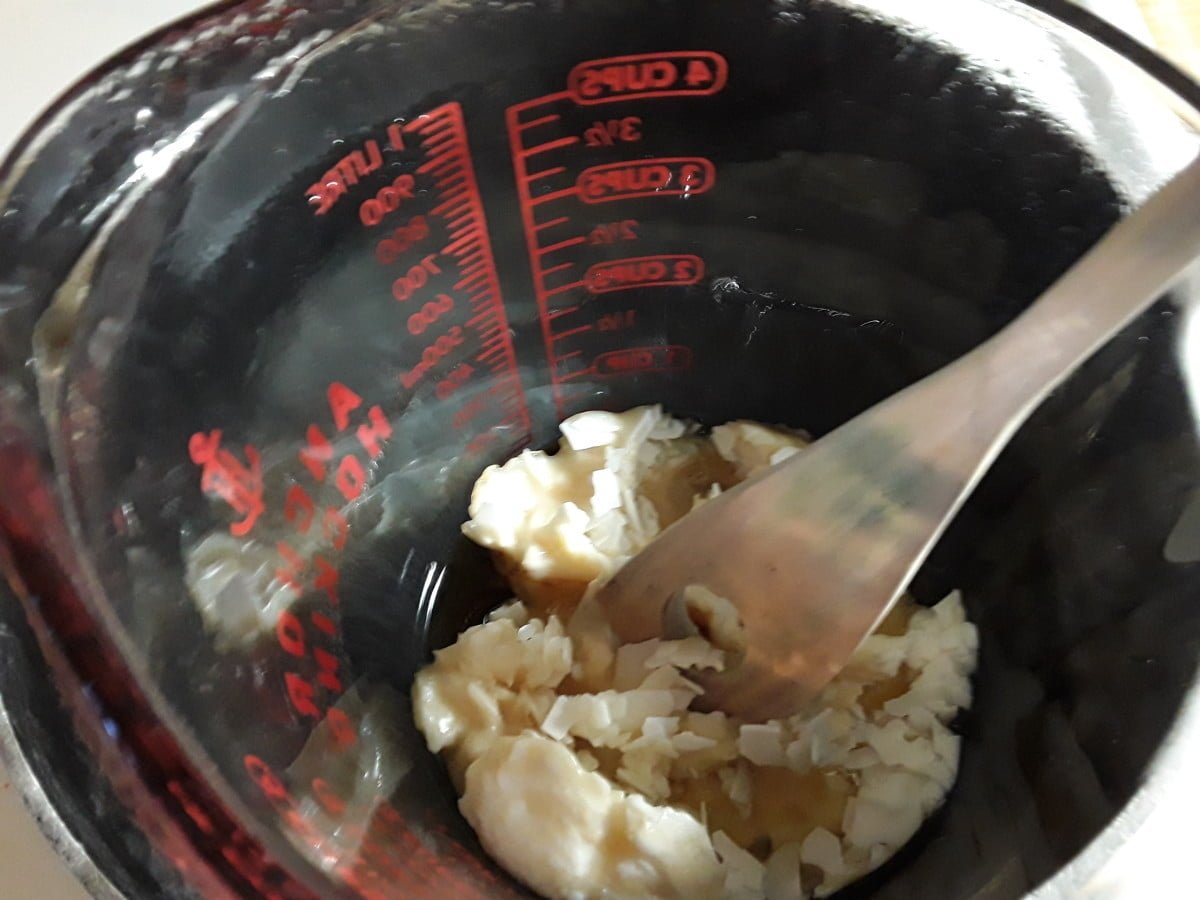
Preparing the Wax: Before making candles, you will need to melt the wax. To do this, you can use either a double boiler setup or a wax melter. Many supply stores have paraffin melting machines that are easy to use and provide even heat for melting the wax. Be sure to read all instructions before using a wax melter.
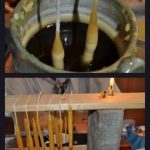
Wicking the Molds: Once your wax is melted, you will need to wick the molds. First measure and cut the wicks according to the size of your molds. Then straighten out each wick, and attach them at their base with either a metal tab or glue tab depending on what type of mold you are using. Securely tie one end around a pencil or dowel rod that fits inside of your mold in order to keep the wick centered in place during pouring.
Pouring and Curing the Wax: Once you have your molds ready with their center wicks, it’s time to pour your wax into each mold slowly and carefully so that it fills every corner of the space without any overflows. Wait until each candle has cooled before removing it from its container as they may otherwise bend and distort if removed too early or too late. Finally, allow the candles to cure for 7-14 days before burning, which helps them set properly and give off optimum scent performance when lit later on!
Finishing Your Candles
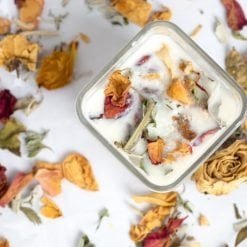
Decoration Ideas: If you want to add a bit of personality to your candles, consider decorating them with ribbons, lace fabric, or stamps. Other ideas for decoration include using flower petals, glitter, and gemstones.
Perfectly Extinguishing the Flames: To safely extinguish the flame each time you use your candle, dip one of the wicks into melted wax and then blow it out. This will provide a clean burn on your next session with the candle.
Storing Your Candles: After making and finishing your candles, it’s important to properly store them away from direct sunlight and heat if you want them to maintain their quality for longer periods of time. An airtight bag or container is ideal for this purpose.
Troubleshooting Common Problems
Things Needed For Making Candles:
• Wax – depending on the type of candle you want to make, you may need either paraffin wax, beeswax, soy wax or a combination of different waxes.
• Wicks ” these are usually made from cotton or linen and are infused with zinc or lead to ensure an even burn.
• Containers for pouring your melted wax ” it’s best to use heat-proof containers such as stainless steel or silicone molds in a variety of shapes and sizes for making candles.
• Melting Pot – A double boiler-style pot is great for melting your wax pellets safely. This should have an inner core that can hold molten wax and an outer container which serves as a shield against heat radiation.
• Thermometer ” This will help to gauge the temperature of your melted wax so that the candles set properly once poured into its container.
• Pouring Pitcher ” This should be tall enough to pour over the height of any candle you plan on creating.
• Colour Dyes ” If you want to add colour to your candles than dyes should be chosen carefully according to their compatibility with the type of wax being used.
• Fragrance Oils ” These solutions can be used to add aromas and scents such as lavender, vanilla, rose or jasmine etc., to enhance the burning experience of your finished candle.
Troubleshooting Common Problems:
• Inadequate pour temperature – It is essential that the right temperature is reached when pouring your candle so that all layers adhere properly and are not prone to imperfections such as sinking in or tunneling later on down the road when lit up. To avoid this issue make sure your melted wax reaches at least 185°F (85°C).
• Curved wicking – One issue that commonly arises when making candles is curved wicking which occurs due to uneven shrinking between layers. To prevent this from happening make sure all of them have cooled off properly before pouring a new one on top and trim off any excess string during assembly time if needed.
Tips For Making Free-Standing Candles:
• Use quality supplies – High quality materials can go a long way in ensuring success with free standing candles because they will offer more clarity in colors and better scent retention by way of concentrated fragrances added during production time.
• Be mindful when carving out your design – Did you know that the sharper edges around carved designs tend to produce sharper corners? This comes down mostly because instead of forming itself evenly around the curved surfaces, molten wax will take after whatever shape it was provided within its container prior being liquified!
How To Avoid Candles Sinking Or Tunnelling:
• Allow each layer sufficient time cool off ” This will reduce sinking significantly as opposed when rushing through pours with running hot liquid since cooler temperatures cause lessened expansion rates within containers due lowered pressure forcing out material outside while portions near sides become dematerialized by conduction via contact points near edge area walls leading gradual “sinking” downwards eventually resulting significant tunneling effects (think cooling lava cake)
Conclusion
Making candles is a rewarding craft that only requires a few supplies. To begin, the most important items are wax, wicks, and a container to turn into the finished product. Most candle makers prefer beeswax and paraffin wax, with cotton as the perfect material for wicks. In addition, you may also need a double boiler, thermometer, scissors and a stick to thread the wick through.
Once all supplies are gathered together, it is important to understand the basics of candle making before engaging in more complex techniques. One way to start is with container candles; they require pouring melted wax into an appropriate holder such as a jar or tin can. You can then let the wax cool and fill any holes that form on top with melted wax. After cooling again you have your own handmade candle!
More advanced techniques might include creating pillars using molds or embedding things like herbs inside your candles. Taking it one step further you can even design your own decorative containers for molded products or layer different colours or fragrances for interesting effects. Doing so yields a fantastic work of art that anyone would be proud of!
In conclusion, making candles can bring joy to many people as well as create practical home decor pieces. Don’t be intimidated by the process ” practice and trial-and-error often yield great projects once completed. Ensure safety measures are in place ” such as keeping away from children and open flames ” while preparing raw materials and enjoying the finished product! With experience comes great understanding of candle making hence benefit individuals in learning how to get creative with their homemade candles! If problems do arise while working through the process don’t forget to refer back to tutorials online; troubleshooting tips can be found easily these days!

Welcome to my candle making blog! In this blog, I will be sharing my tips and tricks for making candles. I will also be sharing some of my favorite recipes.

