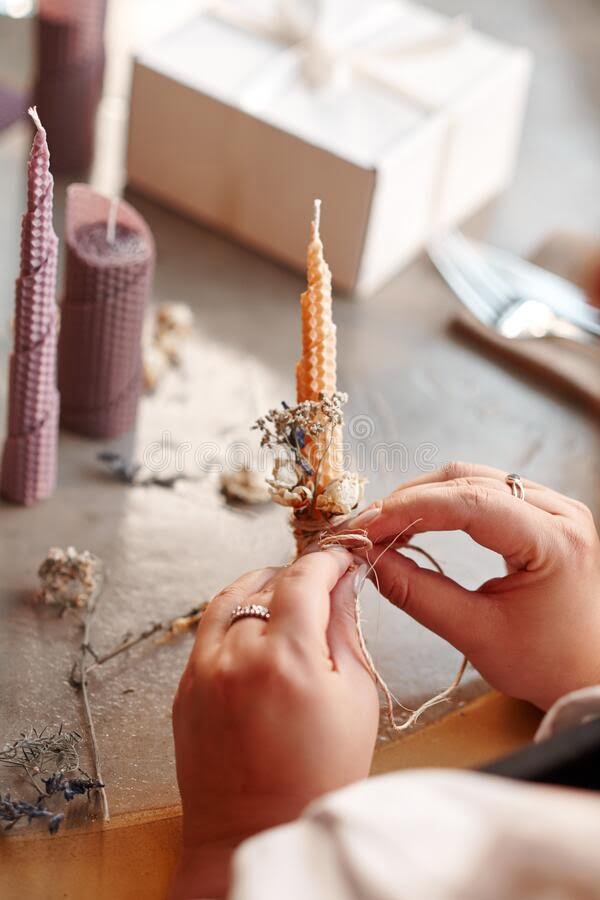
Candle making is a beloved craft that allows individuals to create their own customized candles for personal use or as thoughtful gifts for loved ones. In this tutorial on candle making, we will explore the various aspects of this creative process, from understanding different types of wax to mastering pouring techniques and creating unique designs.
Whether you are a beginner looking to delve into the world of candle making or an experienced crafter seeking new techniques, this comprehensive guide will provide you with the knowledge and skills needed to create beautiful homemade candles. With the right materials, tools, and a touch of creativity, you can bring your vision to life through the art of candle making.
From preparing your workspace and choosing the perfect fragrance to troubleshooting common issues and exploring advanced techniques, this tutorial will take you through each step of the candle making process. By following our detailed instructions and safety precautions, you can enjoy the therapeutic and rewarding experience of crafting your own hand-poured candles at home.
Necessary Materials and Tools for Candle Making
When embarking on a tutorial on candle making, it is essential to gather all the necessary materials and tools before starting the craft. The items required for creating beautiful candles at home are relatively simple and can be easily sourced from craft stores or online shops.
Materials
The primary material needed for candle making is wax, which serves as the base of your candle. There are various types of wax available, such as paraffin wax, soy wax, beeswax, and gel wax. Each type of wax has its unique properties and benefits, so choosing the right one will depend on your preference and intended use for the candles.
Tools
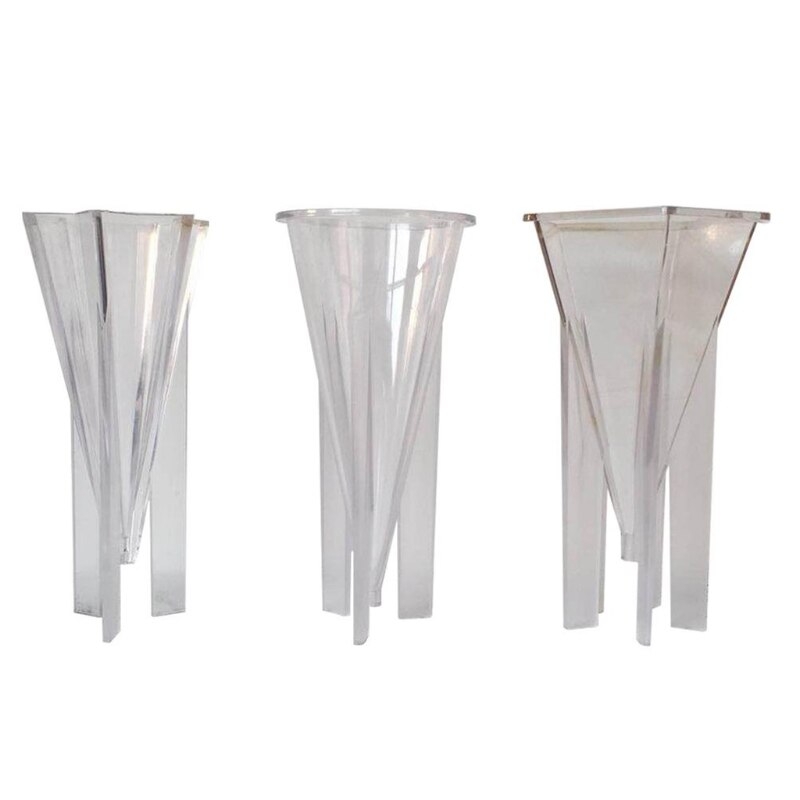
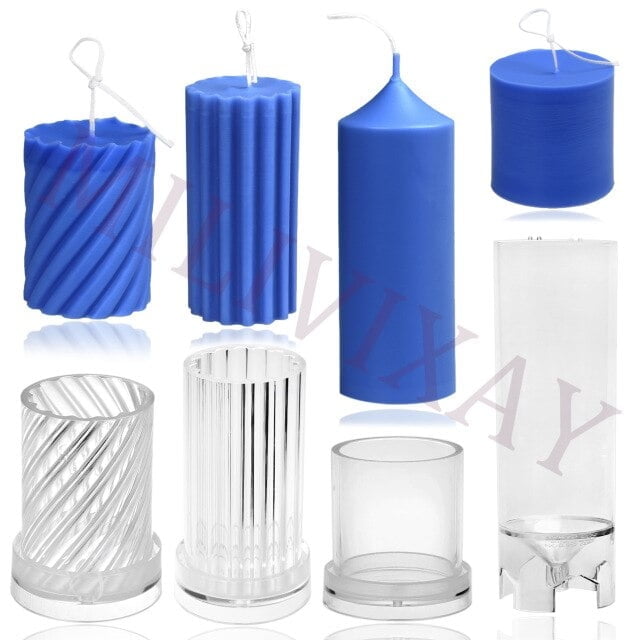
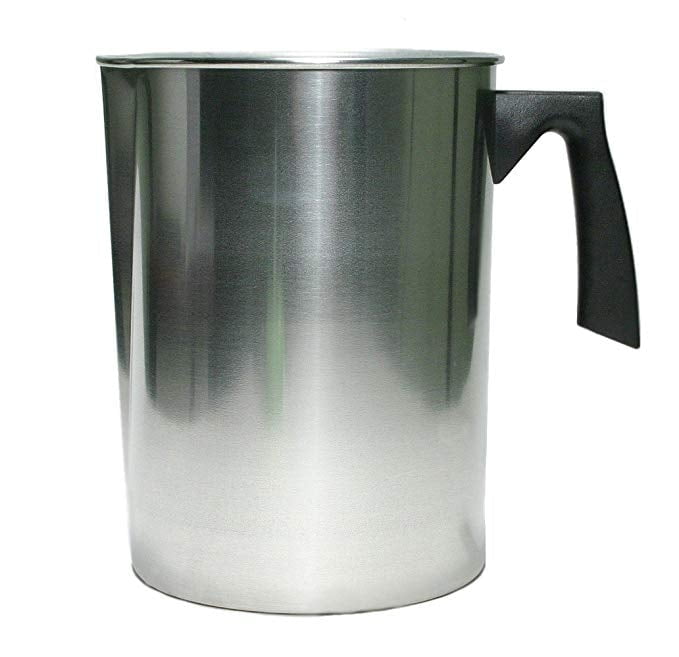
In addition to wax, you will need a few essential tools to successfully create your candles. This includes a double boiler or a microwave-safe container for melting the wax, a thermometer to monitor the temperature, wicks for burning, molds or containers to shape the candles, stirring utensils like wooden spoons or skewers, and a scale to measure ingredients accurately. Having these tools ready will help streamline the candle-making process and ensure consistent results with each batch.
Additional Materials
Aside from wax and tools, you may also want to consider adding fragrances and colorants to enhance the sensory experience of your candles. Fragrance oils come in a wide range of scents like lavender, vanilla, citrus, or woodsy notes that can personalize your creations.
Colorants can be in liquid or dye form to tint your candles in various shades according to your preferences. By having these additional materials on hand along with the basic supplies, you can unleash your creativity and make beautifully scented and visually appealing candles at home effortlessly.
Understanding Different Types of Wax and Their Uses
When it comes to candle making, choosing the right type of wax is crucial for the success of your candles. There are several different types of wax available, each with its own unique characteristics and uses. Understanding the differences between these waxes will help you create the perfect candles for your needs.
Here are some of the most common types of wax used in candle making:
- Paraffin Wax: Paraffin wax is one of the most popular waxes used in candle making. It is easy to work with and provides a strong scent throw. However, paraffin wax is derived from petroleum, which may not be suitable for everyone.
- Soy Wax: Soy wax is a natural alternative to paraffin wax and is made from soybean oil. It burns cleaner and slower than paraffin wax, making it a great choice for container candles.
- Beeswax: Beeswax is another natural option that has a sweet, honey-like scent. It burns longer than other waxes and purifies the air as it burns, making it a popular choice for aromatherapy candles.
Each type of wax has its own advantages and disadvantages, so it’s important to choose the one that best fits your needs and preferences when making candles at home.
When experimenting with different types of wax in your candle making process, consider factors like burn time, scent throw, color retention, and overall performance to determine which wax works best for your specific project. By understanding the qualities of each type of wax and how they can enhance your candles’ quality, you can create beautiful and personalized creations that will delight both yourself and others.
Step-by-Step Guide to Preparing Your Workspace for Candle Making
When embarking on a candle making project, ensuring that your workspace is properly set up and organized is crucial for a successful outcome. Here is a step-by-step guide to help you prepare your workspace for candle making:
1. Clear Your Work Area: Before beginning your candle making process, clear a flat, stable surface to work on. Make sure the area is free of clutter and any items that could potentially get in the way.
2. Gather Necessary Materials: Collect all the necessary materials and tools needed for the task – this includes wax, wicks, fragrance oils, colorants, melting pot, thermometer, stirring utensils, molds, and any other supplies you may require.
3. Protective Measures: To prevent any mess or accidents during the candle making process, consider laying down newspaper or a disposable tablecloth to protect your work surface. It’s also advisable to wear old clothes or an apron to avoid getting wax or dye on your clothing.
4. Organize Your Supplies: Arrange all your materials in an easily accessible manner around your workspace. Having everything within reach will make the candle-making process more efficient and enjoyable.
5. Set Up Proper Ventilation: Ensure that your workspace is well-ventilated to dissipate fumes from melted wax and fragrances. If working indoors, consider opening windows or doors to allow proper airflow.
By following these steps to prepare your workspace for candle making, you can create a conducive environment for crafting beautiful candles with ease and efficiency. Having everything organized and ready beforehand will set you up for a smooth and enjoyable candle making experience.
Choosing the Right Fragrances and Colorants for Your Candles
When it comes to making candles, selecting the right fragrances and colorants is crucial in creating a beautiful and inviting final product. The choice of scents can set the mood and ambiance of a room, while colors can enhance the visual appeal of your candles. In this section, we will delve into the process of choosing the perfect fragrances and colorants for your homemade candles.
Selecting Fragrances
The first step in choosing the right fragrance for your candles is to consider the purpose of the candle. Are you aiming to create a relaxing atmosphere for a spa-like experience, or do you want to invigorate with a fresh scent? It’s essential to match the fragrance to the intended use of the candle.
When selecting scents, consider whether they are essential oils or fragrance oils. Essential oils are natural extracts derived from plants while fragrance oils are synthetic compounds that mimic specific scents.
Exploring Colorants
Colorants play a significant role in enhancing the aesthetic appeal of your candles. You can choose from an array of dyes and pigments to achieve various colors and effects in your candles. For beginners, liquid candle dyes are easy to work with as they blend well with melted wax.
On the other hand, if you prefer more natural options, you can use mica powders or even dried herbs like lavender for coloring. Experiment with different color combinations to create unique and eye-catching candles that reflect your personal style.
Detailed Instructions on Melting the Wax and Adding Fragrances
Melting the wax is a crucial step in candle making, as it sets the foundation for the final product. To start, you will need to use a double boiler or a microwave-safe container to melt your wax.
Different types of wax have different melting points, so it’s essential to follow the manufacturer’s instructions for the specific wax you are using. It is recommended to use a thermometer to monitor the temperature and ensure that the wax does not overheat.
Once the wax has melted to the appropriate temperature, it’s time to add fragrances and colorants. Fragrances are an important part of candle making as they enhance the ambiance and mood of the candle. Make sure to use high-quality fragrance oils designed for candle making. It is important not to exceed the recommended fragrance load for your wax type, as this can affect the quality and burn of your candle.
When adding colorants, whether liquid dyes or dye chips, start with a small amount and gradually increase until you achieve your desired hue. Remember that less is often more when it comes to coloring candles, as too much dye can impact how evenly the candle burns. Stir the fragrance oils and colorants into the melted wax thoroughly but gently to ensure even distribution throughout the candle.
| Wax Melting Tips | Fragrance & Colorant Guidelines |
|---|---|
| Use a double boiler or microwave-safe container. | Use high-quality fragrance oils designed for candles. |
| Monitor temperature with a thermometer. | Avoid exceeding recommended fragrance load. |
| Follow manufacturer’s instructions for melting points. | Start with a small amount of colorant and adjust gradually. |
Adding fragrances and colorants requires attention to detail and precision. By carefully following these steps, you can create beautifully scented and visually appealing candles that are perfect for personal use or gifting.
Experiment with different combinations of fragrances and colors to customize your candles according to your preferences or occasions. Remember that practice makes perfect, so don’t be discouraged if your first few attempts are not exactly as you envisioned – each experience is an opportunity to learn and improve your candle making skills.
Methods for Pouring the Wax Into Molds and Creating Unique Designs
Creating unique designs in your candles can truly elevate the aesthetic appeal of your creations. In this section, we will explore different methods for pouring the wax into molds and creating one-of-a-kind patterns and shapes in your candles. One popular technique is layering different colored waxes to create a beautiful gradient effect. This can be achieved by pouring one color of melted wax into the mold, allowing it to partially set, then adding another color on top.
Another creative approach is using embeds or objects within the candle. This could include embedding dried flowers, small beads, or even toy figurines into the wax before it fully sets. These additions can add a personalized touch to your candles, making them unique and visually appealing. Additionally, using a variety of mold shapes and sizes can result in candles with interesting designs and textures.
If you’re feeling particularly artistic, try hand-pouring your wax instead of using traditional molds. By carefully drizzling or dripping the melted wax onto a surface, you can create intricate patterns and abstract designs that are truly mesmerizing.
Experiment with different techniques such as swirls, splatters, or even marbling to achieve stunning visual effects in your candles. Overall, the possibilities for creating unique designs in your candles are endless, so don’t be afraid to get creative and experiment with various techniques to find what works best for you.
By incorporating these methods for pouring wax into molds and creating unique designs into your candle making process, you can take your creations to the next level. Whether you prefer simple elegance or elaborate artwork in your candles, there’s a technique out there that will suit your style. Remember to have fun with the process and let your creativity shine through in every candle you make.
Tips and Tricks for Troubleshooting Common Candle Making Issues
When creating candles at home, it is not uncommon to encounter some common issues that may arise during the process. By being aware of these potential problems and knowing how to troubleshoot them, you can save time and resources when making your own candles. One common issue that beginners face is uneven burning or tunneling in candles. This occurs when the wax does not melt evenly across the entire surface, leaving a hole in the center.
To prevent this issue, make sure to allow your candle to burn for a few hours during each use until the wax melts all the way to the edge of the container. This helps create an even burn pool and prevents tunneling from occurring.
You can also try trimming the wick before each use to ensure a clean and steady flame. Another common problem in candle making is air bubbles forming in the wax when pouring into molds, causing imperfections in the final product.
To avoid air bubbles, try tapping your mold gently on a flat surface after pouring the wax to release any trapped air. You can also heat your jars or molds slightly before pouring in the wax to help minimize bubbles from forming.
Additionally, be mindful of how quickly you pour the wax into the mold, as pouring too fast can create turbulence and lead to air pockets within the candle. Implementing these tips and tricks can help you troubleshoot common candle making issues and achieve professional-looking results with each project.
Remember that practice makes perfect when it comes to mastering the art of candle making. Don’t get discouraged if you encounter challenges along the way; instead, use them as learning opportunities to improve your skills. With patience and persistence, you will become more confident in your abilities to create beautiful candles that not only look stunning but also fill your space with delightful fragrances.
Exploring Advanced Techniques and Creative Ideas for Candle Making
Once you have mastered the basic steps of candle making, it is time to explore advanced techniques and get creative with your candle designs. One popular technique is the creation of layered candles, where different colored layers are poured one by one to create a beautiful gradient effect. This technique requires patience and precision but can result in stunning and unique candles that make perfect gifts or decorations.
Another creative idea is the use of embeds in your candles. Embeds are small objects or shapes placed within the candle as it sets to add visual interest and texture. This could be anything from dried flowers and herbs to small toys or decorative beads. Embeds can take your candles to the next level and allow you to personalize them for different occasions or themes.
Furthermore, experimenting with different mold shapes and sizes can open up a world of possibilities for your candle designs. Instead of sticking to traditional round molds, try using silicone molds in various shapes like hearts, stars, or even geometric patterns. These unconventional shapes can create visually striking candles that stand out from the ordinary. Remember, the key to exploring advanced techniques in candle making is to have fun and let your creativity flow.
| Advanced Techniques | Creative Ideas |
|---|---|
| Layered Candles | Embeds in Candles |
| Different Mold Shapes | Personalized Designs |
Safety Precautions to Keep in Mind When Making Candles at Home
In conclusion, while making candles at home can be a fun and rewarding experience, it is crucial to prioritize safety throughout the process. Following proper safety precautions not only ensures your well-being but also contributes to the success of your candle-making venture. By adhering to these guidelines, you can enjoy the craft of candle making without any unnecessary risks.
One essential safety precaution to keep in mind is to never leave melting wax unattended. The process of melting wax can pose a fire hazard if not carefully monitored. It is important to stay vigilant and maintain a safe distance from open flames or heat sources when working with hot wax. Additionally, investing in quality tools and equipment that are specifically designed for candle making can help minimize potential accidents.
Furthermore, always remember to work in a well-ventilated area when making candles at home. Proper ventilation helps disperse any fumes that may be produced during the melting or pouring process. This step is essential for maintaining good air quality and preventing respiratory issues. Overall, by prioritizing safety measures, you can fully enjoy the creative and relaxing art of candle making in a secure environment.
Frequently Asked Questions
How Do You Make Candles for Beginners?
Making candles for beginners involves gathering necessary materials like wax, wicks, fragrance oils, and a double boiler. Melt the wax, add fragrance if desired, place the wick in the container, and carefully pour the wax. Allow it to cool and trim the wick.
How Do You Start Off Making Candles?
Starting off making candles requires researching candle making techniques and gathering supplies. It’s essential to choose the right type of wax for your candles, as well as selecting suitable containers or molds. Begin with simple designs and gradually experiment with different shapes and sizes.
What Is the Formula for Candle Making?
The basic formula for candle making involves melting the wax at a specific temperature, adding fragrances or dyes, and pouring it into containers or molds while ensuring proper wicking. The ratio of wax to fragrance may vary depending on personal preference for scent strength in the final product.

Welcome to my candle making blog! In this blog, I will be sharing my tips and tricks for making candles. I will also be sharing some of my favorite recipes.

