Introduction
Candle making is an excellent skill for children to learn that can bring many benefits – both educational and creative. Crafting candles encourages kids to be imaginative, helps them to gain confidence in their abilities, and provides a useful activity that may lead to beautiful functional decorations. It also offers the opportunity to teach youngsters about safe working habits with fire and heat, as well as give them a sense of accomplishment when they complete the process of creating a unique item made with their own hands. This guide will show you how to get started with candle making for your children while keeping safety first.
Gather Materials
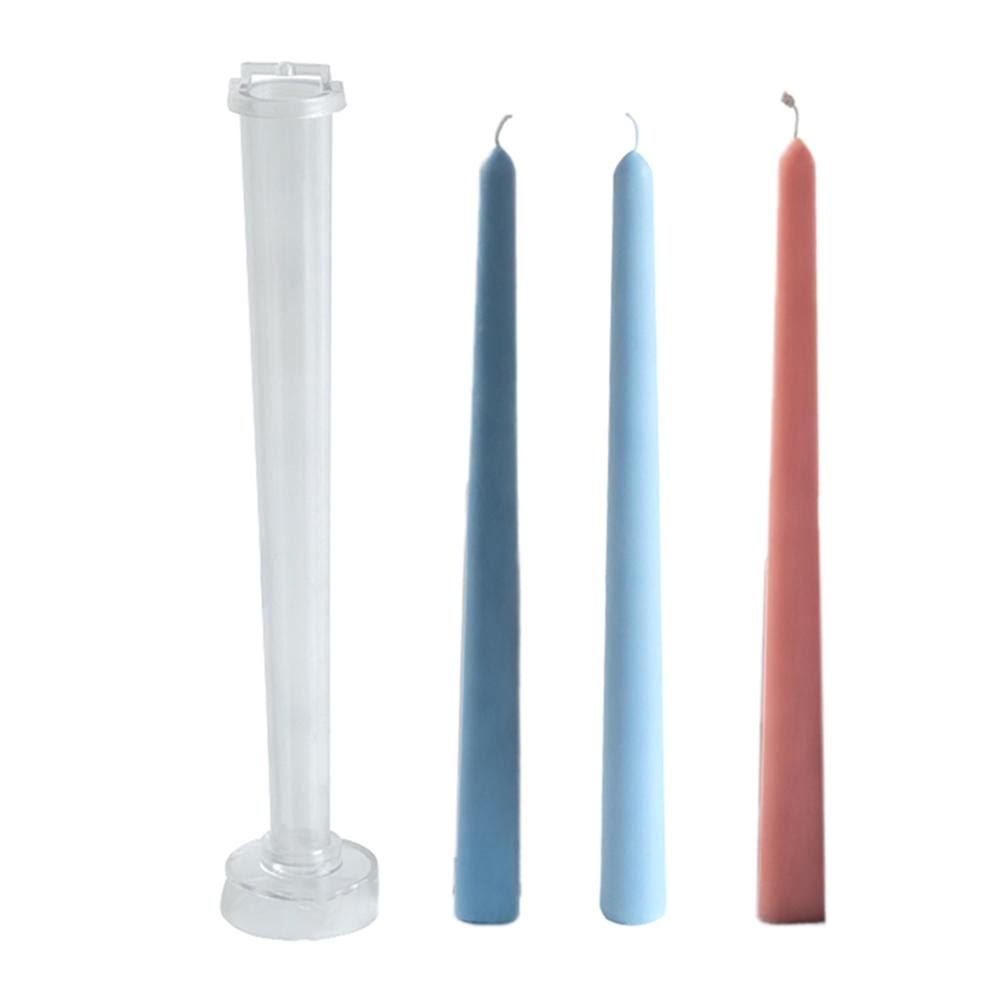
Candle making is a fun and creative activity for kids. Before you get started, make sure to gather the materials needed. Candle wax is available in a variety of forms, including beads, cubes, flakes, and chips. Scented wax can also be purchased for an aromatic candle-making experience. Wick material should be firmly attached at the base of the candle, then centered with a weight. You will also need holders and thermometers to measure temperatures of waxes as they melt.
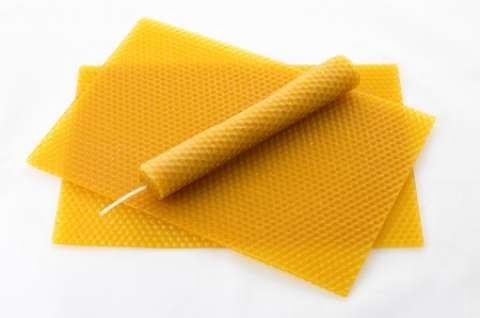
Other materials that can be used to craft candles include beeswax, paraffin wax, vegetable waxes such as soy or palm oil, and emulsions such as stearin or carnauba (made from Brazilian palm wax). However, it is important to consider age appropriateness when shopping for materials – some are not suitable for younger children. A more kid-friendly alternative is making candles out of crayons! Simply melt down old crayons in microwavable molds and voila! Colored candles ready for decorating. If you want additional embellishments or fancy decorations for your wicks like charms or tassels ” these can all be found easily at local craft stores or online retailers such as Amazon.
Start Crafting
Candle making is an easy and fun process for kids who are just learning this craft. With the right materials and guidance, anyone can make beautiful candles.
To get started, it’s important to have the right materials so that it is safe and there is only a minimal risk of fire when working with wicks and wax. Make sure you have all the supplies necessary such as various waxes, wicks (with metal/ tabs), molds or containers, coloring, fragrances, scissors, knife (for cutting wicks & adjusting) thermometer, pot for melting wax. Once these items are gathered follow instructions for each level of difficulty below:
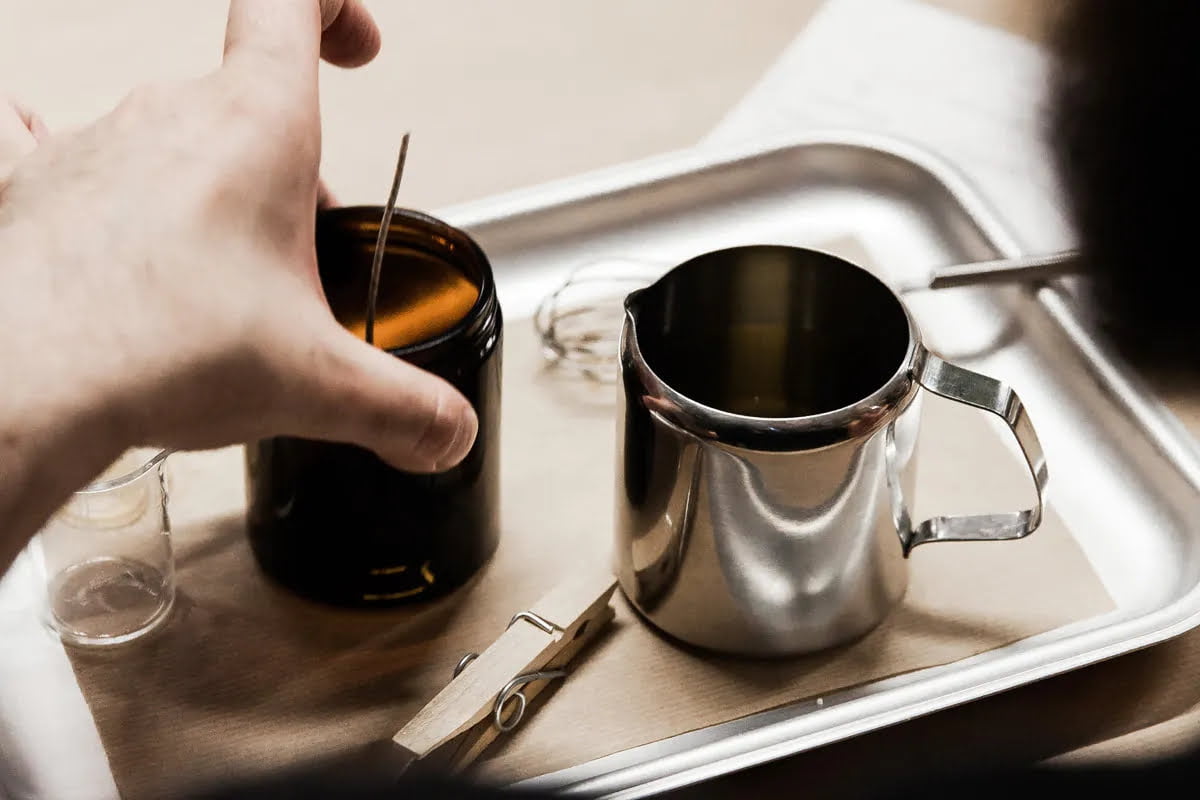
Beginner: For beginners, it is best to start with paraffin wax pellets as they are safer and easily melted over a double boiler or in a microwave oven. Once the pellets have been melted according to package instructions add color and fragrance and then pour it into your desired mold. Place a wick in the center of your mold and be sure that both ends of the wick remain above the top surface of your candle while it cools/sets up. After five-six hours use scissors if needed to adjust the length of any exposed wick and then trim off excess strands. Allow an additional 12-24 hours before unmolding.
Intermediate: The next level involves work with beeswax which requires additional time for melting and stirring; therefore use caution when handling hot liquids as burnt fingers are not fun! Beeswax additionally needs heating at higher temperatures before you add directly into dyes or fragrances. Follow same steps listed above but pay close attention to proper measurements indicated in directions for preparation of ingredients for intermediate lessons in candle making given these ingredients have different melting points even when using same wax type (low melt/high melt). Pay close attention to exact temperature readings on thermometer so that no overheating occurs as this can result in failure of candles taking form properly during cooling process.
Expert: Advanced techniques include blending several varieties of waxes together along with additives like vybar which helps hold shape more effectively thus giving beneficial results that mimic hand dipped look without dipping entire candle multiple times (a very time consuming project). Additionally discover how to make advanced multi-colored layered candles such as ombre blends or gradient designs however first practice should involve starting with basic two toned shades until technique is perfected due to extreme detail involved in forming layers correctly ” one inaccurate drop resulting in mixup could cause disaster! So take your time here particularly also when forming larger more intricate molds into shape because some require special support structures from clay or plaster which involve drying over period of 4-8 hrs prior to layering… Good Luck Candle Makers!
Create New Ideas
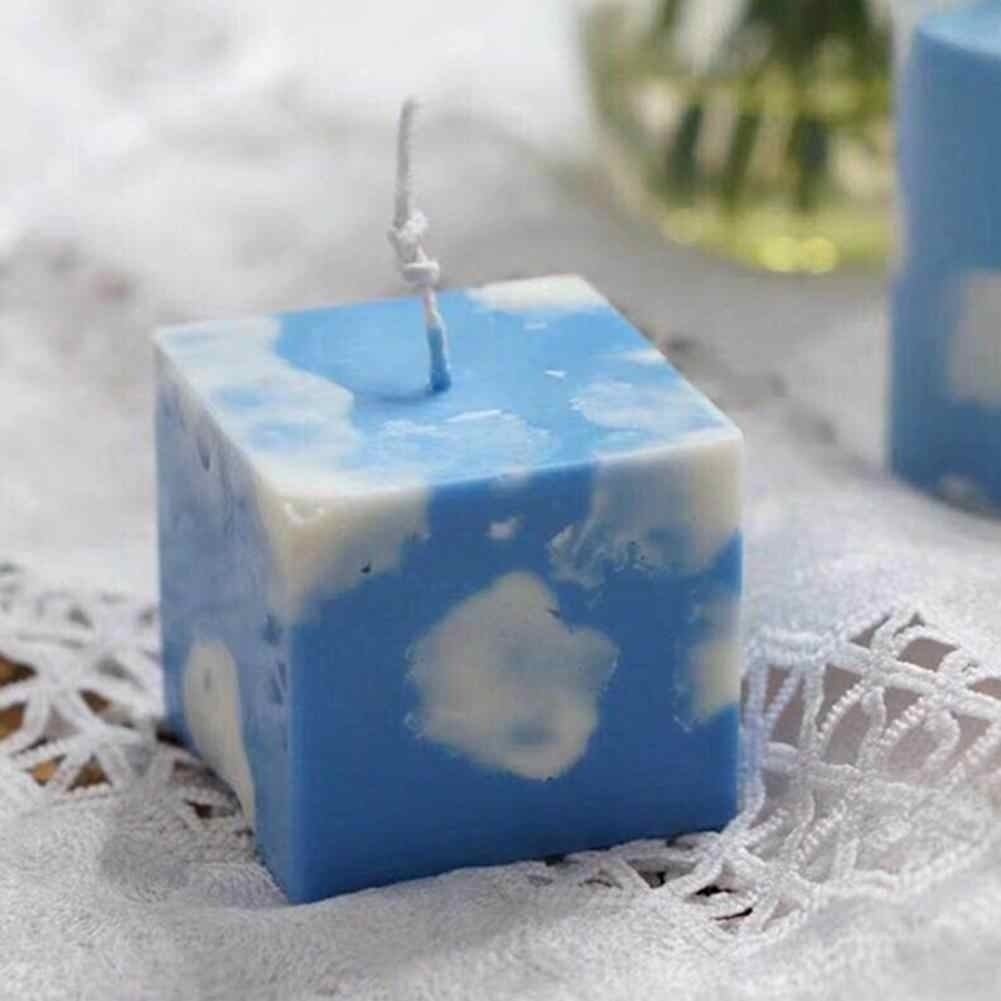
Adding scents can infuse a candle with the smell of your favourite flower, or even that of your favourite food items such as cookies, cinnamon and apples. Adding different shapes to a candle will give it a unique and custom look. Roses, stars and circles are some commonly used shapes for candles. You can even create a spiral shape if you are looking for something more intricate. You can also add colour to candles by using wax dyes or paint. This is an easy way to decorate candles and make them more attractive to the eye. Glitter and gems can also be added on top of the colouring for a sparkly effect.
Enjoy Your Creation
One way to enjoy the candles you make is to host a candle making night. Ask your friends to bring over their favorite scented wax and some votive candle holders. Have each guest choose a scent and a holder, then get creative with an array of decorative supplies like paint, glitter, and ribbon. When you’re finished, spend a few relaxing moments exchanging stories while gathering around your masterpieces.
Another great way to enjoy candles made by kids is to give them out as gifts. Choose special occasions that call for something other than store-bought gifts such as birthdays or housewarmings. Wrap your handmade candles in colorful tissue paper for an added personal touch and consider including instructions about how to use them safely. The thoughtfulness behind the gift will go a long way!
Store Candles Safely
Properly storing candles created by kids is important to ensure that they last a long time and stay in good condition even after many uses. To store them safely, select a cool location and ensure that it is free from any kind of humidity. Additionally, candles should be wrapped tightly to protect them from dust or dirt buildup. Acid-free tissue paper makes for ideal wrapping material as it will not affect the color of the wax or leave any residue on the surface. Once the candle is wrapped, place it inside a sturdy box or airtight container to further protect it from potential damages. When giving away items made with homemade candles, using special packaging can help them stand out while they are transported and later stored by their recipients. Colored paper bags and cardboard boxes with smooth interiors are great options for protecting kid’s creations during shipping and gifting.

Welcome to my candle making blog! In this blog, I will be sharing my tips and tricks for making candles. I will also be sharing some of my favorite recipes.


