Introduction
Making pillar candles at home can be a great way to create beautiful, luxurious pieces for your home or to give as gifts. Not only will making your own candles save you money from purchasing pre-made candle items, but you also get the satisfaction of knowing that the candles you make are unique and custom-made with your own creative touch! There are many advantages to learning how to make pillar candles in the UK.
The main benefit is that you have complete control over the entire process. From the types of wax used to the type of wicks, dyes, and fragrances being used – all of these decisions will be yours. That means making each candle completely unique based on what color and scent combinations work best for each one! Additionally, since all of the ingredients used are generally low cost and easily available online or in stores, you can keep costs down while still creating high quality products.
In terms of tips for success, firstly it’s important to ensure all safety precautions are taken seriously when dealing with open flame, hot wax, and chemicals found in fragrances. Additionally it is good practice to research beforehand which type and combination of ingredients would work best depending on desired results such as size/height or color/scent intensity . Also bear in mind that during pouring, humidity can negatively impact your candles by causing them to shrink and drop in temperature very quickly which is why using a thermometer throughout this stage is key for quality assurance. Lastly patient practice makes perfect as everyone’s journey with making pillar candles will be different so don’t rush yourself and instead enjoy each step along the way.
Types of Pillar Candles
Paraffin pillar candles are the most commonly used type and are made from petroleum-based paraffin wax. They are typically white in colour, burn fairly evenly, and come in a variety of shapes and sizes. Paraffin candles may not last as long as soy or beeswax candles, but they do produce a pleasing scent when burned.
Soy pillar candles are a natural alternative to paraffin candles and they are becoming increasingly popular due to the fact that they have a much lower melting point than paraffin. This means that soy pillar candles burn for longer than their counterparts, producing a lovely soft glow. They also come in an array of colours for more decorative purposes, as well as different scents to provide more customised burning experiences.
Beeswax pillar candles are made from processed bee’s wax, making them not only eco-friendly and renewable but also free from any synthetic fragrances or artificial dyes. They have an attractive golden colour that some claim can help increase positive feelings and boost moods. Beeswax is highly aromatic and tends to provide pleasant lingering scents when burned, which makes them perfect for meditation or relaxation rituals.
Shopping for Kits to Make Pillar Candles
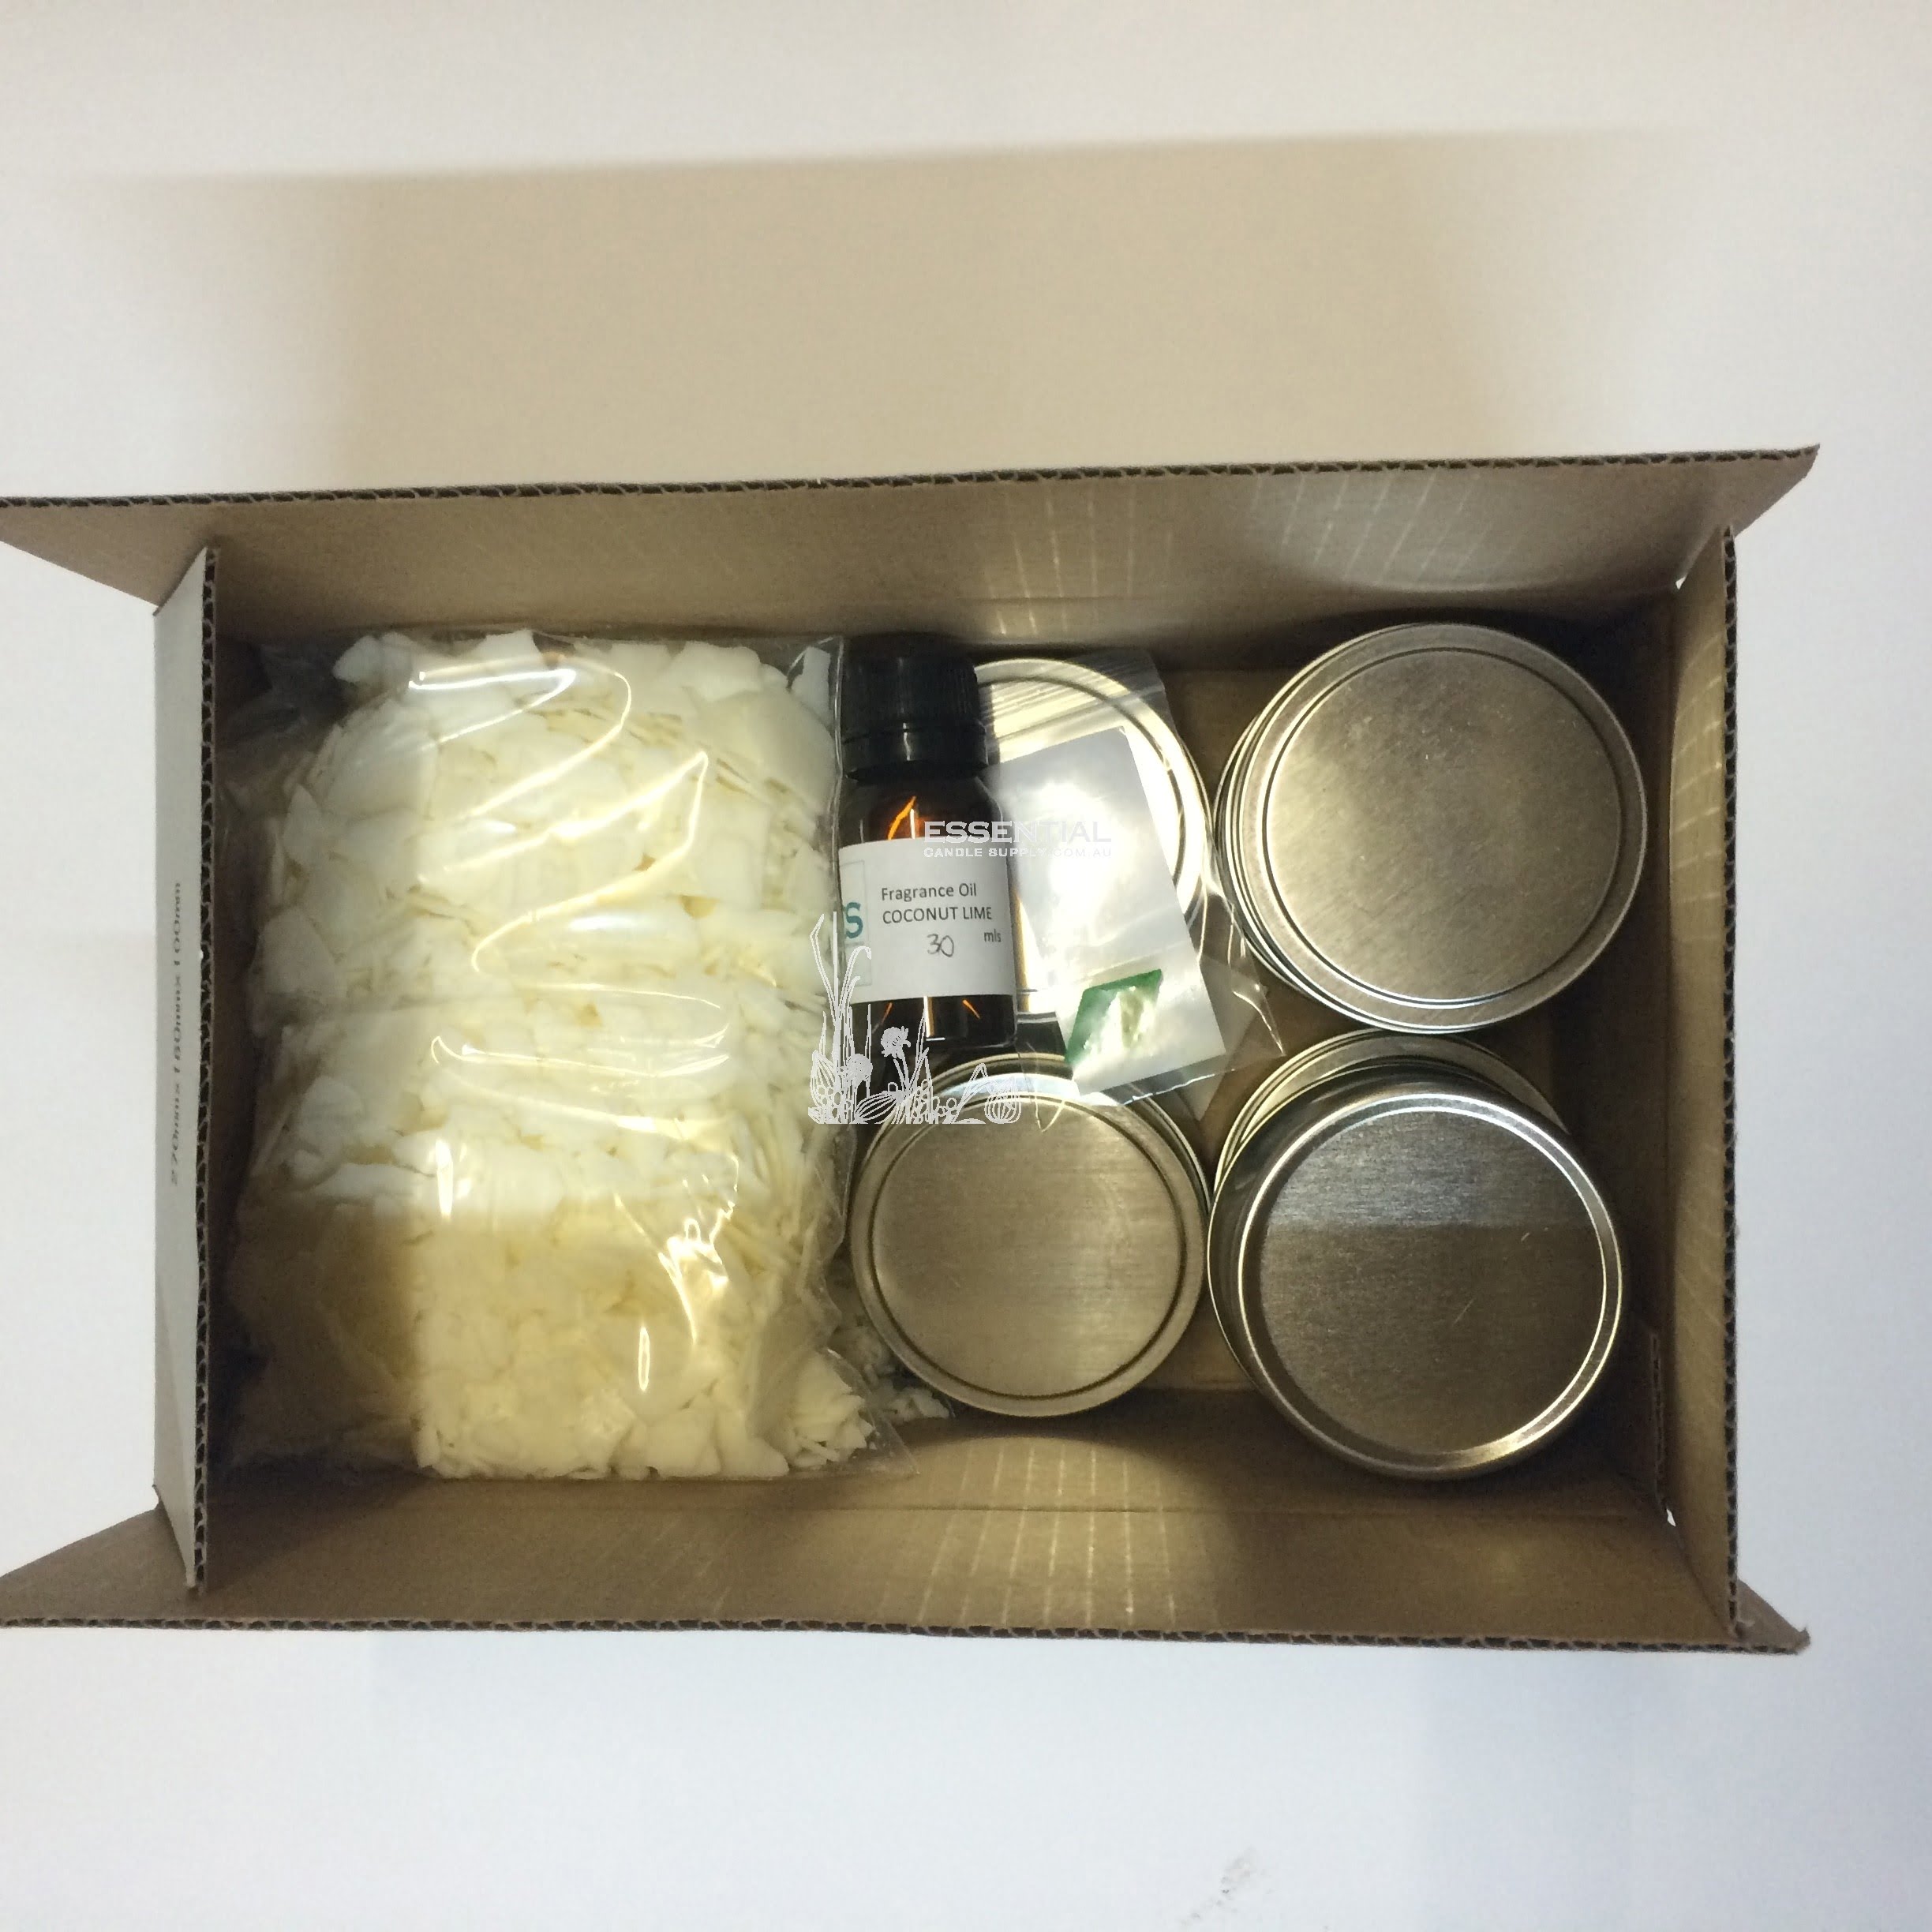
One of the most popular craft projects in the UK is making candles. Creating beautiful, decorative pillar candles from scratch can be a great way to add a homey feel to any room or give as a unique and handmade gift. One way to easily get started with this project is by investing in candle making kits specifically designed for those interested in making pillar candles. These kits are available online or at local craft stores and often contain everything necessary to make pillar candles, such as wax, wick, pigment, and moulds. Depending on the complexity desired, the kit may also come pre-packaged with scents, dyes, and other ingredients for decoration. After assembling all items from a kit like this, you’re almost ready to get started in making pillars”just make sure you have a few tools handy such as an electric double boiler, thermometers and stirrers (a wooden spoon will do!), molds/forms of various shapes & sizes and rulers to measure your wicks and ensure they are straight when inserted into the mold/form before pouring heated wax. Following standard candlemaking techniques will enable you to experiment with different ingredients until you find the perfect combination that fits your needs.
Making Pillar Candles
1. Gather your supplies: wax, wick, mold, and coloring or fragrance.
2. Melt the wax in a double boiler over a low-medium heat until it reaches 135°F (for paraffin wax) or 120°F (for beeswax).
3. Prepare the mold by securing the wick to the bottom before pouring in any wax. Make sure that you leave enough slack so the wick can hold the candle upright.
4. When temperature is reached, add dye or fragrance according to instructions on packaging and stir until everything is evenly distributed throughout the hot wax before filling your mold with it.
5. Once your mold is full of molten wax, set aside to cool for 24 hours and leave untouched during this time period – do not disturb!
6. After 24 hours have elapsed, check if Candle has cooled and hardened completely – You should be able to touch the surface without leaving fingerprints or smudge marks on it.
7. If your candle has hardened properly, carefully remove from the mold and trim off any excess wick at both ends of your candle using scissors or sharp knife blade.
8. Finally admire your masterpiece and light up for pleasure! Enjoy making Pillar Candles Uk!
DIY Pillar Candle Decorating Ideas
Making pillar candles is an easy and rewarding project that anyone can do. The simplest way to make a pillar candle is to use pre-made molds, which come in a variety of styles and sizes, and then add color, scent, and other decorations to customize the look. Once you have your finished mold it’s time to get creative with how you decorate your DIY pillar candle. Here are some ideas to consider:
• Add color or glitter with water or oil based paint or wax dye. Colors can be added directly on the outside of the candle for an impressive effect or used between layers for a more subtle finish.
• Experiment with various shapes ” from stars to spirals ” by using stencils created from Mylar plastic sheets that can be cut into any shape imaginable. Dip your fingers into glue and sprinkle on course glitter over the entire surface of the mylar sheet where you want your pattern to be, wait until glue hardens and then remove mylar sheet carefully to reveal the design beneath.
• Use pressed dried flowers, herbs and petals; dip them into melted paraffin wax before sticking them onto a cooled candle’s surface which will encase them beautifully in wax when lit.
• Try playing around with ribbons as they can add texture and create interesting shadows when mixed with different colors. Wrap several different colored ribbons around your pillar candles in alternating directions like an accordion fold before adhering them with hot glue gun allowing their ends stick beyond the top line of the candle base so fabric will drape down towards it when burning; creating a beautiful drizzle effect on each side of your candle’s base line. You could also wrap ribbons around sections you have decorated previously with dried flowers/herbs creating colorful borders that enhance their beauty further still as light from wick flickers through petals or greenery encased inside without denaturing it in any way!
Troubleshooting Common Mistakes When Making Pillar Candles
Making your own pillar candles can be an enjoyable and rewarding experience, especially when you get it right. However, not all attempts are successful, and if you’re not careful, you can run into a few issues along the way. Here are some common mistakes when making pillar candles UK and how to troubleshoot them:
1. Poor Fragrance Throw ” When dealing with scented candles, a good fragrance throw is paramount. If you find that your candle doesn’t produce enough of a scent, consider increasing the Fragrance Oil content by 10%. You may also need to double-check that your temperature and pour speed are within the recommended ranges.
2. Soft Wax ” If your pillar wax is too soft at room temperature and has difficulty holding its shape or will not form clean sides once cooled, try adding more stearic acid or stiffening wax pellets to help with harder wax consistency. Make sure you blend everything evenly before pouring.
3. Poorly Centered Wick ” As long as the wick is too close or too far away from the middle of a candle body it won’t burn evenly and will likely pull away from one side as liquid wax pools up on the other side of the candle until eventually going out altogether To ensure even burning; measure the distance between centering the wick to reduce any imbalance during burning
4. Expanding Wax – If there is excess buildup of wax around the edges of your pillar candle during burning, your wick may be too wide for its size in diameter Try decreasing the size of wick core
Safety Tips for Crafting Pillar Candles
Making pillar candles can be a rewarding and enjoyable task. Learning the craft of candle making gives you the ability to customize and create your own beautiful works of art. Pillar candles have become quite popular recently, and they are not just a great decor item but also make excited gifts. If you have decided to give it a try, here are some safety tips for crafting pillar candles:
1. Before you start making pillar candles, make sure that the area is well-ventilated. Candle makers should never work in an enclosed or poorly ventilated space as this can lead to dangerous levels of combustible fumes being produced. Consider using a fan to circulate air around the room if necessary.
2. Always wear protective gear when handling hot wax such as oven mitts, heat resistant gloves and safety glasses/goggles. Furthermore, keep any flammable items away from heat sources such as bunsen burners or microwaves which may be needed for melting the wax mixture for your pillars.
3. Never leave burning pillar candles unattended; keep them in an area where they will not be knocked over easily by children or pets and place them on level surfaces where their base is not likely to be damaged when lighting/extinguishing them.
4. Ensure that all wicks are properly trimmed prior to use as long wicks can result in flames that are too large which can cause serious burns or fires if left unchecked. Wicks should also be centered prior to placing your pillars in containers or commercial holders so that the flame remains steady and produces even burning throughout its life-span when lit appropriately by matches or lighters designed specifically for candle use only ” do NOT substitute regular lighters!
Conclusion
Pillar candles are becoming increasingly popular in many households, and making them is a fun and creative activity for anyone looking to get creative. Crafty candle makers in the UK have access to a variety of waxes, wicks, colours, and scented oils; this has enabled more unique designs and even made customising candles easier. With so much variety to choose from and the availability of quality supplies online, it is easy to create beautiful pillar candles in the comfort of your own home.
Once you’ve crafted your own pillar candles with care and attention to detail, you can proudly display them or keep them for personal use. Enjoy watching as every room comes alive with the light of your very own handmade creation! Whether it’s a colourful addition to an event or a scented treat around the house, burning pillar candles is an enjoyable experience that anyone can savour. And don’t forget that if you do decide to give away your special creations as gifts, no-one will ever be able to guess just how simple it was to make!

Welcome to my candle making blog! In this blog, I will be sharing my tips and tricks for making candles. I will also be sharing some of my favorite recipes.


