Add a section on where to obtain materials for candle making at home
Materials for candle making at home can be purchased from a wide variety of stores. Specialty candle making stores can provide molds and wax, as well as essential oils, dyes, and fragrances to give your candles unique appearances and aromas. Craft stores also have materials for candle making such as beeswax sheets and blocks, soy wax flakes, wicks, glass jars and tins. Home improvement stores usually carry paraffin wax blocks. Supplies such as wicks and jars can also be found online at retailers offering craft supplies or wholesale prices. Reusing items in the home is another way to save money on supplies needed for candle making. Household items such as empty cans and bottles can be used to make candles. Glassware, mason jars, old teacups or containers with lids are great repurposed materials that make ideal mold materials for candles.
Include a section on choosing the right wick size
Choosing the right wick size for your candle is an important part of making a successful homemade candle. Wick size is determined by the type and amount of wax, as well as the diameter of your container. If you choose a wick that’s too large for your container, your flame will be too high and could cause sooting and poor burn quality. If you choose a wick that’s too small for your container, it will struggle to stay lit or might not even light up at all.
To determine the best wick size, begin by measuring the diameter of your container at its widest point. Generally speaking, the width should be in millimeters (mm). If you have trouble obtaining measurements in mm, you can use inches (in). Once you have this measurement, look for a chart that lists recommended wick sizes sorted by container width (some examples can be found online). This will tell you which size and type of wick will work best with your particular candle design. Make sure to always keep the wax weight and fragrance oil percentages in mind when selecting the proper wick size; these factors play a role in determining how large or small of a wick you need.
Include a section on troubleshooting common candle making issues
Troubleshooting Candle Making Issues
There are various traditional, yet common issues that arise throughout the candle-making process. Here is a list of some of the most frequent candle-making mistakes and how to fix them:
• Glass Container Candles Not Cooling Properly ” If you’re having trouble getting your glass container candles to cool properly, it’s likely because you have too much wax and oil in your container. Try removing some of the wax and oil so that you can reduce the amount of heat generated by the container.
• Soot Formation Around Wicks ” This is typically caused by using too big a wick or having an inappropriate amount of scent or dye added to the wax. Experiment with smaller wicks or reducing the amount of fragrance you add until this problem is cured.
• Cheesy Top Affecting Your Candles ” You may find that your candles develop an undesirable cheesy top as they dry while creating an uneven surface. By tempering your wax before pouring, it will help prevent this problem from occurring. Additionally, use a higher quality wax with more oils within it for better burning results.
• Containers Expanding During Congealing Process ” Wax has to be kept at a certain temperature throughout its congealing process but if there isn’t enough room in your containers for correct expansion and contraction, then there will be issues upon cooling. Make sure your containers are large enough for proper ventilation during congealing to help prevent this from happening.
Include a section on the various techniques for candle pouring
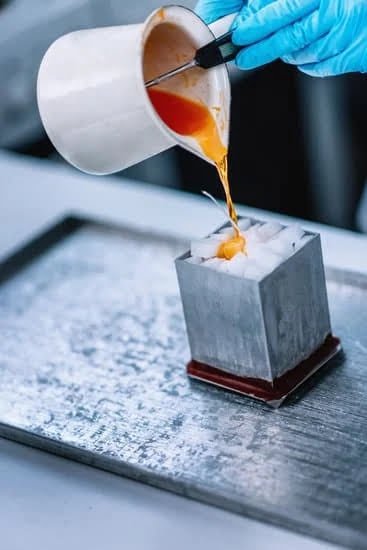
Pouring candles is a fun and easy way to make beautiful scented candles at home. There are a few different techniques for pouring wax into candle molds that can be used depending on the desired effect.
The most common type of candle making technique is the container pour. This method involves melting the wax in a double boiler and then transferring it to a container where it will be used to fill each candle mold one by one. To achieve an even color throughout the entire candle, many professional makers will melt various dye chips until they form a uniform hue and add this to the wax before pouring it into the molds. Additionally, fragrance oil should be added to the melted wax at this stage; this adds another layer of complexity, allowing novice makers to create unique combinations of scents by mixing together different oils.
Another popular type of pour is called carving or coreless container pour, where additional materials like beeswax or paraffin are placed inside each mold prior to adding the main wax. When poured into these molds, extra pockets of air created by any additives prevent the formation of air bubbles within the middle of each pillar, resulting in candles with a uniform shape from top to bottom.
Additionally, there are variations on traditional pouring methods that allow users to customize their product even further. One example of this is “frosting”, which involves topping off partly cooled candles with unmelted wax and creating undulating surfaces that look rather like icing on an oven-fresh cake! Similarly creative effects can also be achieved through marbling, which has been gaining popularity lately as an effective way to make visually stunning pieces; this variation essentially combines other colourants with droplets submerged in partially set wax so that new dyes come up along to form attractive patterns once finished cooling completely.
Describe how to create special shapes or designs for candles
Creating special shapes or designs for candles can be a very easy and fun process. Start by getting some wax, candle wicks, and the desired moulds you want to create your design with. You should also get any dyes, essential oils, and fragrances that you’d like to add to your candles. Heat the wax until it is melted, then stir in any of the additives and colorants that you desire. Pour the melted wax into the moulds as evenly as possible until they are nearly full. After a few minutes, place a wick into each mould one at a time and ensure that it stands upright in the centre of the wax. Make sure all of your wicks stay secure as much of them may pull out during cooling process. Allow each mould to cool until solid before removing from the moulds. Once cooled, trim if required and enjoy your custom made candles!
Explain how to make scented candles
Making scented candles at home is an easy but rewarding craft. To get started, gather a few supplies including wax (soy or paraffin is best), wicks, essential oils, appropriate containers for the candle supports such as jars and holders, a double boiler or microwave for melting the wax, and safety gear like heat-resistant gloves and a fire extinguisher.
To begin, measure out the amount of wax needed for your candle project. Place it into a double boiler or in the microwave and melt until fully liquid. Once ready, add in any desired dyes and/or scent, stirring in until fully incorporated.
Take one end of the wick and tie it to a pencil that’s rested against the top side of your container before pouring in melted wax ” this will help keep your wick centered while it sets. Make sure the other end touches the bottom of your container just slightly dipping intot he hot wax before slowly pouring your melted contents inside. As you do so make sure to hold onto both ends of the wick to ensure its straightness while it sets up.
Let cool for 8 hours/overnight before trimming off excess wick length on both topside and bottom of candle. You can even opt to set up multiple jar candles by threading cotton cord through 2 adjacent eye bolts then hang from wall or beam with metal S hooks attaching each end – creating beautiful hanging scented jar candles!
Explain how to make container candles
Container candles are relatively simple to make, but they require a few tools and materials to get started.
To make container candles, you will need a heat-resistant container of your choice, wax (paraffin or beeswax), candle wick tab, dye blocks or liquid dye, wood skewer, wick centering device, thermometer and double boiler (or microwave). Start by choosing your scent and colour of the wax. If you’re using paraffin wax, then break the bricks into small pieces and place them in the double boiler (or microwave) until it is fully melted. If you’re using beeswax then you can use the same technique but with less melting time as it melts quicker than paraffin wax. Once melt has finished, add your drops of liquid dye for a colour base.
Next insert your wick tab into the centre of the jar by pushing through the hole at bottom with a skewer. Attach a wick centering device to ensure that wick remains centered at all times or attach weighed down objects like paperclips on either side of string across top of candle so that it remains in centre once cooled.
Temperature play an important role when making container candles ” too cold and wax will not pour correctly while too hot might make your jar crack! Heat up your melted wax to around 185F if using paraffin and 175F if using beeswax. To reduce any bubbles forming on the surface stir gently before pouring melted wax into jar leaving room around edges for when candle shrinks after cooling ” usually 1/2 – 3/4 inch from top lip is enough space but please check manufacturer’s instructions as recommendations can vary between containers.
Leave overnight for six hours for candle harden before lighting otherwise air could crackle under pressure causing bubble to form inside wax instead its best to leave overnight without any movement so that candle had just set perfectly without interrupting its formation.
Provide a list of different candle recipes and variations
1. Holiday Spice Candle ― Blend together 1 part cedarwood, 1 part orange, and 1 part cinnamon essential oil.
2. Christmas Tree Candle ― Mix 2 parts pine and 2 parts fir oil with a teaspoon of beeswax for your own special holiday blend!
3. Lavender & Vanilla Candle ― Perfect for relaxation, this combination of 1 part vanilla and 3 parts lavender delivers a warm and inviting scent.
4. Citrus Breeze Candle ― Start with 2 parts grapefruit oil, 1 part lemon oil, 1 part fir needle oil, and just a drop of eucalyptus to bring it all together.
5. Ocean Mist Candle ― Get the beach into your home with 1 part jasmine essential oil combined with 4 parts fresh smelling ocean breeze essential oils plus a few drops of peppermint to give it that refreshing energy boost when you need it!
6. “Peaceful Rest” Candle ― Lavender and chamomile are great calming fragrances when you are looking to drift off into dreamland quickly. Try adding 2 parts lavender oil to one part chamomile for a relaxing aroma so you can easily reach work-free sleep mode in no time flat!
7. Energizing Apple Cinnamon Candle — Everyone loves apple pie scented candles, but what about an energizing twist? Blend together 1″2 drops of ginger essential oil with equal parts apple and cinnamon essential oils for an uplifting aroma day or night.
Include a section with ideas for creative candle making uses
Candle making can be used to create a wide variety of decorative and functional items. Here are a few ideas for creative candle making uses:
1. Home Fragrance – Add essential oils or fragrance oils to your wax for a pleasant aroma. This is an excellent way to give your home a natural, inviting scent without the need for synthetic sprays or plugins.
2. Table Decor ” Use candles to decorate your dining table in unique style. Whether you choose floating candles in vases, pillar candles of various sizes on trays, or other creative arrangements, you can enjoy candles in subtle, soft lighting that adds an inviting ambiance to any room.
3. Room Lighting ” Create larger candles customized with height and shape for the look you want by using a stronger wax blend such as paraffin or beeswax. This makes them difficult to blow out so they add long-lasting light and peace of mind against open flames while watching TV or relaxing at night.
4. Personalized Gifts” Give friends and family personalized gifts by making custom designed soy blend pillars, melts, wax melts, tart burners totes filled with embossed photos and designs, or travel tins with wicks that make perfect scented oil warmers when lit safely on the road!
5. DIY Products ” Move beyond conventional candle making by creating your own cosmetic and wellness products with easy-to-find supplies like beeswax, coconut oil from the grocery store health food store , distilled glycerin from drugstores . Make healing salves for lacerations and burns; lip balms; moisturizers; texturizers for hair treatments; curl defining creams; aromatherapy mists and much more!
Describe the various ways to decorate candles
Decorating candles has become increasingly popular in recent years and can be done in many ways. Some of the most common techniques include embellishing with ribbons and bows, painting and dyeing, embossing, etching and encasing. Ribbons and bows are easily added for a decorative touch that is simple but sophisticated. Painting and dyeing involve applying different dyes and colorants to candles giving them extra vibrancy or tone-on-tone shading. Embossing is the process of pressing or stamping a pattern into softened wax or engraving a pattern into hardened wax to create relief images on the candle surface. Etching involves carving patterns into the side of a candle by hand while encasing involves surrounding the outer wrap of a candle with another molten layer of solid wax, either clear or colored, to form an interesting texture look that can be personalized with any scent desired.
Explain how to package, store, and display candles for sale or gifting
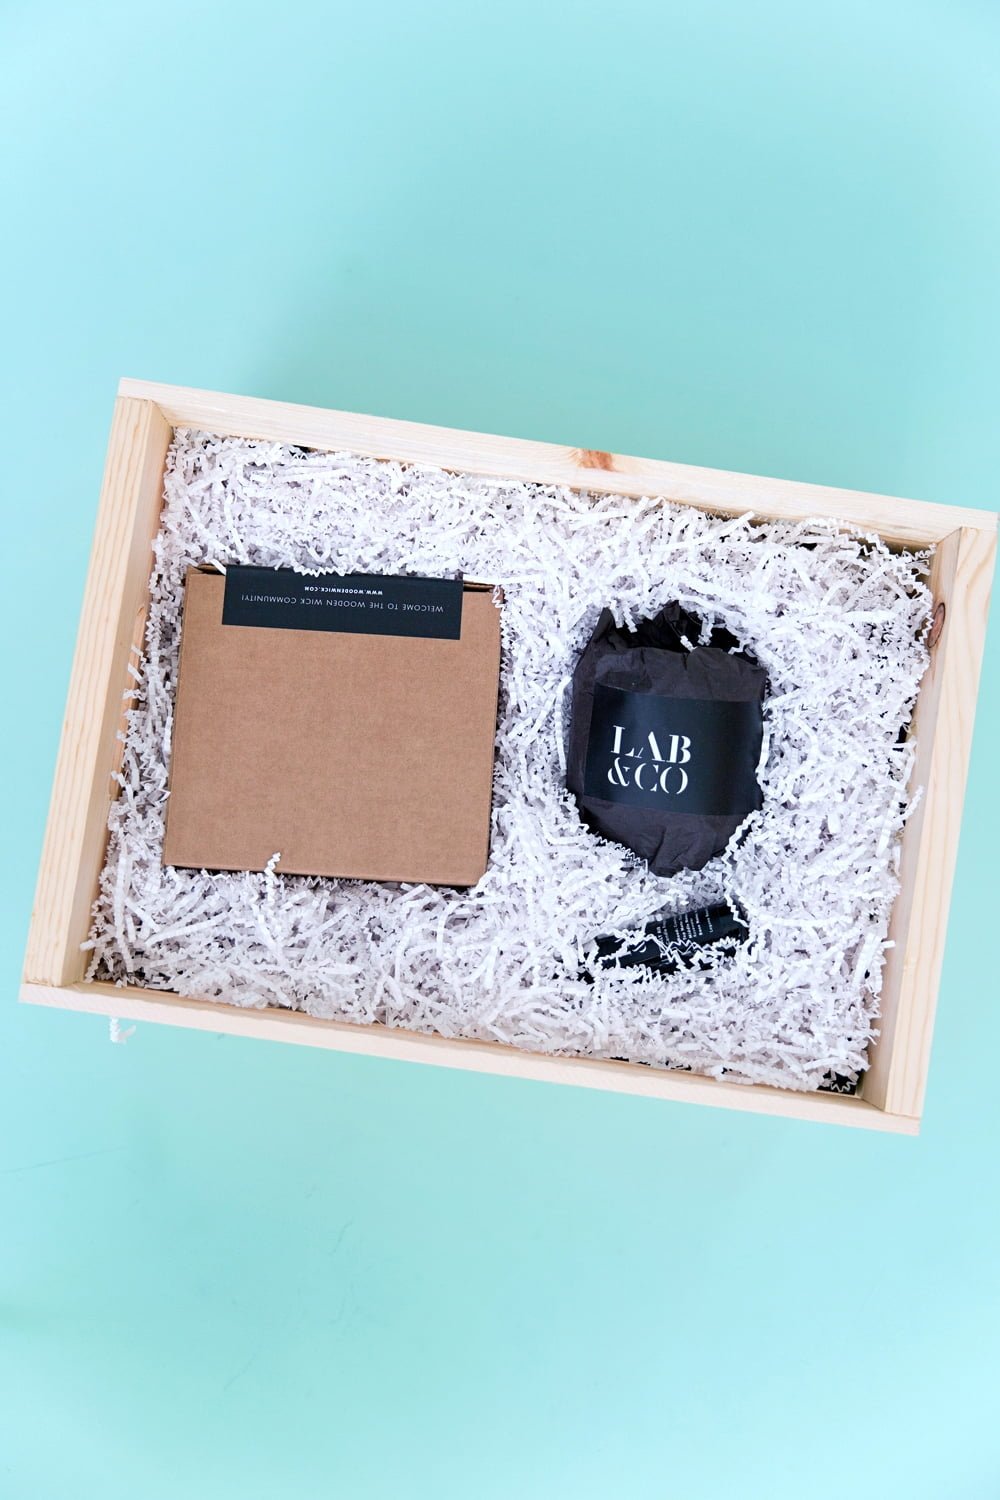
Packaging: When packaging candles for sale or gifting, it is important to think about how the product should be presented. Many candle makers opt for basic packaging such as shrink-wrapping or printing labels with ingredients and warnings. If you want to go the extra mile, consider custom packaging with twine and printed cardboard containers. This provides customers with an attractive gift-wrap option and builds on your brand’s appeal.
Storage: Various factors can affect the longevity of a candle’s scent, so it is essential that you store them in a dry place away from direct sunlight. Ensure storage containers are labeled correctly so that the appropriate information regarding usage conditions can be easily accessed.
Display: Candles make great additions to any display shelf or retail store counters as long as onlookers can actively see what it has to offer. Keep in mind when creating a display that, if people aren’t able to smell it, they won’t be likely to purchase it. Place promotional cards, signs and/or visuals nearby that provide potential customers with fragrance names and descriptions to further entice those who pass by!

Welcome to my candle making blog! In this blog, I will be sharing my tips and tricks for making candles. I will also be sharing some of my favorite recipes.


