Introduction
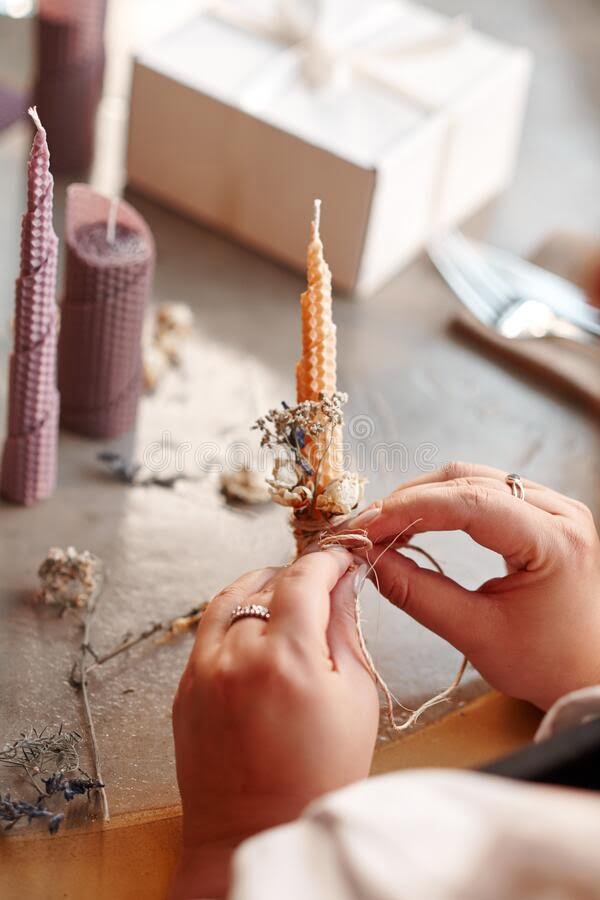
Candle making is a fun and creative way to bring more ambience and light into your home. Making candles at home offers a lot of benefits, including being able to choose the exact scent and color you want in your candle, gaining an appreciation for the craftsmanship that goes into it, and ultimately saving you money! This tutorial will provide you with an introduction to the basics of candle making, what supplies you need, and tips on getting started.
Whether you are just looking to experience something new or simply enjoy the relaxation that comes with creating something beautiful with your hands, this tutorial will show you the basics of making homemade candles! You’ll be surprised how easy it can be. After learning the basics, you may even be inspired to take your candle-making skills up a notch by experimenting with different waxes, wicks, colors, scents and styles.
Essential Candle Making Supplies:
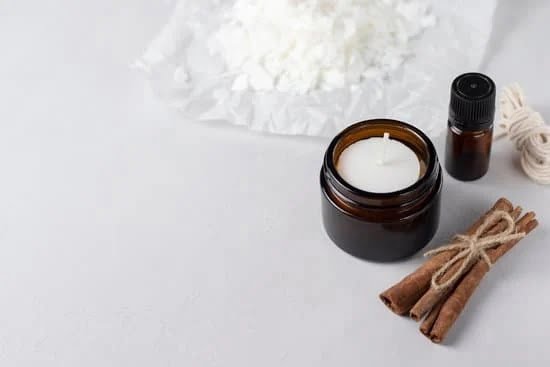
To get started on making your own candles at home, there are some essential supplies needed. Here is a list of must-have items:
• Wax: The most common types of wax used for making candles are paraffin wax or beeswax. Paraffin wax has the advantage of melting quickly and creating a smooth finish but does not hold scent as well as beeswax does. Beeswax is known for its slow burn time and capacity to capture strong scents but can require additional effort to get right – such as grating and melting multiple blocks together.
• Wick: Wick can come in cotton or wood-based material — both create long-lasting flames when burned correctly.
• Color/Fragrance Oil: Candle colors come in powdered pigment forms so it can easily melt into softened wax — whilst fragrance oil typically comes in pre-mixed bottles ready use immediately without worry of compatibility – provided they are specifically designed for state-of-the art candle project work.
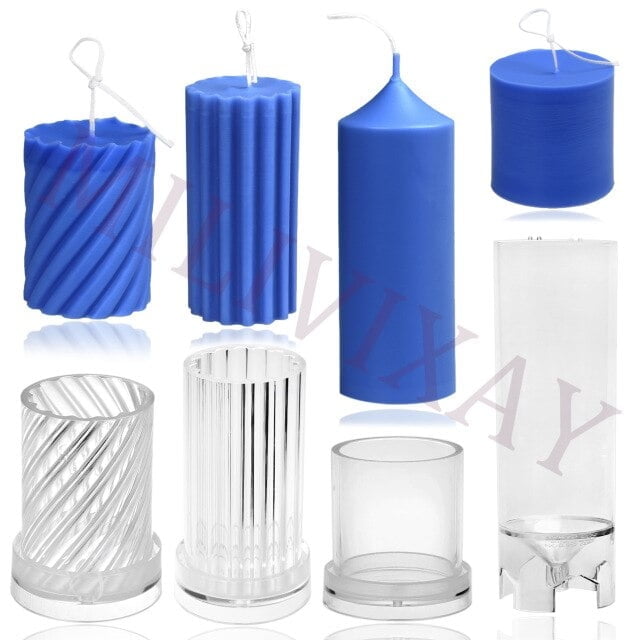
• Containers/Molds : You’ll need something to pour your melted wax into – whether it’s glass containers (which must withstand temperatures from 0 F (-18 C) all the way up to 195 F (90 C)) or silicone molds (which generally allow more flexibility). Generally speaking metal tins also offer good insulation for large candles that require longer burning times – which makes them ideal for outdoor settings such as barbeques etc..
• Melting pot/tools for pouring hot wax: A double boiler setup works great here so that no direct heat touches molten wax otherwise everything will become ruined if temperatures exceed their recommended maximums
Popular Candle Crafting Techniques and How-To Tutorials on YouTube
The art of candle making has been around for centuries, used both in religious ceremonies and as a source of light or scent. Today, many people are turning to YouTube for candle making tutorials, due to the platform’s easy to follow structure, range of videos designed for all skill levels, and abundance of ideas from experienced artisans.
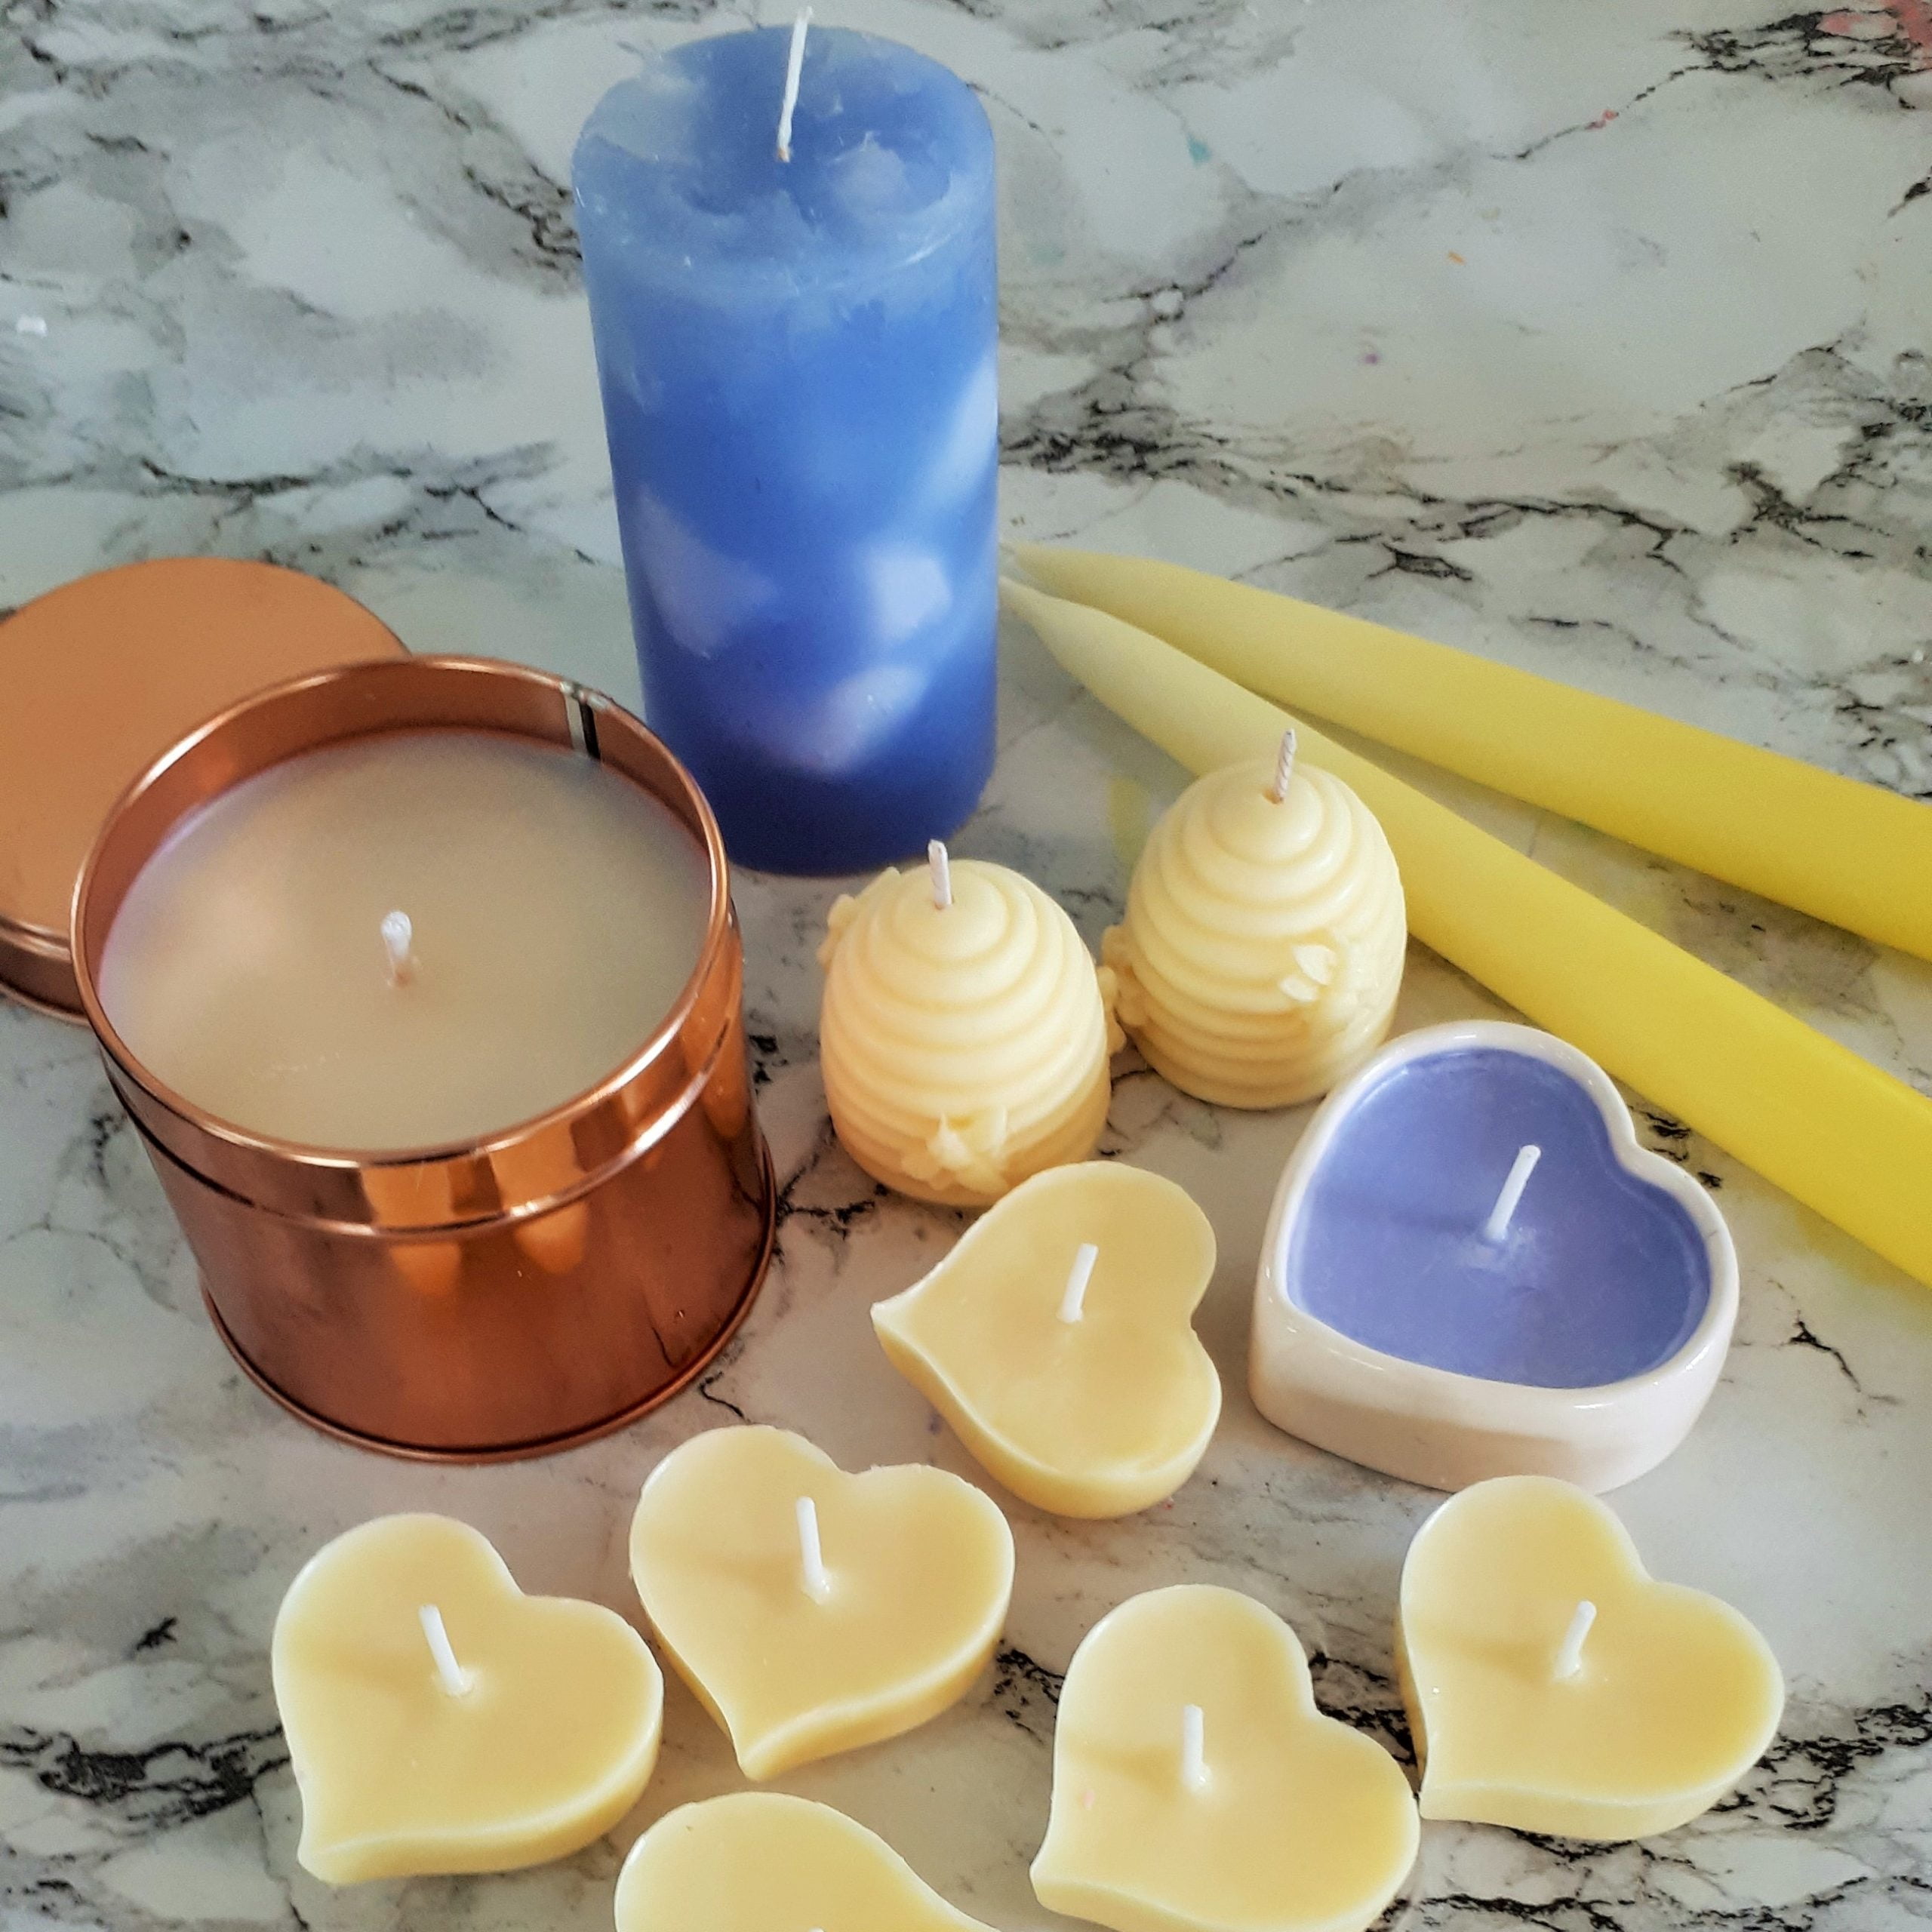
Most beginner tutorial videos start with basics such as melting wax on the stovetop and pouring it into a container to produce a simple molded piece. Other techniques can involve using gel waxes and other liquid mixes like paraffin oil, then adding wicks and scented oils during the cooling process. There are many different designs you can experiment with depending on your experience level; from intricate swirls of colored stripes made by layering different scents together that ripple in the flame, to beeswax sheets carved into decorative shapes like stars or hearts.
More advanced tutorials may include lessons on embedding foliage or small trinkets while the wax is solidifying to create custom candles. You could also find videos explaining how to use molds in creative ways, such as creating hand-shaped votives or watch-face style tapers. Many tutorials will show viewers how to combine multiple layers with various dyes or fragrances that become visible when lit at nighttime. Others might go over advanced topics such as achieving unique burn characteristics through careful ratio mixing of active ingredients like stearic acid and zinc oxide stearate.
Learning is also made easier on YouTube due to the fact that experienced candle makers are sharing their knowledge and providing detailed step-by-step instructions that guide viewers through every part of their project from choosing supplies all the way up to completing their finished product! No matter what level of skill you have when starting out candle making, there’s always something new to learn about this ancient craft thanks continues creations found here today!
Choosing the Right Tutorial for You
There are a variety of different candle making tutorials available on Youtube, so it’s important to find the one that is best suited for your needs. When choosing a tutorial, there are three main factors to consider; safety, skill level and results.
Safety: It is essential to make sure any candle making tutorial you are considering provides detailed instructions on safe practices when dealing with hot wax or flames. Be sure to keep an eye out for reviews from other viewers about the safety of the video.
Skill Level: Take into account your current level of candle making skill. Do you need a beginner’s guide or something more advanced? Make sure the tutorial matches your skillset and will give you the results you want.
Results: Consider what kinds of candles you would like to make after watching this tutorial. Are you looking for simple votives or deluxe scented pillars? Make sure the Youtube tutor provides step-by-step instructions and advice on how to create these specific types of candles. Read through reviews and ask questions before deciding which tutorial is best for your desired results.
How to Get the Most Out of Candle Making Tutorials on YouTube
Candle making has become an increasingly popular and fun hobby that allows anyone to create customized scented and colored candles at home. With the abundance of online tutorials as resources, candle making has never been easier! If you’re wanting to get the most out of candle making tutorials on YouTube, follow these steps:
1. Start by exploring various established makers and influencers on YouTube for inspiration and to get a better understanding of the craft. Familiarize yourself with different types of waxes, wicks, molds etc., so you can better decide which materials are best for your project.
2. Consider your budget before investing in supplies – there is no need to splurge on any expensive equipment if you’re just starting out. Look for cost effective alternatives without compromising the quality of your products.
3. Once your materials are ready, begin experimenting with different techniques such as an “over-pouring” method or a “layering” style, both of which add unique textures and aesthetic appeal to the finished product.
4. Use scent oils carefully – make sure to look up safety instructions regarding certain essential oils, as they may be too strong when used strictly by themselves in candles or diffusers due to their concentrated forms.
5. Check video titles and descriptions before embarking on each tutorial – this will guide you through supplies needed as well as provide specific instructions that might be beneficial in avoiding mistakes during your creations!
Essential Supplies and Accessories for DIY Candle Making
When it comes to making your own candles, there is certain essential supplies and accessories you need. For starters, you will need a wax melter to melt the wax for your candles. You can buy these items from craft stores or online. It helps to have multiple sizes available for different projects.
Other necessary tools include wicks and holders, fragrance oils, scents, dyes and containers for the finished product. When it comes to wicks and holders, make sure you purchase ones that are appropriate for the size of your candle container—some containers may require more than one wick depending on their size. Also, pick up a thermometer to ensure that your wax is heated at the right temperature (usually below 185°F).
In terms of fragrance oils and dyes or colors, opt for ones specifically labeled “candle safe” so as not to harm or affect the performance of your candles when they burn. Depending on what kind of container you choose for your candles, you may also need hot glue gun and labels to add finishing touches such as designs or names. To ensure a smooth finish on the surface of your finished candle, be sure to have pouring pitchers. These will make transferring melted wax into containers easier while helping to prevent air bubbles in the end results.
Post-Project Checklist
Making candles can be a fun and therapeutic experience, but to ensure that your candles look and last like real-deal professionals, there are some crucial steps you’ll want to consider once the project is finished. Once you’ve poured the wax, added the scent, and let the candle cool or harden for at least 24 hours, here’s what you should check off your list before calling it done:
1. Inspect your work. Look over each candle carefully both while it’s in the mold and after it’s removed. Make sure no holes have formed on the surface of the wax, as these may lead to weak points along with potential drips when lit. Check that the wick stays centered and stands upright when lit. If it fails this test, you may need to adjust the placement of your wick before moving on.
2. Trim any excess wick. This will help prevent excessive smoke and keep your candles burning evenly without pooling or sooting up around any protruding threads of wick not tucked away into the wax properly.
3. Label each candle appropriately so it’s easily identifiable when using/selling/giving away later down the line! Keeping track of burning instructions (burning in 2-4 hour intervals) is also important for another reason: safety!
4. Finally, make sure that your candles are clean and aesthetically appealing for presentation purposes — meaning no smudges or fingerprints — before storing them away in a cool dry place where temperatures won’t fluctuate too much from 70 degrees Fahrenheit or lower between uses; this believe it or not helps preserve longevity as well as quality!
Conclusion
Once you have followed the steps for making candles from a YouTube tutorial, you are ready to make your own custom candles at home. Designing the perfect candle can be daunting, but with a few tips and tricks from YouTube tutorials, you can create one-of-a-kind pieces. From choosing unique shapes and scents to experimenting with different dyes and waxes, there is something for everyone! With a bit of creativity you can craft your ideal candle that will become a focal point in any room. You might even find yourself making candles as gifts or selling them at local markets or events – whatever you choose, candlemaking can be an exciting and enjoyable hobby to explore!

Welcome to my candle making blog! In this blog, I will be sharing my tips and tricks for making candles. I will also be sharing some of my favorite recipes.

