Introduction
Creating your own candle holders can be a fun and creative way to add personal touches to your home decor. Not only is it a great project for beginners, but it also provides an opportunity to express yourself artistically. Crafting your own candle holders allows you to customize the look and feel of any room in your house. It can also be a great way to incorporate favorite colors or patterns that reflect your personality.
For the crafty beginner, the great thing about creating your own candle holders is that you can choose from many different materials, shapes and sizes. You can use items like glass jars, stemware, mason jars, vases or even old tins from thrift stores as bases for making unique designs. Reclaimed wood pieces such as pallet wood or scrap lumber also make excellent projects for customizing shapes and sizes of candle holders. If you are feeling extra motivated, you can try challenging yourself by using new materials such as fabric scraps, paper mache, clay or even wire mesh for sculpting more elaborate creations!
In terms of specific tools that may be needed for crafting the right type of material together into interesting shapes, some basic everyday supplies such as glue guns, acrylic paints and brushes will come in handy. Additionally there are other materials such as reusable stencils which can greatly enhance your creative process when drawing or writing on surfaces you’d like to decorate with patterns or words. For those who love recycling items around the house you could even repurpose old dinnerware pieces like napkin rings into charming accent pieces! With these tips in mind get ready to transform everyday objects into creative works of art with just a few simple steps -you never know what kind of impressive candle holders you’ll create next!
The Basics of Creative Candle Holders Making
Making creative candle holders is a great way to express yourself and add atmosphere to any room. Whether you’re crafting for personal enjoyment or for gifting, with just a few materials and some basic tools, anyone can easily make beautiful and unique candles holders. Some of the common items you will need are recyclable containers, candle wax, wicks, coloring dyes and additives, thermometer and molds (or double boiler).
Before starting your project you should do some research about what kind of container would work best for your candle holder. You may choose to use a glass jar or vessel made out of other recyclable materials; it’s important to ensure that the vessel will withstand direct heat because that is where the flame or heat source will be coming from. Once you have chosen the container, prepare it by washing off any residue with soap and warm water – these steps are essential to prevent soot builds up when the wax is melted and burned.
Furthermore, depending on how creative you want to get while making your candleholders, there are plenty of options when it comes to choosing amongst dye colors, aromas and fragrances as well as sparkles that could be added on to enhance their visual appearance. Make sure all materials used such as waxes and dyes are labeled as suitable for candle-making before purchasing them – this measurements should guarantee safety both during production and when lit in use. Assembling your own custom designed and crafted candles adds a personal touch not found in store bought candles!
Understanding the Wax, Wick, and Mold Dynamics
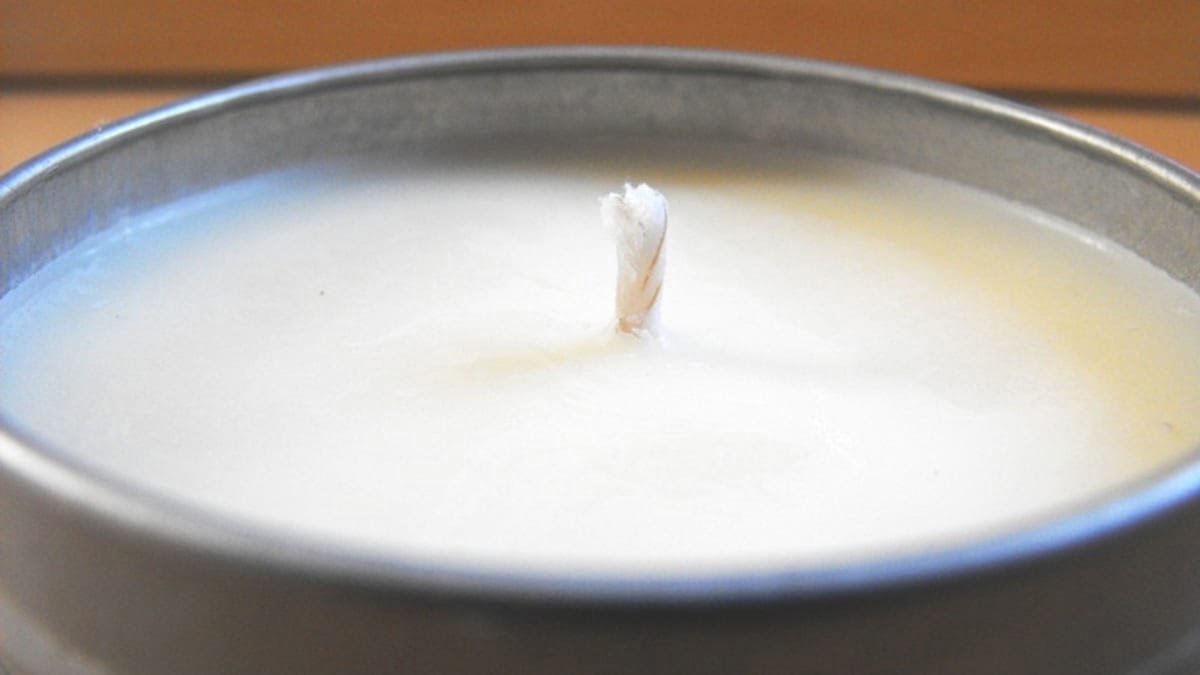
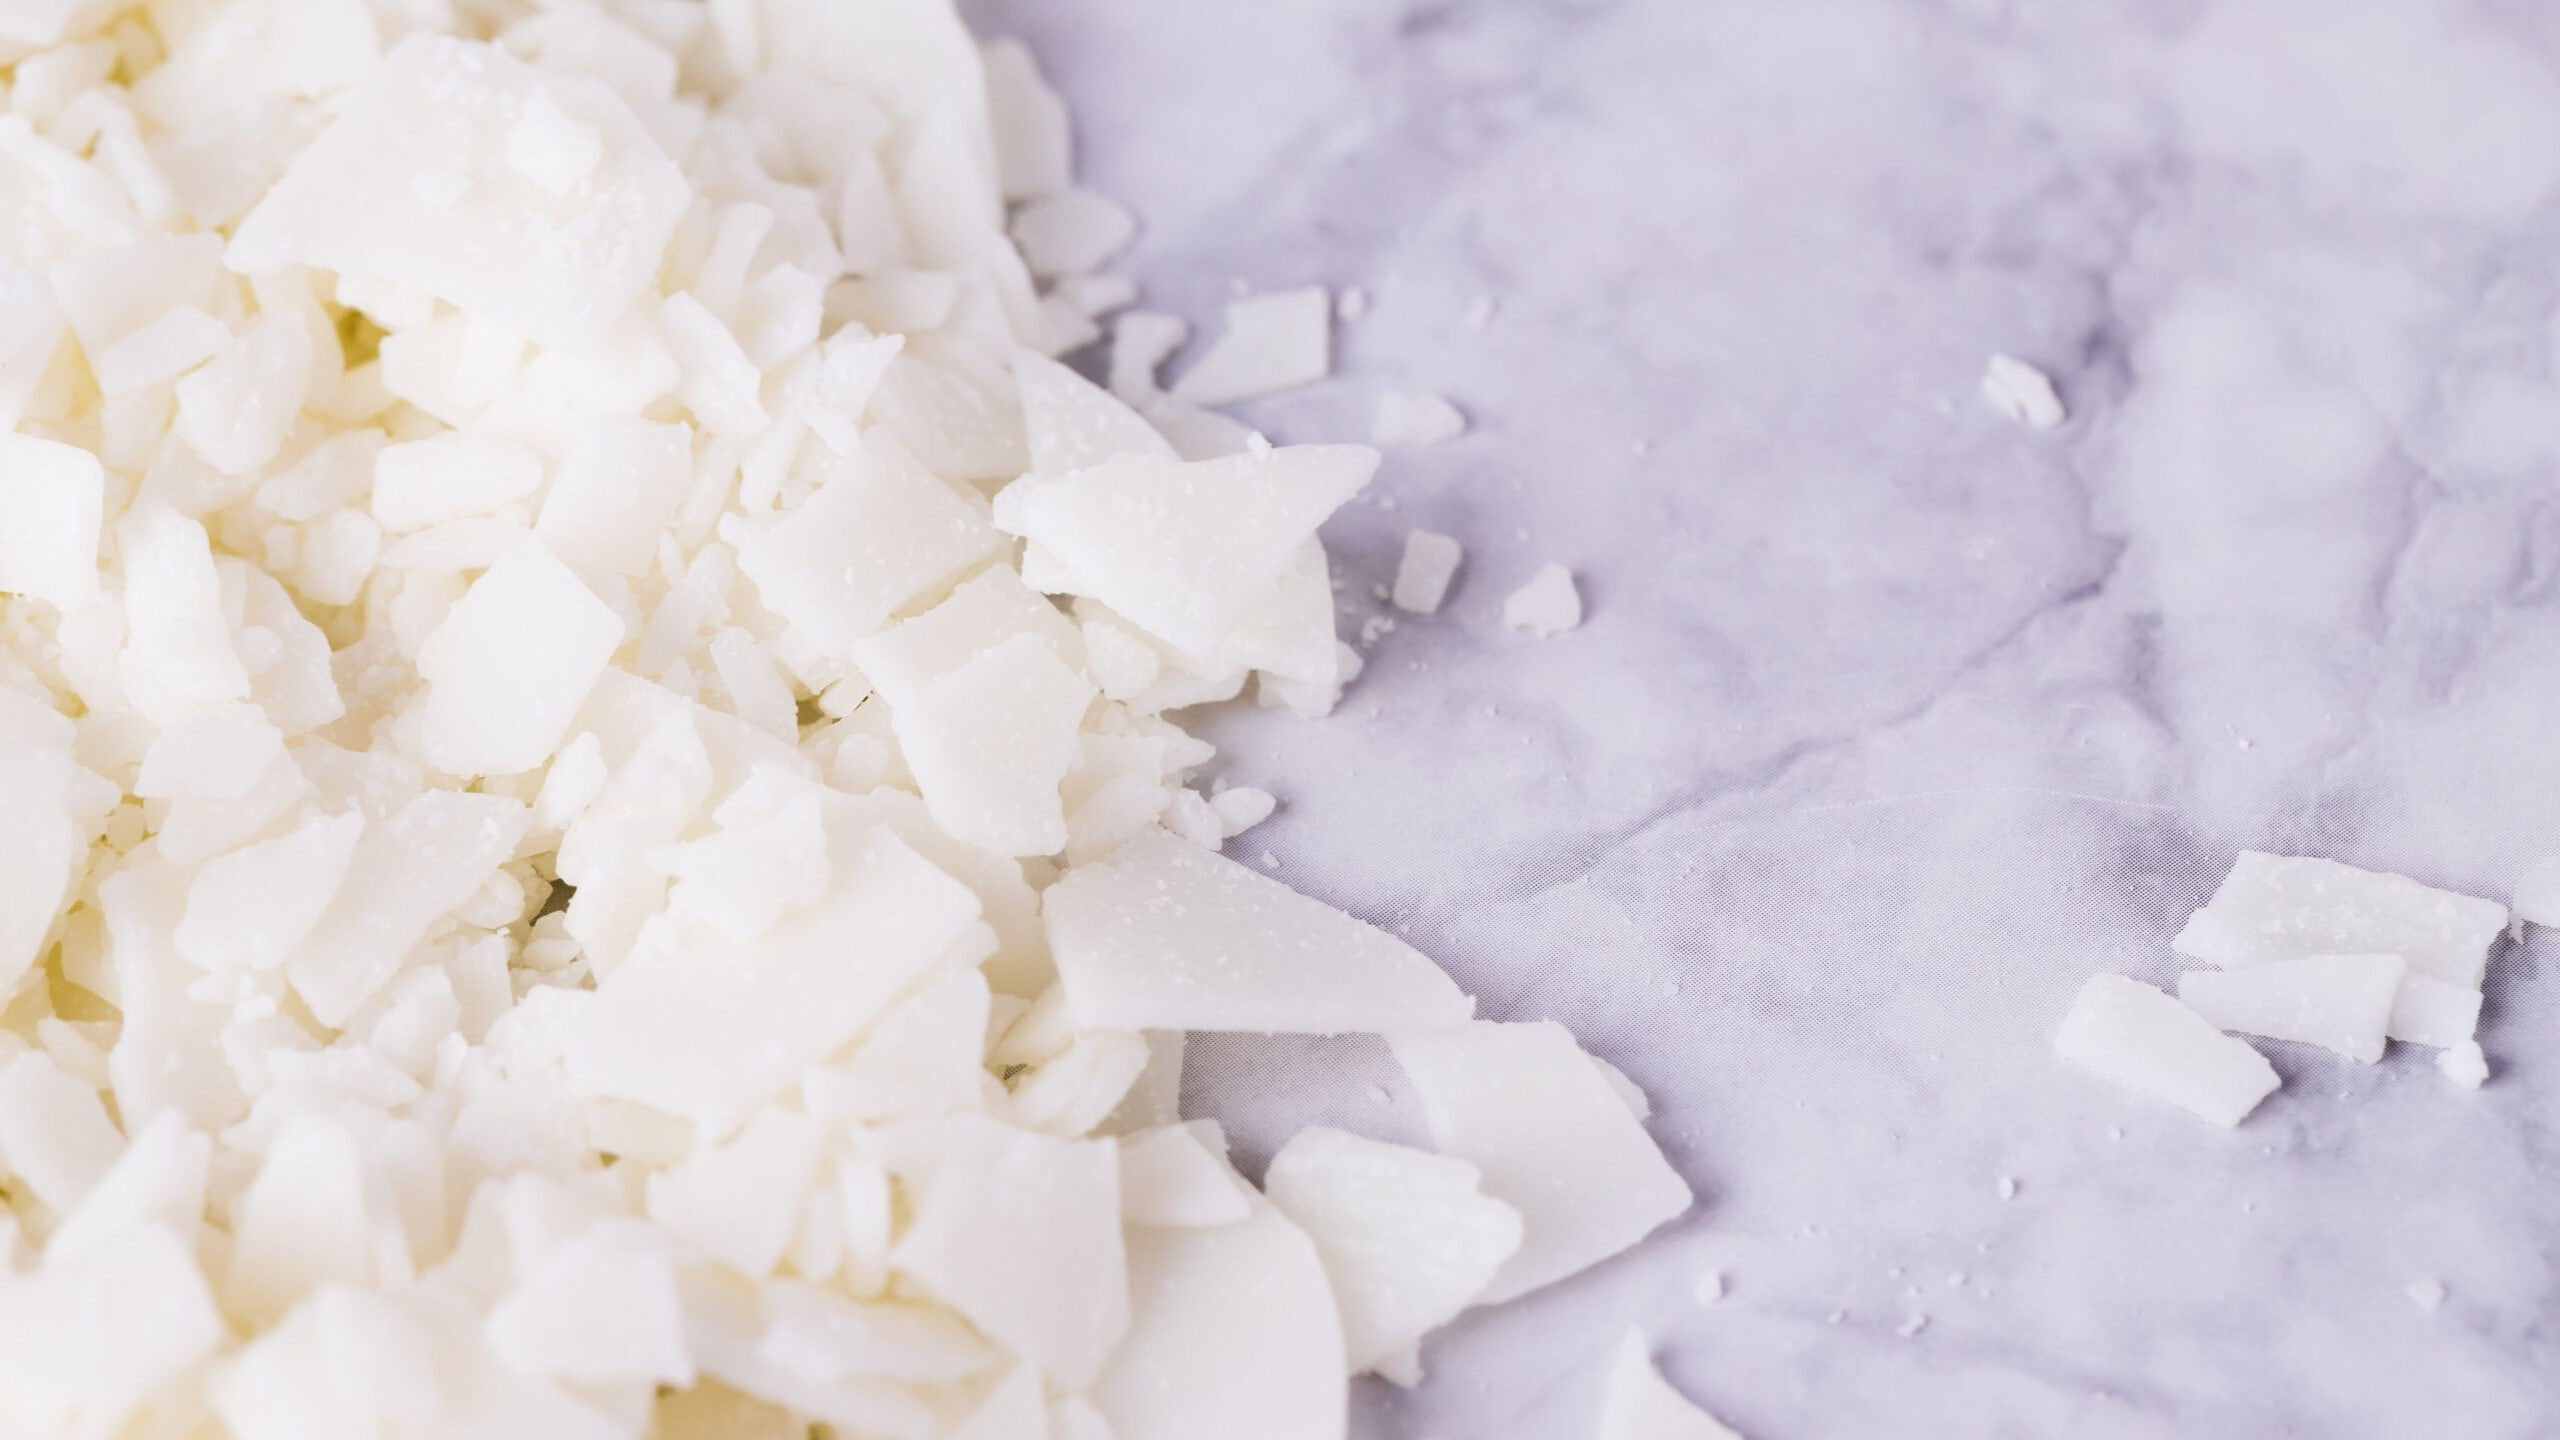
Creating your own candle holders involves more than just melting wax and pouring it into a mold. It’s important to understand the dynamics of how wax, wick, and molds interact in order to create a successful candle holder. Wax typically comes in a tablet form which must be melted either using a double boiler system or microwaving the wax in small increments. Once melted, the wax must be allowed to cool slightly before you can add any scent and/or dye if desired. An essential part of making candles, the wick should match the size of the candle as larger candles require thicker wicks that can handle higher temperatures than thinner wicks. Lastly, you must have a properly fitting container or mold for your candle as some materials such as metal can cause hot wax to leak if not lined properly with parchment paper. Additionally, experimenting with different types of molds and containers such as glass jars can offer unique designs for more creative projects. When done correctly these essential components will ensure that your homemade creations are unique and look beautiful for years to come!
Express Creativity with Color, Scent, and Texture
Making creative candle holders is a great way to express your own unique style. Start by choosing interesting scents, such as lavender or coconut, to bring an inviting and calming ambiance into your space. Next, select various colors and textures that match the overall aesthetic of the room. With an array of glass, wood and fabric containers available, it is easy to find the perfect fit. Arrange the holders in multiple sizes to create an eye-catching look. To get even more creative, use everyday objects as candle holders, like seashells or tea cups! Finally, place candles inside them with wicks of different lengths for added interest. With these ideas in mind, you can easily make decorative candleholders that will illuminate your home with personality and style!
Selecting the Right Wax and Wicks
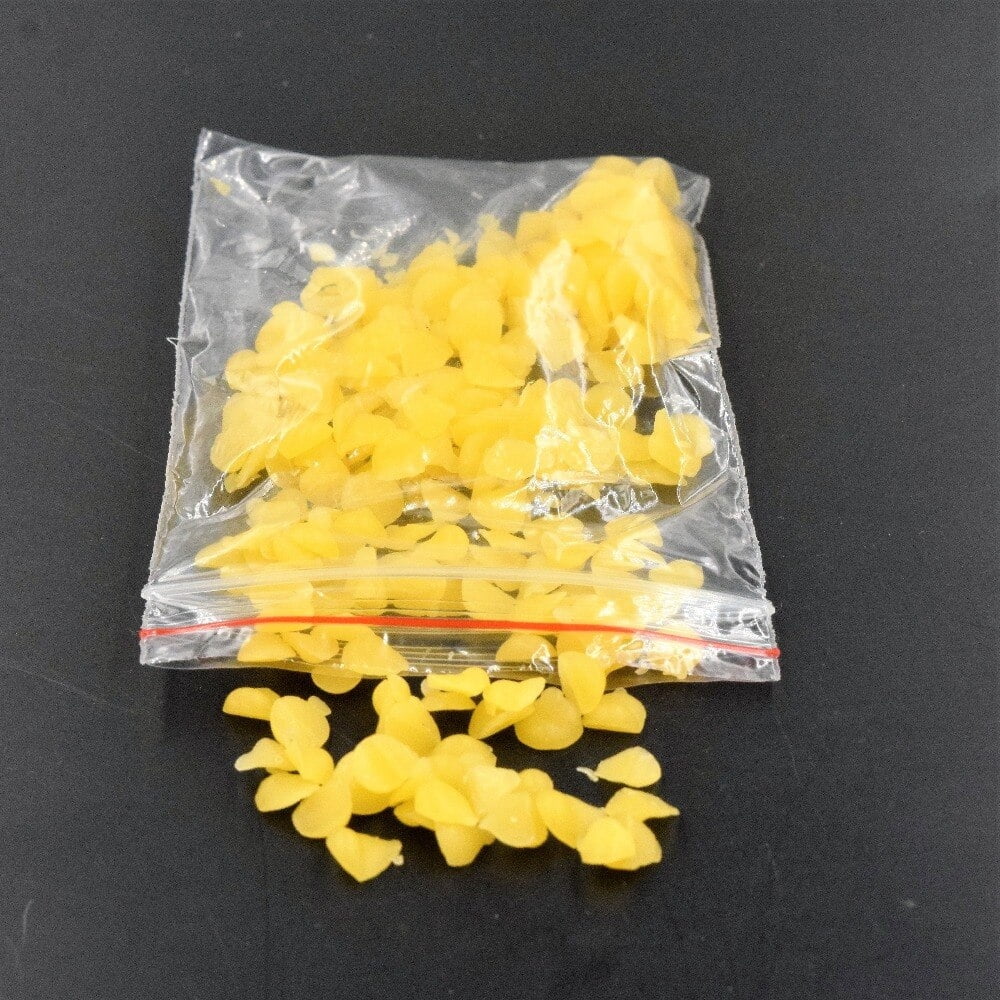
When attempting to make creative and unique candle holders, selecting the right wax and wicks is essential for success. Different types of wax have different melting points, densities, and fragrances that can affect the shape and appearance of your candle. Make sure to select a wax type that is designed for use in container candles. Natural or synthetic beeswax is often recommended for making container candles because of its nice fragrance, even burning patterns, and heat resistance which helps reduce the potential for messy scorch marks.
When using the beeswax or another type of wax, it’s important to select a suitable wick as well. Some wicks perform better when matched with certain types of wax, so take initial measurements of your poured candle before selecting a specific size based on these measurements. Consider also the shape and curve of your container when choosing a wick. A curved bowl may need an additional base support along with a longer length in order to properly suspend inside of the containment vessel while still reaching close enough to the bottom surface area so as not to create insufficient burn times due to too far away from heat source environment. Be sure to add some design elements such as embedded items or trinkets at various depths by suspending them securely within the poured wax before it hardens. This additional element of creative design can make each candle holder unique while adding character and elegant features at the same time.
Melting and Pouring Tips and Techniques
Creative candle holders making is a craft project that requires careful attention to detail and patience. Melting wax and correctly pouring it into the holders entails time, but with some tips and techniques, anyone can enjoy this memorable art form.
Before starting your project, have all of your supplies ready to use. You will need candle holders, preferably metal, as they will hold the melted wax better than glass or plastic ones. As for wicks and candles, you can find any type of material perfectly suited for your creative desires at most specialty stores or online. Some materials to consider include soy wax, beeswax, fragrant essential oils, vegetable dyes, herbal inserts such as rose petals or lavender sprigs or even recycled materials like coffee grounds or dried leaves.
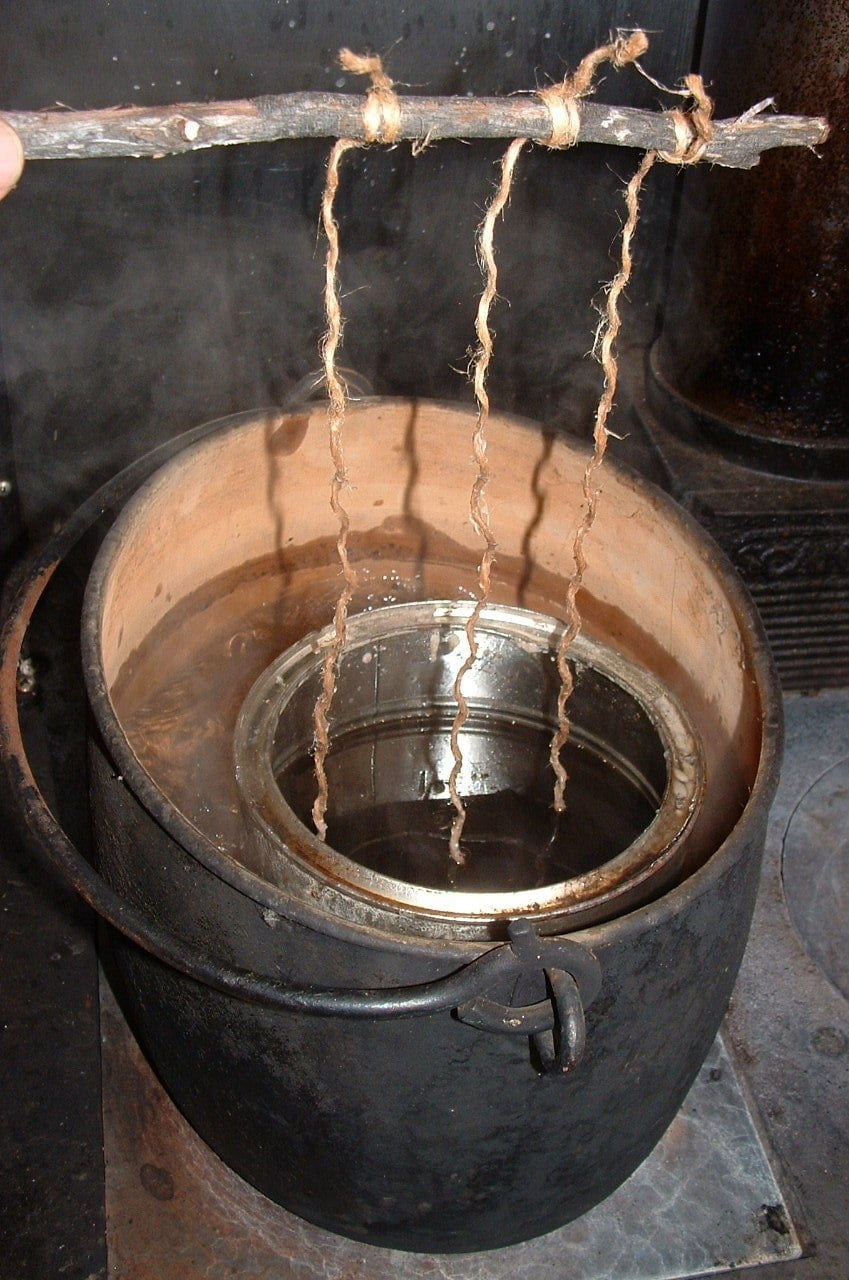
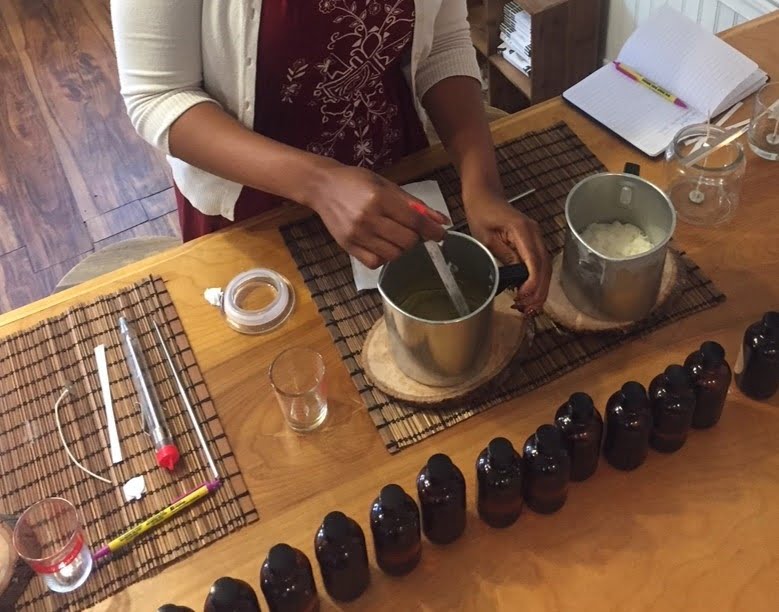
Once you have amassed the necessary tools for your task you can begin melting the wax in a double boiler over medium heat. Remember to constantly stir the contents in order to increase temperature evenly and prevent burning of the wax. The melting process should take about fifteen minutes before being poured into molds and holders. Next add essential oils, dyes or plant matter if desired (about half teaspoon for every pound). Once everything has been thoroughly mixed together allow it to cool slightly before pouring into the holders one by one with a ladle. When finished each holder must be filled with enough material so that when cooled down it still stands up straight on its own and is securely attached between each layer.
Finally set the holders aside in a safe place to cool entirely before adding wicks and lighting them up! Enjoy these special creations while savoring their remarkable fragrances!
Working with Molds For a Professional Looking Product
Creating your own unique candle holders can be incredibly rewarding, and even more so when the end result is professional-looking. For any serious home-based crafter or small business specializing in artisanal candle holders, molds are a must-have. Molds allow you to easily craft a variety of different shapes with perfect measurements and symmetry, as opposed to more tricky hands-on techniques. It’s also much faster to work with molds compared to other methods — perfect for those looking for volume production.
When working with molds, the first step is creating a wax design that will serve as the base template for your candle holders. You can choose from a range of waxes depending on the size and shape of your desired design. Your mold should match these specifications. Then, simply pour molten wax into your specialized mold and use ovens or microwaves to bake it securely in place inside the frame before pressing it out once it’s cooled off. After that, you’re free to decorate and customize the shape however you like! Painting, embellishing with patterns or adding trims are all options for personalizing your designs further. With molds, crafting stylish and creative candle holders can be easier than ever before!
Adding Pleasant Aromas to Your Candle Holders
Candle holders can add an air of elegance to a room. But one of the best aspects of making your own candle holders is that you can customize them to fit your vision and make them even more special. For example, if you want to add pleasant aromas while the candle is burning, you can incorporate scented wax into the design. Simply melt the appropriate wax in a double boiler over medium heat and then pour it into any molds that are needed. Once cooled and hard, form it around the inside of the holder for a nice touch. You can also mix different types of wax to achieve unique combinations or use colored wax for a unique aesthetic effect. Additionally, you don’t have to limit yourself to wax. Consider incorporating beads or shells into the design for visual interest and sparkle when illuminated by candlelight!
Enhancing the Look with Decorative Touches
Creating beautiful, decorative candle holders can be a fun and easy craft project for anyone. With a few basic materials such as glass or clay containers, colorful paints, feathers, dried flowers, and other decorative items like ribbons, it’s easy to give candle holders an attractive touch that will add ambiance to any space. Before beginning the craft project of making candle holders, ensure that the accessible materials are appropriate for the desired design. For example, if making glass containers with various colors of paint and glazes inside or on the exterior surface, use only specialty paints and finishes designed for glass.
Once the preparation steps for making creative candle holders have been completed, choose colors and decorations to complement the style of a room or outdoor space. For instance, if the goal is a modern look featuring minimalistic designs such as straight lines or geometric shapes painted onto a clay container can be a nice contrast against more traditional decor pieces such as wooden furniture. To accentuate this look even more coins or flat tiles made of metal can be glued to each side of the holder to create texture and depth. For more traditional pieces utilizing more decorative touches may be appropriate including natural materials such as shells and stones painted in several hues and affixed with strong glue onto glass jars. Natural accents like dried flowers or herbs such roses or lavender-tied inside mesh can also provide the perfect finishing touch when placed at the base of an imposing pillar candle holder when used in entryways. With a bit creativity mixed with any pre-selected colors and textures, creating original candle holders is possible from just about anything.
Wrapping it Up
When crafting creative candle holders, you want to get the most out of your creativity and make something truly unique. You can let your imagination run wild by using items that can be easily found either around your home or at the craft store. Some of these materials include driftwood from the beach, old jewelry pieces, mason jars, vintage knick-knacks, and even seashells. To start off your project for making creative candle holders, begin by selecting a few materials that bring out your personality or design aesthetic and create a piece that reflects who you are and what speaks to you. Once you have chosen materials, decide on patterns or designs to put together. Taking apart broken jewelry pieces gives an opportunity to mix and match what pieces you want in different arrangements. If a preexisting style doesn’t exist between the pieces try experimenting with texture while keeping in mind the color scheme as well. If a certain style still isn’t coming across correctly it will help to tie all the designs together by introducing a new material such as engraved wood or rope twine accents. Assembling a foundation such as layering felt fabric underneath trinkets gives a sturdy base for holding all of the parts together without having any pinpoint points sticking straight up or outwardly exposed which could later cause harm when handled after softening of glue or adhesive overtime sets in from heat of melting candles burning from inside. Go along with common trends when putting together pieces like monochromatic colors mixed with lace fabrics detailed with pearlescent rhinestones placed in terrarium-like variations work great when thinking outside of more traditional candle holder styles while still giving respect to classic looks already known in society which makes it easier for customers when wanting to buy something special because they know there is something right set aside just for them if they looked hard enough for it in stores. When wrapping up this project show off its authenticity by placing candles inside before sale which can entice buyers quickly because after seeing how well arranged everything is combined lets them know someone put extra effort into creating each individual piece legally based upon patent laws existing in their country instead of purchasing cheap duplicates made from another company overseas. Reach your peak creativity when crafting creative candle holders with open mind and excited heart!

Welcome to my candle making blog! In this blog, I will be sharing my tips and tricks for making candles. I will also be sharing some of my favorite recipes.

