Introduction
Designer candle making is an increasingly popular craft endeavor for both experienced and new candle makers alike. The primary differences between traditional candle making and designer candle making are the materials used, shapes and sizes of molds, scents, colors, embellishments, and unique designs. Designer shaving candles utilize waxes such as rice bran and beeswax that have additional properties to assist in achieving various effects with the candles such as slower cast times and brighter colors. To achieve intricate details in their candles, designers turn to 3D silicone molds instead of standard metal ones. These patterns range from complex nature scenes to simple geometric shapes. Scents take center stage in designer candles as aromatherapy formulations can be included during production providing a therapeutic experience through scent when burning. Colors are often added to designer candles to highlight swirls or stripes or simply to provide a pop of hue during use. Lastly, decorations such as glitter, chunks of wax, essential oils can be added to give the finished product a unique touch that users find visually appealing and gratifying.
The Benefits of Making Designer Candles In Your Own Home
Making designer candles in your own home is a great way to get creative and create beautiful, unique candles that can make your home feel inviting and special. There are so many benefits of making designer candles at home that it’s easy to see why so many people are jumping on board with the trend. Here are just some of the advantages that you can look forward to when you choose designer candle making at home:
1. Unique Candles ” When you make your own candles, you’ll have complete control over the design, shape, color, and scent. This means that no two candles will ever be the same. You’ll be able to craft something truly special for friends, family or as a treat for yourself.
2. Quality Ingredients ” Making candles at home also means that you can control which ingredients go into them. Whether you prefer natural wicks or soy waxes, there’s sure to be an option that gives your candles an even burn or melts at an ideal temperature.
3. Get Creative ” Designer candle making is not only practical but fun too! Mixing colors and scents give you the opportunity to explore different techniques and work on a variety of projects without spending a fortune on expensive supplies. Plus, if something isn’t quite right, it’s easy to fix or start over again – giving you plenty of scope for creativity!
4. Cost Effective ” Nothing beats saving money while making something beautiful! Designer candle making kits are usually affordable and often come with everything you need (even safety gear) so all you need is good ideas!
Essential Supplies and Tools For DIY Designer Candle Making
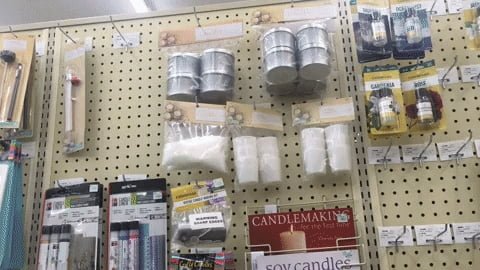
In order to make your own designer candles at home, you will need to gather a few basic supplies. Most of the necessary items should be easy to obtain at your local craft store or online. Here are the essential supplies and tools needed for DIY designer candle making:
1. Wax ” Paraffin wax is generally used in most candle designs since it melts easily and is readily available in large cubes or pellets. Soy wax makes an excellent alternative if desired, while beeswax can be used for natural candles.
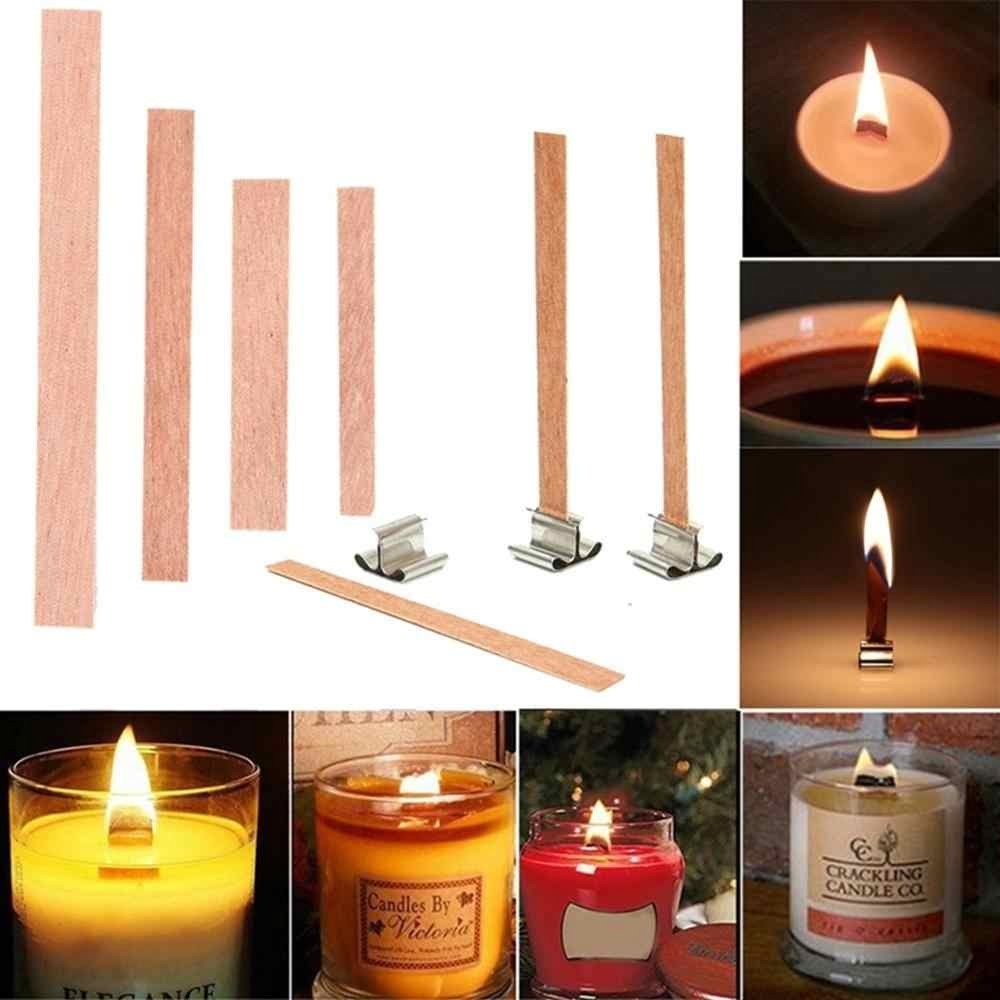
2. Wick ” The length of your wick will depend on the size of your container or mold, as well as how much wax you plan on using. It is best to opt for cotton core wicks because they tend to stay straight when burning; however, there are specialty wicks for different types of projects such as rolled beeswax candles.
3. Fragrance oil ” If desired, fragrance oil can be added to the melted wax to give your candle its desired scent regardless of the type of wax used. Be sure to measure accurately; too much fragrance will cause your candle not to burn correctly.
4. Containers or molds ” Choose a container that’s heat resistant such as metal, glass, ceramic, enamelware or plastic that’s made specifically for candles (i.e.: dedicated molds). When purchasing jars make sure they have wide tops so you can easily insert the wick and pour in the melted wax without spilling any over the side.
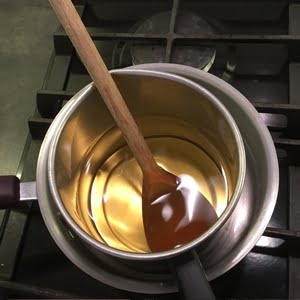
5. Double boiler” Melt the paraffin or soy wax safely by using a double boiler set up; never try melting directly on stovetop over direct heat which could potentially catch fire and cause serious harm! Place all ingredients aside from fragrance oil into large pan placed within larger one filled with boiling water over low-medium heat until everything has completely melted together then remove from heat before stirring in additional fragrances if desired .
6. Thermometer ” Use a candy/food thermometer when melting your ingredients in order ensure temperatures do not get too high which can lead to discoloration and air pockets within finished product . In addition , double-check temperatures for cooling stage once all elements have been blended together so that the proper amount of time has passed before pouring candle wax into predetermined containers / molds . Depending upon room temperature , it should take around 45 minutes – 1 hour until right consistency is achieved before being ready for use!
Detailed Tutorial On How To Craft Designer Candles From Home
Designer candle making at home is an enjoyable hobby that allows you to make beautiful and unique candles for your home. Making designer candles from home does not have to be expensive or time-consuming. By following these simple steps, you will be able to craft beautiful, designer candles quickly and easily.
Start by gathering the essential items that are needed for making designer candles. You will need wicks, wax (you can choose various types like soy wax, beeswax or paraffin wax), candle colorants and dyes, melted oil (coconut or vegetable oil can work great). Then pick out your desired fragrance of choice such as a mix of essential oils or any perfume scent.
Next step is the fun part where you can get creative and experiment with your favorite scents and colors! Start by heating up a pan with the wax until it has melted completely then add in the oil and stir them for around 5-10 minutes depending on how you’d like your candles to look. Add in the fragrance of your liking slowly in drops into the mixture then pour it slowly into your desired moulds or jars which serve as a container for the wax mixture. Wait for about 10-15 minutes before removing them from their moulds when they are still warm but solidified enough to not spill out over any surface. Finally, dip one end of each wick into the centers of each molded set then give those molds some time to cool off so that the wick sets itself right in the middle of each candle securely without shifting away accidentally while burning later on.
Viola! You’ve now made some bespoke designer candles from home – wasn’t that easy? Now all there’s left to do is light it up and enjoy!
How To Intelligently Customize a Candle Design
Designer candle making at home can be a great way to create something unique and add a personal touch to any event or gift. The key to intelligently customizing your candles is to pay close attention to the details. Start by selecting a wax type suitable for candlemaking, such as soy, beeswax, or paraffin. You will also need wicks, fragrances, colorants, and molds if desired.
Next, you’ll need a melting container in which you can melt the wax over low heat. As the wax melts, stir it well until it’s evenly blended with the scent and colorant you’ve chosen (for more vibrant colors use food coloring). Once fully melted, carefully pour the liquid wax into molds or jars prepared with wick anchors (you can find this online). Finally place your candles somewhere cool so they may solidify before you start customizing its design.
When designing your own candle make sure to keep in mind its size and shape. If you want a longer burning time select large-diameter candles such as pillars. For more decorative options choose from frosted colors like rose gold and silver or get creative with glitter accents and metallic flakes. Use washi tape as stencils for patterns such as stripes or polka dots; try using different scents in individual sections of larger candles; or even combine multiple colors when pouring them into the molds for an ombre effect. Get creative with your candle designs and see what beautiful creations you can come up with!
Tricks To Achieving a Professional Looking Product
Designing and making your own candles at home can be a fun and rewarding experience. To make a professional looking product, there are some tricks that you can use. One of the most important elements in candle making is to choose the right wax for your project. There are many different types of wax available, from traditional paraffin wax to natural waxes like beeswax or soybean wax. Once you’ve selected the type of wax that best suits your needs, it’s time to melt it down and begin creating the shape of your candle. To do this, you’ll need a double boiler with temperatures reaching up to around 220°F, as well as sturdy wicks and molds.
When designing aromatherapy candles, it’s important to mix the correct ratio of fragrance oil into the melted wax before pouring it into your mold. You should never exceed 10% fragrance oil since doing so can cause hazardous fumes to be released overtime when burning the candle. Once you’ve added in any essential oils and any colorants you may want for aesthetic purposes, it’s time for you to get creative with adding details such as layered colors or glittery toppings. After allowing the candles ample time to cool and harden, simply trim off any excess wick length with scissors and they are ready to burn! With these tips on hand, you will be able to make designer-level candles straight from home!
Get inspired By Creative Ways to Display Your Designer Candles
Designer candles make wonderful home decor accents, but if you really want to show off your creations, you will need creative ways to display them. To start, you could pick out some glass jars or vases of different heights”the different sizes and shapes will draw attention to the lovely candles inside. Pair with coordinating stands such as wooden trays for a stunning collection of designer candles. Or try placing your pillars and tapers in candle plates to add a touch of sophistication throughout your home. If you want your design to stand on its own, adorn the jar with lace or burlap wrap, or place it inside a painted basket. And if you have one larger statement-maker candle ” perhaps in shades of deep browns, blues or greens ” this is the perfect piece to display on its own atop of a cake stand. With just a little imagination and effort designer candle making at home can be both beautiful and eye catching!
Conclusion
Designer candle making at home is a fun and affordable way to explore your creativity. With the help of wax, wicks, molds, decorations and fragrances, you can make beautiful designer candles for any occasion. Through this project you have learned about the different types of wax available, how to safely melt wax, as well as how to use molds and decorations to create attractive candles. Additionally, you have discovered various methods of scenting your candles with fragrances and herbs. To further enhance your skills in designer candle-making at home there are several courses and tutorials online that can teach you new techniques. You might also consider experimenting with dyeing or painting the surface of your unlit candles or trying out different scents such as essential oils, aromatherapy oils or even extracts such as cocoa butter to add a unique element to your designs.

Welcome to my candle making blog! In this blog, I will be sharing my tips and tricks for making candles. I will also be sharing some of my favorite recipes.

