##Honeycomb Beeswax Candle Making
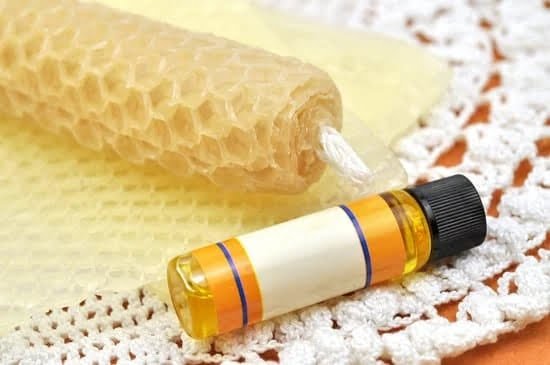
Honeycomb beeswax candles are slowly becoming the go-to style of candle for creative and thoughtful decoration. Because of their all natural beeswax, they give off a wonderful sweet aroma while also providing a beautiful and unique display.
If you’ve been looking for a new and exciting craft to dip your feet into, honeycomb beeswax candle making could be the perfect hobby for you! Below, we explain how to get started so you can make a statement with your candle making.
###What You Need
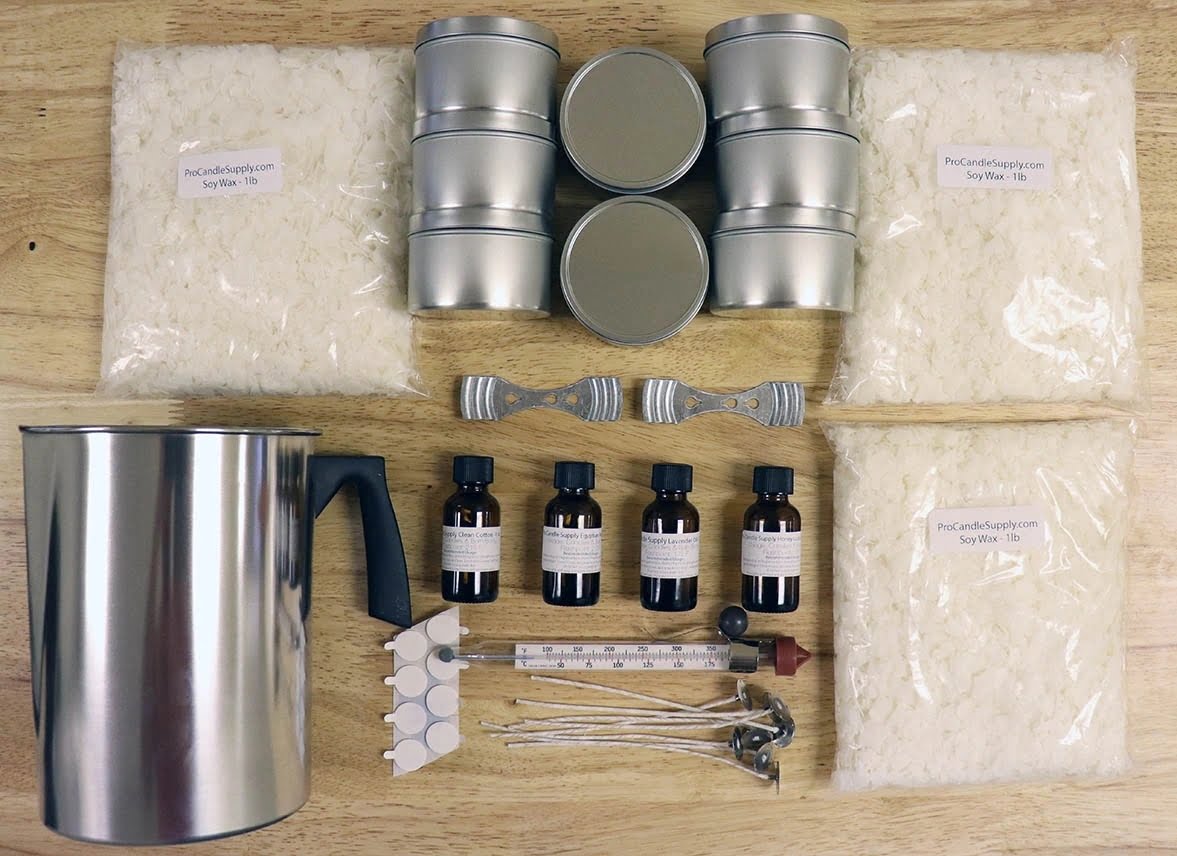
Making a beeswax honeycomb candle requires only minimal tools and materials. Here is a list of what you’ll need to get started:
* Beeswax – be sure to get the all natural variety with no artificial colors or other additives
* Candle Vessel – you can use a variety of options including teacups, glass containers or a combination of different sizes
* Wick
* Containers – to melt the wax
* Customizable items – like decorations, ribbon, or fabric
* Stirring stick
### Step by Step Guide
Once you have all your items, it’s time to make your honeycomb candle. Here’s a step-by-step guide to get you started:
1. Prepare the vessel: Be sure to choose a container that has a wide opening so you can fit the honeycomb shape. Wipe it down with a cloth to make sure the surface is clean and dry.
2. Add the wick: To make sure your wick stands up straight and centered, use a wick tab or holder. Attach it to the bottom of your container and wrap it around the top sides for extra support.
3. Melt the wax: Break up the beeswax into small pieces and put them in a container inside a double boiler. Heat at medium-high until the wax is melted.
4. Pour the beeswax: Pour the melted wax into your container and let it set for 2 minutes before adding the next layer.
5. Create the honeycomb: Take a stirring stick and gently press it into the side of the container, creating a flat texture. Continue to press in this same direction until you have a honeycomb pattern that is thick enough to support the other layers.
6. Add the decorations: Have fun with this part! Decorate the container with ribbons, fabric or any other item you have that might add a special touch.
7. Let it cool and harden: It will take up to 24 hours for the candle to completely harden. Once it has cooled, your honeycomb beeswax candle is ready to enjoy.
Ready to light it up and enjoy the sweet natural scent of your candle? Congratulations for making your very own honeycomb beeswax candle!
Making a beeswax honeycomb candle is a great way to level up your craft skills and show off your unique style. With its beautiful pattern and all natural aroma, your honeycomb candle makes an eye-catching centerpiece that can’t be found in stores.
Happy creating!

Welcome to my candle making blog! In this blog, I will be sharing my tips and tricks for making candles. I will also be sharing some of my favorite recipes.


