Introduction
Making and burning your own homemade candles can be a rewarding experience. Not only are you able to complete a task that offers artistic satisfaction, but you will also have the benefit of creating something unique that may provide scented aromatherapy benefits and mood-elevating atmosphere for the home. Making homemade candles is an inexpensive and easy craft that produces a candle tailored specifically to meet your desires and needs. Furthermore, setting the tone in any room with personalized handmade candles instills warmth, distinction and coziness.
In addition to having an enjoyable craft activity, there are numerous benefits from making homemade candles as opposed to buying them from retail stores or online shopping sites. The cost savings associated with making your own candles is one of the most noteworthy benefits. As supplies for candle making are quite affordable, you can make up to 10 basic beeswax taper candles for roughly the same cost as most store bought brands of 2 or 3 premium scented pillar candles! With hand poured quality materials like essential oils or dried flowers; added effects such as layered colors, rich textures and stylish decoration options ” all working together to create a product truly singularly yours!
Safety Tips When Working With Wax
Making a homemade candle is a fun, creative project that anyone can do. All you need to get started is some wax, a wick, and any decorative materials of your choosing. Before starting your project, though, it’s important to keep in mind some safety tips.
1. Always take careful precaution when using heat sources like stoves or hot plates to melt the wax since the temperature can quickly become too high. Use low-to-medium heat and never leave the melting container unattended.
2. Have water or baking soda nearby for quick fire mitigation. Be sure to keep rags away from the stovetop or other areas where wax is being heated and melted to avoid any contact with flame or hot surfaces which may cause fires.
3. Make sure there are no children or pets around when working with open flames and molten wax as it can cause serious burns if handled improperly. Avoid wearing loose clothing”tight fitted garments are recommended”so nothing accidentally comes in contact with hot surfaces or spills onto skin during work processes involving heat sources such as melting and pouring candles into containers
4. Plug in crockpots and other heating devices only when they’re in view and not on carpeted surfaces due to fire risk dynamics
5 Finally, always carefully consider ventilation when melting wax since fumes are often produced during this process. Keep windows open or use a fan considered necessary for safe air circulation
Choosing the Right Wax for Your Candles
Choosing the right type of wax for your homemade candles will depend on what kind of look you are trying to achieve. Beeswax is one of the strongest and longest-lasting waxes available, making it perfect for creating strong and long-lasting candles. However, beeswax can be expensive, so it is not ideal if you are looking for a budget option. For those on a smaller budget, paraffin wax is an affordable alternative that also creates a long-burning candle. However, because it does not bind as well as beeswax and breaks down much more quickly over time, the burn time is usually shorter and more irregular than that created by pure beeswax. Soy wax provides an even more economical option since it is widely available and easy to work with in candle making at home; additionally, soy candles tend to last longer than paraffin alternatives due to its denser properties which generally allow for better consistency in the strength of the flame over time. Though some may worry about sooty residue produced by soy wax candles, this can largely be prevented by trimming wicks regularly and ensuring clean containers before pouring in the melted wax.
Gathering the Necessary Supplies
Making your own homemade candles is a fun craft that provides for a pleasant, aromatic atmosphere in the home. Before getting started, you will need to gather some supplies including wax, wick, containers, molds, stirrers and other decorative elements.
The type of wax you will use for your homemade candle depends on what results you want to achieve for your project. Paraffin wax can be used as a basic starter material; however, soy or beeswax can also be used if desired. The type of container you choose should depend on the size of the candle and should be heat-resistant. Items like glasses, jars or aluminum cans are commonly used when making homemade candles. If using containers other than pottery forms or tins, it is important to make sure they have been pressure-washed and filled with hot water to burn off any chemicals first.
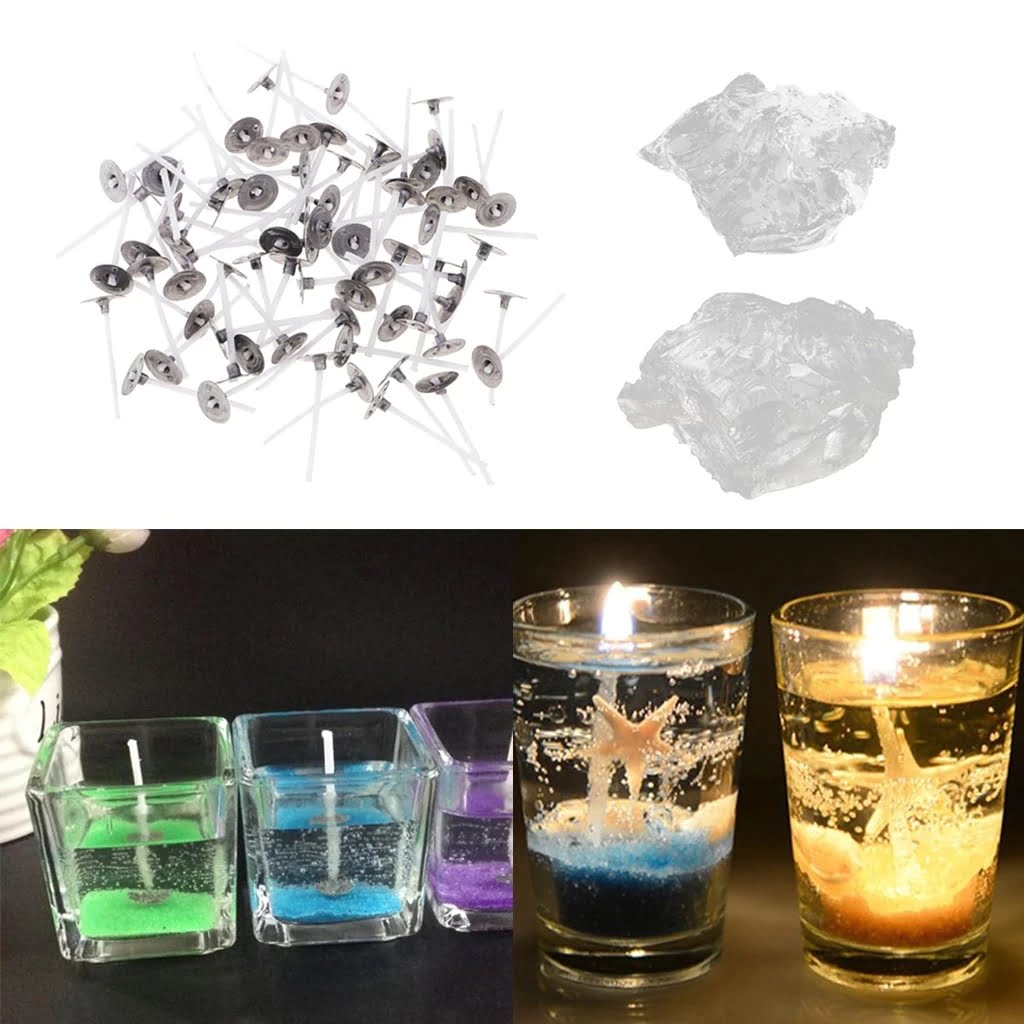
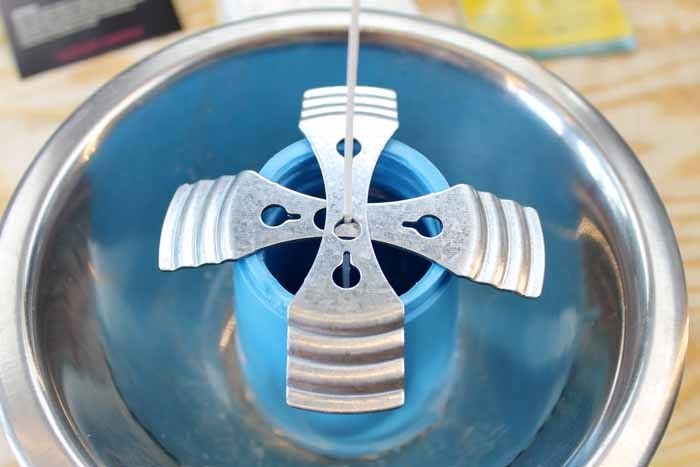
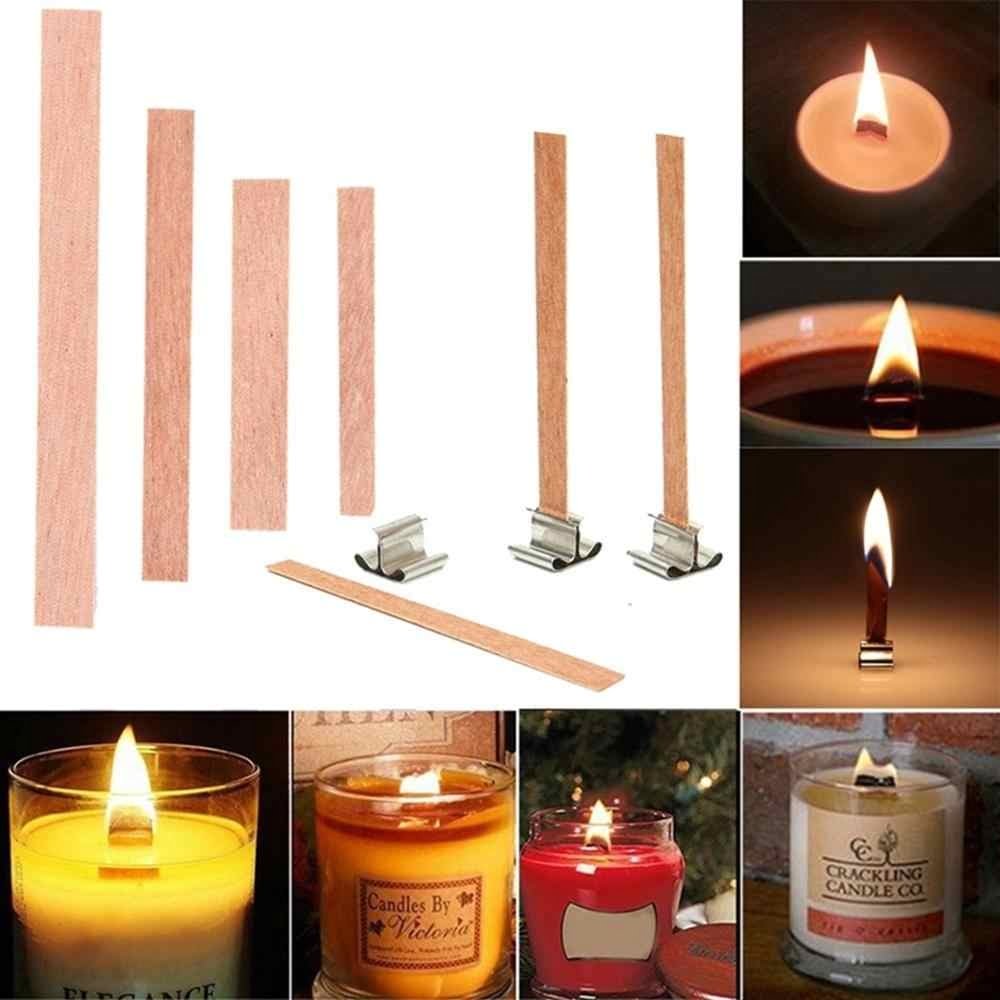
For added decoration and scent purposes, decorations such as herbs or flower petals can be added when making the candle, as well as essential oils such as lavender or rosemary oils for scent. You will also need a double boiler or saucepan to create a hot chamber for melting the wax with care being taken not to overheat it; safety goggles to protect your eyes from possible contamination from flying debris during pouring; wick tabs and wick supports in order to attach them firmly and straight into the wax; thermometer; molds that fit within the container of choice (if using); scissors and skewers/stirrers for stirring materials together carefully.
Measuring and Melting the Wax
Making a homemade candle is surprisingly easy. The process starts off with measuring and melting the wax. Use a double boiler to melt the wax and make sure that you do not overheat it. To create a basic candle, you will need a combination of natural waxes like beeswax or soy, along with paraffin wax. Each type of wax has its own properties and the ratio used will depend on what type of scent, texture, and color you would like your candle to have. When choosing an appropriate container for your candle, make sure that it is heat resistant. Make sure to measure out all of your ingredients accurately ” this will ensure that your candle melts properly as well as providing good burning characteristics in terms of how long it lasts and its scent throw.
Adding Fragrance, Coloring, and Special Effects
Fragrance can add a special touch to your homemade candles. You can use scented oil or wax melts, available in many beautiful fragrances, to enjoy when the candle is lit. Simply melt down a few wax melts in with the wax used for making the candle. If you’re using scented oil, you’ll need to wait until break in cools down and begins to thicken before adding it into the melted wax. Eating this added fragrance will help make your home more inviting each time you light your homemade candles.
Coloring your candle is also an enjoyable part of candle-making. Wax dye chips are available and easy to use. These colorful chips come in a wide range of colors that you can experiment with by blending them together, coming up with your own hues. Simply melt them down in with the wax like you would with fragrance, as described above.
If you’d like some additional flare added to make your candles stand out even more, there are certain effects that can be done right at home. Simple things such as adding rhinestones (or other glittery bits) for bling; swirling one color into another for marbled looks; or even creating floating candles by suspending small decorations within the melted wax on top of the wick when pouring are all options when it comes to giving your homemade candles their unique personality!
Pouring the Wax Into Molds
Once you have the wax melted, you can use whatever mold you want to pour it into. Before pouring, make sure to spray the mold with a light coating of non-stick cooking spray. This will make it easier for your candle to pull away from the mold once it’s cooled and hardened. If pouring wax into a glass container, make sure the glass is heat safe. You can then carefully pour the melted wax into your chosen molds or containers, filling them up to however high you want your candles to be. Use a skewer or chopstick to pop any air bubbles that form on top of the wax as it cools in order for your finished candle to look as clean and perfect as possible.
Finishing the Candles
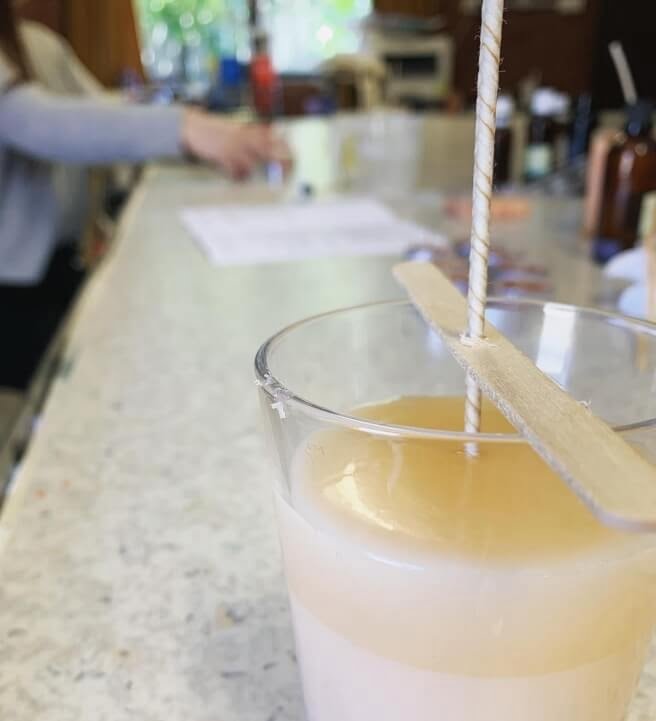
After the wax has melted and all of your ingredients are combined, use a ladle or measuring cup to carefully transfer the hot wax into containers that you want to turn into candles. Make sure that you do not fill containers more than ¾ full to avoid spills of hot liquid wax. Once filled, insert the wick into the center of each container, placing it on top of the liquid wax and adjusting if necessary. Allow the candles one hour to cool and solidify before attempting to move them. If some parts have not hardened completely, place them in a refrigerator for about 15 minutes for extra help with settling into shape. If desired, add finishing touches like ribbons or fun stickers around the outside edges when cooled. Lastly, trim any excess wick off from each candle for better burning effects later when lit. Enjoy your hand-crafted homemade candles!
Troubleshooting Common Problems
When making candles, there are a few common issues that can appear, some of which can be easily resolved.
A wick that is not staying lit is one of the most common issues encountered when making candles. This is usually due to the wick being too short, or because it does not have enough wax built up around it to keep burning. To remedy this issue, consider trimming back the end of the wick and melting additional wax in a double boiler, then pouring it over the top of the candle until it covers part of the wick. This should provide enough fuel for the flame to keep itself going and prevent your candle from continually extinguishing itself.
If your candle consistently produces black smoke, this indicates that the flame either isn’t receiving enough oxygen or has too much fuel and wax exceeding its heat capacity. To fix this issue, ensure that you fully melt your wax before pouring it into the mold, as failing to do so can cause incomplete combustion from unmelted chunks in the mix. Further, try trimming back your wicks earlier than normal; exposing more of them should help them draw extra air down into their flames to enhance combustion and reduce excessively smoky fire tendencies.
Gift Ideas for Your Homemade Candles
Once you have made your homemade candles, there are a number of ways you can use them as gifts. Consider creating beautiful fragrant candles to give as a gift to someone special or make your own scented candle set with different types of candles and pair it with some lovely esstentials like flowers or a book. Another great idea is giving spa-like pedicure and manicure assistance by giving favors of hand-poured soy wax massage candles that melt at low temperatures, which will then act as an nourishing oil to treat the skin. If someone on your list has a sweet tooth, try making s’more flavored votive candles with extra marshmallow bits which they can enjoy either in their home or while camping outdoors under the stars. Finally, create hand-decorated jars filled with luxury soy wax scented candles for the perfect mood lighting in any room of the home.
Conclusion
Making your own candles is a fun and rewarding experience. With the right materials and supplies, it’s easy to create custom scents and styles that fit your personal aesthetic. Remember to take basic safety measures like wearing gloves and eye goggles when working with hot wax. Experiment with different wicks, fragrances, dyes and molds for a unique candle-making experience each time. Once you’re done, let the candles cool before lighting them up in your home or giving them as thoughtful gifts. Enjoy your homemade candles!

Welcome to my candle making blog! In this blog, I will be sharing my tips and tricks for making candles. I will also be sharing some of my favorite recipes.

