Introduction
Candles were first used by the Romans over two thousand years ago. In those days, candles were made from a type of wax called tallow, which was obtained from animal fat and bones. Soon thereafter, people discovered that beeswax could also be used to make candles, and this allowed them to create even more beautiful and colorful creations.
Fast-forward to today where paraffin wax is mostly commonly used in candle-making. Paraffin is a petroleum product that can be hardened with natural starch and treated to suppress smoke production while burning. Nowadays, you can find many different colors, scents, sizes, shapes and types of paraffin candles available on the market.
Making your own paraffin wax candle at home requires some simple materials such as wax flakes or blocks of paraffin wax; a heat source (like an electric double boiler); long-stemmed wick; essential oil for fragrance; and dye for color if you wish. It’s quite an easy process but it does take some time – so buckle up!
If you’d like to add some creativity to the candle-making process there are several additional materials you may want to source: votive molds for making shaped candles like stars or hearts; crayon shards for adding designs atop your candle; glitter for added sparkle; or ribbons for making unique bows around the base of your creation. With just a few tools and instructions, anyone can learn how to make their very own homemade paraffin wax candle!
Gather the Materials
To make a paraffin wax candle, you will need the following materials: Paraffin wax, wick, candle moulds or containers, and melting equipment such as a double boiler. When it comes to choosing wax for your candle, paraffin wax is an excellent choice because it is soft, easy to melt, hardens quickly and produces a bright flame. Additionally, paraffin is inexpensive and available in many different colors. If you don’t want to use paraffin wax alone, you can also blend it with other types of wax such as beeswax or soy bean wax to achieve the desired effect. Moreover, you can add fragrances or dyes according to your preference.
Preparing the Work Area
Creating a controlled work space for making paraffin wax candles is important for safety reasons. This is due to the fact that melting wax can cause serious burns and create a fire hazard if left unsupervised. By having all appropriate supplies within reach, you can be prepared to act immediately if anything were to go wrong. It’s a good idea to have a dedicated space to make your candles in, where you can spread out on a flat surface with enough room to move around comfortably. Be sure the area is well ventilated as fumes may be released during the process. It’s also wise to store all flammable objects away from the workspace; and keep any pets or young children out of the area during candle-making. Once the designated space is set up, it’s time for the fun part – creating your paraffin wax candle!
Melting the Wax
Before you begin, it is essential to understand the different temperatures needed when melting paraffin wax. The melting point (temperature) of paraffin wax is between 120-144˚F (48.9 – 62.2˚C), this will vary depending on the type of wax used. When melting the wax it’s important to be mindful about the temperature you set for your double boiler, as paraffin wax can burn easily if melted too quickly and scorch or discolor if heated beyond its recommended temperature range.
Once you have the correct temperature within your double boiler, you can now add scented fragrances that are oil-based in order to increase the scent intensity for your candle. Although there are a variety of oils available, vegetable or mineral based oils offer an intense aroma and create a longer lasting scent effect compared to synthetic oils. Additionally, using natural oils don’t become too overwhelmiing as they dissipate easier than synthetic counterparts. It is best practice to ensure that no more than 10% total fragrance oil is added per the weight of your melted wax; otherwise, problems may arise in regards to imparting an even spread or scent performance once your candles have been lit.
Pouring the Wax
When pouring the wax into the candle mold, there are a few tips and tricks to ensure the wax is transferred successfully. Firstly, when melting the paraffin wax, it should be melted in a double boiler or slow cooker and kept at a low temperature. The wax should be gently stirred until completely liquid. This will help to prevent air bubbles developing as it pours into the mold. Secondly, adding colorants/essential oils can be done by creating a “wax chip” before melting it with the rest of the wax. By making a ball of paraffin and carefully pouring each chip into the pot while it is still solid helps maintain its structure better instead of mixing directly with wet wax, which can caused them to settle out unevenly during cooling. Lastly, when pouring the wax into your chosen mold, use an angled spout at an even level and pour slowly using small cups or large pipettes so that any excess wax spills over easily at the end for clean edges. After that, allow about 30 minutes of cooling time depending on how large your candle is and enough time for all air bubbles to rise through your layers before dipping in cool water prior to unmolding.
Adding the Wicks and Scent
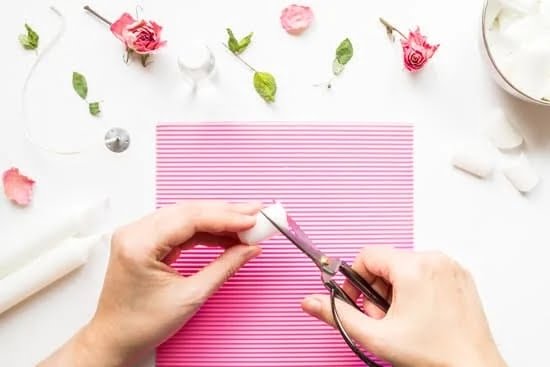
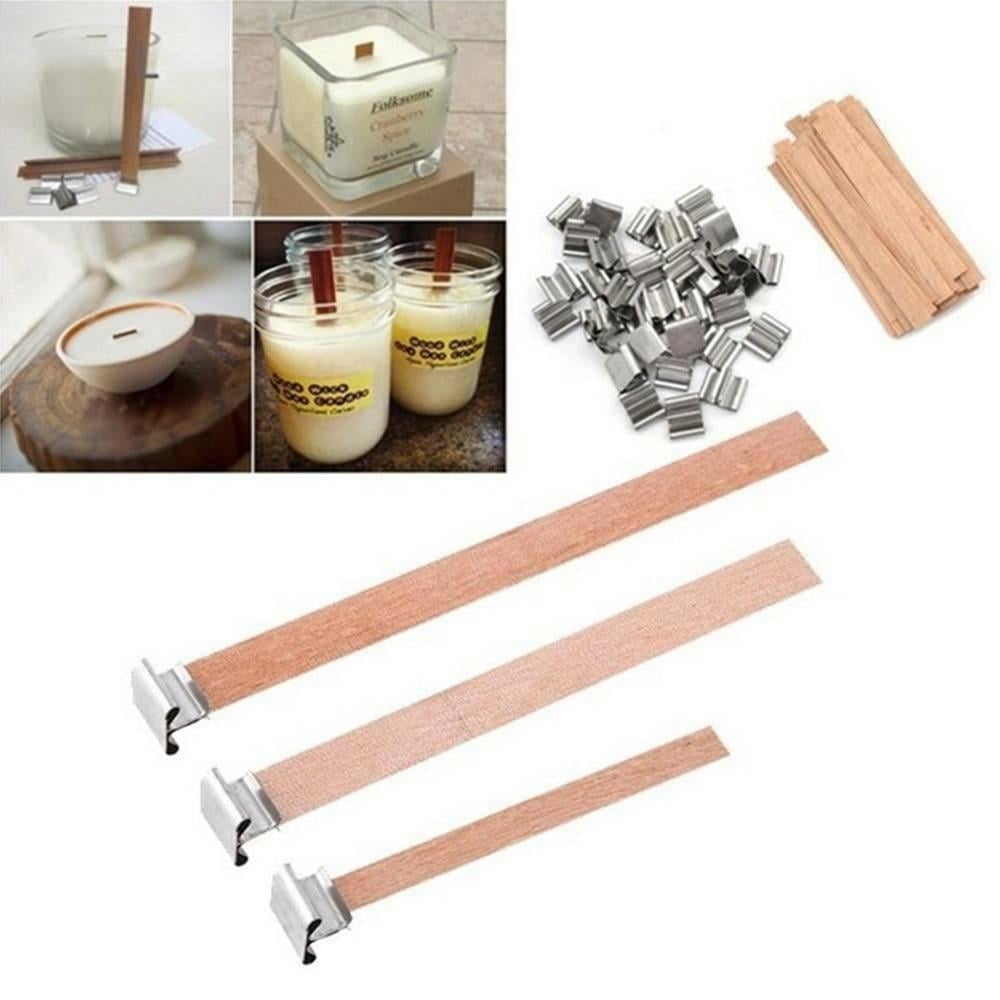
There are several different types of wicks to choose from when making a paraffin wax candle. Cotton wicks are recommended; they will provide an even and steady flame, but paper and hemp wicks can also be used. When positioning the wicks in the wax, it is important to ensure that they remain centered and upright. Once the wicks have been inserted, use a pair of scissors to trim the top of them just above the top of the container or mold.
Adding essential oils is also an important part of making a paraffin wax candle. Essential oils come in a variety of scents and can add depth, complexity and a lasting fragrance to your candles when heated. When adding essential oils, start with 10-20 drops per pound of wax depending on how strong you’d like your scent to be. For example, if you only want a subtle scent then use around 10 drops per pound. After adding your desired amount of essential oils, stir carefully until they’re fully dispersed before pouring into your molds or containers; make sure not to stir too vigorously as this may cause air bubbles in your final product.
Finishing the Candle
When it comes to wrapping and packaging the wax candle for a professional finish, making sure that the candle is wrapped in tissue paper or a plastic bag is essential. Place the pieces of tissue paper along the sides of the wax candles, ensuring that there are no creases or dents from trying to fit it too snugly around the candle. This helps protect the product from outside elements and dust. Once placed in a bag or box, make sure that any labels or stamps are clearly visible and legible, as this will help customers recognize your branding and identify your product amongst competitors. Finally, adding accessories like ribbon and tying in twine can provide an extra layer of professionalism, adding tasteful accents to your wax candles.
Troubleshooting
When making a paraffin wax candle, there are certain potential problems that can occur which should be kept in mind. The most common issue is when the wax does not stay lit. This could mean the wick was too long, the environment was too damp, or the wax was of low quality. To reduce this problem, make sure to cut the wick to an appropriate length and use a high-quality paraffin wax.
Another potential issue is when the container has warped due to changes in temperature when melting the paraffin wax. This can be avoided by double boiling the container or reducing its exposure to direct heat source.
Wasting materials is another problem associated with making a paraffin wax candle. Wax spillage may occur if not properly monitored while melting. Warping of containers can also occur leading to wasted resources if appropriate measurements are not taken during preheating and cooling phases (i.e double boiling). In addition, if any leftover wax is present after pouring intothe container it should be reused where possible rather than disposed of.
Finally, it is important to always know when it’s time to walk away if an attempt at creating a paraffin wax candle seems to fail regardless of troubleshooting techniques. Taking frequent breaks will help give clear direction on how best to proceed in completing this task successfully in order to avoid wasting time and money on needless mistakes or mishaps that could have been prevented elsewhere in the process instead!
Conclusion
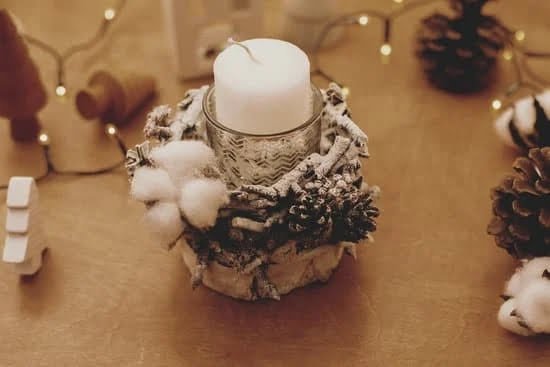
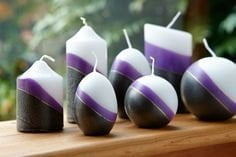
Once you’ve mastered the basics of making paraffin wax candles, there are a variety of ways to further explore your creative side. To begin with, try introducing new scents into your candles by adding different essential oils. You can also start experimenting with different shapes and sizes for the holder you’re using – larger holders can be wrapped in twine or decorated with ribbons and dried flowers for a decorative touch. Edible themes such as cake pops and candy canes can also make interesting candle designs. Finally, you can use different colors of wax to create layered candles – for example, gradually alternating between yellow and white or blue and green – resulting in beautiful ombre effects that look great when lit up. As long as you know the basics of candle-making, there’s no limit to what kind of creations you can come up with!

Welcome to my candle making blog! In this blog, I will be sharing my tips and tricks for making candles. I will also be sharing some of my favorite recipes.

