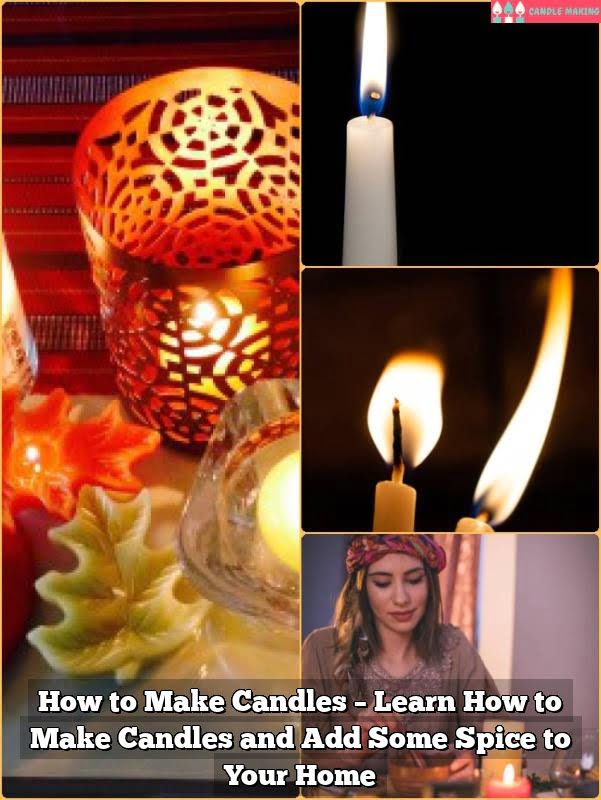
Making Classic Candles
Candles are a timeless option for adding light and atmosphere to your home. Making candles is a fun and rewarding activity that’s perfect for all-ages. Here is a simple guide on how to make classic candles:
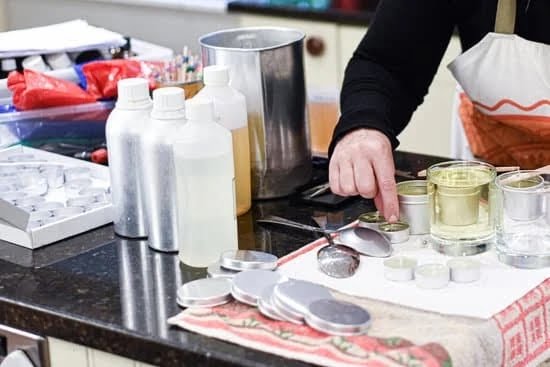
Step 1: Gather the Materials
- Paraffin wax
- Wax melting equipment (pot or double boiler)
- Wicks
- Candle mold
- Fragrance (optional)
- Color dye (optional)
Step 2: Melt the Wax
Heat the wax in a double boiler or melting pot until it reaches a temperature of about 170°F (77°C). The wax should become completely liquid.
Step 3: Add Fragrance and Color
If desired, you can add fragrance and color to the wax. Add these materials in small portions until your desired effect is achieved.
Step 4: Prep the Mold
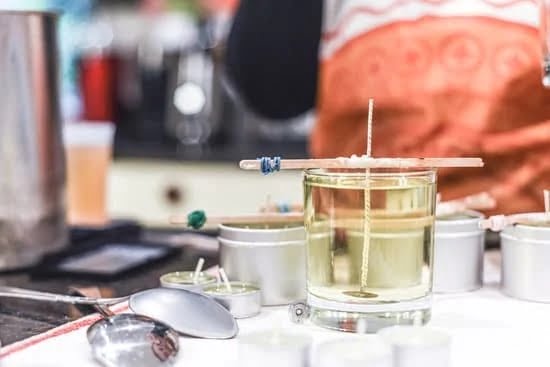
Place the wick inside the candle mold, then secure it with a wick stand, clip, or tape.
Step 5: Pour the Wax
Carefully and slowly pour the melted wax into the mold. Let the candle cool and harden fully, usually about 3-4 hours.
Step 6: Finish the Candle
Once the candle has solidified, remove it from the mold, and trim the wick to your desired length. The candle is now ready for use!
Conclusion
Making candles is a fun and rewarding activity that anyone can do. With the right materials and a bit of patience, you can make beautiful candles of your very own!
How to Make Candles
Candles have been around for centuries, and they have many uses. From providing lighting indoors to decorating and scenting a room, candles are an all-time favorite for many. Whether you’re a beginner or a DIY-er looking to make your own candles, the process is simple and the results can be beautiful.
Preparation:
- Gather necessary supplies: Wax, wick, wick tabs, thermometer, double boiler, pitcher, mold or container.
- Set up your workspace: Make sure that your workspace is clear, clean, and free of any debris. Put down a drop cloth or newspapers to protect the area from wax spills.
- Melt the wax: Fill the bottom of a double boiler with about two inches of water and put it over medium-high heat. Put the wax into the top of the double boiler.
- Stir the melting wax: Use a wooden spoon or a heat proof spatula to stir the wax as it melts. Keep stirring until all the wax is melted and reaches a temperature of about 175F.
- Add dye, fragrance, and additives: For colored and scented candles, add liquid dye and fragrance oil now. You can also add other additives such as beeswax or paraffin to alter the texture and burning qualities of the candles.
Pouring the Candles:
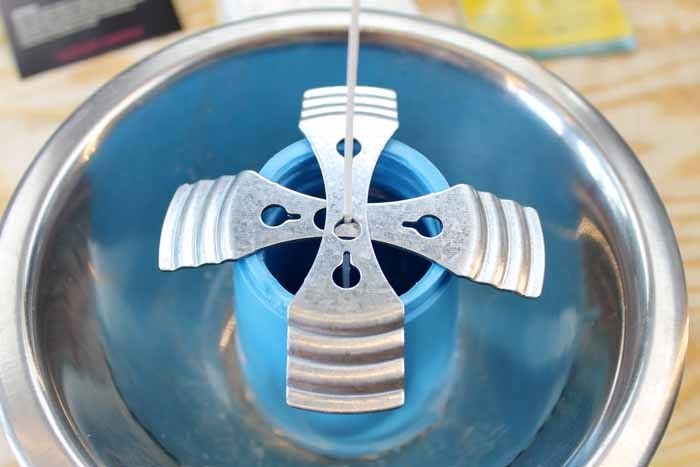
- Prepare the wick and container: Thread a tab onto the wick. Place the tab at the bottom of your mold or container and press it down firmly. Tie the top of the wick to a pencil or a dowel, making sure it is centered within the container.
- Test the candles: Before you pour the wax into the containers, test the wicks by holding them up to the melted wax. If the wick sinks, it may not be strong enough to hold the weight of the melted wax.
- Pour the wax: Pour the melted wax into the container, making sure to keep the wick centered. Let the wax cool for about an hour, or until it is solid.
- Cut the wick: Once the wax is solid, use scissors to trim the wick to the desired height.
Finishing the Candles:
- Cool and remove the candles: Let the candles cool completely before removing them from the molds or containers. If necessary, use a spoon or butter knife to loosen the edges.
- Finishing touches: Once the candles are out of the molds, you can add other decorations, such as wax shavings or colored beads. You can also use ribbon or raffia to tie around the candle.
- Burn the candles: Place the candle on a heatproof surface, such as a candle stand or plate. Light the wick and enjoy the beautiful flame!
Making candles is a fun, easy way to add atmosphere and scent to any room. With some supplies and a little know-how, you can create beautiful, custom candles for yourself and your loved ones.

Welcome to my candle making blog! In this blog, I will be sharing my tips and tricks for making candles. I will also be sharing some of my favorite recipes.

