Introduction
Making a candle with essential oils is an easy and fun way to enjoy the aromas of your favorite oils, as well as create a beautiful decorative piece. Candles made with essential oils can be enjoyed for both their aesthetic beauty and their therapeutic benefits. They are great for relaxing in, while also bringing the scent of freshness into the home! There are many ways to make a candle with essential oils ” from melting down pre-made candles, to creating your own wax blend, adding wicks and pouring it into molds or free-form shapes. Here are some of the different methods one can use when making a candle with essential oils:
1. Melting Down Pre-Made Candles: This is one of the simplest ways to create a candle with essential oils. Simply take a pre-made gel or soy wax candle, melt into a bowl, add your desired amount of fragrant essential oils that suit your personal tastes, then pour back into the candle container.
2. Creating Your Own Wax Blend: Using paraffin or beeswax flakes, you can make your own blend of wax with adding various types of hardening agents such as stearic acid or vegecide which helps the mixture firm up better and provides it more stability when adding oil fragrances. You could then add any type of fragrant oil that you want — from earthy aromas to floral essences — to enhance its scent once lit..
3. Making Free-Form Candles: With this method, you can purchase your desired type of either beeswax or paraffin wax pellets and melt them into their proper temperature so they become malleable will add whichever type of oil fragrance you like best while they’re still liquid state in order to infuse each pour with choice scent options; then pour them in whatever shapes pleases you–from free form cubes and spheres to even fun shapes like animal sculptures–allowing it time dry off at room temperature before lighting them up!
Materials and Tools Needed
Materials:
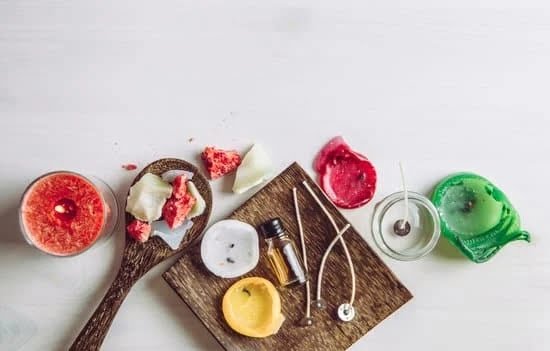
– Wax (soy, beeswax, or paraffin)
+Wick
– Fragrance or essential oils
– Any desired colorants (optional)
– Candle jars or container of choice
Tools:
– Double boiler or saucepan
– Wooden stirring rod or spoon
– Cooking thermometer (if using a double boiler)
– Pouring pitcher (optional)
Optional Decorative Materials:
– Glitter
– Decorative paint brush for blending colors faster and more accurately
– Ribbon or raffia for tying around containers
Step-by-Step Guide to Making a Candle with Essential Oils
Making a candle with essential oils can be a fun and rewarding activity. To get started, you will need the following supplies: beeswax, wick, double boiler, essential oils, candle mold or jar, and wax paper.
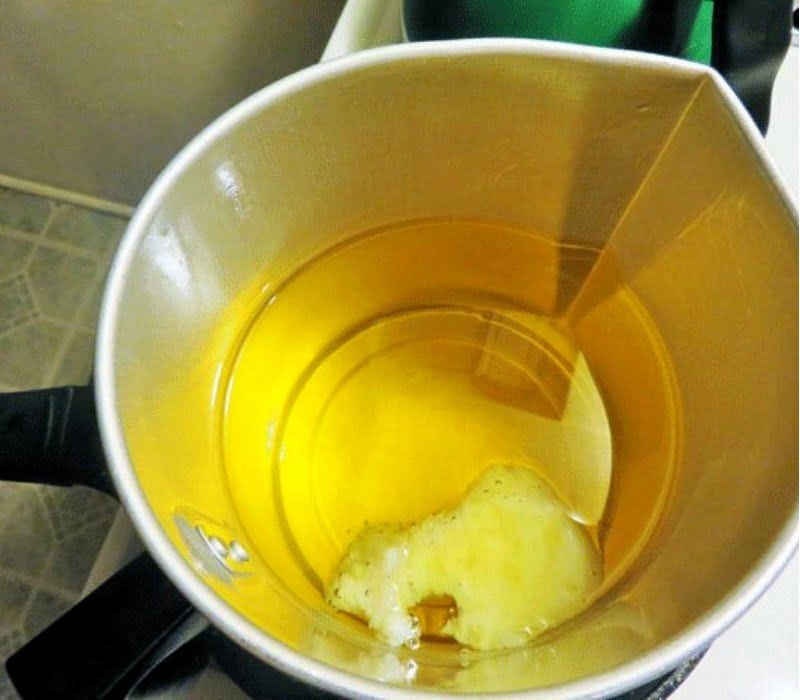
1. Begin by melting the beeswax in a double boiler. Bring the water in the bottom pot to a boil and add in the beeswax chunks. Stir regularly until all the solid pieces have dissolved into liquid homogeneity.
2. Once melted, carefully pour the beeswax into a candle mold or use an old glass jar as a container. Place your wick in the container and secure it so it stays upright while cooling (you could use clay or wax paper to hold it in place). Let cool for at least 30 minutes.
3. Once cooled, add 8-10 drops of essential oils of your choice and stir into melted wax with a clean stick or spoon (you may add more or less depending on your scent preference).
4. Carefully pour this mixture over the pre-set wick and leave any remaining wax aside to cool again until it solidifies for later use if needed (e.g., for future repairs). Secure wick again as necessary before leaving to dry overnight.
5. The next day, trim burnt end of your wick down as needed (just barely above surface) to optimize burning qualities by using scissors or sharp knife ” remember thinner strings are better than thicker ones!. The final balance between flame size and smoke must be achieved through experimentation with different sizes/lengths of string used for each new candle – don’t forget to do this after you light it for best results! Congratulations! You’ve now created your own candle infused with beautiful scents from essential oils! Enjoy your special creation!
How to Select the Ideal Essential Oil Combination
Choosing the right essential oil combination for your candle can be a fun and challenging experience. To make it easy to create the perfect blend, consider these essential tips and suggestions when blending essential oils.
1. Start by considering the desired atmosphere you want to create with your candles. Essential oils have an wide range of effects, from calming and soothing lavender, peppermint, or chamomile oils to energizing lemongrass, bergamot and cedarwood. Select a few aromatherapy scents that evoke the mood you’re looking for and see how they pair together.
2. Create equilibrium by selecting one dominant scent and layering in secondary notes to enhance complexity; pair base notes like frankincense or patchouli with lighter combinations of floral and citrus blends like ylang-ylang, jasmine, sweet orange or lemon; or choose two main ingredients like lavender and vanilla as bottom notes with top notes of mandarin or grapefruit for balance.
3. Experiment before committing to one final combination”give each scent a chance by burning small sample tests in tealights side-by-side until you find something that resonates with you best. It may take some trial and error but it’s worth it when you find the ideal match! An important reminder while experimenting: only use pure essential oils when making candles since synthetic scents won’t burn properly in wax (they may smoke)
Tips and Tricks with Working with Essential Oils
Many people enjoy making their own candles with essential oils! However, working with these oils can be tricky. Here are some tips and tricks for dealing with drips and spills:
1. Use an low-temperature as possible when heating your wax or essential oils; if you need to heat your wax or oils beyond that point, use a double boiler-this will help reduce potential accidents.
2. Make sure your candle container has a wide enough opening to ensure easy pouring without spills; if it’s too narrow, surface tension can cause the hot wax or oil to back up and overflow during pouring.
3. Warm up the surface of the container first so that it can accept more of the wax/oil; this will also help avoid drips.
4. Aim for a slow, steady pour when making sure to keep the vessel below eye level; this helps prevent dripping on yourself/others while you make your candle.
5. Have an appropriate catchment ready in case of any overflow or drip; this is especially important if you’re using essential oils which have the potential to stain countertops and clothes if spilled!
6. Finally, always have clean cloths or newspaper handy for quick cleanup; liquid wax and essential oils are easily absorbed into fabric so take every precaution necessary when dealing with them!
Different Ways of Presenting the Candles with Essential Oils
Making a candle with essential oils offers a unique and intriguing option for displaying your homemade art to others. There are a variety of creative ways to present the candles in order to capitalize on the amazing fragrance of the essential oils.
One way is to organize them on shelves or mats, so the scent can drift throughout your home or office. The organization can be color-coded, so that all lavender scented candles are together, while all pinecone scented ones are lined up next to each other. You could even set up multiple candles around your office desk or entryway table as a welcoming aroma when guests visit.
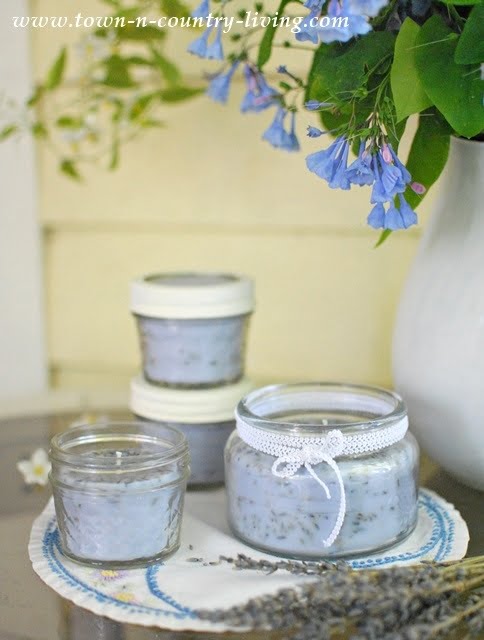
Another great way to present the candles is by placing them inside decorative containers such as baskets or jars, allowing their natural beauty and delicate fragrances shine through the displays. This adds depth and eye catching appeal that makes these ornamental pieces stand out from any other decoration in the room. Not only will it add wonderful aromas in your space, but can also act as a central point of focus at any gathering.
Lastly, don’t forget about suspending your scents with bracelets made specifically for essential oils. These wooden bangles not only provide an eye-catching display of your candle collection but act as a fashion statement as well! Go further still by offering guests the option of switching between different bangles” showcasing different concoctions and combinations you have created yourself!
Closing Remarks
Congratulations on completing your first candle with essential oil! Not only have you created a wonderful product, but you’ve also been able to incorporate aromatherapy into it and invigorate the surrounding air with its natural fragrance. There are many options available when making a candle of this sort, allowing you to experiment with different types of wax, various sizes and shapes of containers, and various combinations of essential oils. Hopefully you now have confidence in being able to make candles yourself and can use this information for any future projects. You can even diversify your candlemaking techniques by trying out sun printing/stenciling, adding color or glitter to your candles before they solidify, or making two-toned candles with two colors of paraffin wax. Best wishes for all your future attempts at creating candles!

Welcome to my candle making blog! In this blog, I will be sharing my tips and tricks for making candles. I will also be sharing some of my favorite recipes.

