Introduction
Making all natural candles has numerous benefits for those looking to add a pleasant scent and relaxing atmosphere to their home or workspace. Not only do these homemade candles provide homeowners with an affordable and creative way of decorating, but they can also help to improve the overall air quality within indoor spaces. All natural candles are made from environmentally friendly materials that are sustainable, renewable, and biodegradable, making them a healthy option that won’t leave behind large amounts of carbon emissions in the environment. Furthermore, there is no soot or smoke created when burning these types of candles and the lack of toxins makes them much safer than traditional paraffin-based candles, which emit harmful chemicals into the air. Making all natural candles at home also eliminates wasteful packaging associated with store bought alternatives, helping to preserve resources and reduce unnecessary waste production.
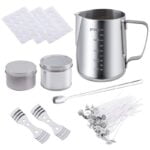
Shopping List
– Beeswax: Beeswax is used to provide structure and scent to the finished candle.
– Soy wax flakes or a soy wax block: Soy wax is the most common type of all-natural wax used in candle making. It is slightly more difficult to work with than beeswax but it provides a stable burn and offers a wider variety of scents.
– Essential oils: Essential oils offer natural fragrances for your candle and are readily available in many supermarkets or health shops.
-Wicks: Wicks are vital for allowing the flame to draw up the melted wax, providing it with oxygen to create a clean burning flame. Ensure wicks contain no metallic core so that they can perform optimally in an all natural candle.
– Wax dye chips (optional): Wax dye chips come in variety of colors and can be added to the melted wax to give your candle a unique look.
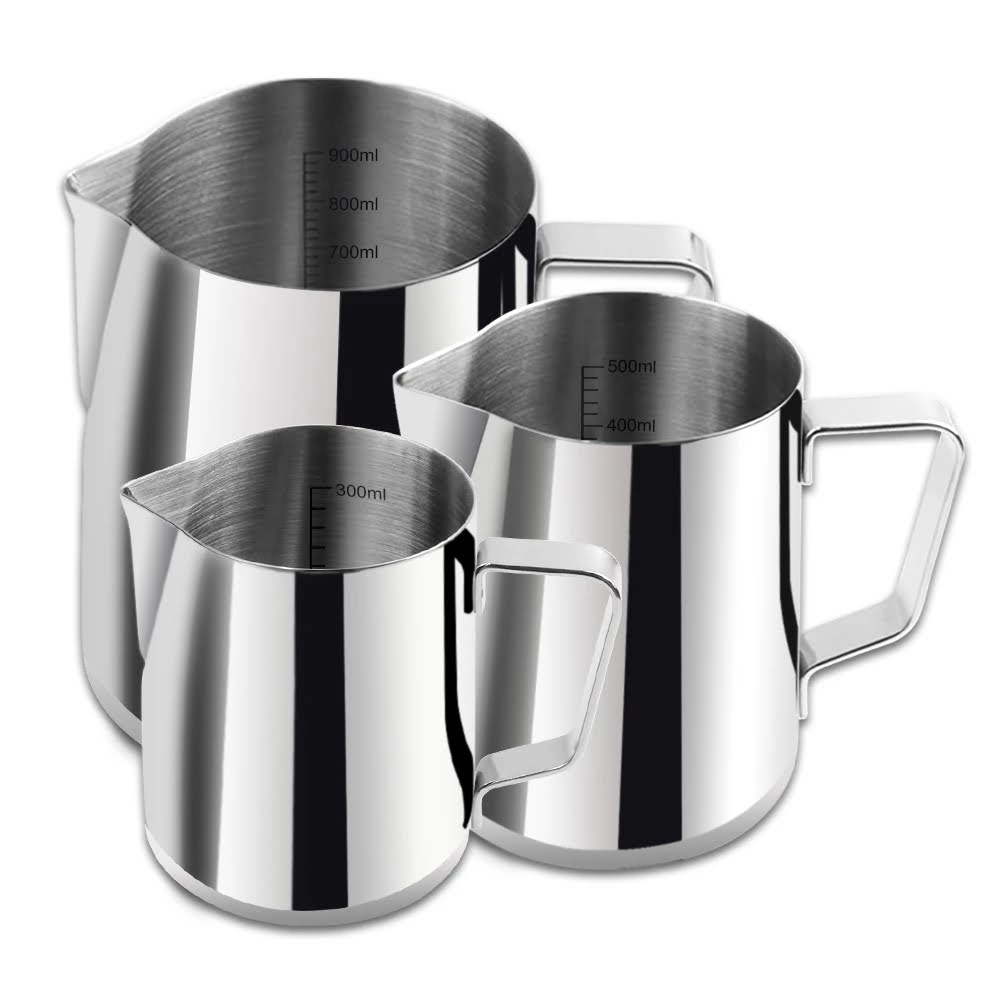
– Double boiler: To melt down the wax in an all natural candle, you will need a double boiler setup (i.e., one pot placed inside another) as this prevents over heating or burning of the wax as well as providing heat necessary for melting it down quickly.
– Boiling pot: This is what goes underneath the double boiler setup and actually holds the water which provides heating power for your double boiler setup
– Candle molds/containers: Your all natural candles must have a vessel into which their molten state will be poured such as tins, jars, paper cups or silicone molds before it cools down and solidifies into non liquid form.
– Wooden spoon for stirring – Thermometer
Aromatic Selection
When making all natural candles, the type of essential oils you choose and how you combine them can have a major impact on the aromas that are released. Here are some tips for choosing and combining essential oils for an aromatic effect:
1. Do some research – Start by doing research on the essential oils available to see what aromatic combinations already exist that may be suitable for your purpose. This will also give you a better idea of the scent and effect of different essential oil combinations.
2. Experiment – Don’t feel as if you need to stick to the pre-made combinations already used before – experimenting with new combinations is part of the fun! Take your time to try out different recipes until you find one that works best for you and has a nice, unique aroma that smells pleasing.
3. Consider intensity levels – Be sure to consider the intensity level of your chosen essential oils when combining them into blends; every ingredient should complement each other without overpowering any particular scent in your blend. There is such thing as over-scenting, which can lead to a headache inducing smell when lit!
4. Measure amounts accurately – Make sure you measure the correct amount of each oil, as too much or too little could have an impact on the overall scent. Too much oil could give off an unpleasant smell, while too little won’t provide enough scent when it is burned.
5. Rely on your nose – Let your nose be your ultimate guide as certain scents may result in unexpected connections when combined together – smelling only individual scents might not necessarily provide clues or tell you how it will smell once blended with other ingredients in a recipe!
Right Wax for You
There are a wide variety of natural waxes available for use when making candles at home including Soy, Coconut, Beeswax, and Palm. Each wax has its own unique properties and benefits that can be used to customize your candle to the desired look and burn.
Soy Wax is known to have a slower burn time than other options, providing longer lasting candles with a cooler flame. It is also an environmentally-friendly choice made from renewable resources and a biodegradable option. Soy wax can accept scent well but may require a particular type of dye or colourants depending on the desired result.
Coconut Wax is a newer option for candle makers and it provides great stability during the burning process. Coconut wax is made from the oil of coconut making it vegan-friendly for those looking for ecologically sustainable products when crafting their candles! It holds fragrances well and gives off an even burn line throughout its lifespan – however this type of wax does not easily accept any dyes or pigment.
Beeswax is naturally more expensive than other types of wax due to it being primarily derived from honeycomb cells produced by honeybees as they build their hives – harvesting it can therefore cause harm to fragile ecosystems if done so unsustainably. Beeswax’s main appeal lies in being odourless and sacrificing some energy efficient value with its relatively high melting temperature, meaning that candles crafted with this type of wax will burn faster than soy or coconut alternatives. If working with beeswax, use fire safe materials such as wick stringers which hold firmly into place in order to ensure maximum safety when burning your unique creation!
Palm Wax is a popular choice among eco-minded crafters due both its sustainability benefits as well as its affordability compared to beeswax – allowing candle makers create cost effective pieces without compromising on quality! This renewable resource also burns amazingly evenly despite having a high melting temperature similar to beeswax – giving you beautiful creations with maximum fire safety in mind. A key downside with palm wax though is its tendency of crystallizing which can make clean up messy if not planned ahead properly!
Wick Preparation
Before beginning the candle-making process, it is important to prepare and secure the wicks. This ensures that the candles will have an even and steady burn without any hiccups. The steps to ensuring this include:
1. Measure the correct length of wick for your particular container and trim accordingly. Make sure you leave a little extra so that it’s visible above the candle wax once finished.
2. Secure each end of the trimmed wick with a metal tab or clip depending on your preference; this will ensure that it stays in place during pouring and burning purposes.
3. Once you are satisfied with the placement of the wick, you can dip it lightly into the melted wax before completing any further steps to make the wick stick to its designated place securely.
4. Using a glue gun or hot glue is optional but advised as it provides an extra layer of security for yourproject and keeps things neat and tidy throughout usage—this also helps maintain balance when transitioning from solid to liquid states when waxing layers start to curl up close to/above your setup line before finishing touches are applied.
DIY Instruction
1. Begin by gathering your supplies. Gather some beeswax, natural wicks, a candle wick holder, double boiler and organic essential oils that you would like to scent the candle with.
2. Next, set up your double boiler on the stove top with enough water to reach just above the base of your bowl but not in it and turn the heat on medium-high.
3. While your water is heating up go ahead and wrap the metal end of each of your wicks around the corresponding nail in the wick holder as tightly as you can (or use tabbed wicks if that is what you have).
4. When your water is hot enough, place at least 2 cups of cut up beeswax in a suitable bowl in the double boiler (stainless steel or glass work best).
5 Add 8-10 drops of an essential oil for scent into the melted bees wax (you can always add more later on). Then stir in gently. Keep stirring till everything is melted down evenly into liquid form.
6 Once that’s done grab your jar and pour the contents out directly from the double boiler or transfer them carefully using a ladle or spoon (just be sure not to burn yourself!).
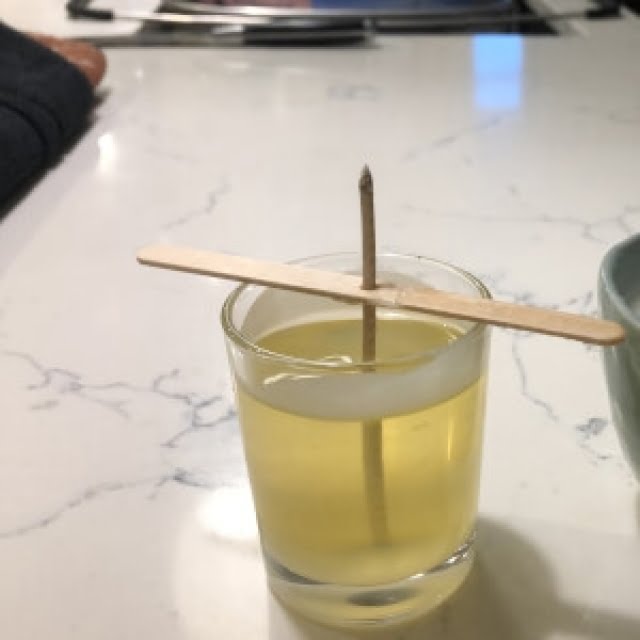
7 Place your wick holder first, then try to get all three nails aligned properly across the top of whatever container you’re using—the weight of them will help keep them secure once you pour in all that molten hot wax!
8 Finally, pour all that liquified bees wax into your container gently around your pre-placed wicks making sure to fill it all the way to just below where their shorter pieces lay across its opening but careful not to splash any against its sides either!
9 Allow it time to cool completely before trimming away any overhanging pieces from your pre-placed wick holders . Finally enjoy burning your beautiful handcrafted all natural candle!
Creative Decoration
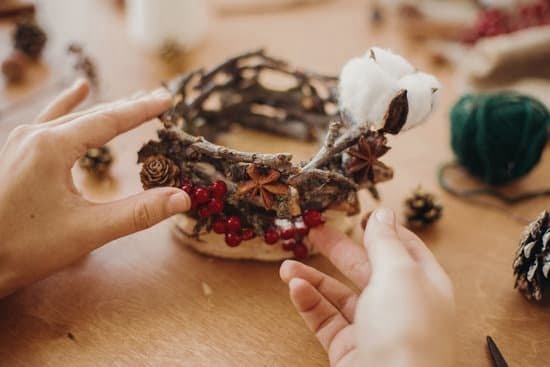
Using decorative materials such as ribbon, glitter, paint, and sequins can add an elegant touch to any homemade candle. Using coloured ribbon to wrap around the outside of the candle offers a stylish and sophisticated look. Adding small amounts of glitter on the top of the candle with a glue or varnish can also be incredibly effective at making a home-made candle look special. Alternatively, you could use coloured paints to paint patterns on the surface of the candle before allowing it to dry. Finally, adding sequins to the outside of your all natural homemade candles gives them sparkle and creates an eye-catching effect. All these decorations will not only make your all natural homemade candles look great but they will also give them that extra special something that store bought candles don’t have!
Safety First
Making all natural candles can be an enjoyable experience. However, it’s important to take the necessary safety measures before you begin. Wear clothes that cover as much of your skin as possible and make sure that long hair is pulled back. When selecting a work area, it should be well-ventilated and away from any flammable materials or liquids. Additionally, other sources of heat such as stoves and gas burners should not be nearby. Make sure that all materials used to make the candles such as wax, wicks and containers are kept nearby and easy to get to while avoiding spillage of these substances on the floor. All these materials should also be kept out of reach of pets or children so that they remain safe from harm. Additionally, basic tools for the process such as scissors, stir sticks, etc., should be close by in case needed during the candle making process. Safety goggles should also be worn when melting wax or handling hot items to prevent any splatter from entering eyes or other areas on the face . Finally, use caution when lighting your own candles — never leave them unattended!
Troubleshoot Common Problems
When making all natural candles, some common issues can arise. These include:
• Understand the wax before you use it. You should always make sure to research the type of wax that you are using and understand how it behaves compared to other candle-making materials. It can be useful to test with a small batch first if possible.
• Choose the right wick size for your relative container size and wax type. This can be tricky but is important in determining a successful end product. Generally speaking, use smaller wicks for containers with small diameters and thicker wicks for larger containers or those with increased amounts of wax. Consider buying pre-tabbed wicks if needed, as this will save you time from having to tie individual ones yourself.
• Experiment with color pigments and scent oils carefully, as these additives will have an effect on the chemical composition of your candle mix. Start out by adding the recommended amount of either one and adjust as necessary, being mindful not to go too overboard!
• Watch temperatures when melting your wax; too hot and you risk burning through the essential ingredients, producing an undesired end result both in terms of scent as well as visual appeal. Use a double boiler or slow cooker set on low heat when melting your blend together, allowing plenty of time for it to come up to temperature gradually before pouring into your molds or jars.
• Lastly, allow adequate cooling time between stages and application of labels/decorations; just like when cooking foods this will help avoid burning and unwanted smells – not what we want from our candles!
Summary of Benefits
Making all natural candles is great for those who are looking to make something special at home. Homemade candles are not only an easy and affordable project, they can also be made with some basic items that you already have in your kitchen. There are numerous benefits to making all natural candles, such as zero toxins, fewer chemicals and harsh smells, reduced fire risk, and a sense of accomplishment from creating something beautiful and custom-made. Plus, they make wonderful gifts when poured into beautiful containers. Making all natural candles isn’t just a frugal hobby; it’s an act of self-care that can also benefit the environment. Plus, the finished product makes a wonderful addition to anyone’s home décor. So why not give it a try? You just might find that this craft project is pure magic!

Welcome to my candle making blog! In this blog, I will be sharing my tips and tricks for making candles. I will also be sharing some of my favorite recipes.

