Introduction
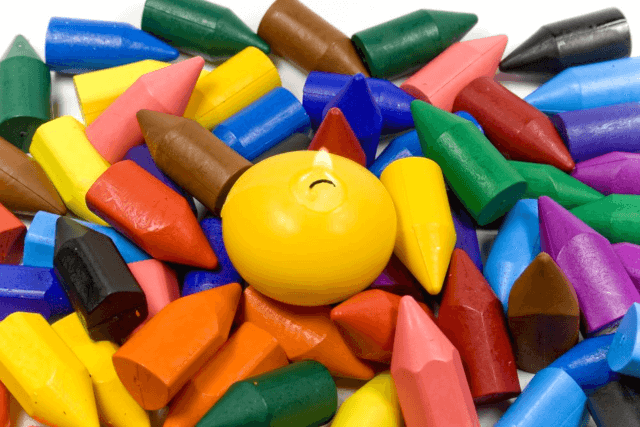
Making candles with crayons is a great way to upcycle single-use art supplies and create something unique. This type of candle-making offers several benefits. For starters, making candles from crayons is a much more cost-effective option than buying pre-made candles. Since all you need are some crayons and wax pieces, you can put together a set of candles in no time. The range of colors available with wax and crayons also allows for customization to match any decor, making this an ideal choice for anyone wishing to spruce up their space in an economical way. Moreover, because there aren’t many ingredients involved in the process and minimal energy is required, it’s also environmentally sustainable”a bonus if you’re trying to reduce your carbon footprint! Furthermore, depending on the type of crayon you use (like soybean or beeswax) the wax may even release a pleasant aroma when melted down. Finally, these creative candles make great gifts or party decorations if you know how to craft them perfectly!
Materials Needed to Make Candles With Crayons
To make candles with crayons, you will need several crayons of your desired color, a double boiler, a wax-safe container for the finished candle(s), wicks with metal tabs and glue dots or some type of adhesive to attach them to the bottom of the glass container, and some kind of stand that can hold your containers filled with wax while they cool. Additionally, you may want to have newspaper paper towels and other materials such as molds if you plan on making shaped candles. Finally, you should make sure that whatever bowl or pot you are using in the double boiler is much larger than the glass container to avoid any spills or broken containers due to over-heating.
Step-by-Step Guide to Making Candles With Crayons
1. Gather your materials: You will need crayons, a double boiler, wax chips or beads (or old candles), wick and containers to pour the wax in.
2. Set up your double boiler: Fill the lower portion of the double boiler with water and place it over medium heat. Place wax chips or beads, or old candles, in the upper portion of the double boiler and wait for them to melt.
3. Add your color and scent: Select your favorite crayon colors to add to melted wax for a beautiful rainbow effect! You can also stir in essential oils for fragrance if desired.
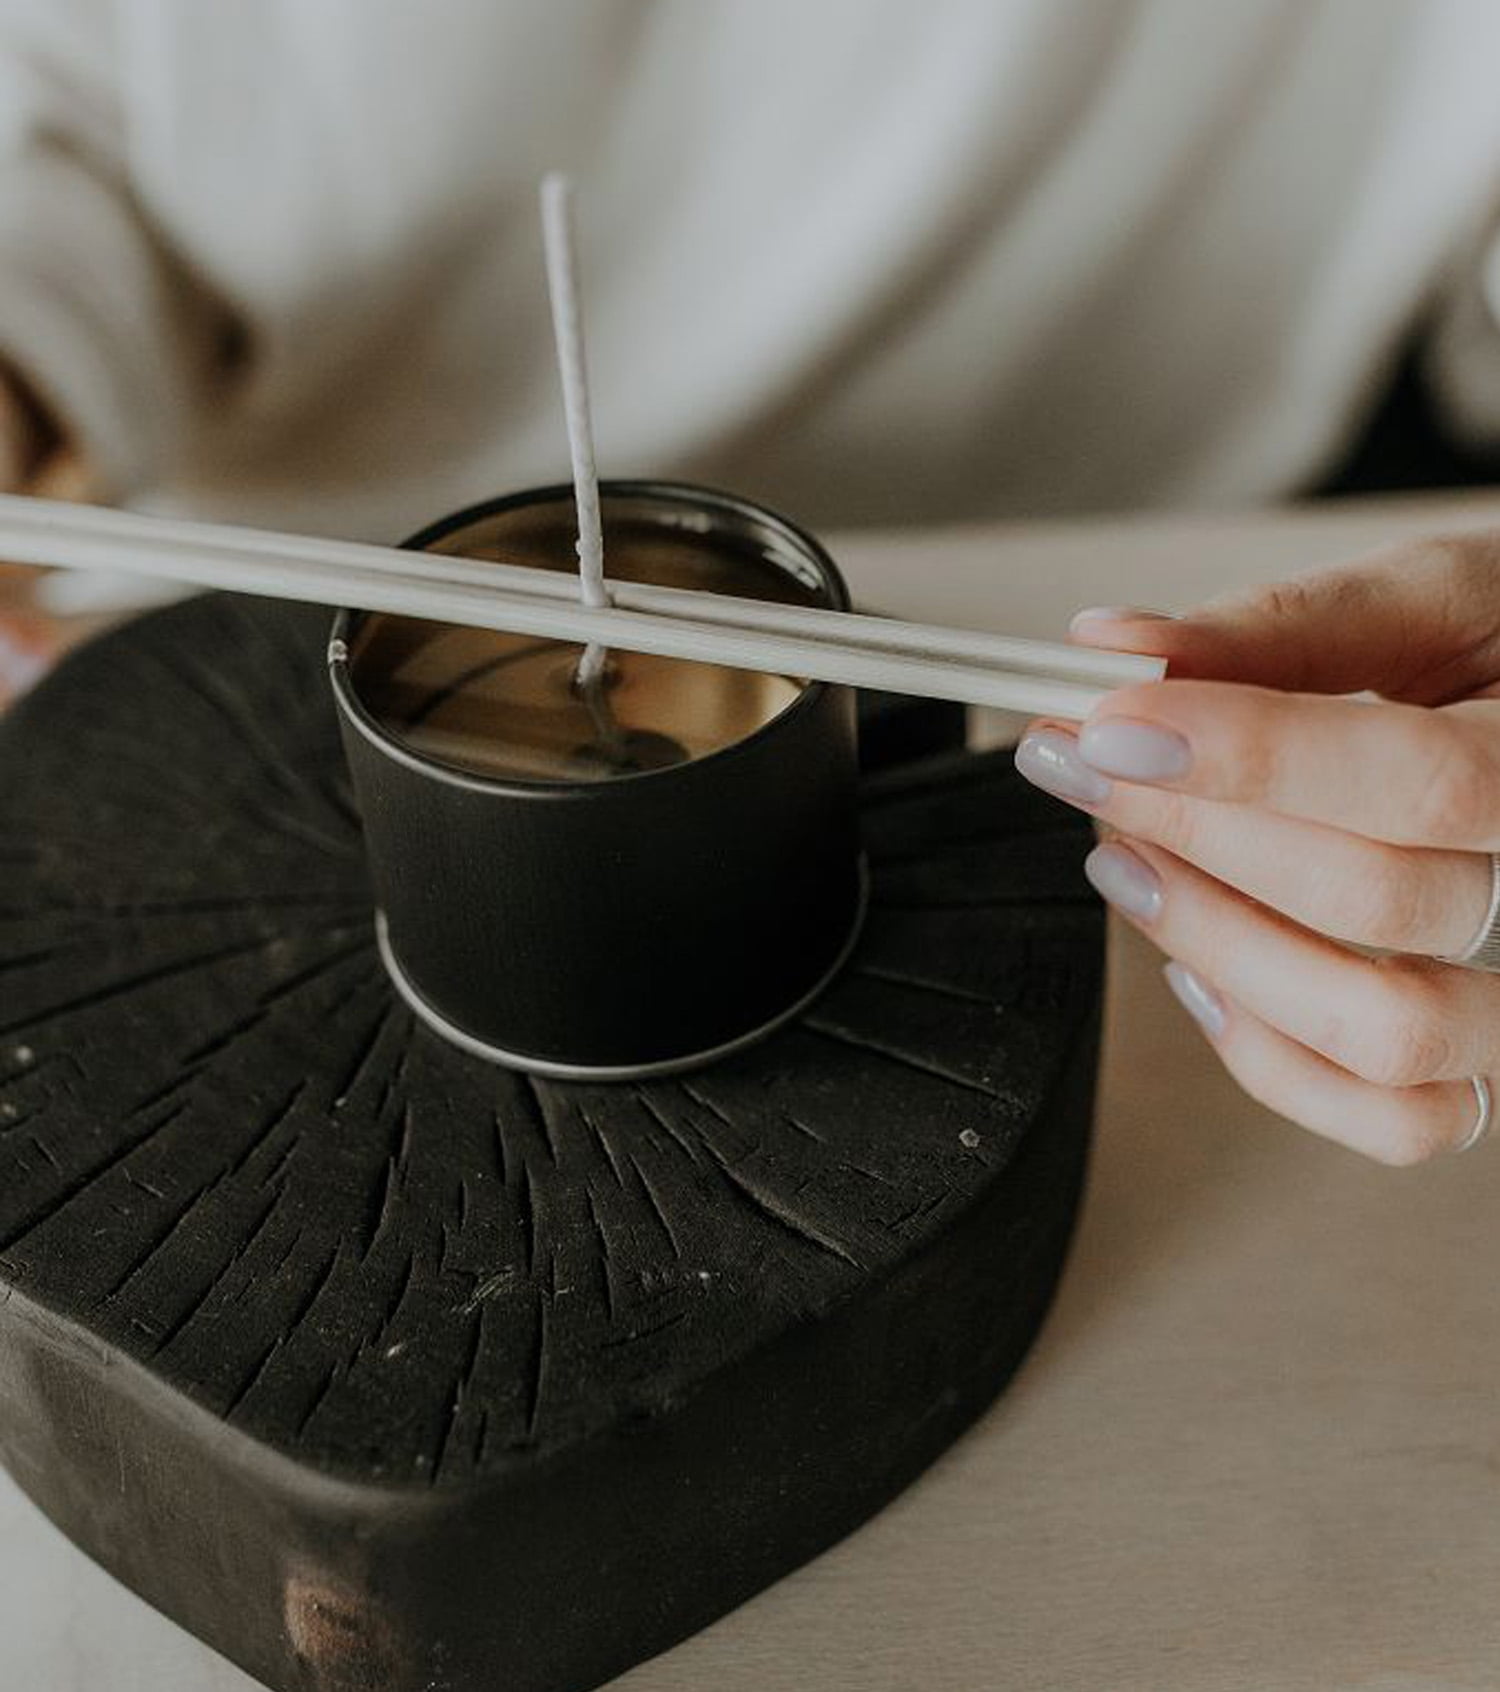
4. Prepare your wick: Cut a length of wick that is at least 1 inch longer than the height of your desired container. Tie one end to a pencil and set aside so that the wick hangs straight from one side to the other, with 4-5 inches free from the lip of the container on both sides.
5. Pour in melted wax: Slowly pour melted wax into your container until it’s full but still leaving enough room for you to add more wax later if desired (just be sure not to fill all the way). Gently tap down sides of container while pouring so that any trapped air escapes before it hardens.
6. Attach wick tab: Once all melted wax has been poured in, attach a metal tab onto bottom end of wick using a glue gun so it will sit securely in bottom center of container while candle sets fully into place without floating or shifting around once dry. Allow candle to rest undisturbed overnight so that it can properly cool and set before use or gifting!
Adding Essential Oils and Color to Your Candles
When it comes to making candles with crayons, adding essential oils and color to personalize the candle is a great way to make a unique and beautiful creation. Essential oils are a natural scented additive that can provide either calming or energetic aromas with just a few drops. Depending on your desired effect, you can choose one or more essential oils to enhance your candle-making experience. You can even combine several different oils to create more complex and layered scents. Adding color is also an interesting way of customizing your own candle. Depending on the type of wax used in your recipe, there are several food-grade colors available on the market that you can use in combination with liquid dyes to craft any hue imaginable – from pastels and jewel tones to gradient colors. Another option is dyeing the wax itself by melting crayons or blocks of colored wax into the melted base wax, which will also give off a nice aroma as it melts. Experimenting together with colors and essential oils gives you endless possibilities when crafting personalized candles!
Tips for Ensuring Quality and Safety When Making Candles With Crayons
1. Start small. Begin by creating taper candles and votives before attempting more complex candle shapes.
2. Use the right wicks. Thin wicks are essential for successful container candles, as thicker wick sizes may not burn all of the wax or cause your candle to smoke too much.
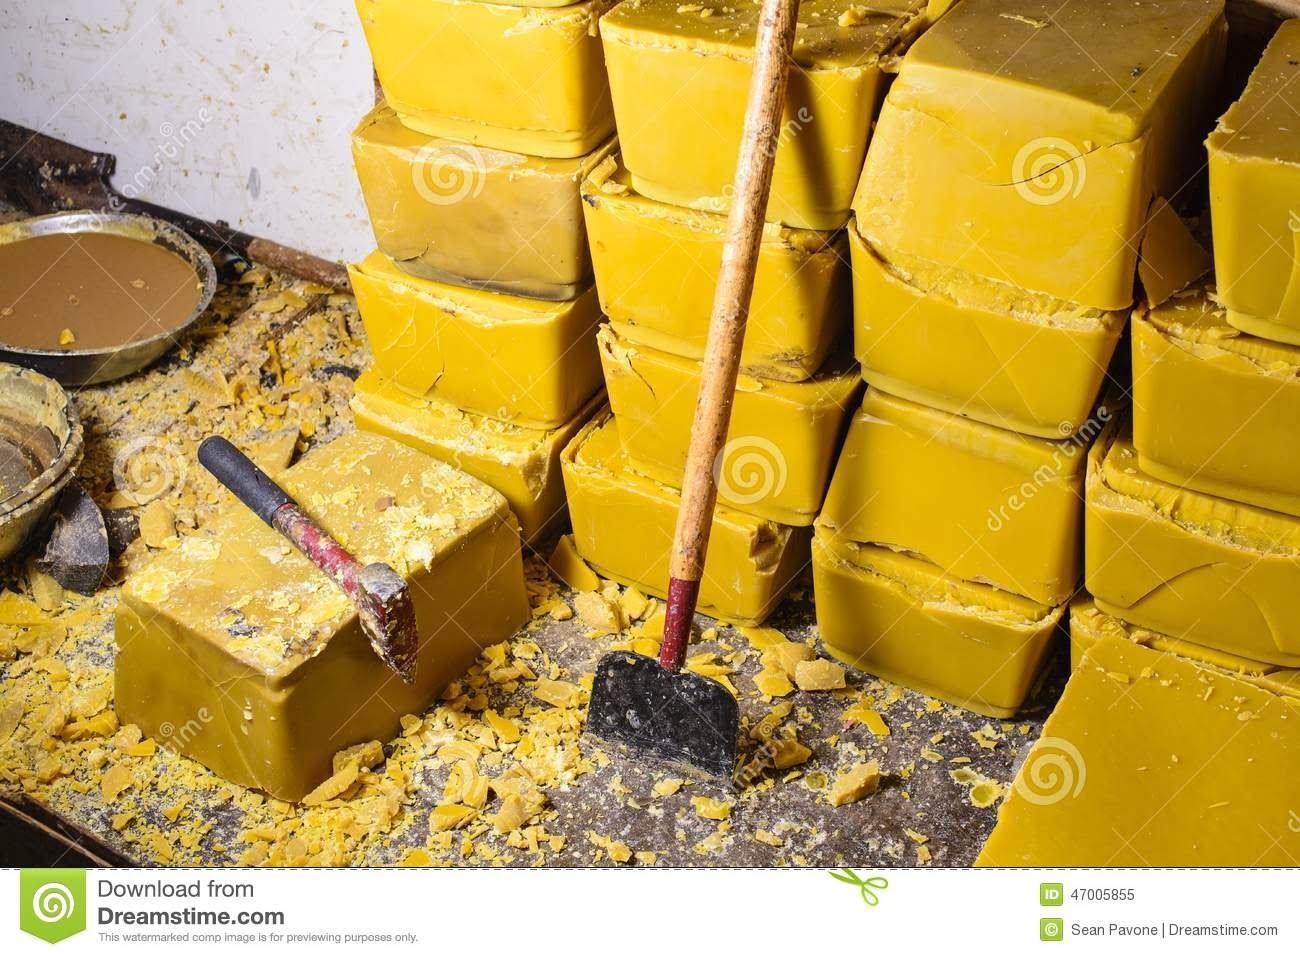
3. Research the best wax for crayons. Paraffin wax is the most popular choice for DIYers starting out making candles with crayons, but beeswax and soy wax work better when you want a long-lasting candle with a slower burn rate.
4. Melt patiently and carefully. To ensure that your wick is sufficiently embedded in your melted wax, stir it into your melted wax slowly and carefully in a circular motion instead of dumping it all in once. As an added safety measure when melting crayon-infused paraffin wax on the stove top, never leave your pot unattended”keep stirring until it’s completely melted through!
5: Use glass containers with caution: Both glass jars and plastic molds can be used as a safe vessel for making a candle with crayons, but make sure to be cautious when using glass containers”they can become quite hot when exposed to high temperatures necessary to fully melt any type of wax!
Creative Ways to Enhance and Display Your Candles
Making candles with crayons is a fun and exciting way to add color and texture to any home. Not only is it a great DIY project, but you can get as creative as you want when creating your own homemade candles.
To begin, find the crayons that are best for making your candles. There are many different colors and types of wax available for use, so choose something that will match your chosen aesthetic or theme. Once you have chosen your wax, then gather all the supplies needed to craft your candles. You’ll need wicks, paraffin wax blocks (for the main candle), melting pots, a thermometer, molds and wick pin holders.
When it comes time to make and display your candles, consider doing more than simply sticking them in a regular glass jar or tin. Get creative! For example, try adding colorful ribbons around each candle or shape the wax into fancy designs before pouring them into moulds shaped like flowers or animals. Glitter dipped candles can be especially eye-catching when displayed on trays or tables. If making multiple colors of candles, consider grouping them together into one arrangement either by using different heights of holders or by shelling out multiple shades side-by-side in the same pot at once. Also experiment with scents! Sprinkle essential oils onto your finished candle for an extra special touch.
Alternatives to Making Candles With Crayons
Making homemade candles is a fun and creative way to decorate your home. If you have crayons lying around, there are many ways to turn them into unique candles. If you don’t have enough crayons or just want to explore different types of candles, here are some alternatives:
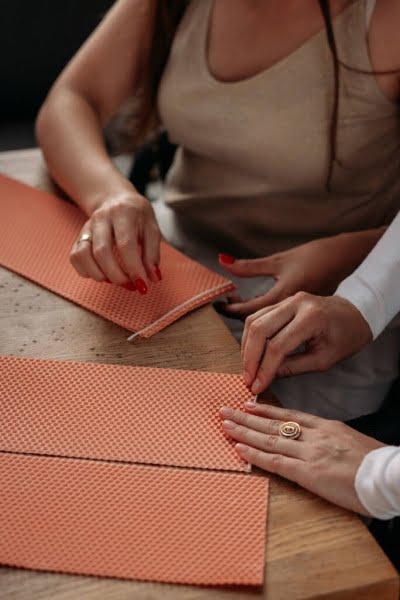
1. Beeswax candles ” With beeswax, you can make scented and rolled candles in different shapes and sizes. It’s also very easy to manipulate the wax and create intricate designs that will give your space an interesting look and feel.
2. Soy wax candles ” Soy wax has become increasingly popular due to its low melting point, which creates softer finishes than paraffin wax. A great advantage of soy wax is that it’s renewable, biodegradable, vegan-friendly, and sustainable. Try adding essential oils or fragrances for an extra special scent!
3. Gel candles ” Making gel candles is a bit more complex as you need specific types of gel with additives that reduce tacky residue as they cool down. Gel is ideal for making sculpted decorative pieces as well as floating objects like flowers or berries in the centre of the candle holder for beautiful effect when lit up!
4. Glittery votive holders ” For those who don’t want a full-blown candle project, try making glittery votive holders with basic glass holders purchased from craft stores or online shops. Glitter adhesive paint can be applied on the outside to add texture and colours for interesting designs.
Conclusion
Making candles with crayons is a fun and inventive DIY project because it provides an opportunity for creative expression. Not only can individuals design their own unique candle holders, but they can also customize the colors of the candles themselves by melting down crayons in different combinations. Furthermore, due to the low cost of materials and simple step-by-step instructions, this project is accessible to anyone with basic craft skills. This is a great way to use leftover crayons while having an enjoyable activity that yields beautiful results. Plus, homemade scented candles make wonderful gift ideas that can be enjoyed all year round!

Welcome to my candle making blog! In this blog, I will be sharing my tips and tricks for making candles. I will also be sharing some of my favorite recipes.


