Introduction
Making floating candle holders is a great craft activity and can help to create a unique and intimate atmosphere. By making your own candle holders, you can customize them to fit any home’s decor. This project is simple enough for even the most novice crafters, but will still provide stunning results. All you will need are some basic craft supplies and you can be ready to create your own beautiful design. With this easy tutorial, you’ll be ready to have glowing, sophisticated decor in no time.
Materials Needed
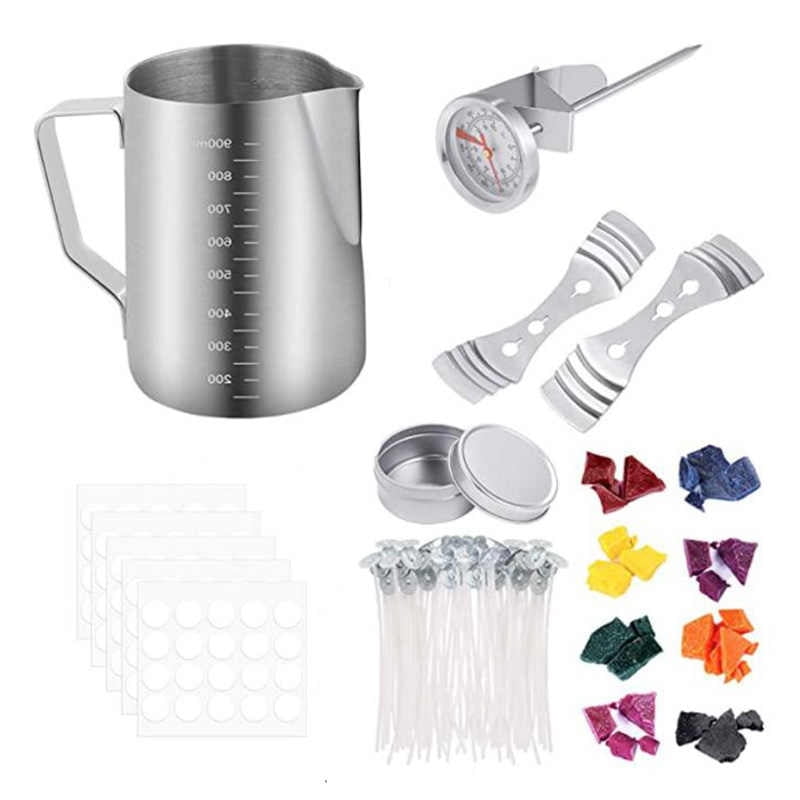
Materials Needed:
– Container: Any clear container works, such as a drinking glass, a bowl, or a vase. A glass fishbowl is also an interesting option for those who want a more unique look.
– Candle: Choose any type of candle that fits the size and shape of your container. Pillar candles, taper candles, floating tealight candles, and even votive candles are all good options.
– Greenery: You can use fresh or silk greenery around your candle to create a decorative landscape. Greenery such as ferns or small flowering plants work best and should be chosen based on the size of your container.
– Pebbles/Marbles/Gems: Stones, pebbles, marbles, gems and other pieces can add a beautiful touch to your candle holder and will help support it in the center of the water. Try to pick out stones that are the same color for consistency in your design.
Step-by-Step Instructions
Step 1: Gather Materials
-Clear glass bowl or vase in desired size
-Floating candle (usually a single wick type)
-Glitter, decorative items such as shells, beads, stones
-Small rocks or pebbles
-Waterproof glue or sealer
Step 2: Prepare the Bowl or Vase
-Mix a few drops of waterproof glue with water and fill the bottom of the bowl with a thin layer of it. This will help hold decorations in place when you’re adding water to the bowl.
-If desired, use the small rocks/pebbles to create a design along the bottom edge. Create patterns with different shapes and sizes if desired. Secure these by pressing them gently into the wet glue mixture.
Step 3: Add Decorative Elements
-Now is time for you to get creative! Add glitter for some sparkle, decorative embellishments such as shells, stones and beads around your design. It’s recommended to keep them submerged at least halfway so they maintain the floating candle look when they’re filled with water.
Step 4: Prepare Floating Candle
-Fill up the bowl/vase until just below its rim before adding in your floating candles. But first be sure to light it up either using long matches or a lighter — then lower it into position inside your container carefully so that it floats securely on top of the decoration without sinking too low.
Step 5: Seal It All In Place
-Use waterproof sealant over the entire top surface area of your creation for added protection against potential spills that may occur during use — this helps keep all your decorations firmly in place should any excess moisture develop inside your holder!
Decorative Variations
One way to customize a floating candle holder is by using different materials. Popular fabrics such as organza, chiffon, and polyester can be used to create the most delicate of holders. Each material has different characteristics which can add a unique flair to any room. Colors range from bright and cheerful hues to subtle neutrals and blues for a more calming effect.
Shapes and sizes are also an option when customizing your floating candle holder. From star shapes with small dangly charms to rectangular shaped block holders, there is something out there for everyone’s desired look and feel. One trend in style is adding wooden elements such as birch wood slices or natural twigs with delicate specks of texture. By combining different shapes and utilizing materials such as stones, gems, feathers or other items that appear in nature, experienced crafters can make truly unique pieces of art.
Finally element like height can also give an unique dimension to the overall look of the floating candle holder. Hanging them at varying lengths by creating clusters of candles, or firmly affixing them all in one area can evoke a feeling or depth appearance for guests who experience it in person.
Safety Tips
When working with a hot glue gun, make sure to wear heavy work gloves and eye protection. Keep the glue gun away from children and place it on a flat surface when not in use. Do not touch the hot glue until it has cooled completely.
When burning wax, always keep open flames away from combustible materials, including fabrics, decorations or paper. Use appropriate wicks for candles and keep them away from air currents that could cause the flame to become larger than intended. Place the candle on a heat-resistant surface before lighting it and ensure it is out of reach of children or pets. Before reusing any wax, allow it to cool completely in a covered container.
It is important to handle all tools appropriately when making floating candle holders, because some can be hazardous if used improperly. Wear protective gear such as gloves when cutting wire or glass and use pliers intended for this purpose. Spread protective material around your workspace when drilling holes, in order to contain shards of glass or any other debris that could become airborne during the activity.
Examples of Finished Products
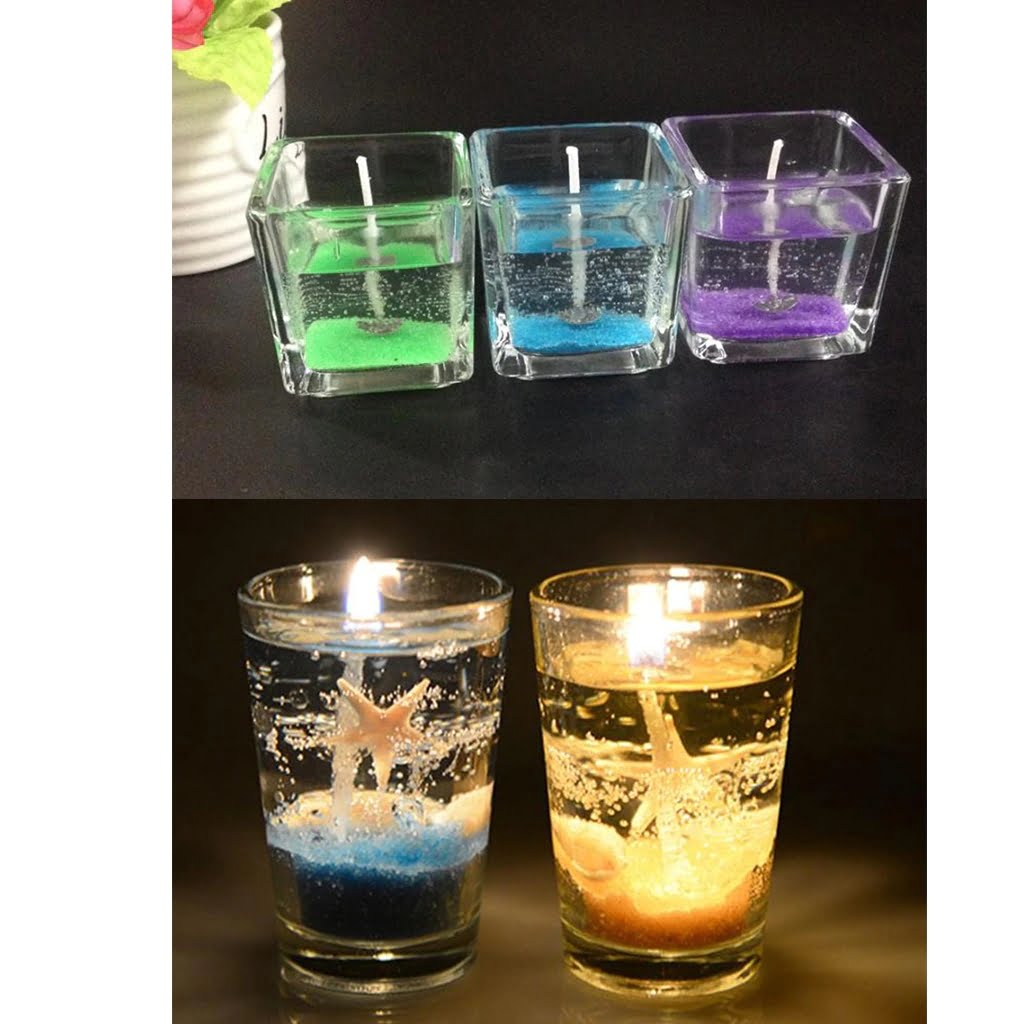
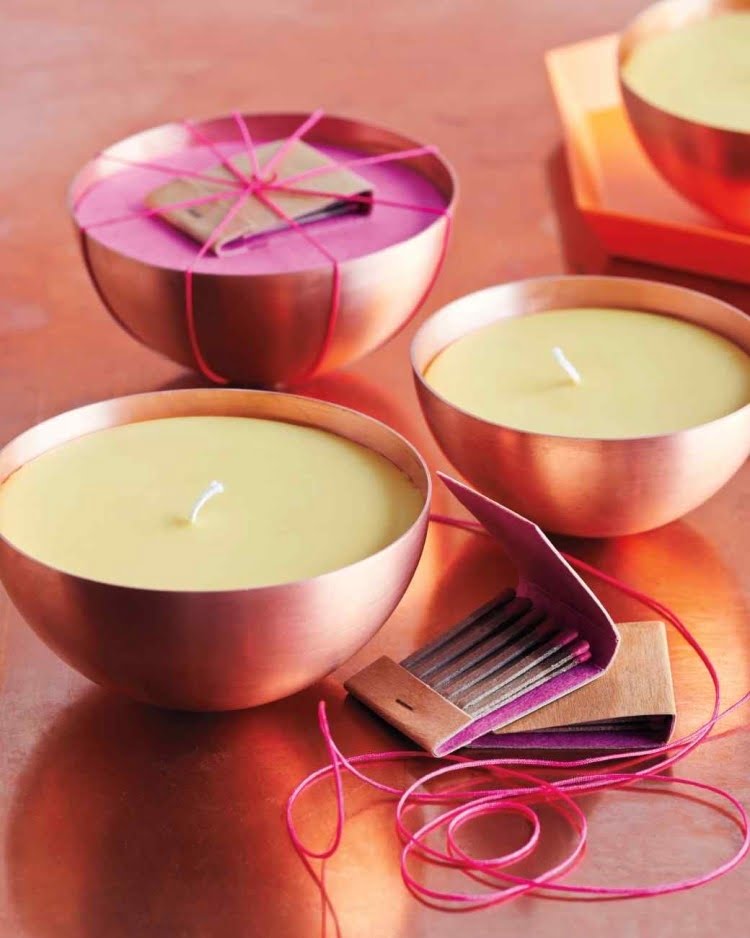
Floating candle holders are great for adding some mood lighting to your next event. Creating unique and stylish floating holders for dinner parties or special occasions can be a fun and creative way to set the ambiance. You can find premade floating candle holders in most home decor stores, but making them yourself allows you to customize with colors and designs that reflect your style.
To make custom floating candle holders, you’ll need: votive candles, tall glass cups or vases, beads or gems in colors of your choice, and water. To start, fill each glass cup with water, roughly two thirds full so there is enough space for the beads. Once filled to the right level add a few drops of food coloring if desired before adding the beads or gems of your choice. Set aside and let the colored water settle before adding one (or more) votive candles. The candles should float on top of the beads and appear as if they’re glowing through a bed of fairy dust! Place several around your event area for maximum effect.
You could also personalize each holder by taking it up another notch – try painting glasses with acrylic paint to give them an extra pop in color or upcycle containers from old mason jars like lime pickle jars into edgier looking containers that put just as much sparkle from within! Add a collection of flower petals on top to make them look even more inviting when placed around your space. Make sure all materials used are non-flammable and safe for use around an open flame! This will help ensure safety while enjoying the quiet romantic glow from each alluring holder!
Conclusion
Creating floating candle holders can be a fun and relaxing craft activity. The process only requires a few supplies to get started. First, choose your favorite glass container such as a mason jar or vase and fill it about two-thirds with water. Next, add crystals or stones of your choosing to give the candle holder an aesthetic touch. Finally, place a floating candle or pillar candle inside the container and light it up! In order to stay safe when making floating holders, make sure that the container is heat resistant and not flammable, always keep the flame away from any other materials in case of an accident. Additionally, never leave candles unattended and cut off any exposed wick so they don’t create a hazard while burning. By following these simple instructions you can easily create your own unique floating candle holder! For resources on how exactly to make one yourself check out this video (insert link) as well as this helpful article (insert link).

Welcome to my candle making blog! In this blog, I will be sharing my tips and tricks for making candles. I will also be sharing some of my favorite recipes.

