Are you interested in delving into the art of candle making? Look no further than making pillar candles with beeswax. In this beginner’s guide, we will explore the wonderful world of crafting stunning pillar candles using beeswax. Beeswax is a natural and versatile material that adds a unique touch to your handmade creations.
Beeswax has been favored by candle makers for centuries due to its numerous benefits. Not only does beeswax burn cleaner and longer than other waxes, but it also emits a subtle honey-like fragrance when lit. This makes beeswax an ideal choice for creating eco-friendly and aromatic candles. Understanding the advantages of using beeswax will help you appreciate why it is a popular choice among candle making enthusiasts.
To embark on your journey of making pillar candles with beeswax, it is essential to familiarize yourself with the different types of beeswax available in the market. From yellow beeswax to white beeswax, each type offers unique characteristics that can influence the outcome of your candles. By selecting the right type of beeswax for your project, you can achieve stunning results that reflect your creativity and style.
Benefits of Using Beeswax for Candle Making
Beeswax is a popular choice among candle makers for creating pillar candles due to its numerous benefits. Here are some of the advantages of using beeswax for candle making:
- Natural and Renewable: Beeswax is a natural material produced by honeybees, making it eco-friendly and sustainable. Unlike paraffin wax, which is derived from petroleum, beeswax is a renewable resource that can be harvested without harming the environment.
- Clean Burning: Beeswax candles burn cleanly and produce minimal soot or smoke, making them a healthier option compared to candles made with synthetic waxes. The natural sweetness of beeswax also gives off a pleasant aroma when burned, adding to the overall ambiance of your space.
- Long-lasting: Pillar candles made with beeswax have a longer burn time compared to other types of waxes. This means you can enjoy the warm glow and subtle fragrance of your beeswax pillar candles for hours on end before needing to replace them.
In addition to these benefits, beeswax has a high melting point, which allows pillar candles made with this type of wax to maintain their shape and integrity as they burn. This makes beeswax an excellent choice for crafting sturdy and long-lasting pillar candles that will remain beautiful throughout their use.
Whether you’re a beginner or experienced candle maker, working with beeswax provides a unique opportunity to create high-quality pillar candles that not only look stunning but also offer an eco-friendly and enjoyable lighting experience.
Understanding the Different Types of Beeswax Available for Candle Making
Beeswax is a versatile and popular choice for candle making due to its natural properties and benefits. When it comes to making pillar candles with beeswax, it’s essential to understand the different types of beeswax available in the market. The type of beeswax you choose can affect the quality, color, and scent of your candles. Here are some common types of beeswax used for candle making:
- Raw Beeswax: This type of beeswax is unprocessed and in its natural state. It has a yellow or brown color and retains the characteristic scent of honey. Raw beeswax is perfect for those looking for a more natural and rustic look and scent in their pillar candles.
- Filtered Beeswax: Filtered beeswax goes through a filtration process to remove impurities and debris, resulting in a cleaner appearance and smell. It is often preferred by candle makers who want a more refined finish to their pillar candles.
- White Beeswax: White beeswax undergoes further processing and bleaching to achieve a pure white color. This type of beeswax is ideal for creating vibrant colored pillar candles as it does not affect the final hue.
When choosing the type of beeswax for your pillar candles, consider the final look, scent, and color you want to achieve. Each type offers unique characteristics that can enhance the overall appeal of your homemade candles.
Whether you opt for raw, filtered, or white beeswax, each type has its own advantages when it comes to making pillar candles with beeswax. Experimenting with different types can help you discover the best option that suits your preferences and style as a candle maker. Remember that the quality of beeswax plays a significant role in the final result of your pillar candles, so choose wisely based on your desired outcome.
Necessary Supplies and Tools for Making Pillar Candles With Beeswax
When it comes to making pillar candles with beeswax, having the right supplies and tools is essential for a successful outcome. One of the key components you will need is, of course, beeswax. Beeswax is popular in candle-making due to its natural sweet aroma, clean burn, and beautiful golden color. You can purchase beeswax in various forms such as blocks, pellets, or sheets depending on your preference and project requirements.
In addition to beeswax, you will also need wicks specifically designed for pillar candles. These wicks are larger and sturdier compared to those used for container candles since they need to support the weight of the tall pillars.
Choose wicks that are made from natural fibers like cotton or hemp for a cleaner burn. Other essential supplies include a double boiler or a large pot for melting the beeswax, a heat-resistant container for pouring the melted wax, a thermometer to monitor the temperature, and molds to shape your pillar candles.
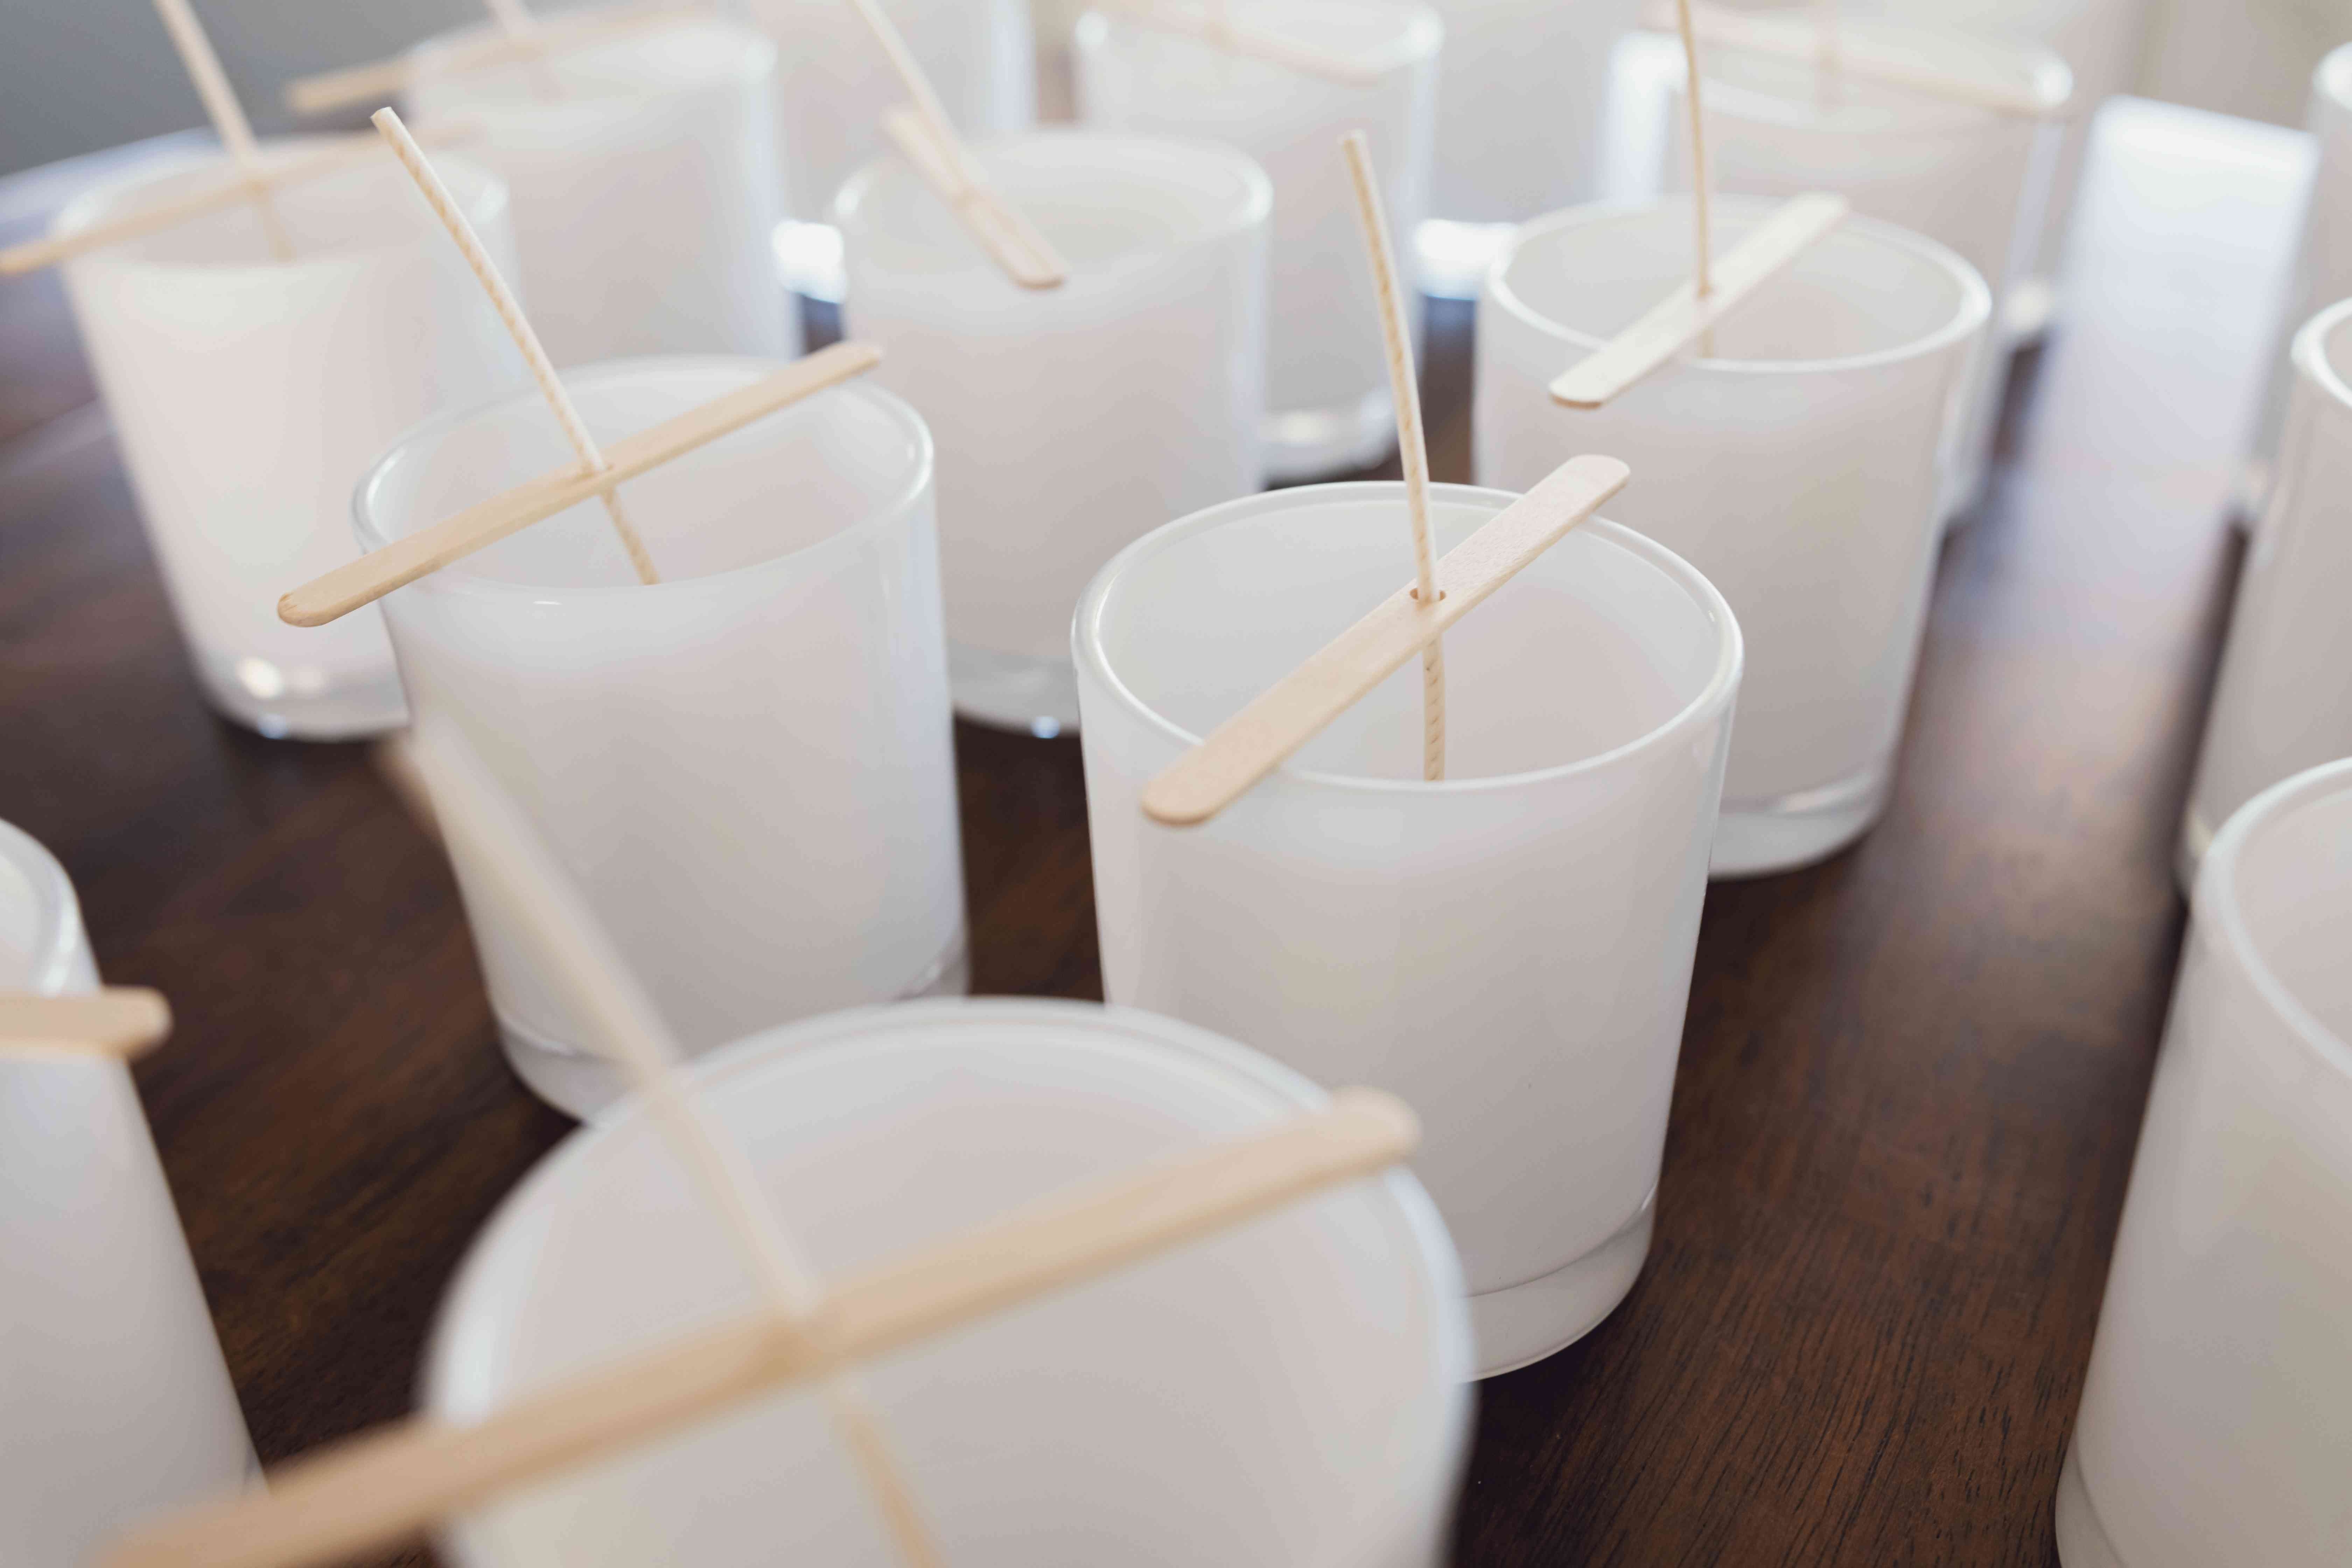
Furthermore, having the right tools can make the candle-making process more manageable and enjoyable. Some recommended tools include a stirring utensil (such as a wooden spoon) for mixing the wax and any added scents or colors, a wick holder to keep the wick centered as the candle sets, and a craft knife for trimming excess wax or creating unique designs on your finished pillar candles.
By gathering these necessary supplies and tools beforehand, you can streamline your candle-making experience and focus on creating beautiful pillar candles with beeswax.
| Supplies | Tools |
|---|---|
| Beeswax blocks/pellets/sheets | Stirring utensil (e.g. wooden spoon) |
| Pillar candle wicks | Wick holder |
| Molds | Craft knife |
Step-by-Step Guide to Making Pillar Candles With Beeswax
Preparing Your Workstation
Before you start making pillar candles with beeswax, it is essential to set up your workstation with all the necessary supplies and tools. Make sure you have your beeswax, wicks, a double boiler or microwave-safe container for melting the wax, a thermometer, molds for shaping the candles, and any desired scents or colors for customization. Lay down newspaper or a protective covering on your workspace to catch any spills or drips.
Melting the Beeswax
The first step in making pillar candles with beeswax is melting the beeswax. Using a double boiler or microwave-safe container, heat the beeswax gently until it reaches around 160-170 degrees Fahrenheit. Be careful not to overheat the wax as this can affect the quality of your candles. Stir the wax occasionally as it melts to ensure even heating.
Pouring and Cooling
Once your beeswax is completely melted, it’s time to pour it into your prepared candle molds with pre-tabbed wicks. Slowly and carefully pour the wax into each mold, making sure not to spill. Allow the candles to cool and harden completely before removing them from the molds.
This process typically takes several hours, so be patient. Once they are fully set, trim the wicks to about half an inch above the surface of the candle for optimal burning. Enjoy your handmade pillar candles with beeswax.
Tips and Tricks for Achieving the Perfect Pillar Candle Shape
When it comes to making pillar candles with beeswax, achieving the perfect shape is essential for a visually appealing final product. Here are some tips and tricks to help you create flawless pillar candles every time.
Choosing the Right Molds
The first step in achieving the perfect pillar candle shape is selecting the right mold. Beeswax can be quite unforgiving, so using a sturdy, high-quality mold is crucial. Silicone molds are popular choices for pillar candles as they are durable and flexible, making it easier to remove the finished candle.
Proper Cooling and Setting
To ensure your pillar candles retain their shape, it’s important to allow them to cool and set properly. Avoid moving or disturbing the candles while they are setting as this can cause warping or cracking. Placing the molds in a cool, draft-free area will help the candles solidify evenly and maintain their desired shape.
Trimming and Finishing
Once your pillar candles have fully set and cooled, it’s time to trim any excess wax that may have risen above the mold. Use a sharp knife or scissors to carefully trim the edges for a clean finish. You can also use a heat gun or hairdryer on low heat to smooth out any imperfections on the surface of your candle. This final touch will give your pillar candle a polished look that is sure to impress.
Customizing Your Pillar Candles
When it comes to making pillar candles with beeswax, the possibilities for customization are endless. One of the most popular ways to personalize your pillar candles is by adding scents. Beeswax has a natural honey-like aroma, but you can enhance this by incorporating essential oils or fragrance oils. Before adding any scents to your beeswax, make sure they are specifically designed for candle making to ensure proper burning and scent throw.
In addition to scents, colors play a significant role in customizing your pillar candles. Beeswax can be dyed using specialized candle dyes or natural colorants like powdered spices. Whether you prefer vibrant hues or pastel shades, experimenting with different colors can bring your pillar candles to life. Keep in mind that beeswax tends to have a warm, golden tone that may influence the final color outcome when dyeing.
Decorations are the final touch that can elevate your pillar candles from simple creations to stunning works of art. Consider embellishing your candles with dried flowers, herbs, glitter, or even embeds like small beads or crystals. These decorative elements not only add visual interest but also make each candle unique and special. Just remember to keep safety in mind when adding decorations that could potentially become flammable when the candle is burning.
| Aspect of Customization | Options |
|---|---|
| Scents | Essential oils, fragrance oils |
| Colors | Candle dyes, natural colorants |
| Decorations | Dried flowers, herbs, glitter, embeds |
Customizing your pillar candles with beeswax allows you to create one-of-a-kind pieces that reflect your personal style and creativity. Whether you prefer simple elegance or bold statements, there are endless options available to make each candle uniquely yours. Remember that experimentation is key when it comes to customization – don’t be afraid to try new scents, colors, and decorations until you discover the perfect combination that speaks to you.
Incorporating scents, colors, and decorations into your pillar candles not only makes them visually appealing but also enhances the overall sensory experience when burning them. The flickering flame combined with a delightful aroma and eye-catching design can create a cozy atmosphere in any space. Whether you’re making pillar candles for yourself or as gifts for loved ones, taking the time to customize them will surely be appreciated by those who receive these handmade treasures.
Troubleshooting Common Issues When Making Pillar Candles With Beeswax
When making pillar candles with beeswax, it’s essential to be prepared for potential challenges that may arise during the process. While working with beeswax can lead to beautiful and unique candles, there are common issues that beginners may encounter.
One common problem is uneven cooling, resulting in an unsightly appearance or even structural instability in the candle. To prevent this issue, ensure that your work area is free from drafts or sudden temperature changes and allow your candles to cool slowly and evenly.
Another common issue when making pillar candles with beeswax is air pockets forming within the candle. These pockets can disrupt the burning process and result in an uneven burn. To avoid air pockets, make sure to tap the mold lightly on a flat surface after pouring the wax to release any trapped air bubbles. Additionally, consider using a heat gun to gently warm the surface of the candle after pouring to eliminate any remaining air pockets.
Furthermore, some crafters may find that their pillar candles with beeswax are prone to cracking or crumbling. This issue can be caused by overheating the wax or not using enough additives to strengthen the structure of the candle.
To prevent cracking or crumbling, monitor the temperature of your melted beeswax closely and consider adding a small amount of coconut oil or palm stearin to improve the candle’s texture and durability. With these troubleshooting tips in mind, you’ll be better equipped to address common issues and create stunning pillar candles with beeswax.
Conclusion
In conclusion, making pillar candles with beeswax can be a highly rewarding and fulfilling experience for both beginners and experienced candle makers alike. The natural benefits of using beeswax, such as its clean burn and pleasant aroma, make it a popular choice among crafters. By understanding the different types of beeswax available for candle making and obtaining the necessary supplies and tools, anyone can dive into the art of creating their own pillar candles right at home.
Following a step-by-step guide to making pillar candles with beeswax is a great way to ensure success in your candle-making endeavors. From melting the beeswax to pouring it into molds and allowing it to set, each stage requires attention to detail but offers a sense of accomplishment when you see the finished product. Additionally, customizing your pillar candles by adding scents, colors, or decorations allows for endless creativity and personalization in your creations.
As you embark on your journey of making pillar candles with beeswax, remember that practice makes perfect. Don’t be discouraged by any troubleshooting issues that may arise along the way; instead, use them as learning opportunities to improve your craft.
The satisfaction that comes from creating beautiful pillar candles with beeswax is truly unmatched, and the joy of gifting or displaying your handmade creations will surely bring a sense of pride and accomplishment. Enjoy the process, embrace your creativity, and revel in the art of candle making.
Frequently Asked Questions
Can You Use Beeswax to Make Pillar Candles?
Yes, beeswax can be used to make pillar candles. Beeswax is a natural material that burns cleanly, without releasing harmful chemicals or toxins into the air. It also gives off a subtle honey-like fragrance when burned.
What Are the Negatives for Using Beeswax to Make Candles?
Despite its many benefits, there are some negatives associated with using beeswax to make candles. One of the main drawbacks is the cost – beeswax is more expensive than other candle-making materials such as soy wax or paraffin. Additionally, beeswax has a higher melting point compared to other waxes, which can make it more challenging to work with.
What Is the Best Wick for Beeswax Pillars?
When it comes to choosing the best wick for beeswax pillar candles, it’s essential to consider the size and composition of the wick. Cotton wicks are a popular choice for beeswax candles because they burn cleanly and provide a consistent flame.
When selecting a wick, ensure that it is appropriate for the diameter of your candle to ensure optimal burning performance.

Welcome to my candle making blog! In this blog, I will be sharing my tips and tricks for making candles. I will also be sharing some of my favorite recipes.


