Introduction ” Overview of Process of Making a Candle
The process of making a candle is an ancient art practiced by many cultures throughout the ages. It involves the careful selection and melting of wax, fragrances, and wicks to create attractive and aromatic designs. The first step in the process is to prepare the necessary materials including wax, container or mould, fragrances, pigments if desired and wick. Depending on the size of the candle desired, wax can be purchased in sheets or as pellets; more commonly though, pre-made beeswax candles are available at most crafts stores.
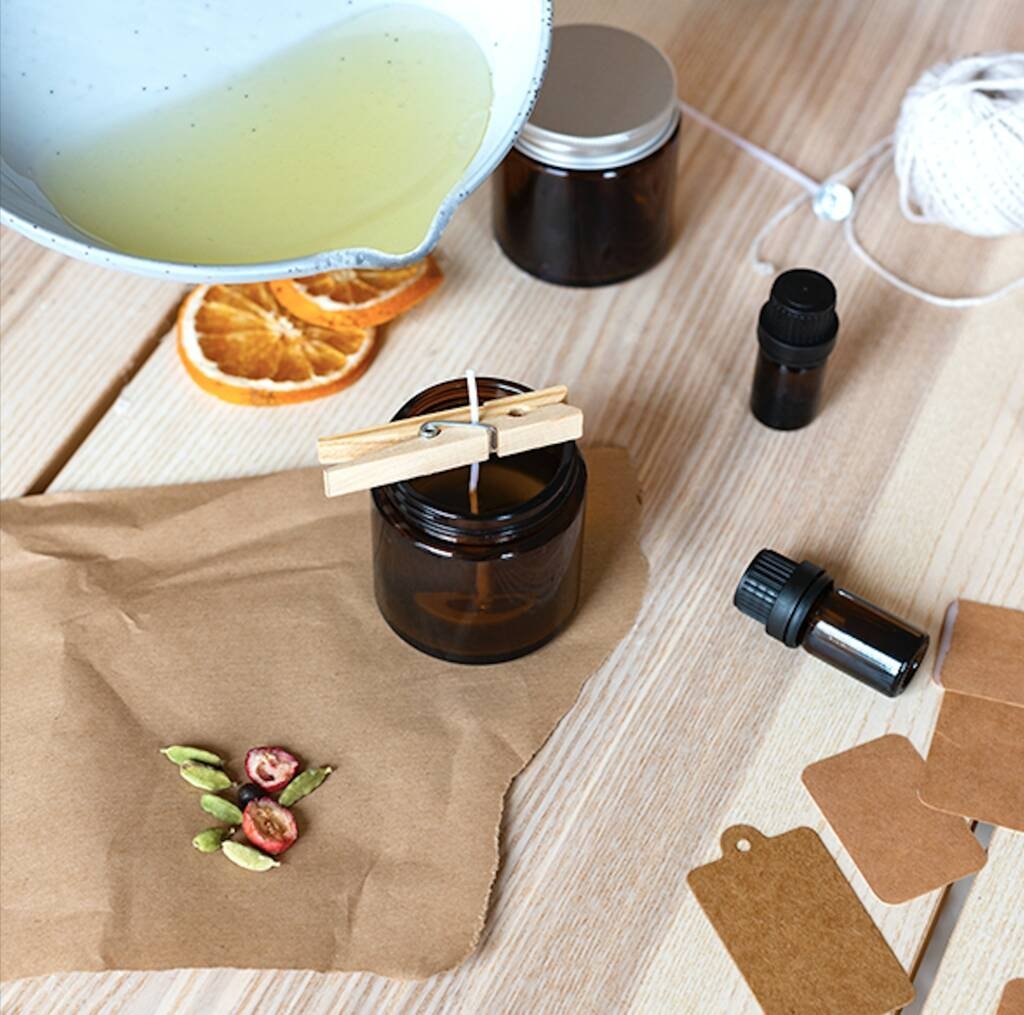
The next step is to melt the wax either in a double boiler or electric melter so that it reaches a liquid state. If fragrance oils are being used, they are added at this stage. Once melted, pigments can also be added for desired color effects. The melted wax is then transferred into containers or molds which will give shape to the candle when cooled down properly. Wicks are placed into each of these containers using metal clamps while hot wax is still in them so that they remain stable and upright when cooled down and solidified. Finally, once become solidified after cooling down enough time (which could vary depending on size and type of moulds) these homemade candles can then be lit up for ambience or purposes such as aromatherapy etc.
In conclusion, making candles involves several steps but with proper tools and simple instructions anyone can do it easily. All it takes is an investment into basic supplies as well as some patience and you’ll soon have beautiful homemade candles adding an extra sparkle to your house anytime!
Popular Candle Making Supplies and Materials
The process of making a candle requires several supplies and materials. A basic list for candle making includes: wax, wicks, scent, colorants, molds or containers, thermometer, melting pot or double boiler, stirring utensil and safety equipment.
Wax is the foundation of every candle. There are different types of wax available that have different characteristics. Paraffin wax is traditional and popular but soy, beeswax and palm oil waxes are becoming increasingly popular. Wicks help the candle to burn more evenly and to the end. They come in a variety of sizes depending on its use in a container or mold and with different amounts of fragrance oil or dye used in the candle. Scent is usually added for aromatherapy or decorative purposes; essential oils can be added as well as synthetic oils from popular brands like Yankee Candle or Goose Creek Candle Co. Colorants also make candles aesthetically pleasing whether it’s dye chips, powder or liquid colorant which will determine how much needs to be used when adding to your melted wax.
Whichever mold you decide to use will depend on what look you want for your finished product: container candles work best for those with smaller amounts of wax while standard glass jars work great for beginners looking to learn the basics; silicone molds are being utilized more prominently due to their flexibility in taking off once the candle has set completely. A thermometer helps keep track on how hot your melting pot is getting and helps avoid burning any components when preparing the mix. Safety gear such as gloves and eye protection should always employed when making any type of candles as hot wax can cause serious bodily harm if spattered onto one’s skin. Finally, a stirring utensil rounds out your supplies list making sure that everything is properly mixed before being poured into whatever containers you have chosen
Choosing the Best Type and Scent for Your Candle
Making the perfect candle starts by choosing the best scent and type for you. Consider what kind of style fits your room and aesthetic, such as a luxurious scented vanilla bean or an exotic blend of sandalwood and citrus notes. Furthermore, think about what type of container you’d like to use and consider if it’s something that looks good in whatever space you plan on placing your candle in. Popular containers include apothecary jars, glass votives, and tealight holders.
Additionally, when choosing a scent, determine how intense or subtle you’d like the candle’s aroma to be. If you’re looking for something milder, try to find candles with a lower concentration of fragrance oils or opt for all-natural waxes with little to no added fragrances. For stronger scents, pick candles made from paraffin wax that contain high levels of fragrance oil. Be sure to check reviews before picking out your candle and make sure it’s free from any harmful ingredients. Lastly, be mindful of any allergies or sensitivities you may have and choose an unscented version if needed!
Preparing the Work Area for Maximum Safety
Before beginning the process of making a candle, it is important to prepare the work area for maximum safety. This can be done by clearing any debris from the work surface, covering furniture and counters with a waterproof surface such as plastic, and setting up an area for easy ventilation. Additionally, all loose clothing should be removed or secured away and heat-resistant gloves, aprons, and protective eyewear should be worn throughout the entire process. Furthermore, matches or candles should not be left unattended in order to prevent any fires from occurring. Lastly all electrical cords and outlets must be inspected to ensure they are free from damage before plugging in any appliances needed for making candles.
Maintaining the Correct Temperature for Melting the Wax
The process of making a candle requires melting wax to the correct temperature. Using either a double boiler or an electric melter, the wax must be heated at a consistent temperature. This ensures the wax will mix more evenly, creating a higher quality candle. As the wax melts, additives like dyes and fragrances are mixed together. The temperature for this should not exceed 160°F as overheating may cause discoloration and loss of fragrance. It is best practice to constantly monitor the melting process while stirring occasionally to ensure everything mixes properly before cooling. Once all colorants and fragrances have been stirred in, it’s time to pour into a mold or jar, making sure to leave sufficient room at the top for the wick. After pouring, allow the wax to fully cool and set before fixing the wick in place with a wick sticker or glue dot. Finally, trim off any excess wick sticking out so that all your hard work can come together as one beautiful candle!
Adding Natural Fragrances, Dyes and Other Essential Ingredients
Making a candle requires the addition of natural fragrances, dyes, and other essential ingredients. When adding these to your wax, it’s important to carefully measure out each ingredient based on the type of wax you are using since some require different amounts of each. The fragrances will be added before the wax is melted as they may change consistency during melting. When choosing a colorant, it is best to select one that is safe for use with candles and fragrance oils. Some popular choices are soy-based dyes or vegetable-based dyes, which provide excellent results while being toxin free. Essential oils can also be used to infuse fragrances and natural colors into your candles but must be blended carefully as they do not always play well together. Lastly, additives such as glitter, mica or even herbs can be added to give a unique personal touch to your creation!
Creating Creative Desiring in Your Candle Containers
One of the most exciting parts of making candles is designing the containers that they are poured into. Candle crafting creates a canvas upon which to express your imagination and creativity. When selecting a container, it is important to consider what type of wax you would like to use and how much you will need. With a variety of styles and shapes available, there is no limit to what can be created.
Once the candle container has been chosen, it is important to prepare your work area before beginning the process. Make sure all surfaces are clean and clear prior to starting; this will help ensure that materials won’t be damaged during the process by loose bits of dust or dirt. As you begin melting your wax, find ways to support it in order for melting to be efficient but safe. Some people prefer using double boilers while others may choose an electric wax melter for quicker results. It’s also beneficial to have all necessary supplies within reach so projects can move forward without having to stop and search for items multiple times throughout the process.
After ensuring your area is adequately prepared, you can start adding dye and scent(s) if desired as well as any other additives such as glitter or dried herbs/flowers. The combination of ingredients chosen here should match whatever vision had been come up with when initially selecting unique candle designs! Once everything is well blended together it would be time cut off pieces of wick applicable for the size of container being used before inserting them into place at the center; this will help insure proper burning once lit up! Now that everything setup near perfection, slowly start pouring warm melted wax into each container until its near full; this should hopefully create easy shapes depending on how it’s done – try swirling different direction while pouring in order create special swirls or unique layers differently colored (or scented). After enough time has passed double-check that wax has become hardened before continuing with next steps towards finishing up each wonderful creation!
Adding Embellishments to Your Finished Candles
Once you have made your candles, you can add in embellishments to make them more interesting and decorative. There are a few different methods that can be used to make your candles really stand out, such as using glitter, dried flowers or herbs, molds, paint and dyes. Glitter can be added by brushing a layer of melted wax on the outside of the candle and then sprinkling the desired amount of glitter over it. You may also use dried flowers and herbs for an aromatic scent; these should first be placed inside a mold before pouring the wax into it so they stick to the finished candle. Candles can also be painted by dipping a brush into some dye before painting the wax with it in any desired color and pattern. Finally, finishing touches can be added by using molds to create unique shapes that make each candle truly one-of-a-kind.
Troubleshooting Common Challenges when Making Candles
Making candles can be a fun, creative outlet and a great way to bring beautiful visuals or scents into the home. However, it can also be difficult if done incorrectly! To make sure your candles turn out beautifully, here are some tips for troubleshooting common challenges while making candles:
1. Preventing Wax from melting too quickly: If your wax is melting too quickly then you need to heat at a lower temperature and stir more frequently.
2. Candles not setting properly: If the shape of your candle does not have time to solidify before being removed from its mold, then it may not set correctly. Make sure that you are giving the wax enough time to cool and harden in the mold before removing it.
3. Uneven crown: An uneven crown on top of your candle can be caused by pouring the wax too close to the edges of the mold or not filling the mold all the way up with wax. Try pouring evenly along an inward angle and let your wax pool naturally in order to avoid this issue.
4. Problems with wicks that do not stay upright: Wicks that refuse to stay straight tend to mean that either you are placing them too close together or the wick tab is not equal in size or weight than its opposing side leading to issues with balance once both sides start burning through different sizes of wax pools. This can be fixed by adjusting their positioning so they are equally spaced apart, choosing larger diameter tabs, switching out types of tabs (e.g., flat bottom vs pinched) or replacing them with pre-tabbed wicks which often work best for starter projects because they come ready made!
Conclusion and Ideas for Further Customization
The process of making a candle can seem overwhelming at first, but with the right materials and techniques, anyone can make beautiful candles in their own home. It all starts with gathering the right tools – a double boiler or melting pot, wax, wicks, containers (or molds), coloring, scenting, and any decorations. Next comes melting the wax until it’s liquid and adding color and scent to create your desired look and smell. Then you must dip each wick into the melted wax so that it stands up straight in your container (or mold) before pouring in the remaining liquid. Once it cools and hardens, take out your finished product! To put a unique touch on your candles, try experimenting with different colors or scents for different occasions or types of candles such as soy wax for eco-friendly options or adding dried herbs for decoration instead of glitter or animal shapes. You can also add layers with two or more colors by pouring smaller amounts of one color over a layer of another color. With just a few simple steps you can make customized candles from scratch that will be sure to bring some light into any room!

Welcome to my candle making blog! In this blog, I will be sharing my tips and tricks for making candles. I will also be sharing some of my favorite recipes.

