Introduction
The process of making candles is a unique and enjoyable experience. Not only does it have the potential to save you money as you create your own beautiful home décor, it can also be a really relaxing hobby. Crafting your own hand-made candles gives you the freedom to experiment with different colors, shapes, fragrances and sizes without having to worry about the expense of buying pre-made versions from stores. For those wanting a therapeutic distraction, there is nothing more satisfying and calming than making beautiful handmade candles.
Step One: Gather the Supplies
Before beginning the process of making candles, you need to make sure that you have collected all your materials and supplies including wax (soy or paraffin for example), wicks of various thicknesses depending on the purpose, a double boiler for melting the wax safely at an accurate temperature, molds in different shapes like jars or tealight holders, tools to cut wick length such as scissors or wire cutter, thermometer for measuring temperature accurately, optional fragrance oils and/or colorants.
Step Two: Prepare Your Workspace
Creating a dedicated workspace is crucial before starting candlemaking process as every step needs to be carefully planned out in order to avoid any mess or accidents. Place all necessary supplies within reach around you – this will enable efficient and easier accessibility during the crafting process itself. Moreover, ensure that both your hands are free whilst working with hot wax!
Step Three: Melting Wax & Prepping Wicks
Choose suitable wax for producing desired candles then slowly melt it in a double boiler on low heat–to prevent any cracking later down line; set temperature should not exceed 195°F (91°C). As doing so, take this opportunity to prepare wicks by cutting them according to size required in candle – mostly depending upon type of mold used for casting said candle. Make sure each one has been doubled over metal tab which supports its stability once adhered into melted wax afterward.
Preparation
The first step in the process of making a candle is choosing the type of wax. There are various types of waxes used in making candles, such as beeswax, soy wax, paraffin wax, and other natural and synthetic waxes. The choice of wax will depend on what type of candle you’re making and your own personal preference. It’s important to choose a high-quality wax that will produce a strong, even-burning flame. Once you’ve chosen the type of wax, you’ll need to pick out the wick material and scent (if any). A wide variety of wick material is available, including cotton and various plant fibers. An unscented candle can still be made using essential oils for fragrance. With all materials gathered, it’s time to begin the actual process of making the candle.
Step One
In order to properly make a candle, one must first understand the appropriate melting temperature of the wax and the right ratios of base material to additives. Depending on whether you are using a wax blend specifically designed for candles, or if you are choosing to combine other natural waxes with additives such as essential oils, dyes, and fragrance oils of your own making, there may be slight variations in these temperatures. Generally speaking, however, most para-soy and beeswaxes melt at around 145-150°F when blended together in a ratio of 95/5 or 90/10. Essential oils and fragrances added to this mixture should typically not exceed 1 part oil to 10 parts base wax blend. Dyes can vary but usually come in powder form added sparingly into melted wax before pouring into a mold or container.
Step Two: Melting & Pouring
Once you’ve determined your ingredients and their corresponding ratios, melt the wax slowly either over direct heat (simmer setting) or via double boiler method. Be careful not to get the temperature too hot; otherwise, your wax could scorch. Additionally, keep heat away from any combustible mixtures such as essential oil blends that could easily catch fire if exposed to open flames or high heat sources. Once melted sufficiently, stir in your additives carefully while monitoring the temperature frequently including after each addition so it does not exceed its desired melting point. Finally, once all components have been added carefully pour liquid mixture into molds or containers of choice where it will begin solidifying during cooling phase.
Step Three: Cooling & Curing
The cooling process is an important part of candlemaking as it completes several important tasks for your candle such as hardening and allowing proper sturdiness for handling without collapse – both vitally important if you intend on using your candles regularly beyond just decoration and aromatherapy purposes! Here is also where crystallization takes place; when cooled correctly a candle will take on a smooth surface which allows wicks to properly adhere while burning cleanly with minimal sooting and little waste of consumed materials over time – something that can drastically reduce cost when burning larger quantities and maintaining consistent quality! Traditionally this stage is accomplished by leaving newly poured candles out overnight at least 8 hours although some usage conditions may require up to 24 hours depending upon ambient temperatures present during that time period within workshop our location where making takes place – careful monitoring is always best when dealing with these types of transitions! After cooling has completed then curing phase begins; here is final step where all prepared instruments used combine their efforts into forming fully usable product ready for consumer consumption across vast array of available uses be them decorative quite calming ceremonial experiences etcetera!
Step Two
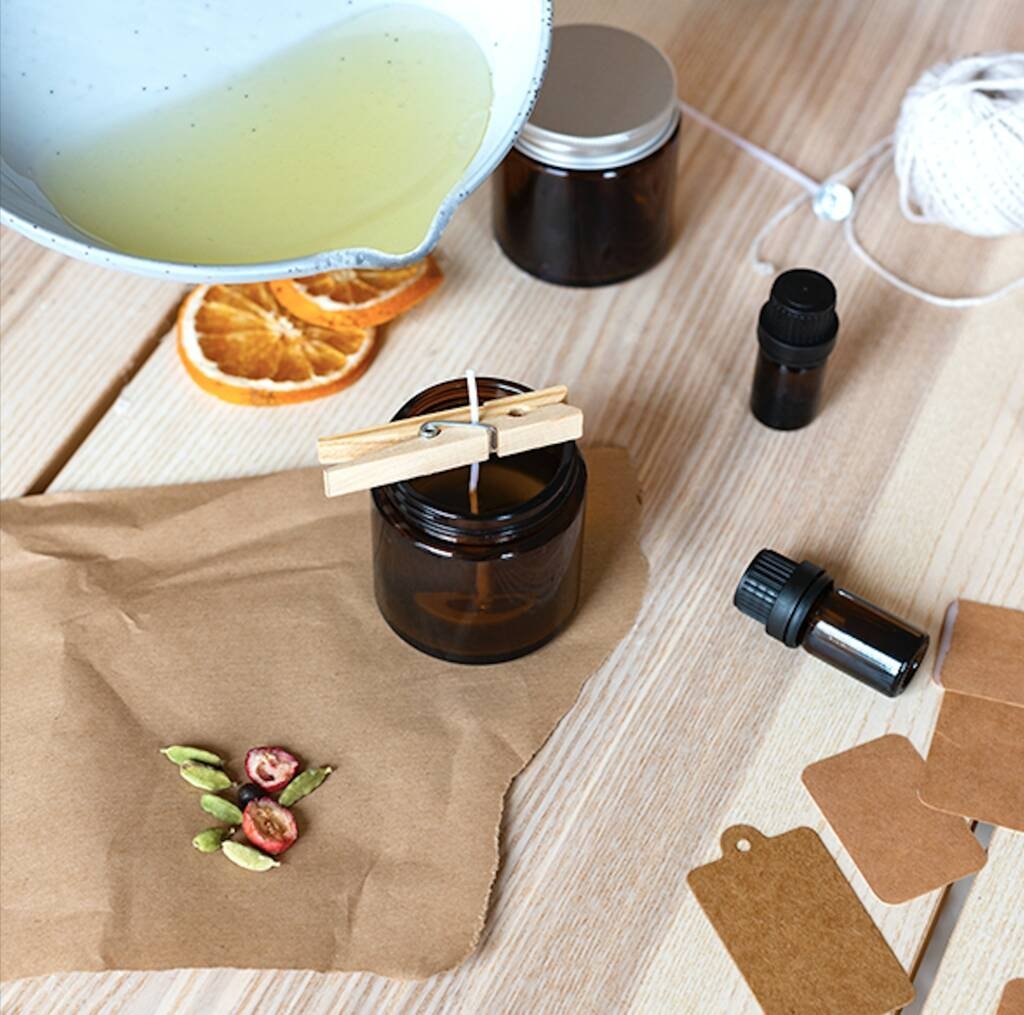
The next step in the process of making a candle is pouring and setting the wax. This must be done very carefully and evenly, since it will affect the shape and quality of the finished product. First, a wick is placed into the container, as this will act as a guide for the wax when poured. Next, any fragrances or essential oils that are desired must be mixed with molten wax that has been melted down. Once these have been mixed together, they should be left to cool down until they reach the desired consistency before being poured into the container. It is important that there is no air left in the container after the wax has been added so that there aren’t any bubbles or areas where the wax may not be distributed evenly. Finally, once all of the air has been released from inside of the container and there isn’t any more bubbling or boiling from within, it should be set aside overnight before being decorated with various finishes such as ribbons and bows, or topped off with a lid if desired.
Step Three
The third step in the candle-making process is to craft the wick and any necessary support structures. This is done by taking a length of string or wire, such as cotton, linen, hemp, or synthetic threads, and dipping it into melted wax several times. The dipped string/wire is then left to cool before being cut to the desired size for adding to your mold. It’s important that the wick material remain upright and centered during cooling from step two so that it’s not off-center when placed in the finished candle. To ensure this handles are often fashioned from aluminum foil which is bent around each end of the wick and pressed firmly into place. Additionally safety collars made from metal rings rolled up around the outside of the chosen container can be added for extra candle stability during burning. This ensures that any wax dripping does not melt away too much before it extinguishes itself!
Step Four
Once the wax has melted, it is time to add the desired colors and aromas to the candle. Most candle makers use either natural dyes or liquid wax dye blocks to color their candles. To choose a dye block size, it depends on how much coloring you want in your candle. Make sure not to add too much color as this can make your candle look muddy or have an unwanted color shift as it burns.
When it comes to scents, most people prefer adding essential oils or artisan fragrances such as lavender, vanilla, rosemary etc. Fragrance oils are often used by candle makers because they create a stronger scent burn than essential oils and don’t dissipate until the end of the burn. Depending on the desired strength of aroma in the finished Candle botanicals and herbs can also be added for decoration inside glass containers such as wax melts and Tea lights. When adding aromatics, do not over saturate them into the wax or it can cause your wick to drown which would make re-lighting impossible!
Step Five
Once your candle mul has been melted and all ingredients are mixed evenly, it’s time to wait for the candle wax to cool and solidify into its finished form. Before you pour the melted wax into a container, make sure you double check that the wick is standing straight up in the center of the mold. After that, you can slowly move your containers around so that wax doesn’t drag off along the edges of your mold as it goes in, giving a more even layer when cooled.
To help the cooling process along, dip your containers and molds in cold water and leave them until the wax has solidified properly. Once fully solidified, gently push them out of their molds using another object such as a spoon or tongue depressed. Don’t grab onto it with your hands because it may still be too hot to handle. Allow your new candles to cool completely before rewarding yourself with some nice smelling candles!
Step Six
After the candle is finished, it is important to inspect the quality and overall appearance. This includes checking for any imperfections in the wax such as cracks or air bubbles. The candle must also be uniform in size, shape and color. If the appearance doesn’t meet expectations, steps may need to be taken to adjust the final product. The wick must also be centered for optimal burning and trimmed if necessary. Any decorations or accents should be checked for alignment and proper adhesion. Finally, a scent should be tested to ensure it is present and appropriate for the type of candle being made.
Conclusion
The process of making a candle may have concluded, but your pleasure in using the candle and spreading the word will only begin. You can show off your candle to friends and family when they visit, letting them experience its pleasant aroma. Invite them to learn more about creating their own lovely candles, forming a new tradition as you go. Make sure to store your candle away from direct sunlight or heat sources, as this ensures that it will last for many years to come. Buy additional supplies from candle-making websites or physical stores in order to make your homemade candles look even better. Don’t forget to take fun photos of you and your friends lighting up special moments with your custom-made creations! Share these photos on social media (with proper credit given) so that others can become inspired by your amazing work. By following the steps of making a candle and some helpful tips in handling it with proper care, you will be able to enjoy plenty of beautiful finishes that are made with true heart and dedication.

Welcome to my candle making blog! In this blog, I will be sharing my tips and tricks for making candles. I will also be sharing some of my favorite recipes.


