Raw Beeswax Candle Making
There is something about the glow of a candle that just feels cozy and inviting. And there is something about the smell of beeswax that is just so calming and relaxing. If you are looking to make your own candles, then raw beeswax is a great option.
Raw beeswax is simply beeswax that has not been melted and filtered. This means that it still has the bee pollen, propolis, and honeycomb in it. This also means that it has a higher melting point, and it is a little more difficult to work with. But it also means that you are getting all of the benefits of the beeswax, including the nutrients, the aromatherapy, and the beeswax itself.
When you are making a raw beeswax candle, you will need to use a double boiler. The first step is to melt the beeswax. You can do this by placing the beeswax in the top of the double boiler and then heating it until it is melted. Once the beeswax is melted, you can add the essential oils. You can also add the honeycomb, the pollen, and the propolis.
The next step is to pour the wax into the candle molds. You will want to make sure that the molds are greased first, or the candles will not come out. You can use vegetable shortening, cooking spray, or beeswax to grease the molds. Then, you can pour the wax into the molds.
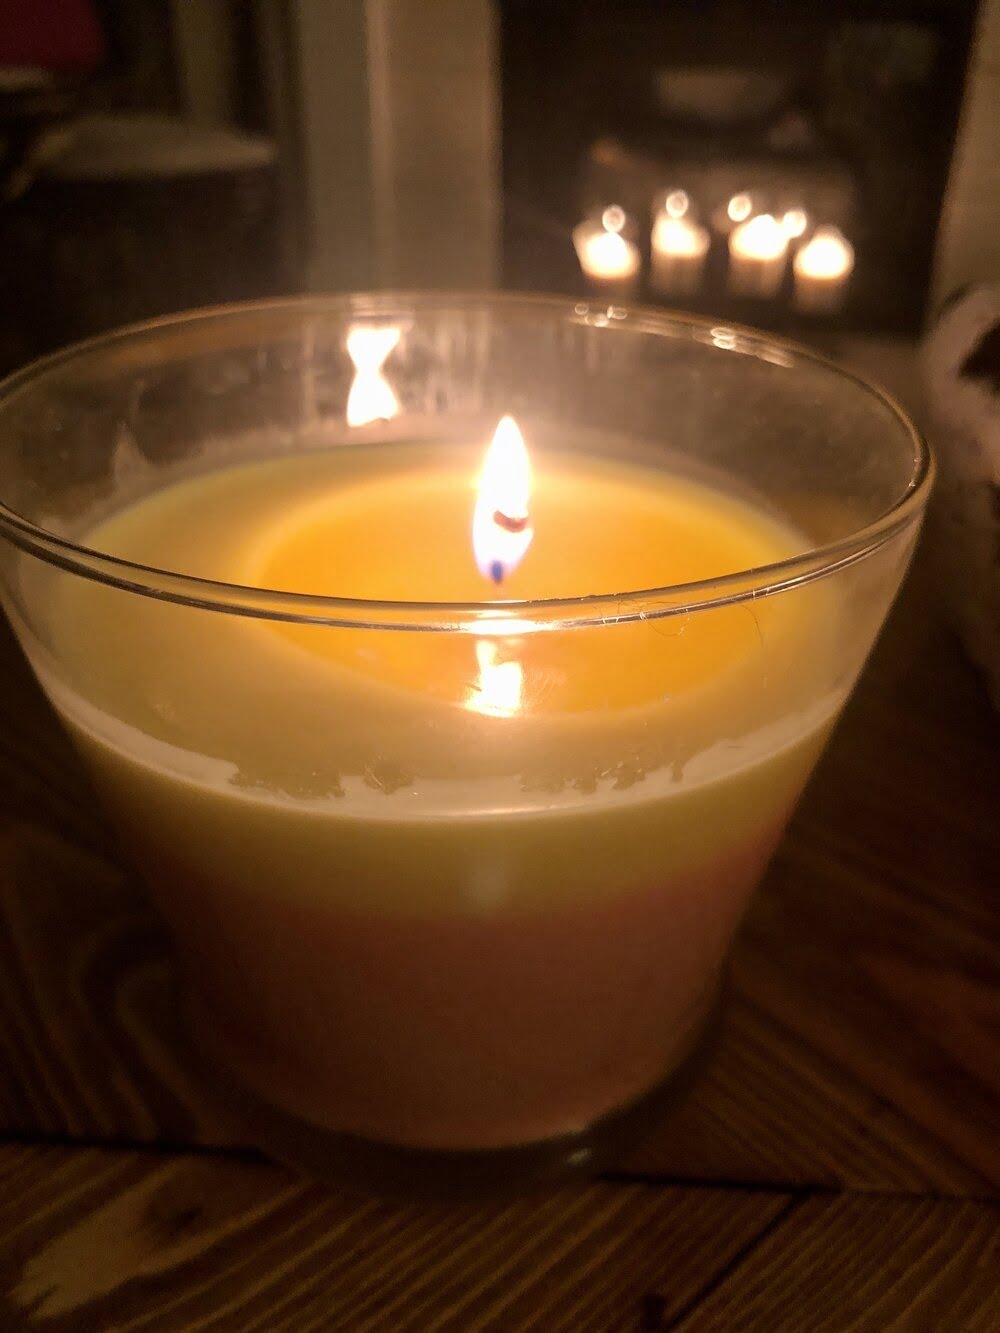
You will need to let the candles cool for a few hours before you can remove them from the molds. Once they are cooled, you can light them and enjoy the cozy glow and the delicious smell.
Making Beeswax Jar Candles
Beeswax candles are a natural alternative to paraffin candles. They are made of beeswax, a natural wax that is produced by honey bees. The process of making beeswax candles is simple and can be done with a few supplies that you may already have at home.
To make a beeswax candle, you will need:
• A jar
• Beeswax
• A wick
• A heat source
The first step is to cut the wick to the desired length. It is important to make sure that the wick is the right length, as too short or too long wicks can affect the performance of the candle.
Next, you will need to melt the beeswax. You can do this using a stovetop or a microwave. If you are using a stovetop, place the beeswax in a saucepan and heat over low heat. If you are using a microwave, place the beeswax in a microwave-safe bowl and microwave for 30 seconds.
Once the beeswax is melted, carefully pour it into the jar. Make sure to pour the beeswax slowly, as it can cause the wax to sputter.
Then, insert the wick into the jar and hold it in place with a clothespin.
You can now place the candle in a warm place and allow the wax to harden. Once the wax has hardened, you can trim the wick to the desired length.
Beeswax candles are a natural and environmentally-friendly way to enjoy candlelight. They burn clean and produce a soft, flickering light.
Essential Oils For Beeswax Candle Making
Candles are a popular item to make at home, and there are many ways to make them. One of the most popular ways to make candles is with beeswax. Beeswax candles have a natural and pleasant smell, and they also produce less soot than other types of candles.
If you are interested in making beeswax candles, you will need to purchase some beeswax. Beeswax is sold at most craft stores. You will also need to purchase some essential oils. Essential oils are oils that have been extracted from plants. They are used to add scent to candles, and they also have therapeutic properties.
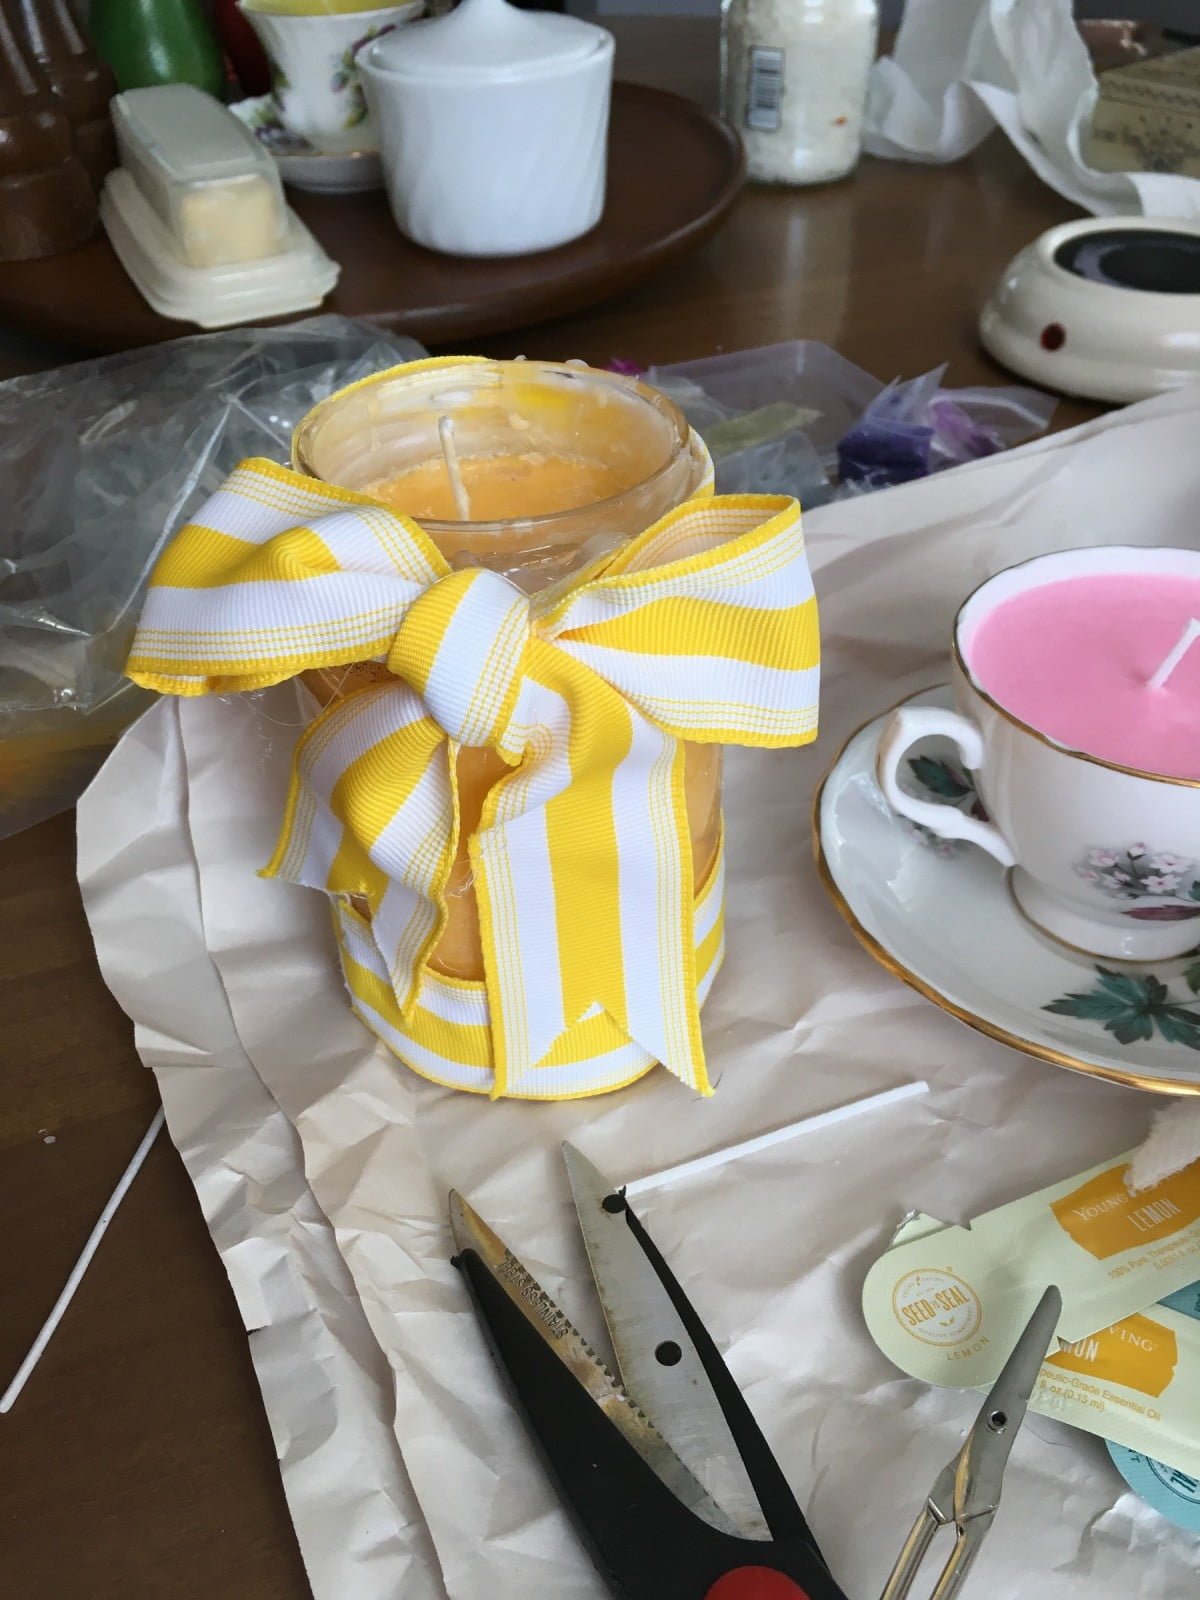
There are many different types of essential oils, and you can choose whichever ones you like. Some popular essential oils for beeswax candles include lavender oil, lemon oil, and peppermint oil.
Once you have purchased the beeswax and the essential oils, you are ready to start making candles. The first step is to melt the beeswax. You can do this by placing the beeswax in a saucepan and heating it over low heat.
Once the beeswax is melted, add the essential oils. Stir the oils into the beeswax until they are well mixed. Then, pour the wax mixture into a mold. You can use any type of mold that you like.
Allow the wax to cool and harden. Once it is hardened, you can remove it from the mold. Your beeswax candle is now ready to use.
Evansville Wi Beeswax Candle Making March 2 2019
Hello everyone!
I’m here to talk about the wonderful world of beeswax candle making! I’m sure many of you have seen those beautiful, intricate candles in store windows and wondered how they’re made. Well, wonder no more! It’s actually a lot simpler than you might think.
The first thing you’ll need is some beeswax. You can get this at most craft stores, or online. I like to use a mix of beeswax and soy wax, but you can use all beeswax if you prefer.
The next step is to melt the wax. You can do this in a pot on the stove, or in a microwave. I usually use a microwave, because it’s a lot faster.
Once the wax is melted, you can add any scent or color you like. I like to use essential oils to scent my candles, but you can use any type of scent you like.
Once the scent is added, you can start pouring the wax into molds. I like to use silicone molds, because they’re easy to clean and they don’t rust.
Once the wax has hardened, you can pop the candles out of the molds and they’re ready to use!
That’s all there is to it! It’s really a very simple process, and it’s a lot of fun to do. So go ahead and give it a try!
Beeswax Candle Making Business
The business of beekeeping and candle making has been around for centuries. The art of candle making is a skill that has been passed down from generation to generation. It is a process that can be quite simple, but also very intricate. There are many different types of candles that can be made, each with their own unique properties.
The first step in candle making is to gather the necessary supplies. This includes beeswax, candle wicks, a heat source, and a container to melt the wax in. The beeswax can be either bought or collected from the hive. The candle wicks can be made from cotton or paper. The heat source can be a stove, microwave, or hot plate. The container can be any type of vessel that can withstand heat, such as a pot, pan, or melting pot.
The next step is to cut the wicks to the desired length. The wicks should be about two inches longer than the desired finished length of the candle. They can be cut using scissors or a knife.
The wicks are then attached to the bottom of the container. This can be done using either a glue gun or a wax pen. The wicks should be glued or waxed to the bottom of the container so that they are standing upright.
The beeswax is then melted in the container. The heat source is set to medium-high heat and the beeswax is melted until it is liquid.
The liquid beeswax is then poured into the container with the wicks. The wax should fill the container to within an inch of the top.
The candles are then allowed to cool and harden. Once they are cool, they can be trimmed to the desired length.
The final step is to light the wicks and enjoy the candles!

Welcome to my candle making blog! In this blog, I will be sharing my tips and tricks for making candles. I will also be sharing some of my favorite recipes.


