Introduction
Candle making involves the process of creating scented or unscented candles with a variety of shapes and sizes. It is an enjoyable hobby that many find to be therapeutic and relaxing, and some have even turned it into a profitable business. Crafted candles can make your home look and smell beautiful, as well as light up special occasions in elegant style. They’re also perfect for decorating different areas of the house with soft, ambient lighting. Candle making is a safe activity for adults and children if safety precautions are strictly followed.
Candle making offers numerous types of benefits both from a design perspective and from the serene feeling it can bring. Through this interesting craft, one can create personalized pieces which will add beauty to any room in their home or work area, with every bowl lit giving off an entirely different atmosphere compared to traditional electric lights. Moreover, candle making exercises creative thinking along with motor coordination skills: children can learn basic safety instructions while crafting attractive pieces that they themselves will take pride in having made; artsy teens can use their imagination to make art pieces out of wax. Adults too can benefit greatly from the therapeutic effects of candle making because it provides stress relief, distraction from annoying daily routines, and helps manage anxiety levels in general. When it comes to safety precautions though there are a few rules everyone must follow such as keeping candles away from combustible materials and sources of heat by placing them at a suitable distance, avoiding homemade wicks not suitable for candle fuel (such as wood) as they tend to catch fire quickly and easily, being aware so that hot wax never makes contact with bare skin since the temperature is usually high enough to cause serious burns if proper caution isn’t taken.
Preparing Your Candle Making Area
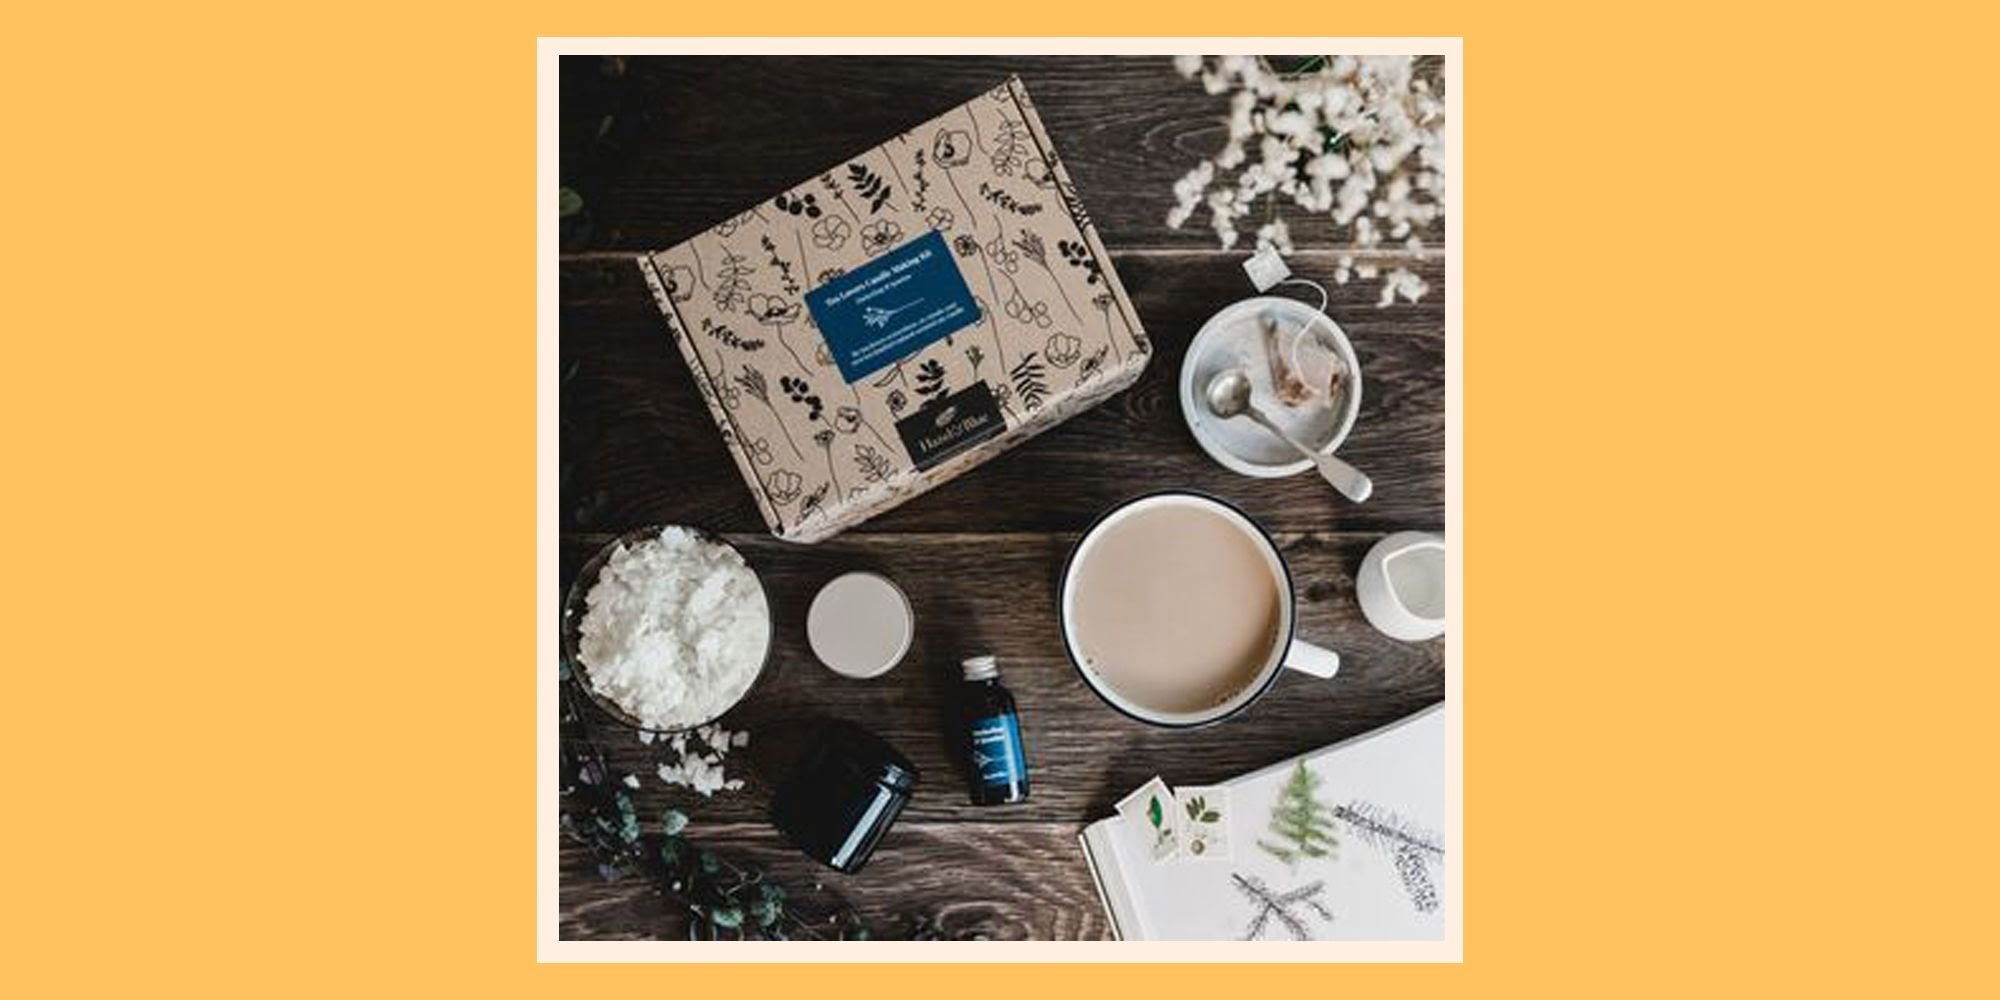
Before you start making candles, it is important to make sure that your candle making area is well-prepared. First, find a safe and flat area that you can use with plenty of space to work in. Make sure that there are no flammable materials around the space, such as curtains or stacks of paper. Gather all the necessary supplies that you will need for the project. These might include wax, dyes, molds, scent oils, wicks, thermometer, mixing bowl and pot for melting the wax. Once everything is gathered, lay out the supplies on an old towel or newspaper and prepare yourself for making some beautiful candles!
Types of Wax for Your Candles
There are many types of wax to choose from when you’re making candles. The most common wax is paraffin, which is derived from petroleum and can be found in craft stores. However, this type of wax has some downsides — it can be messy to work with and releases emissions that could harm the environment. For a more sustainable option, beeswax is made by bees and is the perfect choice for vegans or anyone looking for an all-natural alternative. Soy wax is also popular; this vegetable-based wax is biodegradable and burns cleaner than paraffin. Coconut wax has a milder scent than other waxes and produces longer-lasting, robust flames. There are also alternative options like tallow, gel candles, palm oil, and even wood wicks! It’s important to compare each option’s properties before deciding which one works best for your candle project. If you’re looking for something unique, there are specially formulated blends meant to offer advantages like easier melting points or smooth surfaces. Once you have chosen your ideal base material, you’ll need the right wick size for your candle’s diameter before adding any fragrances or colors. And lastly don’t forget to let your candles cool completely before handling them or gifting them away!
Adding Colour and Fragrance to Your Candles
One of the best ways to enhance your candles is to add colour and fragrance. Both colour and fragrance can be added to paraffin, soy, or beeswax bases in many different forms including dye chips, mica powder, liquid dyes, candle fragrance oil and essential oils.
When selecting which type of colour and fragrance to use for your candles it’s essential to understand the differences between them. Dye chips are small chunks of wax that contain pre-determined amounts of colorant allowing you to achieve consistent results all the time. Mica powders, on the other hand, are a great way to add shimmer, glittery effects and unique hues without tinting your molten wax too much. Liquid dyes come in a wide variety of mixed shades tailor-made for candlemaking applications and can also be used together with dye chips or mica powders to create customized colors.
When it comes to scenting there are two types you can use – candle fragrance oils (preferred by experienced chandlers) and essential oils (the preferred base for more hobbyist makers). Every maker will have their own preference for both colorants and fragrances but ultimately it’s always best practice to follow manufacturer instructions when adding these components into your candles as certain combinations may not work as expected. Finally, don’t forget that even if you already added these components into your wax everything changes once the heat from the flame touches them so never leave an open flame unattended when burning any type of candle!
Anchoring the Wick in Place
Before you begin to make any kind of candle, it is important to properly anchor the wick in place. This step is accomplished by preparing a small hole in the bottom of your container and inserting the wick into it. Secure the wick at the bottom with a bit of molten wax so that it won’t budge during the pouring process. To make sure that the wick stands straight and centered, add a drop of molten wax onto either side and hold the wick tautly until it cools. The anchoring process should be done with care as a poorly anchored wick can disrupt your candle’s structure when you pour the wax later on.
Melting and Pouring the Wax
Melting and pouring your wax is the most important part of making your candles. Before you begin, make sure that you have all of the necessary equipment: a double boiler (preferred), wax melter, wax thermometer, pouring pot, and wick sustainers. If using a double boiler, begin by adding water to the bottom portion and then placing the upper portion on top. Place your wax in the top portion of the boiler and allow it to melt slowly over medium to low heat. If using a wax melter, just add your wax directly into it and turn the heat on low until it melts. Monitor your temperatures closely as too much or too little heat can damage your wax or simply not achieve desired results. After your wax is melted, add any fragrances or colorants that you would like and stir them thoroughly with a spoon. To make sure that you do not overheat the wax, keep an eye on its temperature with a thermometer. Once you’ve reached an optimal temperature for pouring (around 185°F for soft candles), pour the melted liquid into containers near pre-wicked sustainers, enough for each candle that you are making. Make sure to use appropriate safety measures throughout this process as hot molten wax can cause severe burns!
Waiting and Watching
Once the wax is successfully melted and added to the candle vessel, you will need to allow it to cool and set. During this time, it is important to keep a careful eye on the cooling process. If there is too much heat applied too quickly, it can cause whole of formation within the wax as it sets. Too much heat can also cause shrinkage with some types of waxes. Additionally, when placing wicks in your candles be sure to allow for the appropriate amount of wick for each candle size. This helps ensure that your candles burn more evenly and last longer.
Releasing and Removing the Candles from the Moulds
Once the candles have cooled and solidified, you can release them from their moulds. To do this, simply turn them upside down, then push on the bottom. This should cause the candle to slide out. You may need to wiggle the mould a bit if it is stuck. If you are using metal molds, make sure that your hands are dry and not directly touching the metal as it will be hot from being in contact with the warm wax. Once you have removed the candles from the moulds, inspect them for any imperfections such as air bubbles or burns on the wick and trim off any excess wick. You may also want to smooth any rough edges with a file or emery paper before displaying your newly made candles as decorations or gifting them away as presents.
Decorating Your Candles
One easy way to decorate your candles is with wax chips. To do this, place your chosen wax chips onto a piece of parchment paper over a baking tray in whatever design or pattern you desire. Place the baking tray into an oven preheated to 250°F and heat for around 10 minutes. The wax will begin to melt, so remove it from the oven and quickly press it onto the candle while it’s still warm.
To further personalize your candle, consider adding oil-based fragrances to your melted wax. Start by adding between 1-3 ml of fragrance oil and stir it thoroughly into the melted wax before pressing them onto the candle’s surface. As well as providing pleasant aromas, scented oils can also change the overall appearance of your candles, providing vibrant colors or glittery coats depending on what type of oil you choose. You can even combine scents to create unique aromas that match any decoration or room in your home!
Finishing Touches and Display Ideas
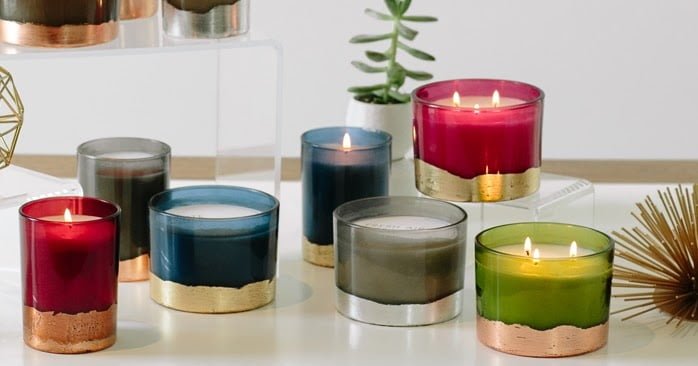
Finishing touches and display ideas for your homemade candle are completely up to you and depend on the materials you have at hand. If you used wax chips as your base, consider melting it into a small votive or decorative cup for easy use. You can also pour your melted wax into mold forms to create pillar candles, jar candles, and more. To give the candles a unique scent, try adding essential oils or fragrances that correspond to the decor of the room they’ll be placed in. To make your candles look even more beautiful, try dripping several colors of wax around a melted core and let cool. This will give you an eye-catching striped effect! Additionally, you can embed plastic trinkets and pieces of herbs within the layers of hot wax to further customize each masterpiece. Finally, find creative ways to display them around the home to make a statement piece. They could be hung up as wall decorations or grouped with other objects as part of a centerpiece.
Common Candle Making Mistakes and How to Fix Them
Making a candle may seem like a simple task, but there are mistakes that can be made that can turn the process into a nightmare. Listed below are some of the most common candle making mistakes and how to fix them.
1) Not Using the Right Temperature for Melting Wax: Candles require high temperatures to melt wax evenly. To ensure that this is done properly, it is important to measure and maintain consistent temperatures during the melting process. If the wax isn’t heated enough, it will never reach its full melting potential, resulting in an uneven surface on your finished candle. Use an oven thermometer or digital temperature gauge to help you maintain an accurate temperature throughout the melting process.
2) Pouring Candle Wax Too Quickly: It is essential not to rush when pouring hot wax into a mold or container. If you pour too quickly, you’ll create air bubbles on the surface which can give your candle an unattractive appearance. Allow each layer of wax to cool before adding another layer in order to avoid trapping air beneath the surface. You should also pay close attention when pouring into larger containers as they require more time for complete cooling before adding additional layers of wax.
3) Not Letting Candles Cool Down Fully Before Removal From Mold: Allowing your candles to cool down completely removes any possibility of damage while they’re removed from their molds. This will also keep them from cracking or simply disintegrating after removing from their molds if they weren’t cooled correctly beforehand. Make sure you let your creation sit for at least four hours in total before trying to remove them from any kind of moulds or containers used during their creation process.
4) Ignoring Wicks: The placement of wicks plays a major role in making successful candles, so it’s important not forget about them during production! Incorrectly positioning wicks will NOT only lead your candle looking unappealing with dipping wicks spoiling its presentation – but incorrect positioning will result in inefficient burning which means shortened burn times and less scent delivery! Make sure you re-position your wick regularly during production, paying attention when measuring depths and avoiding any crookedness along the way – Only then will you get flawless results!
Tips for Selling and Promoting Your Candles
Selling and promoting your candles can be a great way to turn candle-making from a hobby into a profitable business. Here are some tips to help you get started:
1. Create an eye-catching display: Position your candles in a visually appealing manner either on shelves or tables. Use bright and/or seasonal colors to attract customers’ attention. Use signs, tags, and banners to describe what makes your product special and different from others in the market.
2. Utilize online platforms: With the use of social media and online channels, you can reach thousands of potential buyers even when they’re not in your physical store or shop. You should create attractive content that shares the story of why you love making candles and shows off your creations, along with providing advice on using them.
3. Take advantage of local events: Participating in local craft fairs, farmers markets, trade shows, business conventions, and other events is also a great way to showcase and spread awareness about your products. Additionally, be sure to research networking opportunities; these could help extend your reach even further.
4. Offer discounts or promotions: Offering incentives like discounts or promotions motivate customers to try out your new products so that they stick around for more once they have seen their value for themselves. To encourage repeat visits make sure that the discounts offered are reasonable and enticing enough for people to invest in something they already know they love!
Concluding Thoughts
Once you have finished your first candle making project, you can move on to more advanced projects such as scented candles and variety of colors. Adding scent to the candle wax can be a great way to personalize your creations by adding a unique flare that will fill the air and make for pleasant aromas. You can also try experimenting with different types and colors of wax to produce different effects when the candle is lit. Fancier molds, such as for animals or holiday shapes, will allow even more creativity in your crafts. Have fun testing glitters and other additives as well! Playing around with these options is part of the fun of candle making and will allow you to explore different ways of bringing personality into your creations. Be creative while still following safety guidelines and let yourself create something truly beautiful. Above all else, enjoy the process!

Welcome to my candle making blog! In this blog, I will be sharing my tips and tricks for making candles. I will also be sharing some of my favorite recipes.


