Introduction to Soy Candle Making
Soy candles have become increasingly popular in recent years as candle crafters opt for a more natural alternative to the traditional paraffin based candles. One of the reasons why soy candles are so appealing is that they are generally made using non-toxic materials and produce minimal smoke or soot after burning – making them far healthier for you and your environment.
There are several techniques that you can use when making soy candles, depending on your preferences and level of expertise. As with any craft, it is important to understand how each technique works and what materials and supplies are needed.
The two main methods for making soy candles are container candle-making and molded candle-making. When container candle-making, a wax mixture of soy wax flakes, dye chips, and fragrance oils are melted together in a pan or electric pot before being poured into metal tins or glass jars to cool down and form the candle shape. Molds can also be used to create unique shapes such as spiral styles or figurines using crayon pieces or special molds available from craft stores. Additionally, many people prefer to make their own molds out of aluminum foil which can easily be re-used time and time again.
Both methods involve melting the wax components (soy wax flakes, dye chips, fragrance oils etc) together in an enclosed heating system such as a double boiler before stirring until all ingredients are fully incorporated into the blend. Next its wick tabs must be secured at the bottom of each plastic or metal collared wick before being placed inside its intended vessel before pouring in the melted wax mixture. Finally cool down times must be taken into consideration depending on what type of mold was used – generally overnight cooling is recommended. After cooling time has passed, any extra overspill you get from wastage around the sides of the original containers can then be melted down again and stored into containment vessels ready for re-use again at any point in time!
Gather the Supplies
Before beginning your soy candle making project, gather all the supplies you will need. It’s important to research the materials so that you can make sure you have high quality ingredients which will result in a strong and long-lasting candle.
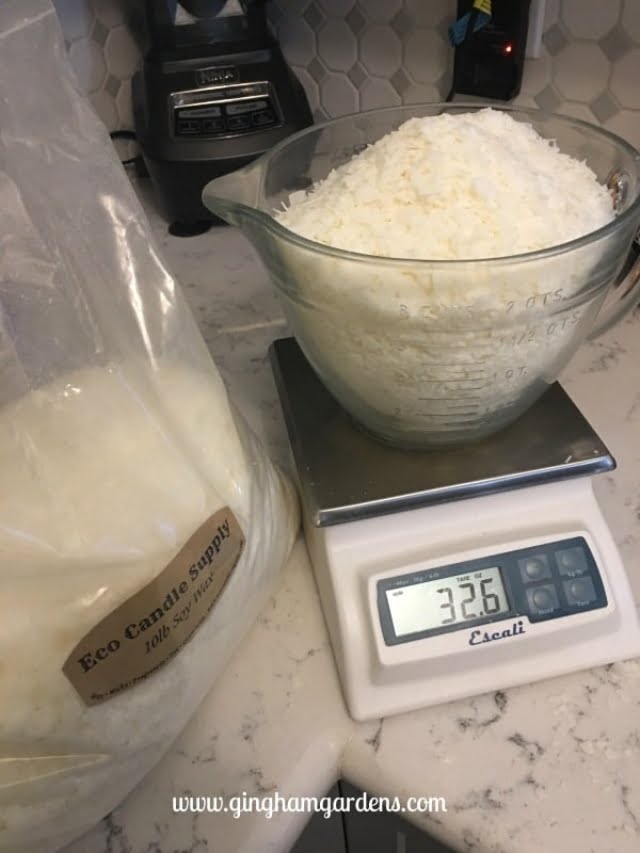
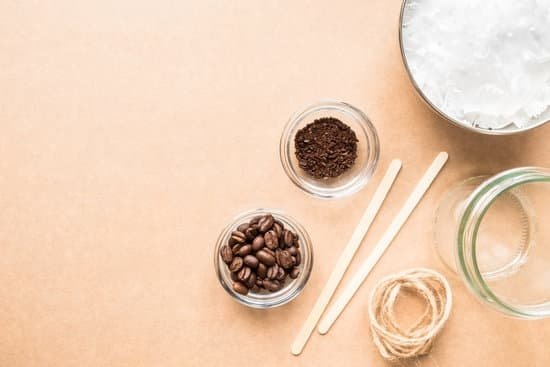
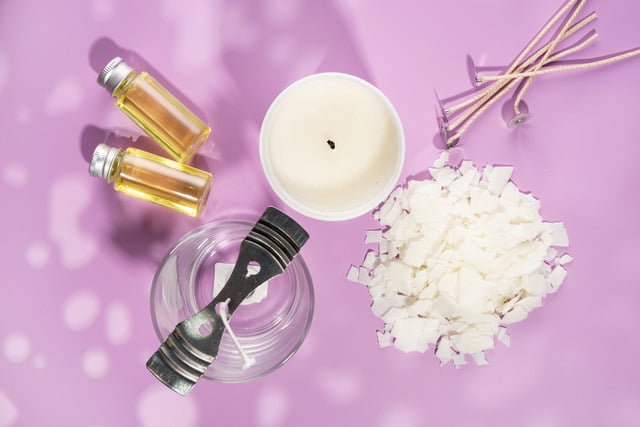
You will need soy wax, fragrance oils or essential oils, wicks, jars or tins, melting pot (such as a double boiler), stirrers, thermometer (for measuring wax temperature), and scissor for trimming the wicks. Depending on what type of scent or look you would like for your candle, you may also want to include ingredients such as dye chips or additional wax additives.
For basic kits and tools many craft stores carry these items but if this is your first time getting into candle making, it might be best to purchase some suggested kits offered by specialized retailers specifically made for novice candle makers. You can find these kits online as well as in select craft stores. Additionally, if you are looking to source recycled containers, try second-hand stores or sites like Etsy where independent creatives sell their products.
Prepare the Soy Wax
Soy wax needs to be melted down before it can be used for candle making. Prepare a double boiler by filling a pot or bowl with hot water, and placing a smaller bowl containing the soy wax on top of the pot or bowl. Heat the facility on low heat and melt down the entire mass until it liquefies. Stir regularly and check the temperature of the wax with a thermometer to make sure that occurs between 85-110 Degrees Celsius. If necessary, add the desired additives such as fragrances or dyes one at a time, stirring regularly and verifying any changes in temperature are appropriate before adding more materials. Once all ingredients have been added and temperatures are correct, remove from direct heat.
Creating the Scent
Creating your own custom scent for your candle can be a fun and rewarding experience. Here are some tips for picking a signature scent for your homemade soy candles:
– Start simple: when building a personalized aromatic blend, create the base with two or three natural oils such as vanilla, citrus, peppermint, lavender, etc. This provides a foundation you can work from to adjust intensity and nuances.
– Have fun experimenting: With different combinations of essential oils and fragrances; play around to make your personal creation. If you don’t have certain scents on hand, borrow from friends or feel free to explore using premade scented oils available online or in craft stores.
– Get creative: You can pair complementary scent notes like jasmine and sandalwood, or unexpected ones like spearmint and cardamom. Consider adding top notes such as clove or cinnamon to stand out at first while creating balance with bottom notes like woodsy scents that linger after the wax has melted away. Fragrance oils often provide the most robust scents that last throughout the entire burning process since they don’t evaporate as quickly as many essential oils do.
These tips should help get anyone well on their way to concocting the perfect custom scent for their own soy candle vision!
Pouring and Finishing the Candle
Pouring the Wax: To get started with pouring the melted wax into your container, first gather your supplies and set up your safe and secure workspace. Check that you have all of the materials you need (measuring cup, thermometer, wick tab, wick etc.) before melting the wax in your double boiler. Once melted, let the temperature stabilise around 180-200 degrees Fahrenheit, and then slowly and carefully pour the wax into your jar or container. Aim for a steady stream of wax during this process.
Finishing the Candle: When the container has been filled with wax take a metal skewer or chopstick and stir it around inside the candle; this helps release any air bubbles from within. If there is excess wax on top of your candle let it cool slightly until you can mold it to your desired shape with a paper towel or spoon/spatula. When everything looks as you’d like replace the wick tab and attach it to a new length of pre-treated wick that runs down to the bottom of your candle container; letting each piece curl naturally once secured by dabbing hot glue onto both ends. You may want to cut off some excess wick at this stage before enjoying a few hours later when installation is complete!
Troubleshooting Tips: Should any issues arise during either pouring or finishing stages – such as too much dripping wax onto other parts – try using kitty litter to absorb moisture; this will help keep surfaces relatively clean. After cooling, try tackling any stubborn drips with a paper towel or knife by scraping off gently. Finally, should you have an issue such as having an uneven burn pool after lighting – try trimming back some of the overhanging wick bits or relighting for better results!
Adding Aesthetic Touches
One way to add aesthetic touches to a homemade soy candle is adding layers or colors of wax. This can be done by pouring the wax in two colors for a marbled effect. One way to achieve this look is to melt down two types of wax, then pour the darker colored wax into a metal mold first. Once that layer has hardened, you can pour the lighter colored wax in carefully so that both colors have a visible presence and make sure they swirl nicely together once poured.
You could also try adding dyes or scented oils such as jasmine or orange essence for visual and oil interest. Color dyes are usually best added before you begin melting the wax so it will dissolve evenly throughout the mixture. Essential oils can be added directly after melting, but just make sure it gets stirred in properly for even distribution. You can also use paper inserts or floating decorations inside the molten wax as an interesting and unique accent once cooled with the lid off. Additionally, herbs, spices and petals can be combined together before being added to your candle providing a beautiful scent and delightful visuals – like heavenly rose petal candles!
Storing and Packaging the Candles
Storing and packaging your soy candles is very important in order to maintain their quality and integrity. Make sure the area you store them in is free from heat and humidity, as the wax can be affected by these elements. Once your candles have cooled, it’s time to package them up for sale or gifting. You’ll need something to display your candles on or inside of, such as boxes, decorative baskets and trays with dividers. Add labels that say what type of candles they are so that customers know exactly what products they are getting. Price tags are important for sales and any other directives about how to handle or use the candles should be included too. If giving away as gifts, add a beautiful bow or ribbon around the packaging to make it more special.
Conclusion
Soy candle making, while a bit of an involved process, is a great way to create something unique and special. It involves a little bit of science, some hard work, and plenty of patience. But, crafters can experiment with fragrances and colors to truly customize their soy candles in stunning ways. The key takeaways when creating your own soy candles are the following: use good quality supplies; always be sure to use a thermometer; use the proper wax-to-fragrance ratio; practice safe melting techniques; let your wax cool before adding scent; and give yourself enough time to complete the project! With these tips, you’ll be able to create beautiful soy candles that will bring fragrance and life into any room.

Welcome to my candle making blog! In this blog, I will be sharing my tips and tricks for making candles. I will also be sharing some of my favorite recipes.


