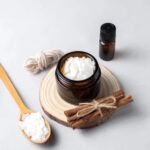
Candle making is a popular DIY project that allows individuals to express their creativity while creating personalized and therapeutic home decor. The process of making candles can be both relaxing and fulfilling, providing a sense of accomplishment as well as the opportunity to tailor scents and designs to individual preferences.
In this article, we will explore the essential materials needed for candle making, safety precautions to take when working with hot wax and fragrance oils, and the step-by-step instructions for creating beautiful homemade candles.
The appeal of candle making lies in its ability to provide an outlet for creativity while also serving as a soothing and meditative activity. Many people find joy in the process of crafting something with their own hands, from selecting the materials to customizing the final product. Additionally, candle making offers the chance to create unique gifts or products for personal use that cannot be found in stores.
However, it’s important to approach candle making with caution due to the potential hazards associated with handling hot wax and other flammable materials. By following safety guidelines and understanding how to prevent accidents during the candle making process, individuals can enjoy this hobby without compromising their well-being. With the right knowledge and preparation, anyone can successfully embark on this fulfilling DIY endeavor.
Essential Materials Needed for Candle Making
When starting a candle-making project, it is important to gather all the necessary materials beforehand. The key items needed for making candles include wax, fragrance oils, wicks, a double boiler or melting pot, a thermometer, and a heat source. Additionally, you will need containers or molds to pour the melted wax into and colorants if you want to add a pop of color to your candles.
Wax is the main component of any candle, and there are various types to choose from. Soy wax is popular for its clean-burning properties and eco-friendly nature. Beeswax has a natural sweet scent and produces a beautiful warm glow when lit. Paraffin wax is affordable and readily available, making it a common choice for beginners. For those interested in more sustainable options, coconut wax and rapeseed wax are also viable choices.
When it comes to purchasing these materials, there are many retailers that cater specifically to candle-making supplies both in-store and online. Those looking for eco-friendly options may also consider sourcing organic or sustainably-produced ingredients from specialized vendors.
| Material | Description |
|---|---|
| Wax | Main component of candles; comes in various types such as soy, beeswax, paraffin, coconut, and rapeseed |
| Fragrance Oils | Adds scent to the candles; available in a wide variety of aromas |
| Wicks | Elongated string used for lighting the candles; come in different sizes depending on the diameter of the container/mold |
| Double Boiler or Melting Pot | Used for melting the wax without direct heat exposure; can be substituted with a heat-resistant glass bowl placed over a pot of water |
Remember that safety should always be prioritized when working with hot wax and other materials. It is important to follow proper guidelines and handle heat sources carefully during the candle making process.
These essential materials serve as the building blocks for creating beautiful homemade candles which can then be customized based on personal preferences regarding scents, colors, textures, and shapes.
Safety Precautions for Candle Making
When it comes to making candles at home, safety should always be a top priority. Working with hot wax and fragrance oils can pose potential hazards, so it’s crucial to follow safety precautions to ensure a safe and enjoyable candle making experience.
Importance of Following Safety Guidelines
One of the most important steps for candle making is to carefully adhere to safety guidelines. This includes working in a well-ventilated area to avoid inhaling fumes from the melting wax and ensuring that all flammable materials are kept away from heat sources. It is also essential to wear protective gear such as gloves and aprons to prevent accidental burns.
Tips for Handling Heat Sources
Using heat sources such as double boilers or hot plates can significantly reduce the risk of accidents during the candle making process. Always make sure to handle these heat sources with care, keeping them away from any flammable materials or surfaces. Additionally, never leave hot wax or melting equipment unattended to avoid potential fire hazards.
Preventing Accidents During Candle Making
Accidents can easily happen when making candles, especially if proper precautions are not taken. It’s important to be mindful of hot equipment and molten wax at all times to prevent spills and burns. Keeping a first aid kit on hand is also advisable in case of minor mishaps such as small burns or cuts.
By following these safety precautions when making candles, you can enjoy the creative process without putting yourself or others at risk. Prioritizing safety will ensure that your candle making experience is both satisfying and safe.
Choosing the Right Wax for Candle Making
When it comes to candle making, choosing the right wax is a crucial step in the process. There are several types of wax available, each with its own unique properties and characteristics. The most popular options include soy wax, beeswax, and paraffin wax, among others. The choice of wax will impact not only the appearance of the finished candle but also its burn time and scent throw.
Soy wax is a favorite among many candle makers due to its natural origins and clean-burning qualities. It is derived from soybean oil and is biodegradable, making it an environmentally friendly option. Beeswax, on the other hand, is a natural wax produced by honeybees. It has a naturally sweet aroma and long burn time, making it ideal for high-quality candles.
Another common option is paraffin wax, which is derived from petroleum. It is known for its ability to hold color well and provide strong scent throw when used with fragrance oils. However, some may prefer to avoid paraffin wax due to environmental concerns.
Consider your priorities and preferences when selecting a wax for your candles. Whether you prioritize sustainability, scent throw, or specific aesthetic qualities, there is a type of wax that will align with your vision for your homemade candles.
| Wax Type | Properties |
|---|---|
| Soy Wax | Natural, clean-burning, biodegradable |
| Beeswax | Natural origin, sweet aroma, long burn time |
| Paraffin Wax | Holds color well, strong scent throw with fragrance oils |
Step-by-Step Instructions for Candle Making
Gathering Materials
Before starting the candle making process, gather all the necessary materials and equipment. This includes wax, fragrance oils, colorants, melting pot, thermometer, wicks, and containers or molds for the candles. Make sure to work in a well-ventilated area and cover surfaces to protect them from spills.
Melting the Wax
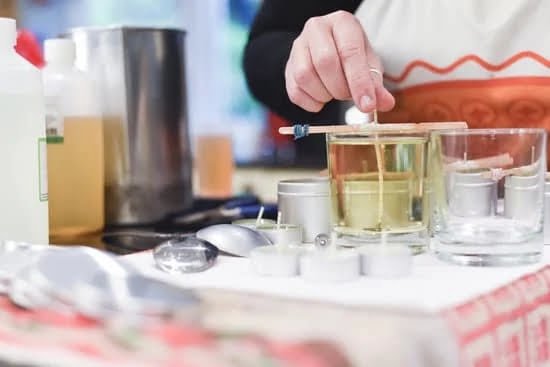
The first step in making candles is melting the wax. Place the desired amount of wax into a clean melting pot and heat it on a stovetop or using a double boiler method. Use a thermometer to monitor the temperature and ensure that it reaches the proper melting point according to the type of wax being used.
Adding Fragrance and Pouring
Once the wax is fully melted, remove it from the heat source and stir in your chosen fragrance oils and colorants. For scented candles, add about 1 ounce of fragrance oil for every pound of wax. Then carefully pour the wax into your chosen containers or molds.
After pouring, allow the candles to cool and harden completely before trimming the wicks to an appropriate length. Following these steps for candle making will ensure that you create beautiful, personalized candles for yourself or as thoughtful gifts for others.
Troubleshooting Common Candle Making Problems
When making candles, it’s not uncommon to encounter certain issues that can affect the quality and appearance of the finished product. Fortunately, many of these problems have simple solutions that can help you salvage your candles and improve your candle making skills. Here are some common candle making problems and how to troubleshoot them:
1. Sinkholes: Sinkholes are indentations or sunken areas that can form on the surface of a candle as it cools. To prevent sinkholes, ensure that you pour your wax at the right temperature and avoid moving or jostling the candles as they cool.
2. Tunneling: Tunneling occurs when a candle burns straight down the center, leaving excess wax around the edges. To prevent tunneling, make sure to trim the wick to the appropriate length before burning the candle for the first time.
3. Frosting: Frosting is a crystalline pattern that appears on the surface of some types of wax, particularly soy wax. While frosting doesn’t affect a candle’s burn quality, it can be undesirable in terms of appearance. To minimize frosting, try using a smoother container or cooling your candles at a slower rate.
By understanding these common candle making problems and their solutions, you’ll be better equipped to create beautiful, high-quality candles without worrying about potential issues ruining your hard work. Keep these troubleshooting tips in mind as you continue to develop and refine your candle making skills.
Decorating and Personalizing Candles
When it comes to candle making, the fun doesn’t stop at creating the perfect scent and color combination. Personalizing and decorating your homemade candles adds a unique touch that sets them apart from store-bought options. Here are some creative ideas for customizing and decorating finished candles:
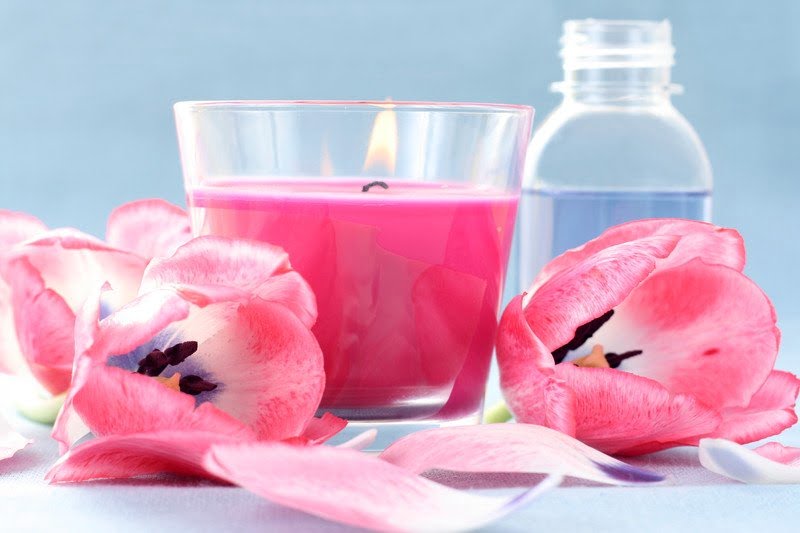
- Adding dried flowers or herbs: Embedding dried flowers or herbs into the surface of your candle creates a beautiful, natural look. Whether you choose lavender buds, rose petals, or eucalyptus leaves, this technique adds an elegant touch to your candles.
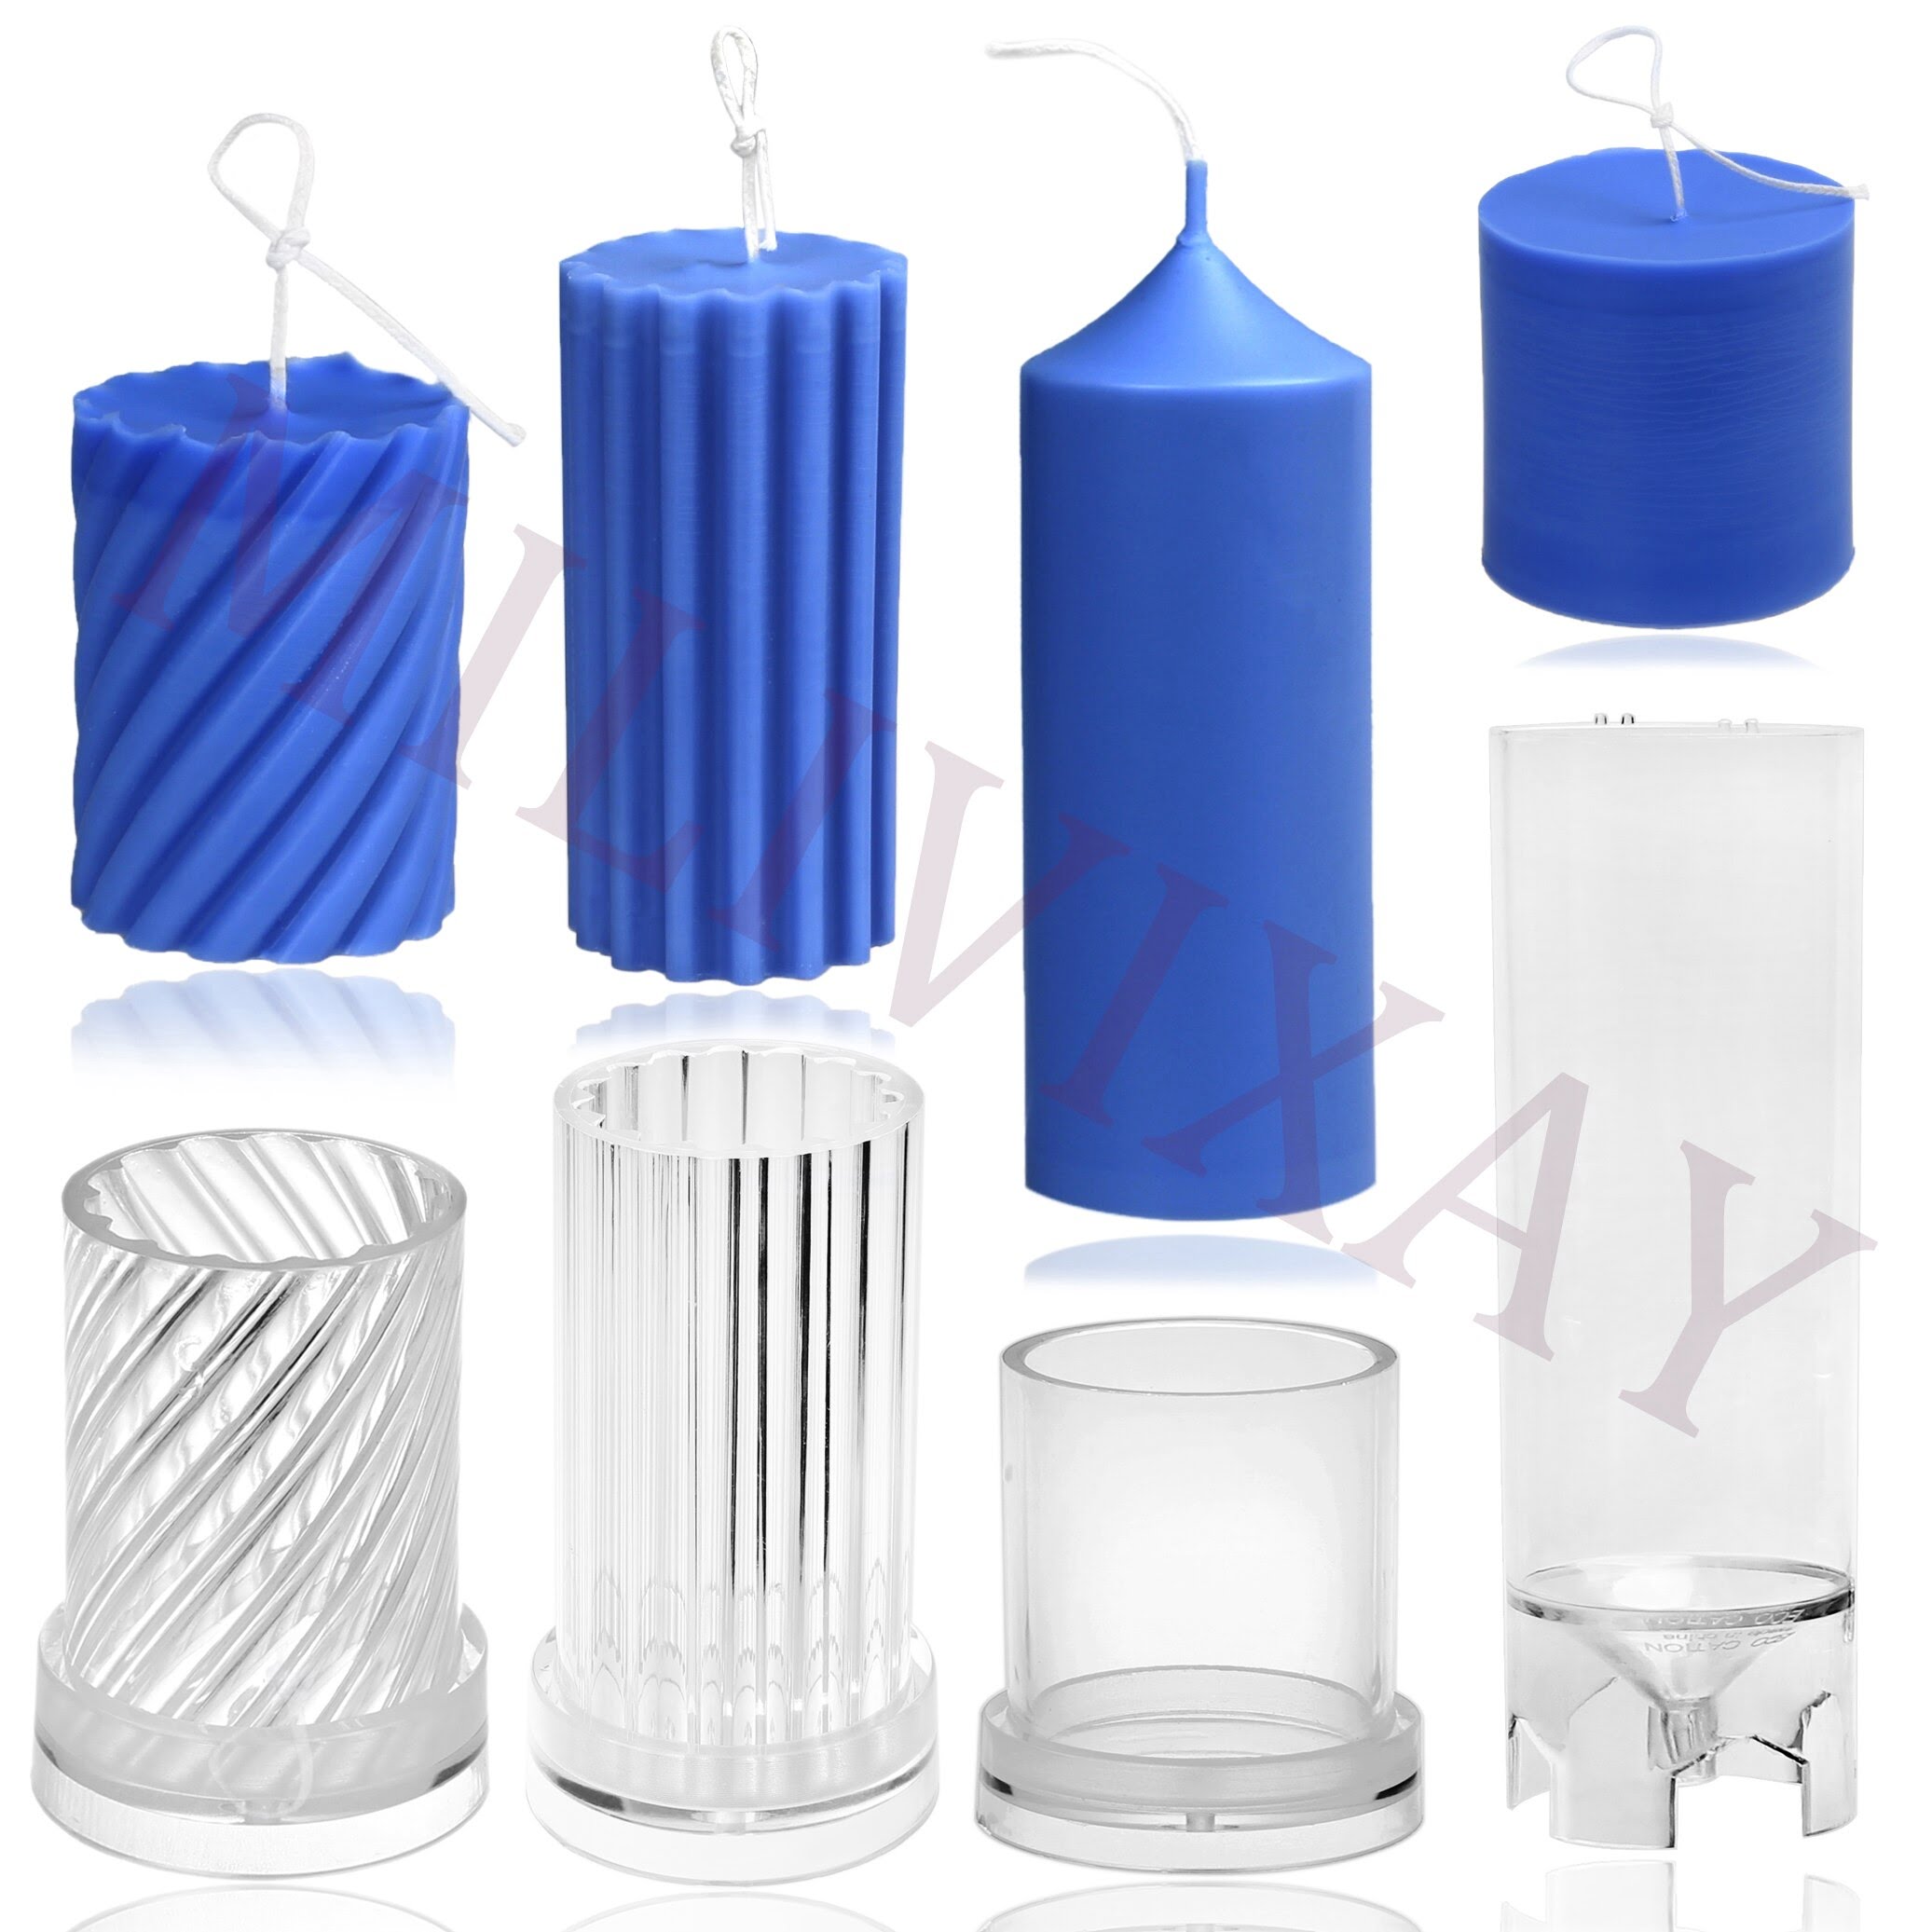
- Using decorative molds: Choose molds with intricate designs to create visually stunning candles. From geometric shapes to floral patterns, decorative molds can elevate the aesthetic appeal of your candles.
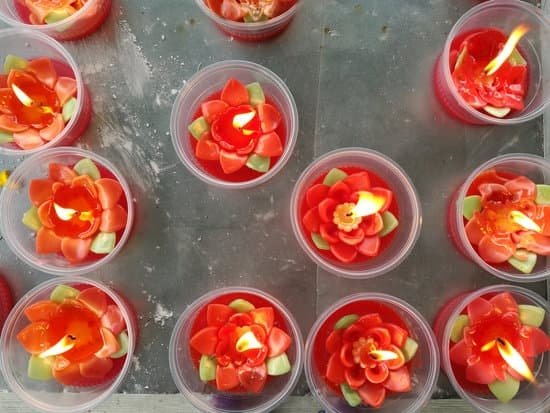
- Experimenting with unique textures: Consider experimenting with different textures to give your candles an interesting visual effect. You can achieve this by using techniques like marbling or layering different colored waxes.
- Embellishing with ribbons and charms: Attaching ribbons, beads, or small charms to the base of your candles can add a personal and stylish flair. This is a simple yet effective way to customize the look of your homemade creations.
These are just a few of the countless ways you can personalize your homemade candles. Get creative and experiment with various techniques to find what best suits your style and preferences.
Whether you’re making candles for yourself or as gifts for loved ones, adding these personalized touches will make them even more special. Remember that the possibilities are endless when it comes to customizing and decorating candles, so don’t be afraid to let your creativity shine through.
Storing and Caring for Homemade Candles
After completing the fulfilling process of making your own candles, it is important to properly store and care for them to ensure their longevity and optimal performance. Storing homemade candles in the right conditions can help maintain their shape, color, and fragrance over time. To effectively store and care for your candles, follow these important steps for candle making.
Firstly, it is essential to keep candles away from direct sunlight and heat sources. Exposure to sunlight and extreme temperatures can cause the wax to melt or fade in color, affecting the overall appearance of the candle. Additionally, storing candles in a cool, dry place will prevent them from becoming misshapen or soft.
Furthermore, when storing homemade candles, it is crucial to protect them from dust and debris that can accumulate on the surface. Placing each candle in individual plastic bags or wrap can help keep them clean and free from any unwanted particles. This simple step can maintain the visual appeal of your homemade candles.
Lastly, when it comes to caring for your homemade candles during use, remember to always trim the wick before lighting them. Keeping the wick trimmed to about ¼ inch helps control the size of the flame and prevents excessive smoking.
Additionally, always extinguish your candle by using a snuffer instead of blowing it out to avoid hot wax splatter or potential damage to the wick. Following these steps for candle making will ensure that your homemade creations continue to bring warmth and beauty into your space for a long time.
Conclusion and Final Tips for Candle Making
In conclusion, candle making can be a fulfilling and enjoyable DIY project for individuals looking to explore their creative side. Not only does it provide a therapeutic outlet, but it also allows for the creation of personalized and unique candles that can be enjoyed or gifted to others. By following the essential materials needed for candle making and adhering to safety precautions, enthusiasts can embark on this rewarding journey with confidence.
For those just beginning their candle making journey, it’s important to remember that choosing the right wax is crucial in achieving the desired results. Whether opting for soy wax, beeswax, paraffin wax, or other popular options, understanding their unique properties and considering personal preferences is key.
Additionally, following step-by-step instructions for candle making is essential in ensuring a successful outcome. From melting the wax to pouring it into molds and adding fragrance oils or colorants, attention to detail is paramount.
Finally, as with any DIY project, troubleshooting common candle making problems may arise. Sinkholes, tunneling, and frosting are just a few issues that can occur during the process. However, by being equipped with solutions and preventative measures, these challenges can easily be overcome.
With proper storage and care of homemade candles in mind, enthusiasts can enjoy their creations for an extended period of time while appreciating the fruits of their labor. For those interested in delving deeper into the world of candle making techniques and inspiration for new projects, additional resources are readily available for further exploration.
Frequently Asked Questions
How to Make a Candle Step by Step?
Making a candle step by step involves gathering your materials, melting the wax, adding color and fragrance if desired, setting the wick, pouring the wax into a mold, and allowing it to cool and set before trimming the wick.
What Is the Formula for Candle Making?
The formula for candle making involves combining wax, fragrance oils or essential oils, and dyes if desired. The exact formula may vary depending on the type of wax being used and personal preferences for scent and color.
How Do You Start Off Making Candles?
To start off making candles, gather all necessary materials such as wax, wicks, a double boiler or melting pot, fragrance oils or essential oils, and any desired dyes. Then, decide on a type of candle to make (such as pillar or container), and begin by following a basic candle making tutorial or recipe to get started.

Welcome to my candle making blog! In this blog, I will be sharing my tips and tricks for making candles. I will also be sharing some of my favorite recipes.

