Introduction
Taper candles are some of the most classic and elegant candles that can be made, and they require a special mold to make them properly. Taper candle making molds come in different sizes and shapes, with round molds being the most common. The production of taper candles using these molds is a fairly simple process, but the right technique is essential for creating perfect looking shapes. With just a few tools and materials, you can make beautiful tapers in any shape or size you desire.
To begin making your new taper candles, you will need to get a good quality mold. These molds can be made from various materials including plastic, silicone or metal, although plastic is the most commonly used material for beginners. Make sure that your mold has some type of wicking system installed such as small holes at the bottom for easy access of the candle’s wick material when pouring melted wax into it. You may also want to invest in a dedicated heat source such as an electric furnace or candle heater so that you have precise control over the temperature during production. Additionally, other materials such as fragrances, colors, and additives may be added to create unique tapers for any occasion! Be sure to research how much wax should go into each mold based on its size before beginning; this will help ensure that your finished products are built with strong walls that won’t break easily while burning. Lastly, practice safety techniques while melting and pouring wax such as wearing gloves or using protective eyewear. Once everything is set up properly and safety practices are observed it’s time to get creative!
Types of Molds
Taper candle making molds come in a variety of shapes and sizes to suit any need. Commonly used molds include tapered cylinders, conical, star, and circular molds. They can also be used to create complex designs such as flowers or chandeliers. Depending on the desired design, one may find plastic molds for instance for a small budget crafting project, or metal molds for more intricate detailing. Choosing the right material is important when considering heat distribution and air gaps during the pouring process for a clean, natural finish to the melted wax. Additionally, many people decide to use silicone rubber molds due to their flexibility and ease of releasing finished candles from their inner cavity. Regardless of which type you choose, it is often recommended not to re-use taper candle making molds since they tend to lose detail after every use due to wear-and tear.
Techniques
Taper candle making molds are an essential tool for a home candle making enthusiast. They allow you to quickly and easily shape the wax into uniform, easy-to-work with candles. With the right technique, you can get professional looking results every time that will last for years.
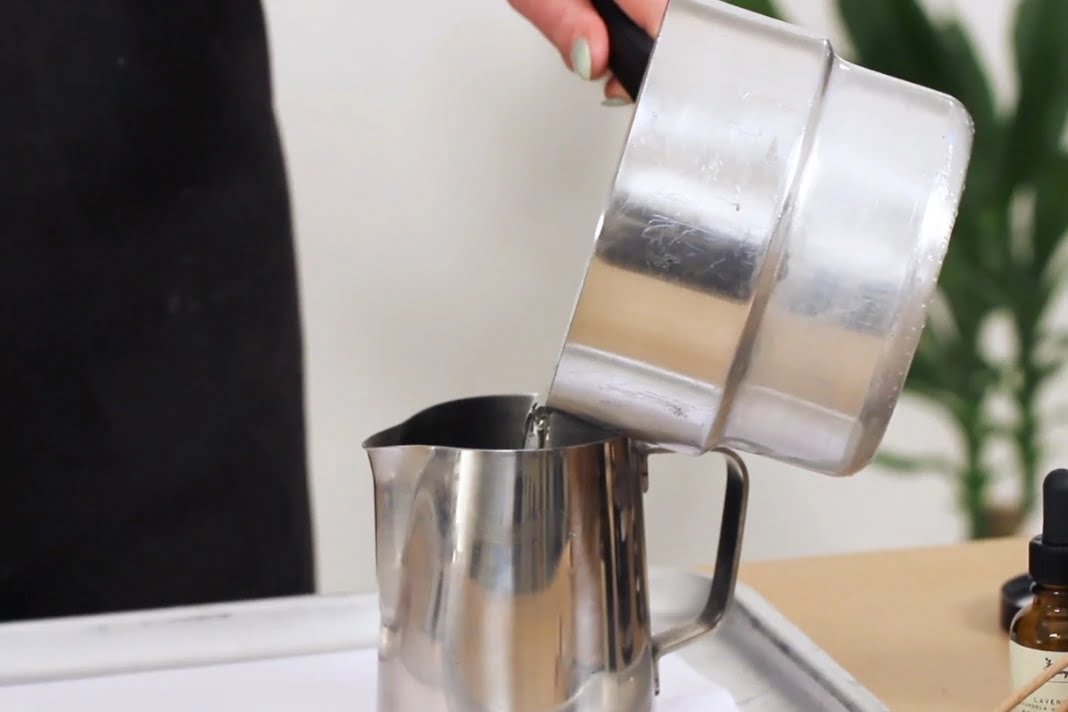
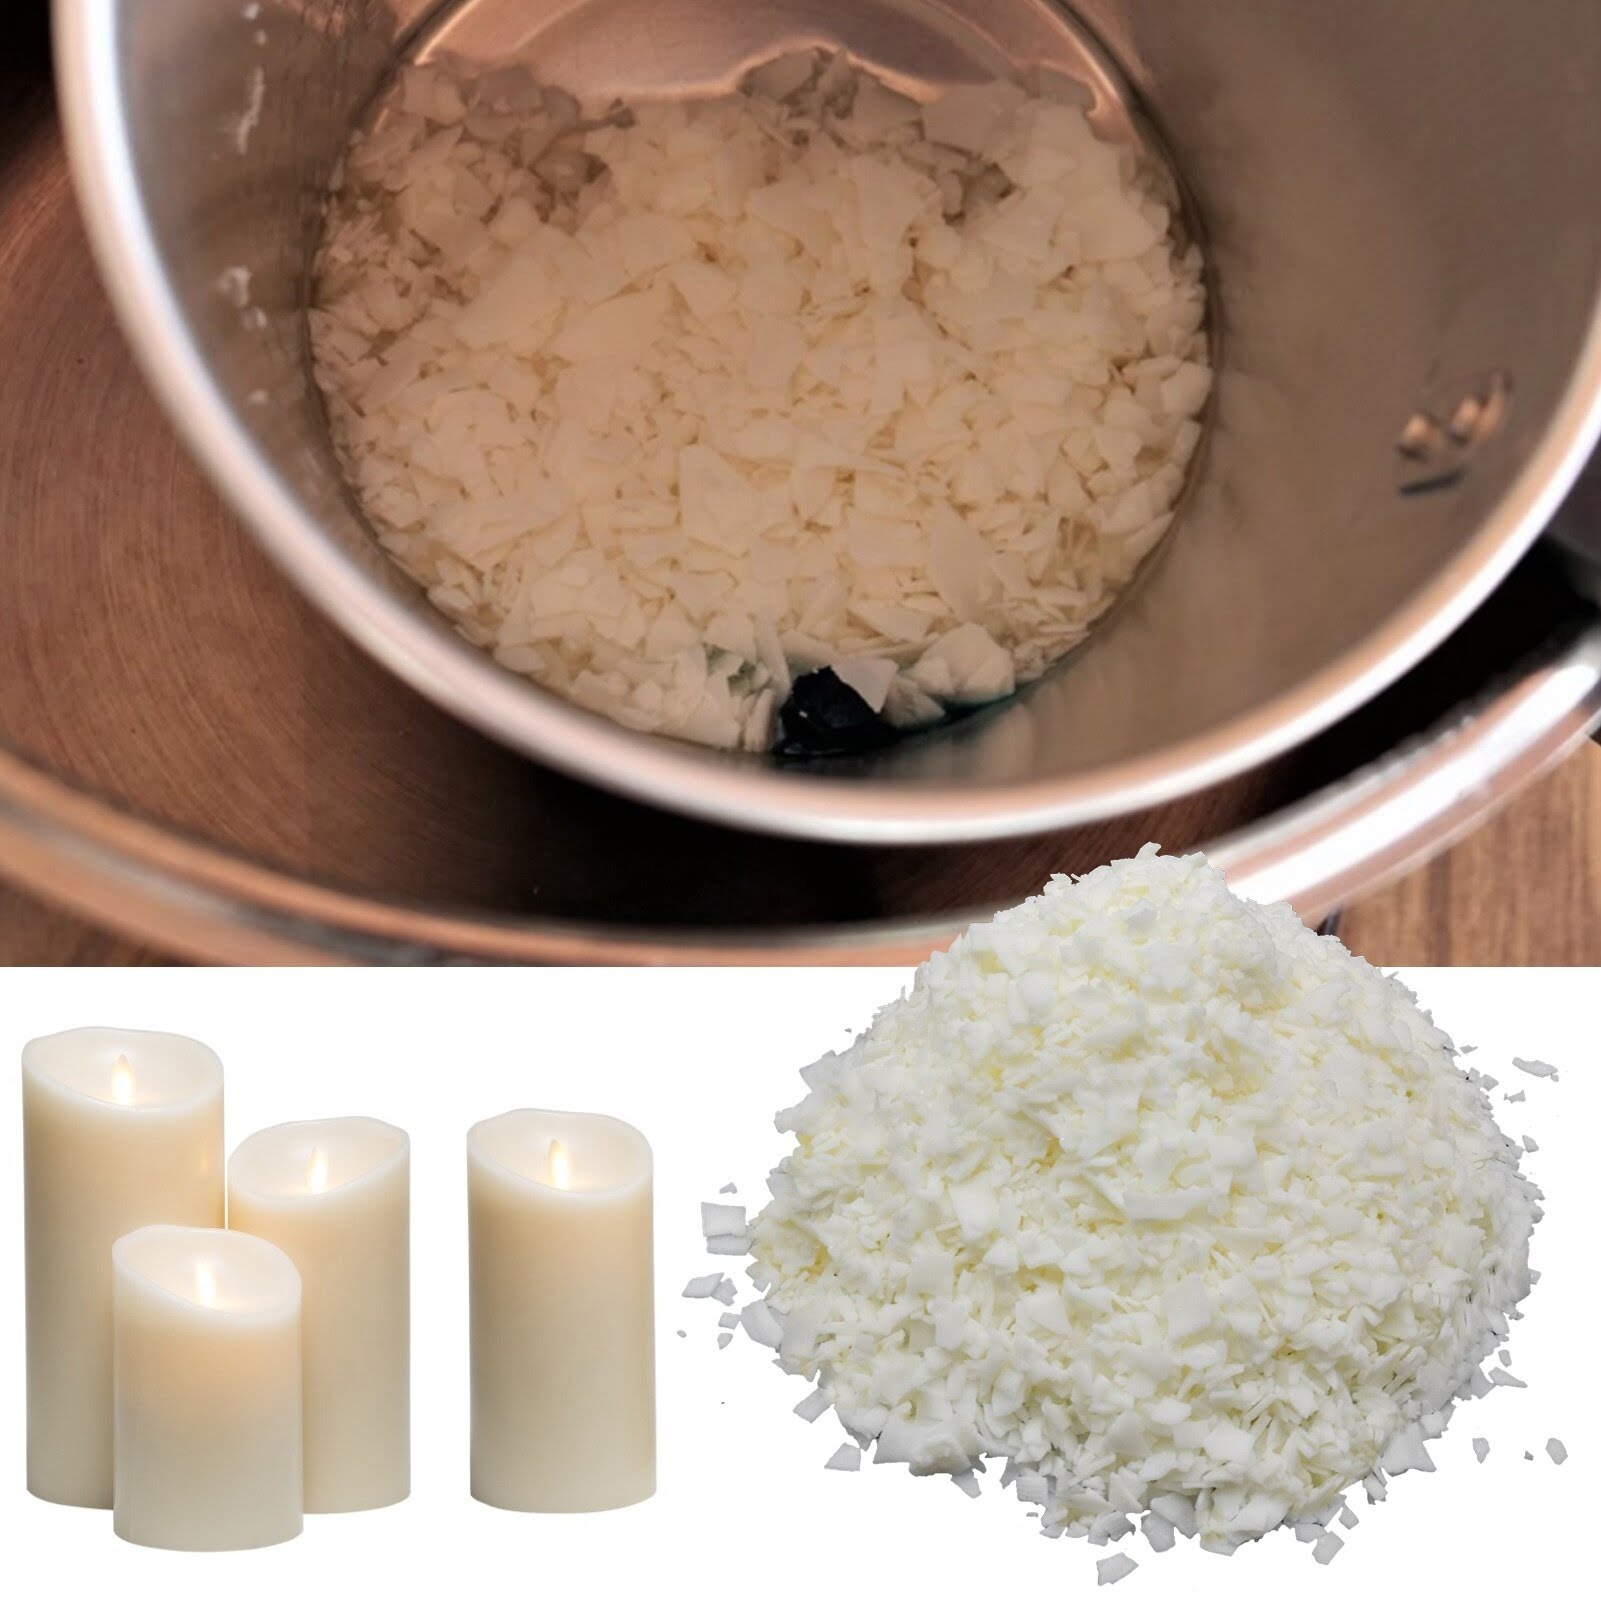
When working with taper candle making molds, it is important to prepare the wax before pouring it into the mold. To do this, melt the wax over low heat and stir continuously to ensure that all of the liquid is evenly blended. Once your desired temperature has been reached (typically between 120-150°F), immediately pour it into your prepared molds.
Allow your candles to cool completely before removing them from the molds; this could take up to 24 hours. It’s best to let them reach room temperature or sit overnight in the refrigerator if possible. Once cooled and hardened, carefully slide a knife along each side of the taper candles and gently pull away from mold; this may require some muscle!
Before burning any finished candles, make sure that you trim off any excess wick at both ends for safety reasons. If there are any uneven ridges on either end, use a file or piece of sandpaper to smoothen out these areas as well. Now light those beautiful taper candles and enjoy!
Safety
Working with candle making molds can be both fun and dangerous. To ensure safety for yourself and those around you, it is important to take precautionary steps prior to working with these molds.
The first step is to make sure the area you are working in is well ventilated ” this will reduce the chances of any hazardous fumes accumulating in your workspace. Additionally, you should always wear protective gloves, a face mask and safety glasses while handling candle wax or pouring wax into the molds. This will protect you from any potentially harmful substances that may become airborne during the process. It’s also recommended to keep a fire extinguisher nearby in case of an emergency.
You should also take extra steps to protect yourself from burns or scalding due to heated wax or hot taper candle molds. Allow adequate time for the mold and wax mixture to cool before attempting to remove them from the mold and avoid putting your hands directly on hot surfaces at any point during the process. Lastly, never leave any supplies related to taper candle making unattended near an open flame as they may cause a fire hazard if left too close to heat sources such as lit candles or flames.
Maintenance
Cleaning candle making molds is an important part of maintaining them for long-term use. After every use, it is recommended that the molds be gently washed in warm, soapy water using a soft cloth. This will help remove any leftover wax residue which could cause a dingy or sticky finish on the mold’s surface if left unchecked. Additionally, after cleaning, the molds should be filled with fresh paraffin or beeswax and left to harden; this will help prevent rust and other forms of corrosion from setting in. To store the molds properly, they should be placed in a cool, dry location away from direct sunlight or heat sources. In order to easily identify which molds belong to which family or size of candles, label each one as you store it away. As long as proper maintenance and storage instructions are followed, these candle making molds can last for years!
Extra Features
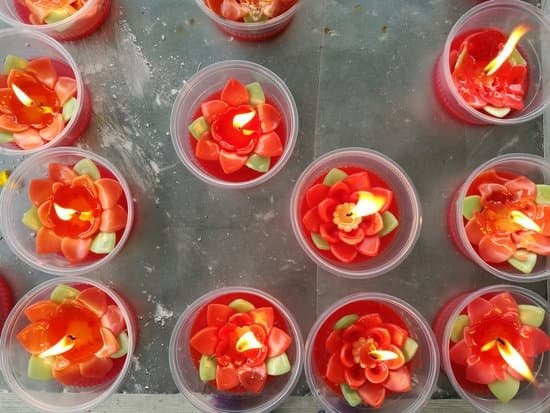
Taper candle making molds offer a wide variety of creative potential for candle makers. Candle makers can use taper molds to create unique or specialized candles that suit their own purposes or décor. With these molds, you can make candles in a variety of sizes and shapes ” including patterned designs such as flower petals and maple leaves. Some taper molds also come with a wick holder attached to the bottom that helps keep the wick in place while you are pouring the wax. You can also use tools such as an offset spatula to shape the wax in unique ways. The possibilities are endless when it comes to crafting your own perfect candles!
Another advantage of using taper molds for candle making is that you can control how much wax goes into each mold, ensuring uniformity throughout your batch of candles. And unlike ordinary containers, taper molds help create candles with sharp edges and pointed ends, giving them a refined, professional touch. Depending on the type of wax used, some molds may come pre-treated with release agents which makes clean up afterwards easy ” saving you time and hassle when it’s all said and done! Finally, due to their narrow design, taper candle molds save space when stacked on shelves without worry about them coming apart during storage or transit.
Benefits
Using candle making molds for candle making offers many advantages. For instance, when using molds, the candles will have a consistent shape and size allowing them to display uniformly and neatly. Additionally, the candles can be shaped into unique designs that can’t be achieved with any other method. This allows you to make your own entirely custom candles that truly stand out from the rest. Furthermore, when using molds instead of free-pouring your wax onto the wick you are able to save time and materials since any excess wax can be re-melted (unlike free-pouring which results in waste material).
Additionally, molds help keep the thickness of your candles consistent as opposed to free-pouring. This is especially helpful if you plan on shipping or gifting your creations as they will remain intact during transit/shipping. Further with additionally protection, such as bubble wrap; these conscientiously poured moulded candles are far less likely to suffer any detractions from their original beauty than freshly free-poured candles might experience. Furthermore, there is usually no need to trim a wick when making moulded candles due to the even distribution of wax around it which provides adequate fuel for burning without the need of additional trimming after it has set. Finally, experienced chandlers also find that moulds often provide an easier release than free-pour methods; resulting in less scarring on the finished product’s surface once removed from its containing mould!
Conclusion
PROS:
Using candle making molds allows for a variety of creative designs that can be used to add more emotive elements in taper candles. With the help of using these molds, you can create any design of candles easily and quickly. Additionally, it is an economical way of producing high-quality candles without having to invest in expensive machinery or tools. Moreover, the usage of molds ensures consistency in shape and size, which makes it easier to line up multiple candles in a display or row.
CONS:
With any form of molding comes the risk of air bubbles and wastage due to poor filling techniques. Additionally, there is a chance for material loss when chipping away at excess wax surrounding the taper candle after cooling”an issue that would be avoided if using manual techniques instead. Moreover, some cheaper materials used for creating molds may become marked with scratches from spillage during use or be difficult to remove from the finished product without breaking them further.

Welcome to my candle making blog! In this blog, I will be sharing my tips and tricks for making candles. I will also be sharing some of my favorite recipes.


